
And here is the last part of preparations for Kawasaki KZ650 engine assembling.
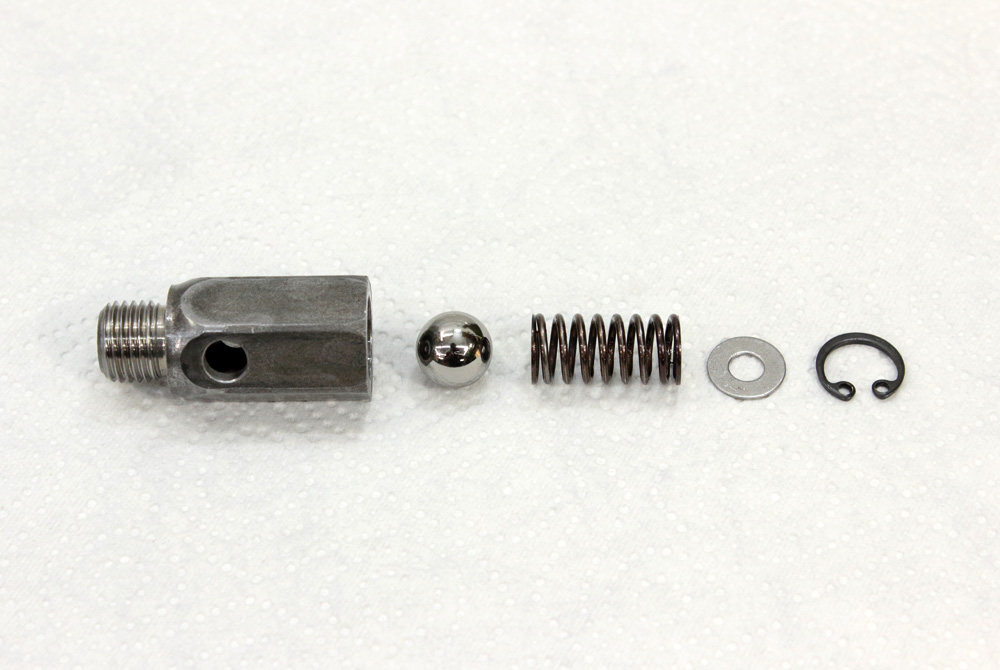
After engine dismantling I put relief valves (have two of them) in a separate box. And there they remained untouched till time came to get them clean, reassemble and choose one for upcoming engine assembling.
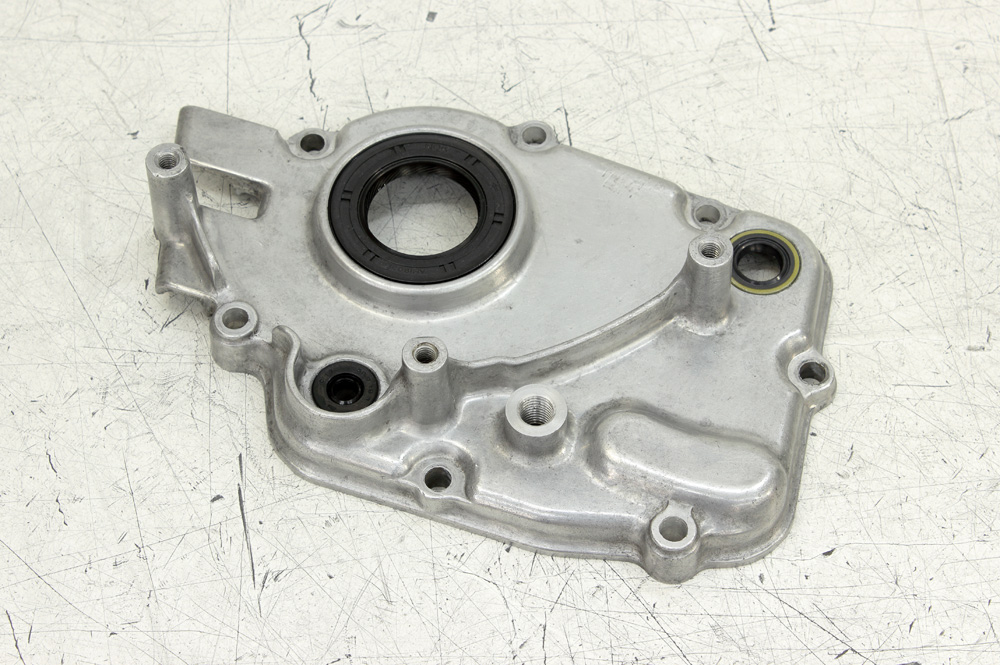
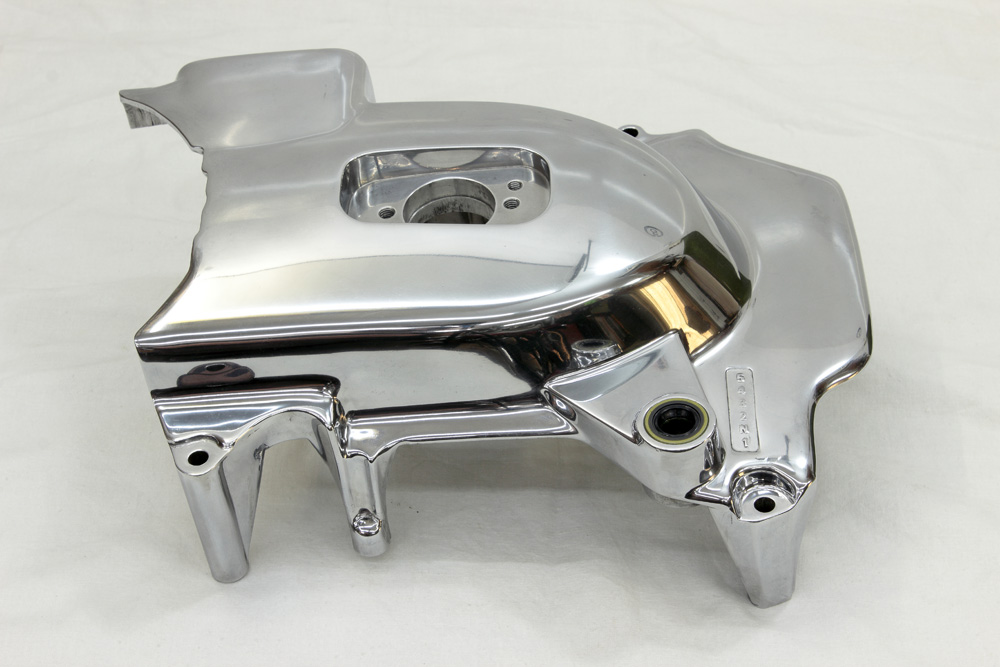
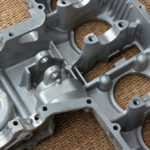
 Next task was to install new genuine seals into covers. First came the transmission cover.

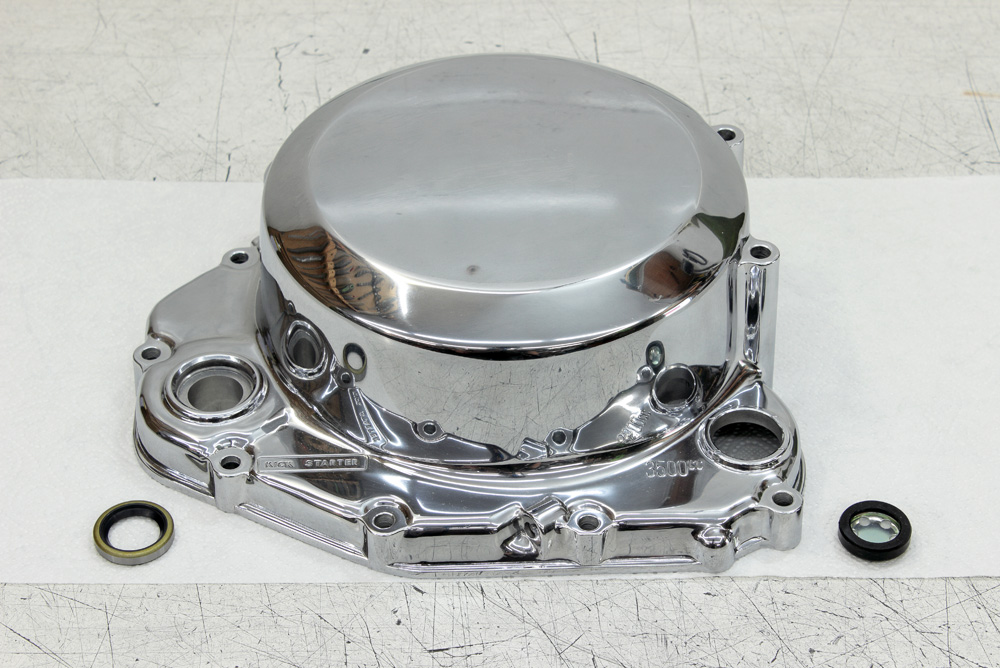
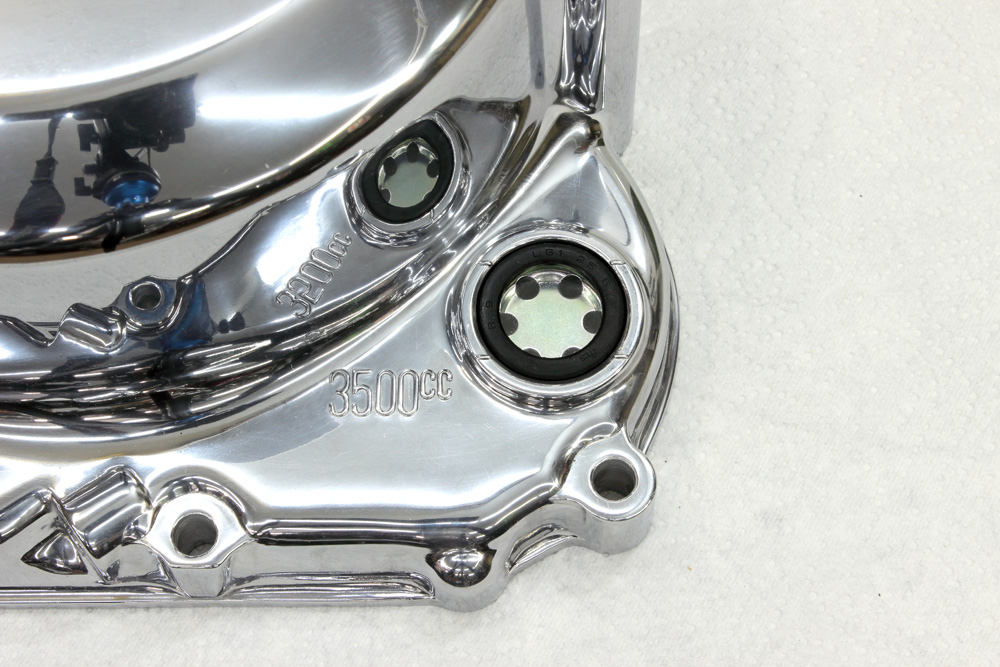
 Then it was time to install the kickstarter oil seal and oil level sight glass into the clutch cover. In my opinion, oil level sight glass fits the cover too easily, and since it can be pushed right through the cover, I used a little of sealant to fix it in its place.

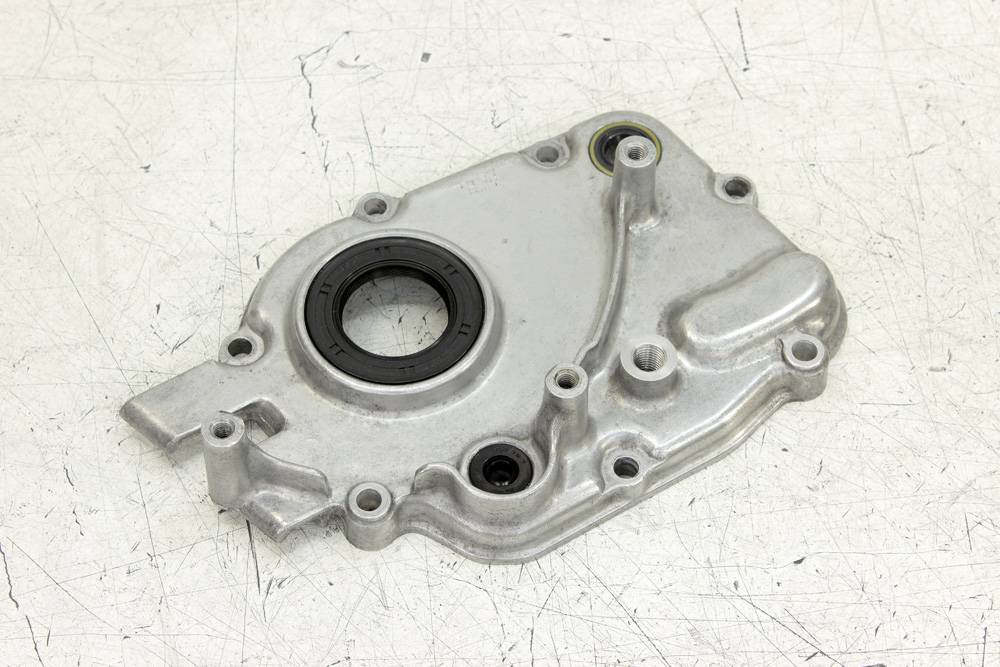
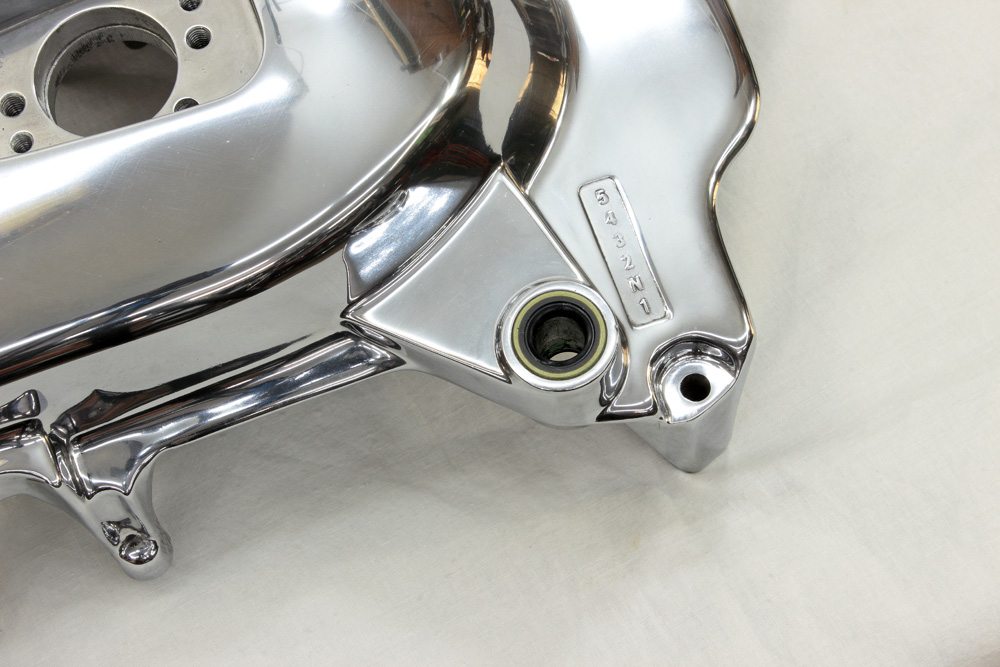
 Sprocket cover with two seals for gearshift lever shaft was the last in the queue.
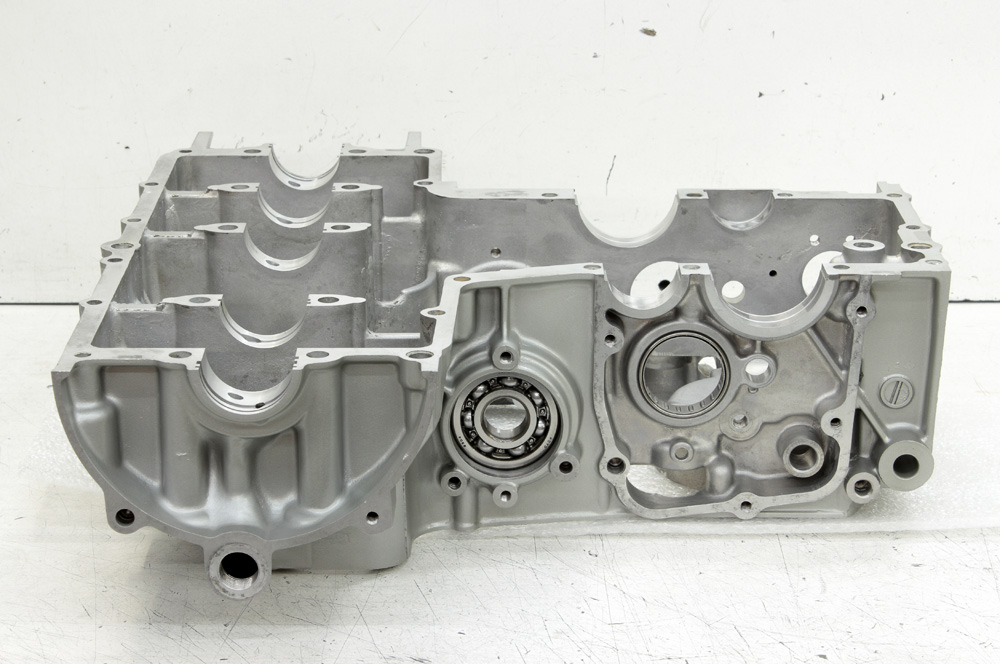
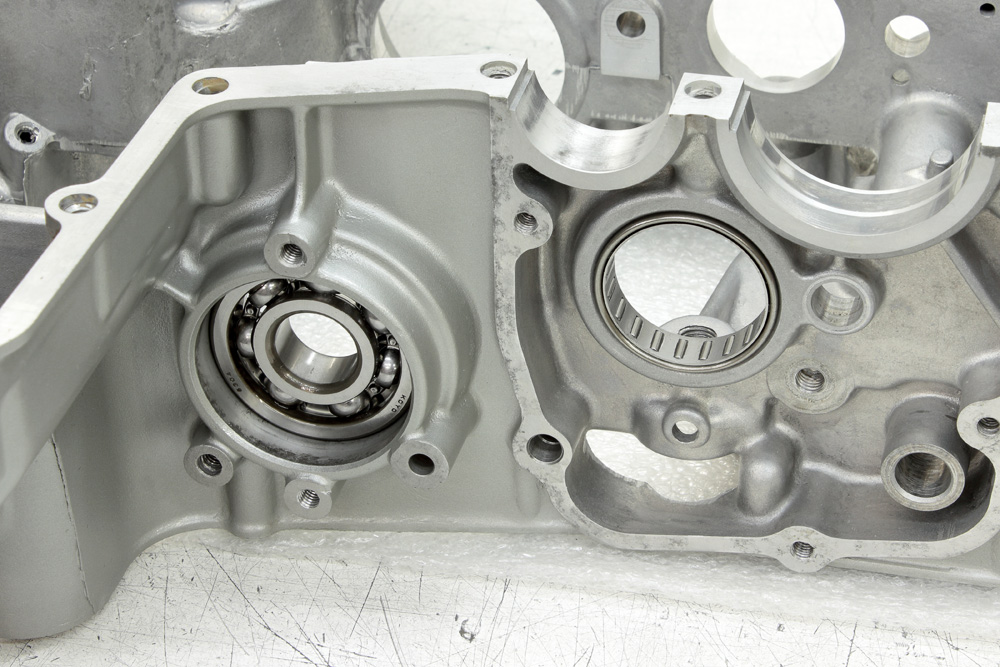
 After I finished with seals and oil sight glass I proceeded to the bearings installation. I had to install two of them into the crankcase: secondary shaft ball bearing and shift drum needle bearing. The earliest service manual has no information about how deep secondary shaft bearing has to be set into the crankcase. Manuals for later models of KZ650 have such information, but this specification is for a later type of secondary shaft, the one with collar and nut, so it wouldn’t be correct for early type of secondary shaft which has no collar nor nut. So in case of early KZ650 there are two ways to install secondary shaft bearing correctly: measure and write out position of the bearing before it is removed (this is what I did before I drove bearing out of the crankcase) or drive it further to the left, install secondary shaft, fix its bigger bearing with stopper plate and then little by little drive smaller bearing to the right until there is no gap between bearing inner race and secondary shaft damper housing. I also measured the position of the factory installed shift drum bearing, so I had no doubts about its position too.

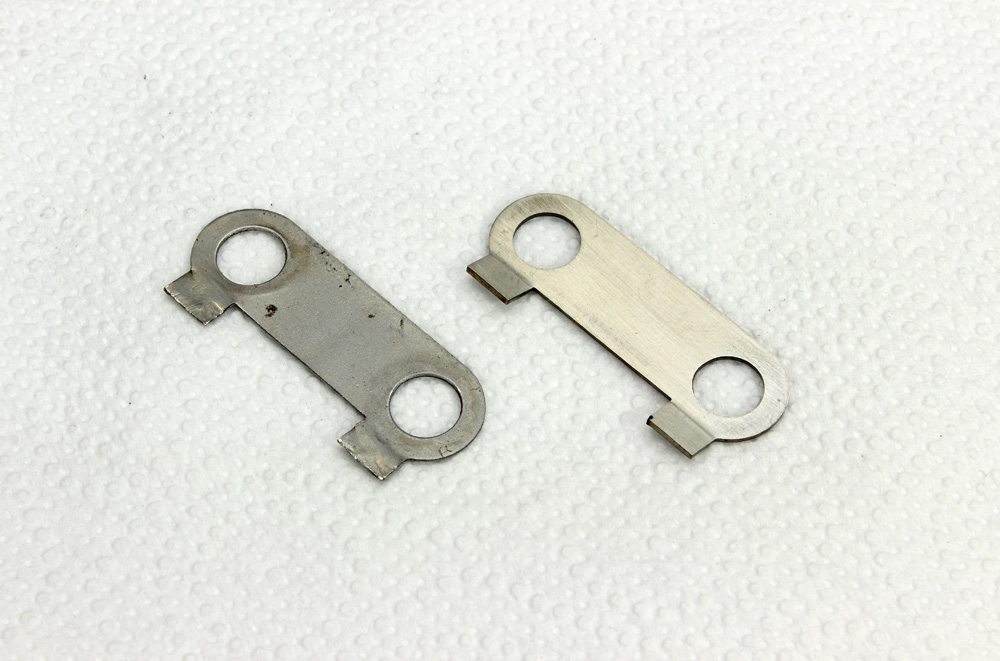
 Next point in the list was kickstarter stopper. It is to be fixed to the lower half of the crankcase by means of two M6 bolts equipped with a lock washer. This lock washer is no longer available and with modern thread locking compounds there might be a question if it is really necessary. I decided I needed one, so I measured the original lock washer, made its drawing and ordered it to be laser cut from stainless steel. The thinnest stainless steel plate available was 0.5mm. It was a bit too thick compared to OEM lock washer, but it is the case when one works with what one could get. Here they are, OEM and my lock washers side by side:
 Lock washer bending was (expectedly) tough but bearable.
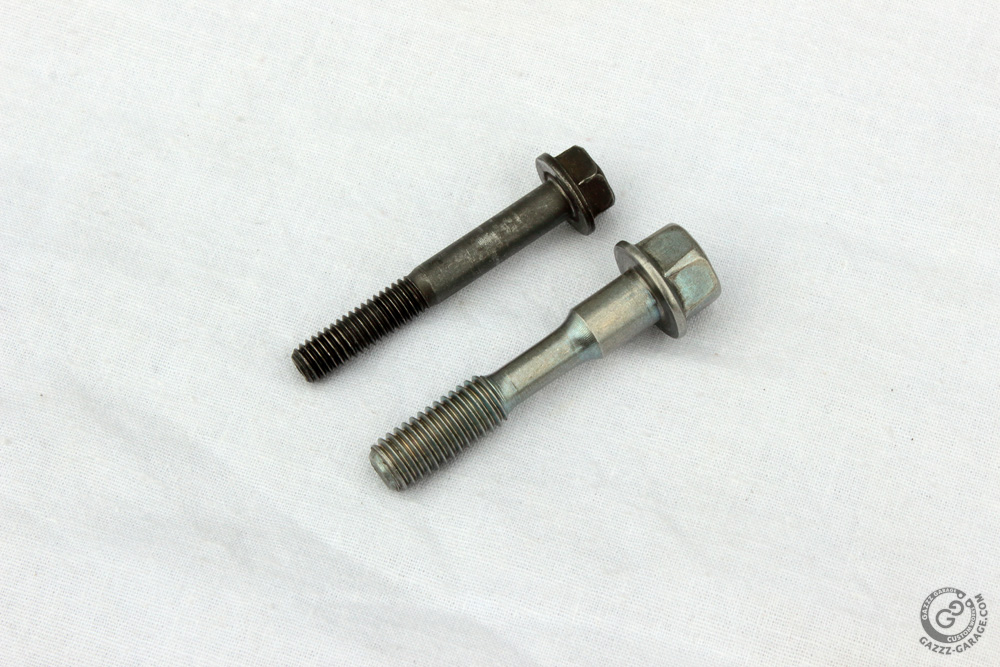
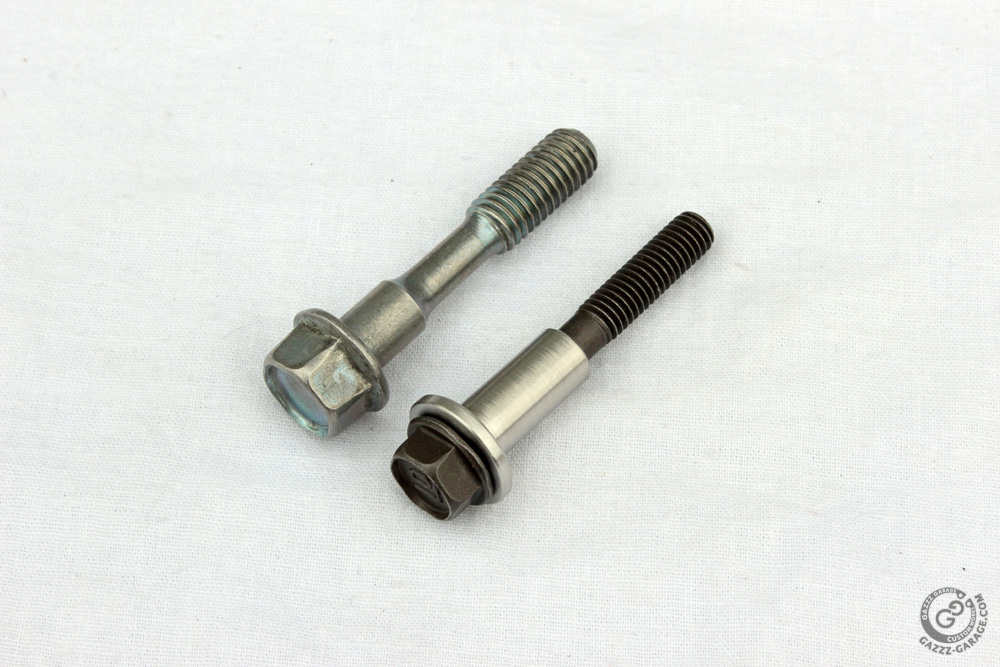
 And here we come to the last part of this chapter. Since I decided to use KZ750 cylinder head along with KZ650 cylinders, I faced an issue: cylinder head is to be fixed to cylinders not only with cylinder head studs, but also with two bolts and while in case of KZ650 these bolts are M6, in case of KZ750 they are M8 with bodies partly reduced to around 5.5 mm. Here are KZ650 and KZ750 (Zephyr 750 actually) bolts in comparison. The length of both is identical: 43mm.

 KZ750 cylinder head has holes to accommodate 8mm bolts and it is a core of aforementioned issue: for one thing, 6mm bolt in the more than 8mm hole might be skewed when installed, for another its head has diameter smaller than diameter of 8mm bolt head, therefore there is a question if it will have sufficient contact area. Therefore, I didn’t like the idea of using the KZ650 m6 bolt with KZ750 cylinder head, but the idea to cut 8mm threads instead of 6mm threads in cylinders was even less attractive for me. To solve the issue I designed adapters to fit 6mm bolts into holes for 8mm bolts:
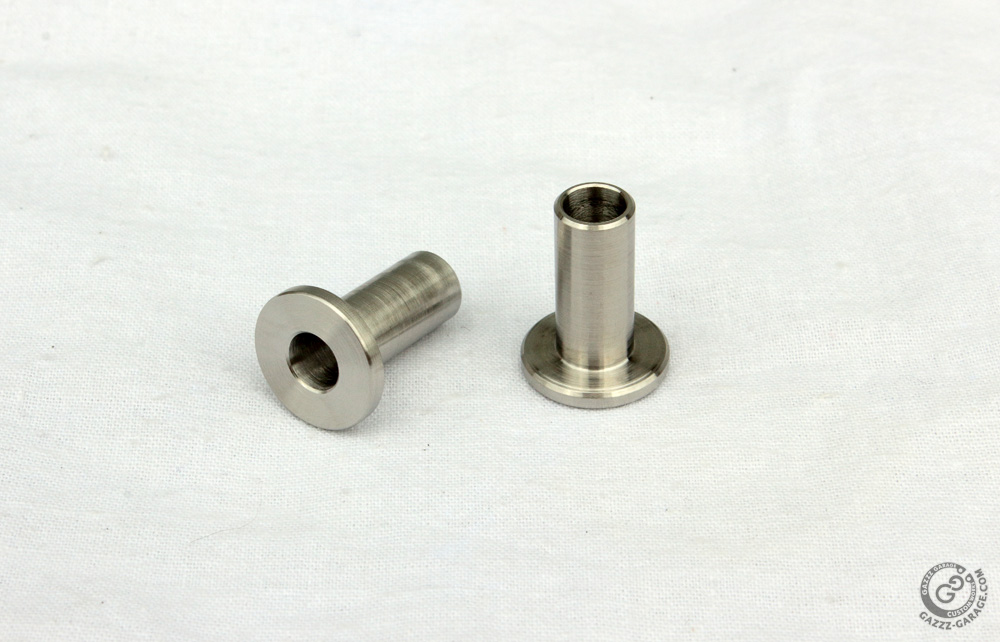
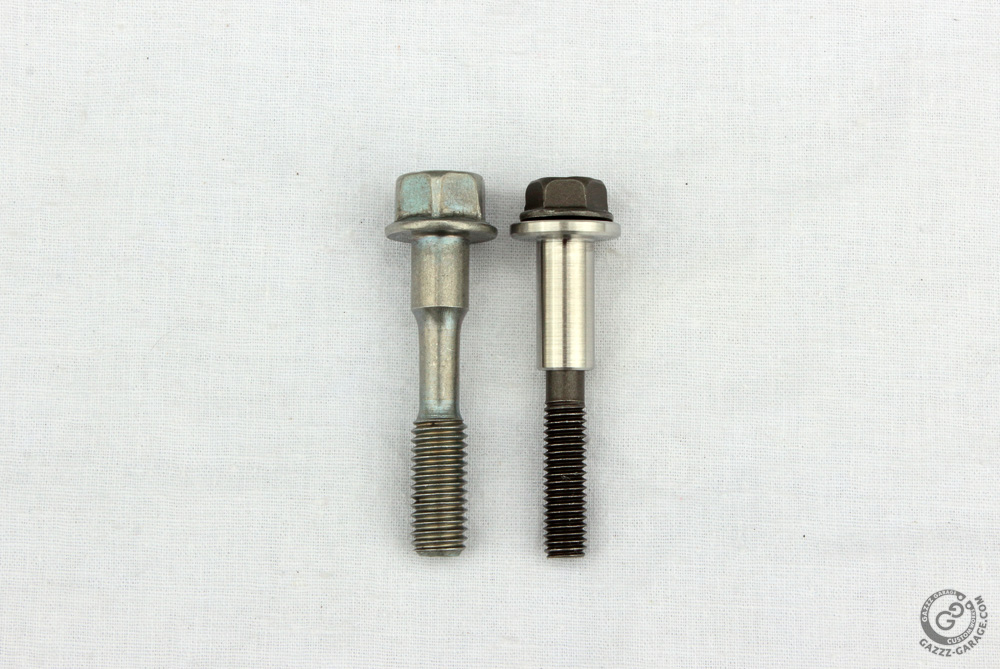
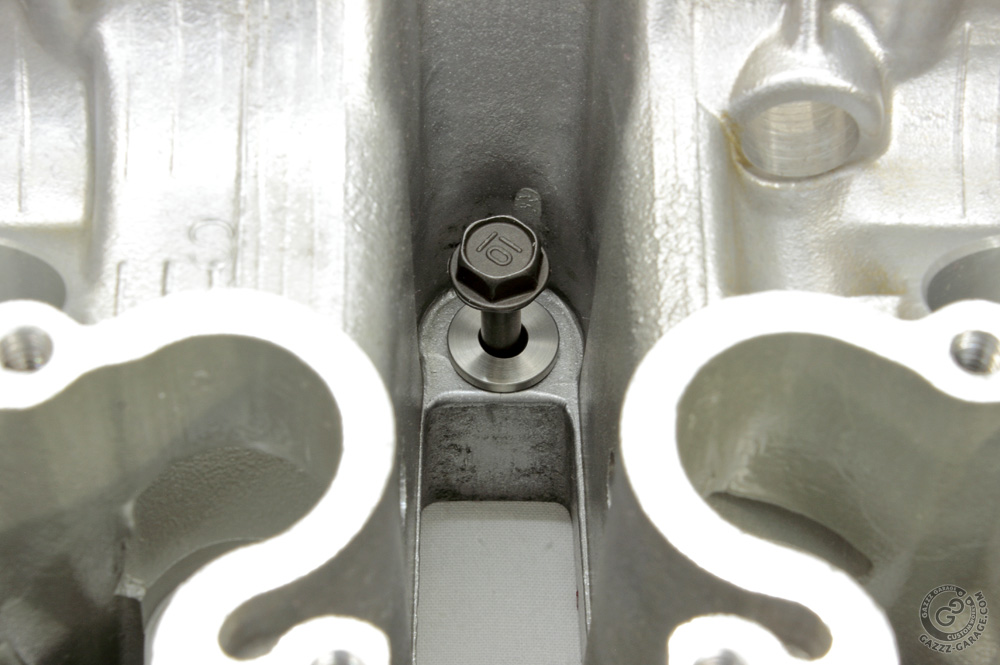
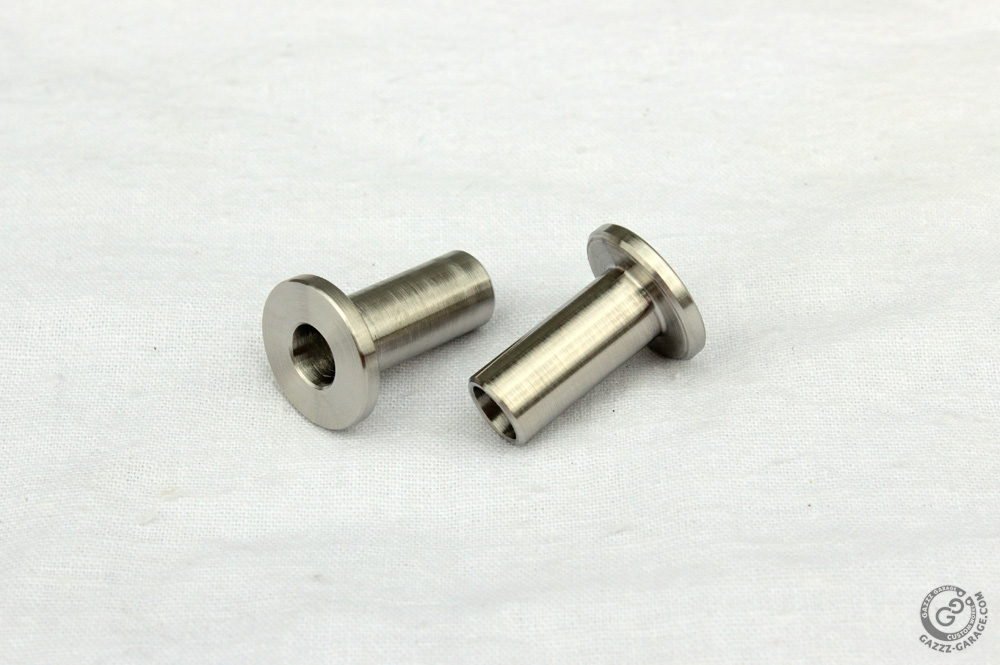 Adapters were made of stainless steel with heads of diameter similar to genuine 8mm bolts. Since I had to use longer bolts ( to compensate 2mm of adapter head), I bought a couple of 6X45mm bolts (genuine Honda, of proper tensile strength). Here is my setup in comparison with 8mm bolt:
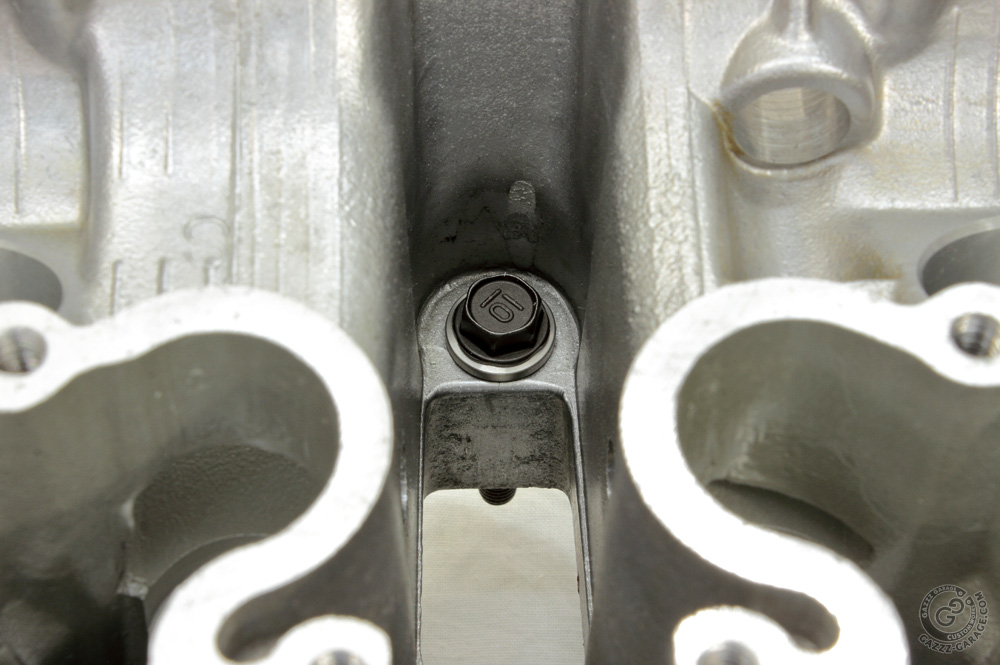
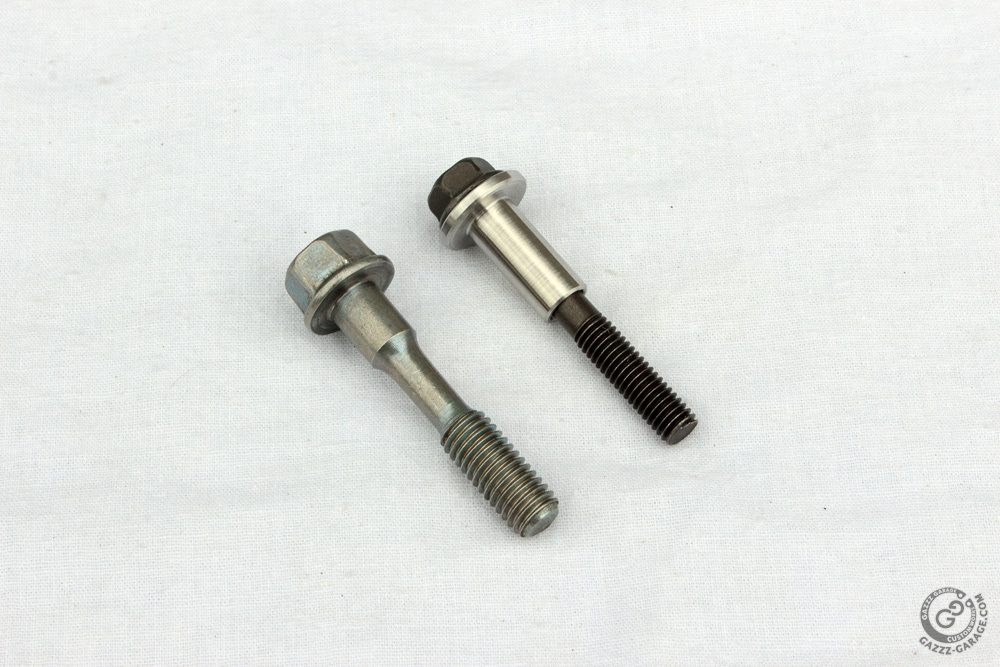 And here is a pictures of how it works:
 This was the last point in the preparation list. With all preparations done I proceeded to engine assembling.


When will the preparation for the assembly start?
Well, in fact the engine is mostly assembled. With three projects and other work at hand I found out that I hardly have time to process photos and write articles. I also was waiting for the parts I decided to order during assembling. Now I have to find a day to finish the assembling.