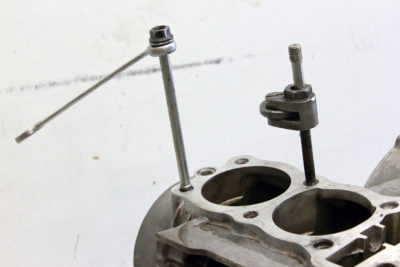
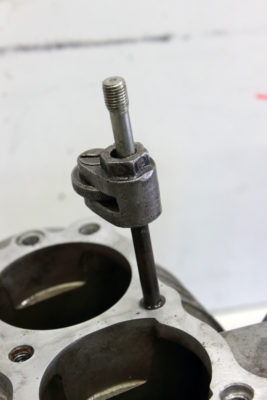
After I found out that high shouldered wheel’ rims that I ordered from Italy are not good enough for my project and was waiting for arrival of ordered substitute (this is another story), I concentrated my efforts on engine. I started from removing cylinder studs. Most of them had traces of corrosion, which is not a wonder for steel parts made some forty years ago. Initially I have intention to clean them and renew zinc plating, but studs seated in places very tight, so there was no chance to remove them undamaged. There are two general ways to remove studs: using two interlocked nuts and using special tool called “stud extractor tool”. Usually I prefer two interlocked high nuts, thus in result no thread, nor stud body is damaged. However, KZ650 stud thread is short even for two ordinary nuts and counting 40 years of sitting in aluminum this method allowed me to extract only two from twelve studs. All other studs I extracted with help of stud extractor.
- Heat the stud and then let it cool. It helps to release stud’ thread interlocked with aluminum of crankcase by oxidation and rust.
- Do not try unscrew stud that stuck in one go, as amount of frictional heat will be tremendous and you’ll definitely wreck the parts. Instead unscrew stud for one or two turns, use penetrating oil on it and torque it back. Then repeat the action every time unscrewing stud further until it becomes free.
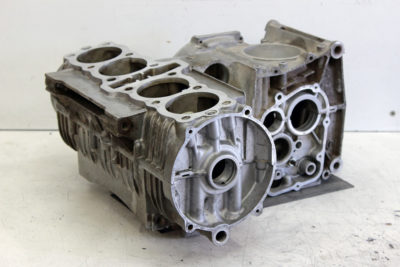 After I finished with studs I removed all steel parts from crankcase, except two nozzles of oil system. Forty years old crankcases insides were yellowish from oil depositions and I couldn’t remove that film with gasoline applied under pressure. Carburetor cleaner helped, but only in combination with rubbing, so it looked as a hell of work.
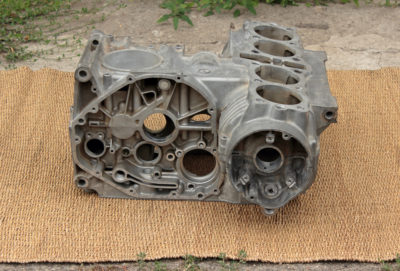
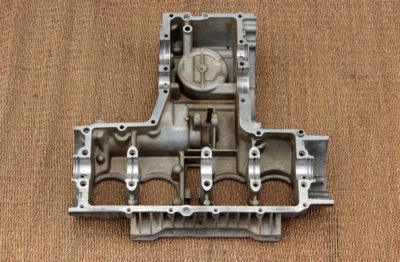
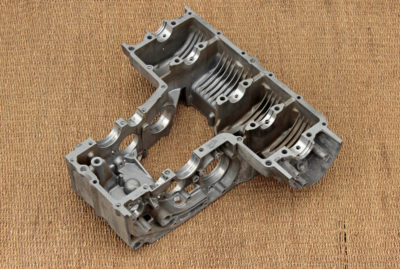
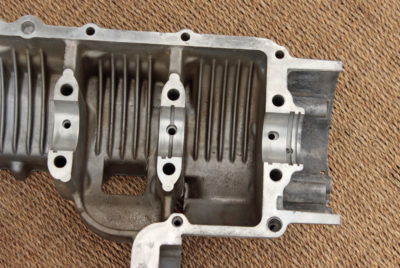 I found solution of problem on a local market of car parts. It was a synthetic detergent specially made by some local manufacturer for washing engine insides. I cautiously tested it on aluminum part and after I was sure it doesn’t “eats” aluminum I used that detergent on crankcases. Result was quite impressive: insides of crankcase became shiny.
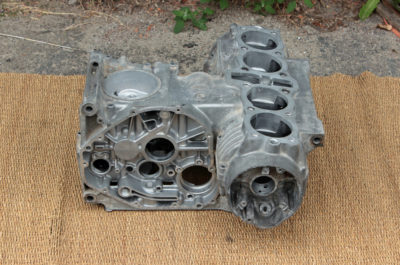
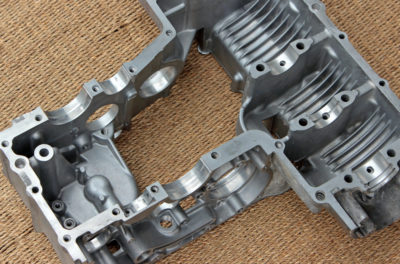
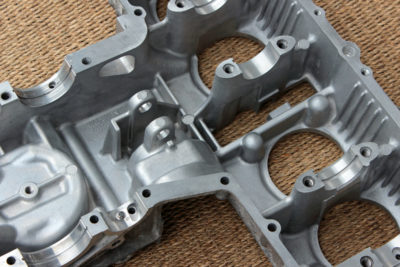
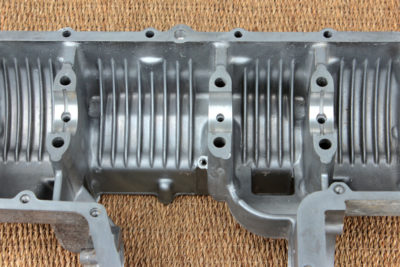
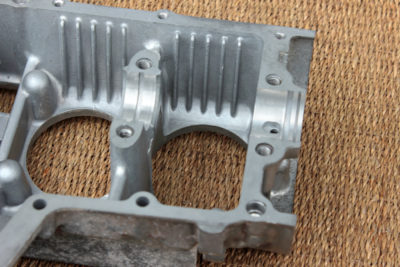 I additionally cleaned some oxidation on outer surface of engine, checked all threads and started preparation for glass beads blasting.
To be continued.

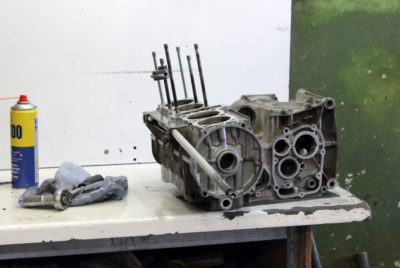

Hi, I just recently found your blog and it has been a great source of knowledge! Congrats on the builds! I am starting to restore my KZ650 and this is my first time doing something an engine rebuild, do you have any tips on cleaning the insides of the engine? I already have the engine disassembled and I am planning on having it vapor blasted, should I have the insides vapor blasted as well or just cleaned with gasoline?
Thanks for any tips!
Hi Enrique,
Thank you for good words!
Vapor blasting, as far as I know, is a media blasting. Personally I wouldn’t dare to media blast engine internals.
I used special cleaner for engine internals which I found on local Ukrainian market. It’s unlikely that it would be available for purchase in other countries as it is of local manufacturing. However you may find suitable detergent in your area, only mind, if detergent contains alkali , it’s not suitable and shouldn’t be applied to aluminum parts, as alkali eats aluminum.
Kind regards,
Nazar