While building motorcycle with custom chassis one has to keep in his mind two essential things:
- Front and rear wheels must be positioned inline and centered to longitudinal axis of frame.
- Front and rear sprocket must be in one plane.
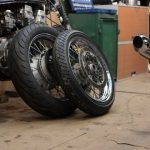
For Kawasaki KZ650 cafe-racer I’ve built custom spoked wheels based on Honda CBX550 hubs; I used Kawasaki Zephyr 550 swingarm and 41mm Kawasaki Ninja fork in Zephyr 750 triples. That means the whole chassis setup, including rear sprocket’ hub differs hugely from original. However, I managed to get new wheels aligned with frame longitudinal axis and rear sprocket is located soundly in same plane with its front sister.
It took some time to solve both questions for KZ650 project. However, when one get used for solving such tasks it becomes a matter of thinking and calculation. The crucial point is how to check the result after all parts are ready and all necessary modifications done.
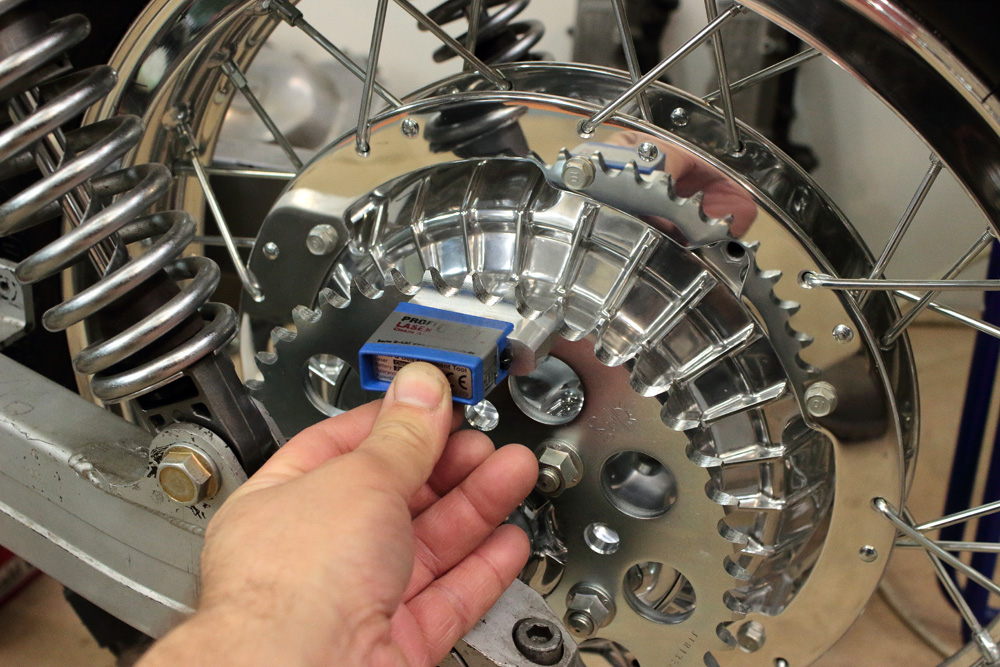
Personally I use Profi-CAT Laser for this purpose. This small tool has flat contact base milled from aluminum and laser leveled with that contact base.
 You could simply place tool on flat surface and aim it on area you need to check, and see where the red point appears. For example, if you place it on some symmetrical parts of rear hub or on the rim and then mark places where laser beam touches a swingarm, you may check if the hub/wheel is truly centered to frame. But let me show how it works in case of checking sprockets alignment.
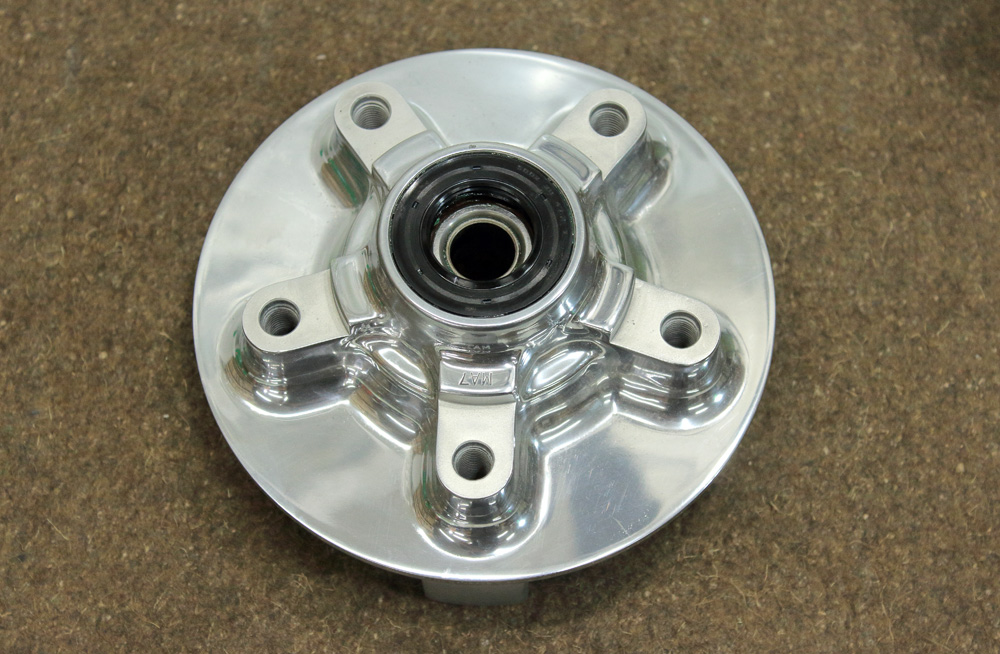
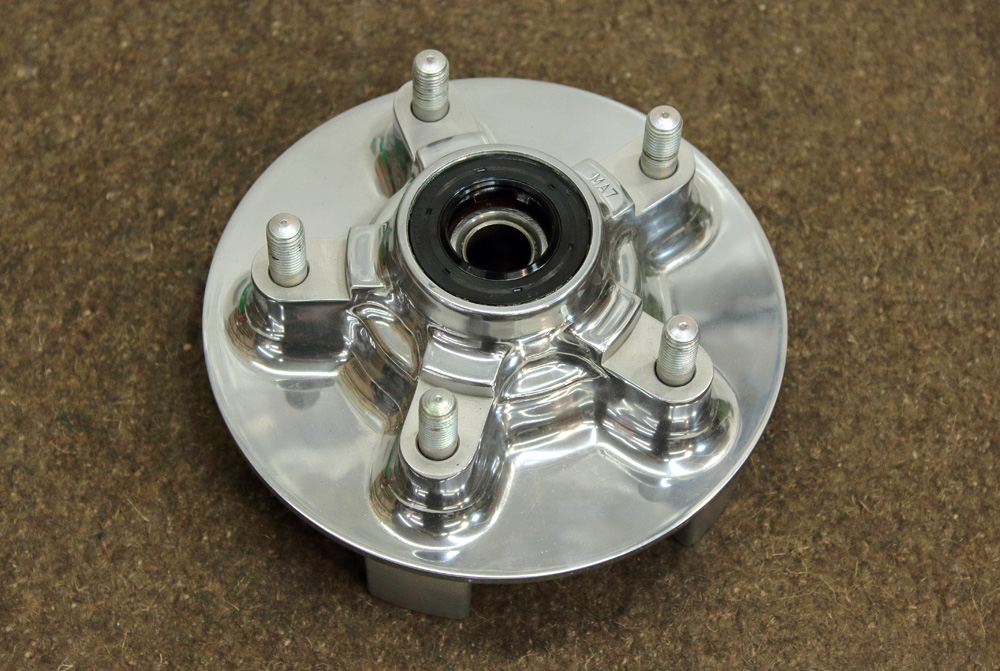
However, firstly I have to assemble rear hub, packing it with new bearing and seal.

 Then to install sprocket studs and rear sprocket itself:
 Now is time for tool. As its counterpart I use old eraser.
 It has a flat sides and by blind chance Profi-CAT Laser beam points exactly on edge of white strip that separate halves of eraser with the edge of red point slightly on white. The thickness of white strip is 1.5mm; it makes this eraser very useful in measuring sprockets alignment as it is quite easy to observe any deviation of red laser point from “norm” on eraser.
 Thus, the only thing I have to do for checking sprockets alignment is to put Laser tool on rear sprocket and aim its laser beam on front sprocket with eraser placed on its side.
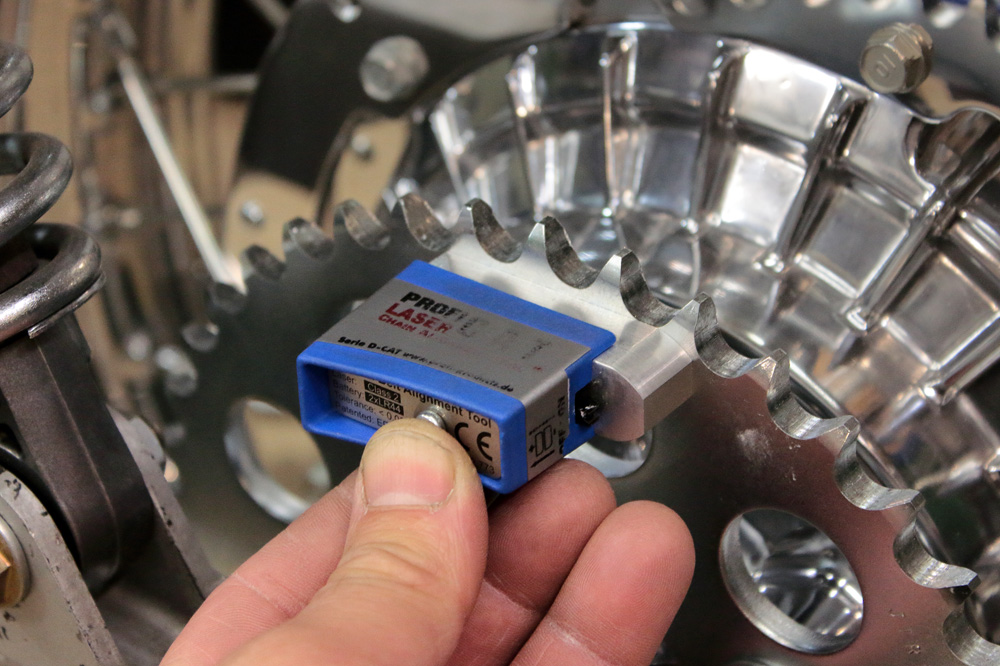 For doing so I used old front sprocket from my supplies (for 525 chain and sure of same thickness as rear sprocket) and old KZ650 front sprocket nut and washer. So just don’t mind the appearance of them, but mind where the point of laser beam is. As you may see, it’s exactly where it should be.