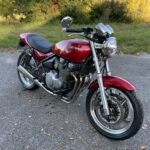
Carburetors assembling. Part 1. >>
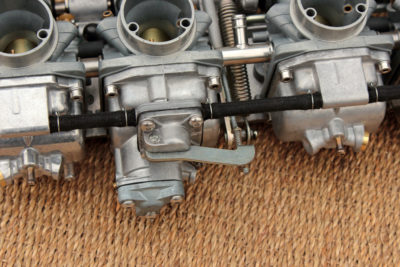
With gaskets issue being solved, installation of float bowls was only a matter of five minutes. For float bowls I chose stainless steel Allen bolts with cylindrical heads. New fuel hoses that connect bowls and are the part of accelerating pump system took a bit more time, but soon I also installed them and fixed with clamps.
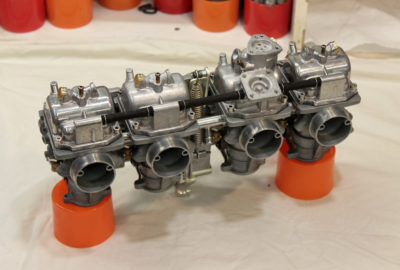
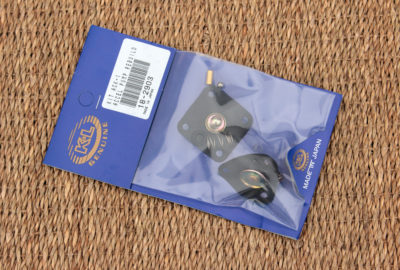
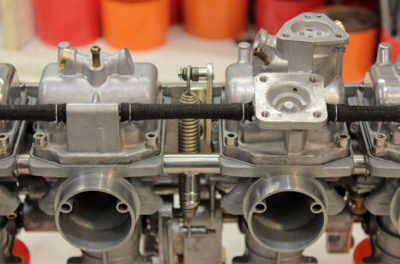 My next task was accelerating pump and its fuel valve. OEM diaphragms for both of them are not available now, so I bought this K&L repair kit:
 Triangle thing on very bottom of second float bowl is valve actuator. As I wrote in one of my earlier posts, there are three types of Mikuni VM24 carburetors for Kawasaki KZ650 with accelerating pump. On some Mikuni VM24 carburetors chamber of valve actuator connected by channel to mostly same point where vacuum port for fuel tap is. Thus valve cuts fuel off when manifold vacuum is strong enough to overpower valve diaphragm spring. On some VM24 carburetors (like rack I own) there is no vacuum port in body of second carburetor, thus spring always keeps diaphragm in one position and valve is always open. This means that accelerating pump always has fuel and is ready to operate whenever you jerk throttle. Third type of VM24 carburetors have no valve at all, just uncovered place for diaphragm. In these carburetors accelerating pump always has fuel too.
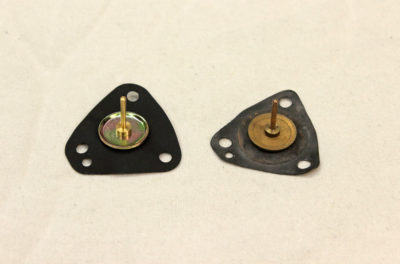
Here is K&L valve diaphragm in comparing to OEM. That needle you may see on one side of diaphragm presses the valve in float bowl and opens it.
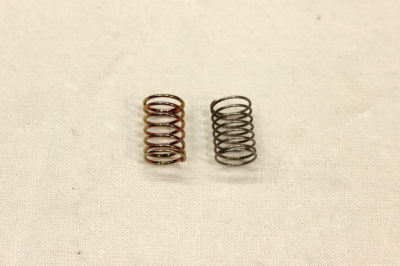
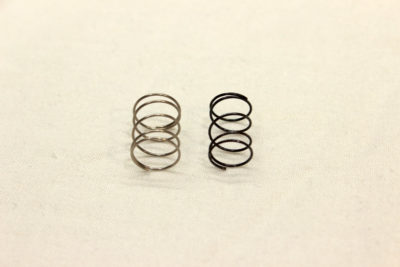
 K&L spring is slightly stronger than OEM.
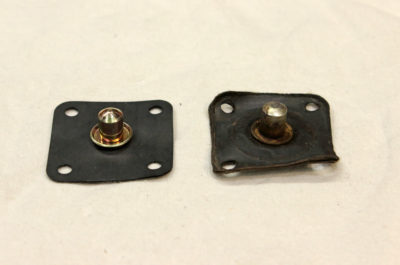
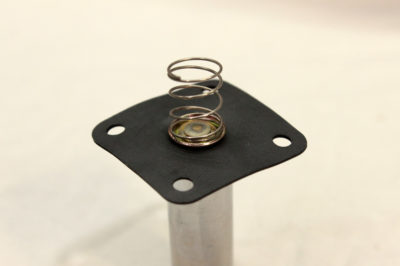
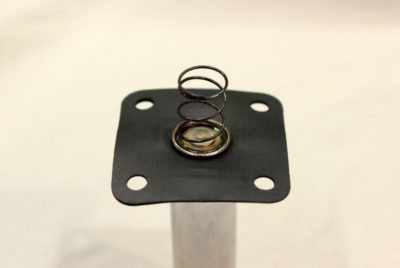
 Accelerating pump diaphragm is square. K&L diaphragm corresponds OEM in most respects, except of how it holds returning spring. And here I found a little issue. As you may see, OEM diaphragm has protrusion in its center to hold spring on it while K&L has a bowl for this purpose.
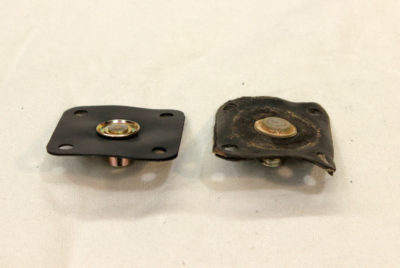 K&L returning spring has larger diameter than OEM spring and it doesn’t seat properly in bowl of K&L diaphragm. I tried to tighten slightly the final round of spring but it did no good. Thus, there is possibility that this “unsettled” spring end may move sideways and damage diaphragm. I decided to not take a risk and used old OEM spring. Later I’ll get it zinc plated to protect it from corrosion.
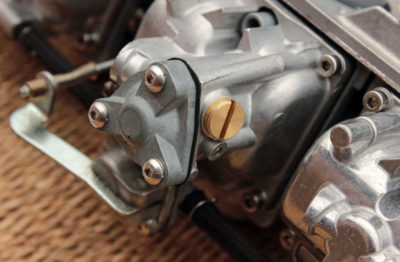
 For covers of accelerator pump and its valve I chose stainless steel Allen bolts with button heads.
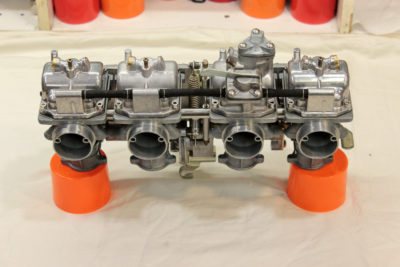
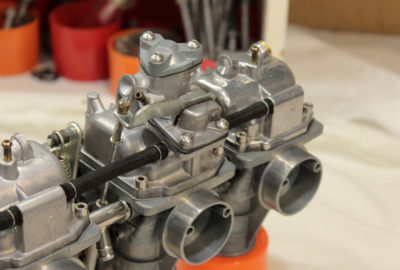
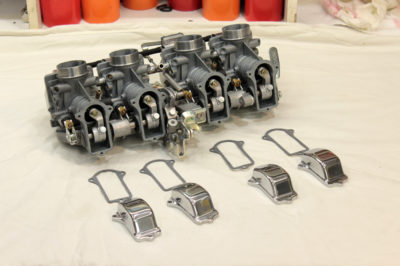
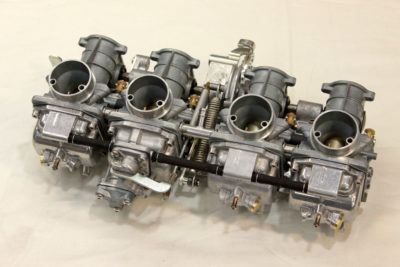 Once I finished with accelerating pump I had only one task ahead: to install carburetors top covers. I used the same type of screws, as for accelerating pump, they looks great there.
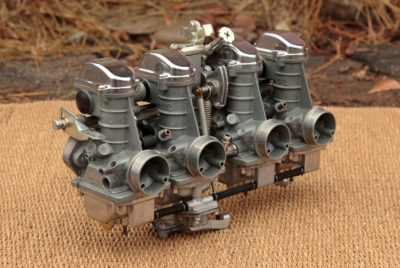
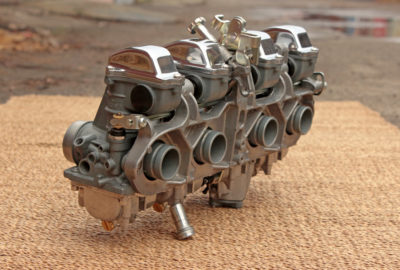
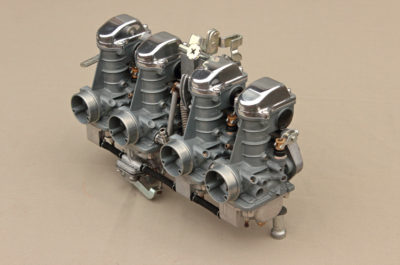
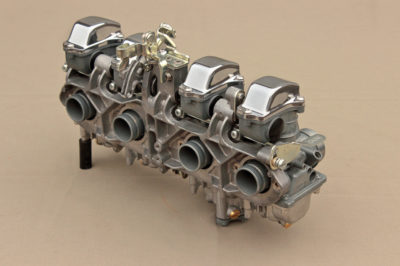
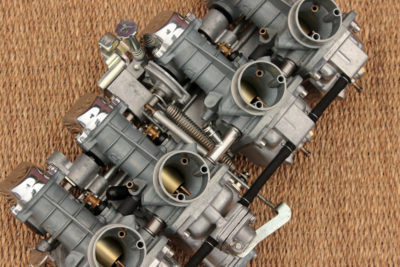
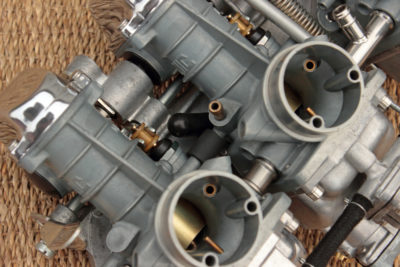
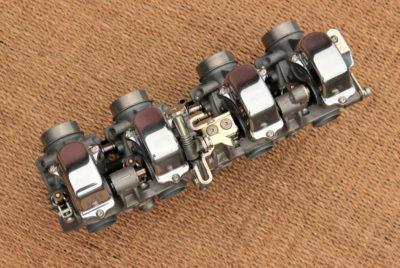
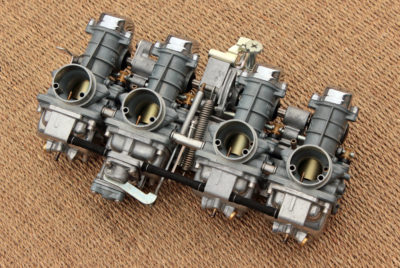
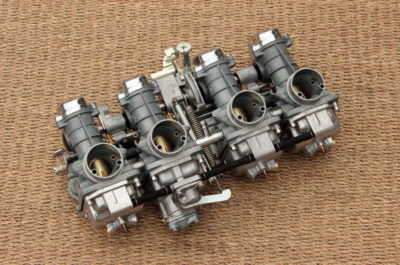
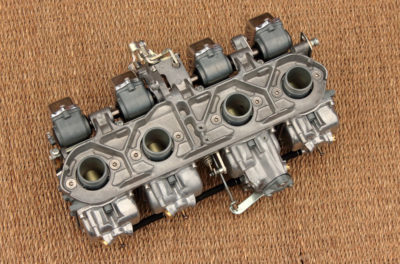
 And sure, here are few photos of assembled carburetor rack. I have to check fuel level and make initial synchronization, but this operation, as well as overflow hoses and air vent hoses installation I’ll do later.
Carburetors assembling. Part 1. >>

