The flames of war in the East of my country were yet another reason, which has reinforced my works on the project. I am not so brave to volunteer, but should I be mobilized, it would interrupt building the cafe-racer for indefinite period. Up to never finishing it.
Therefore I dedicated all available time to the project.
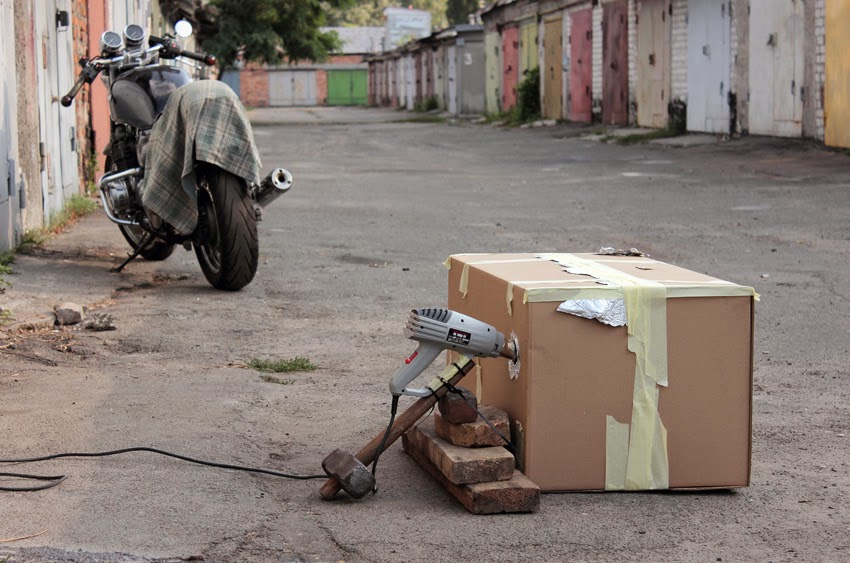
After being glass blasted, the engine was painted and later I baked it for a few hours in foiled cardboard box with approximately 160-170 C.
 The last portion of metal details were made or remade. Useless pieces of XJ400 frame were cut and last welding works were done. Only a few words, but a tone of work.
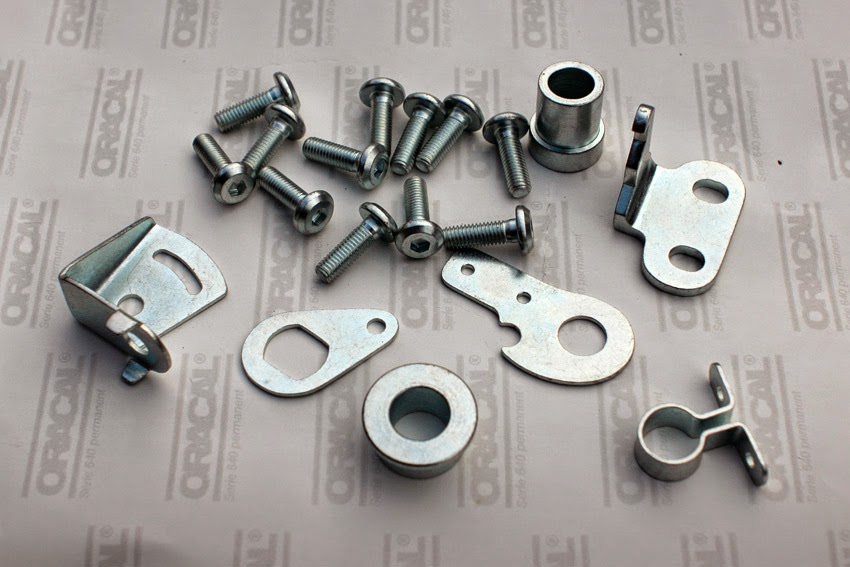
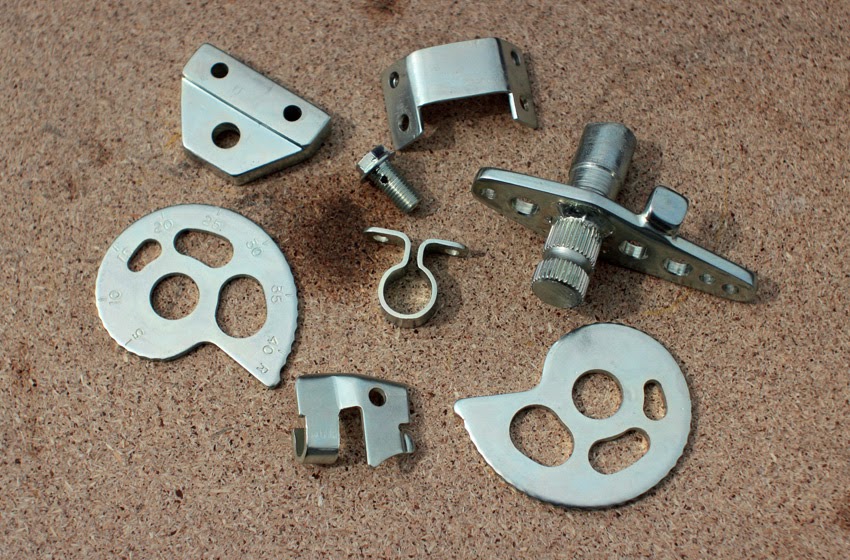
 Some parts I prepared and gave for being zinc-galvanized.
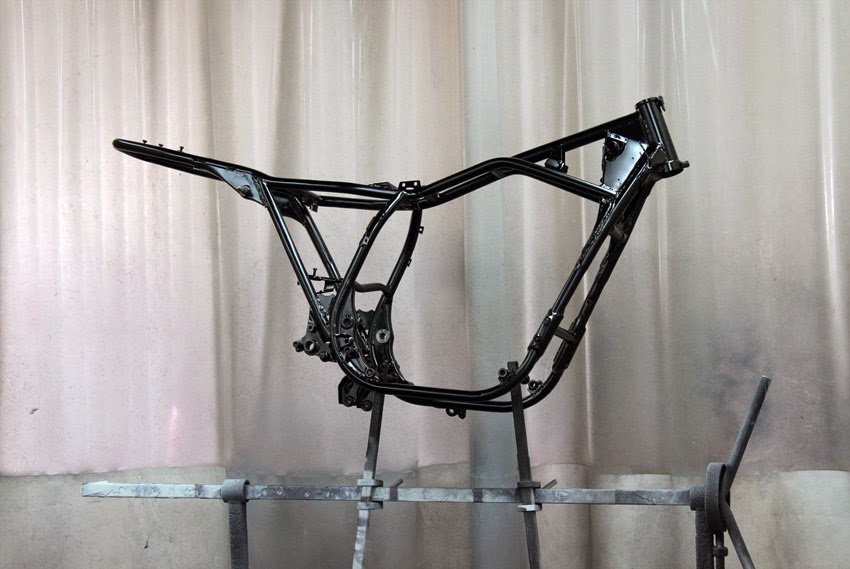
 Other ones (including frame) – for being sandblasted and painted in several batches.
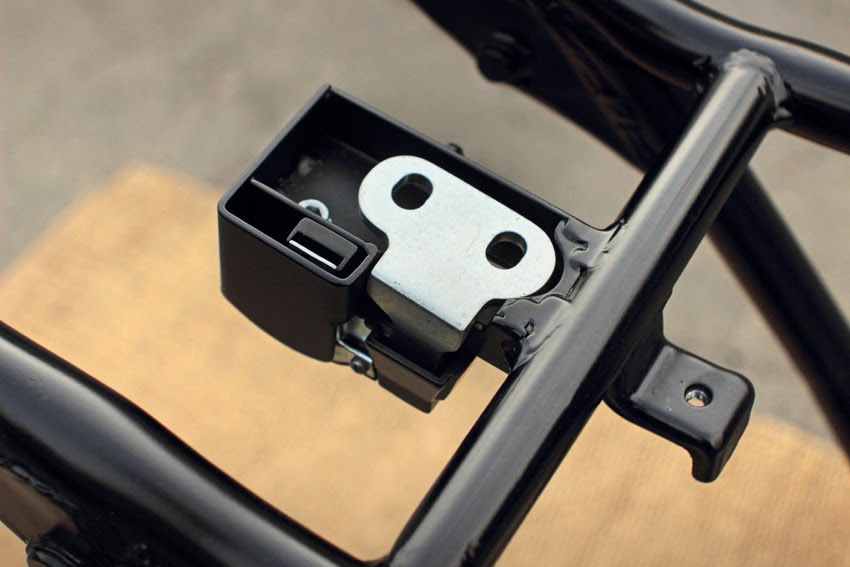
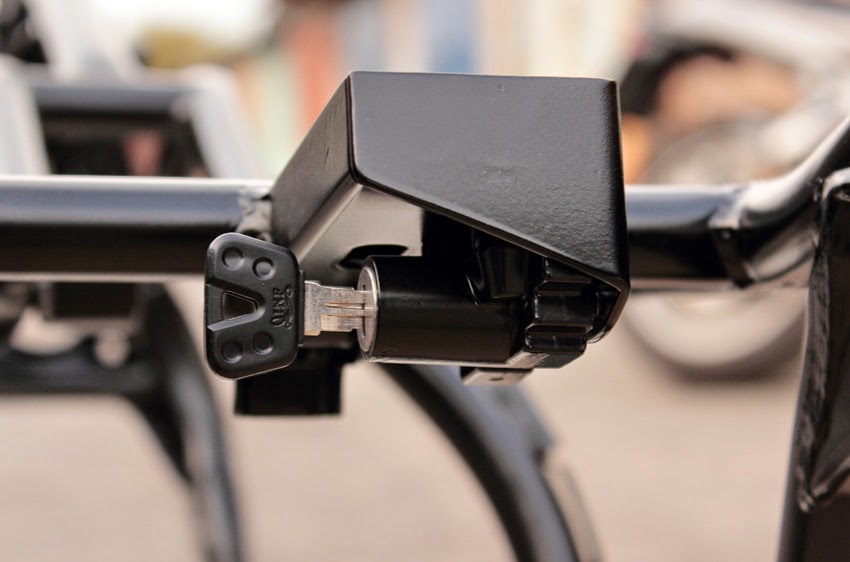
 First units were completely finished, and that was a damn nice feeling. Even if that was the only seat lock:
 Or oil cooler adapter with turn signals bracket.
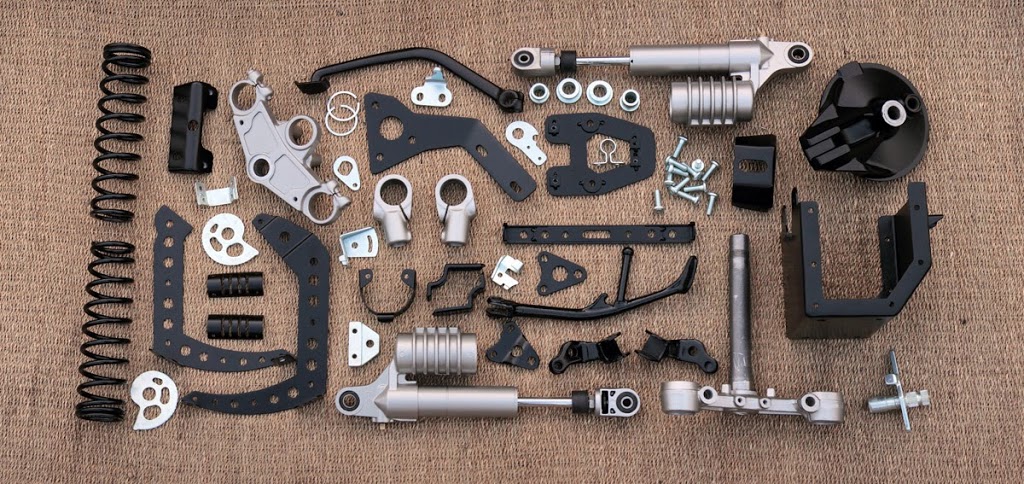
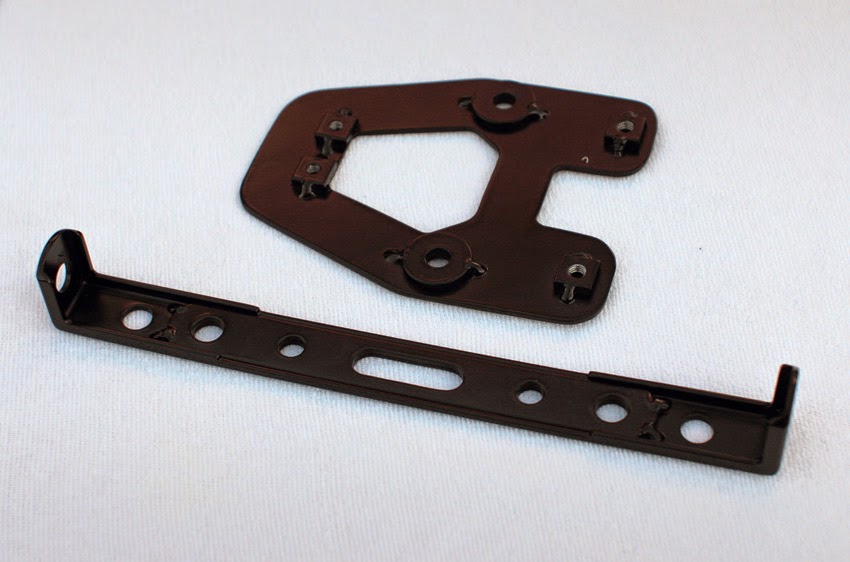 Parts looked especially great when collected together.
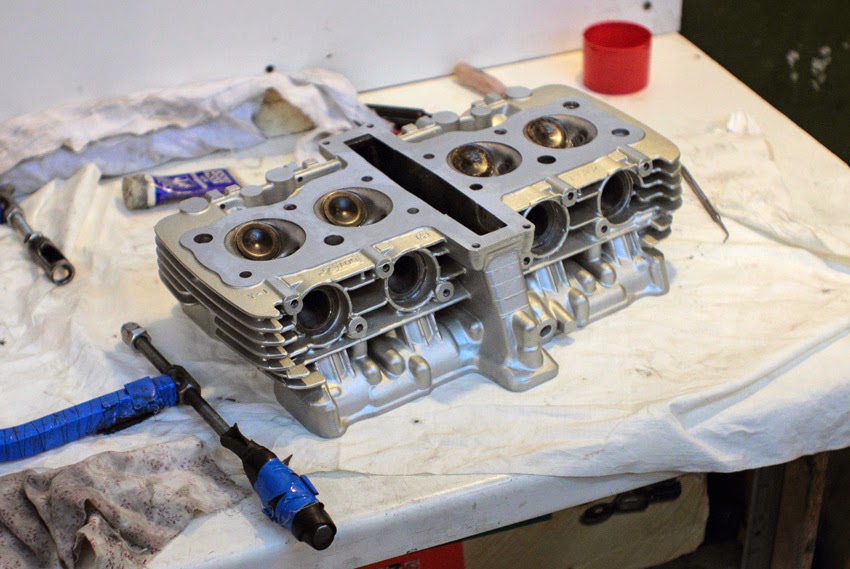
 Engine assembling was a next stage after all chassis parts were painted or gone to painter. First, I assembled a cylinder head, which surface and valve seats were cut up to normal condition earlier.
 Then was a time to work on crankcase, step by step.
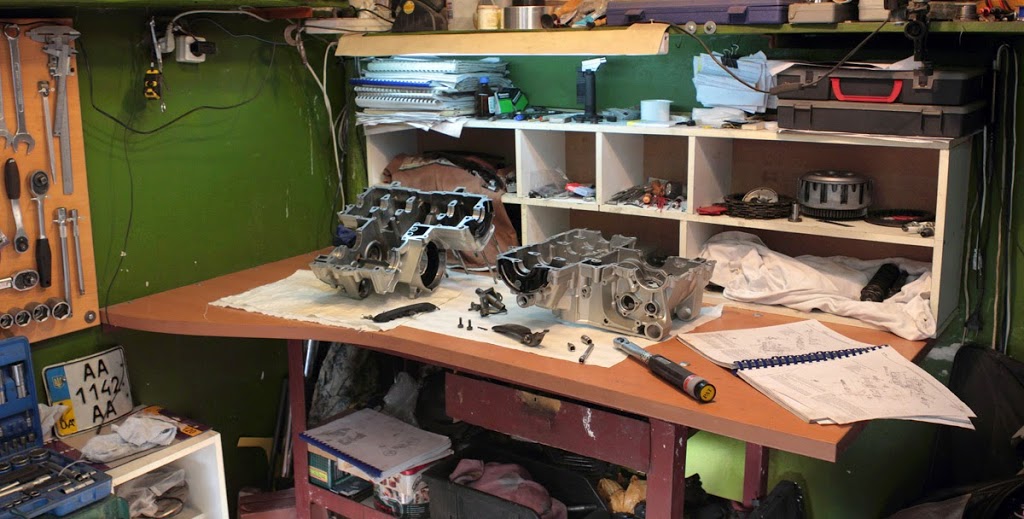
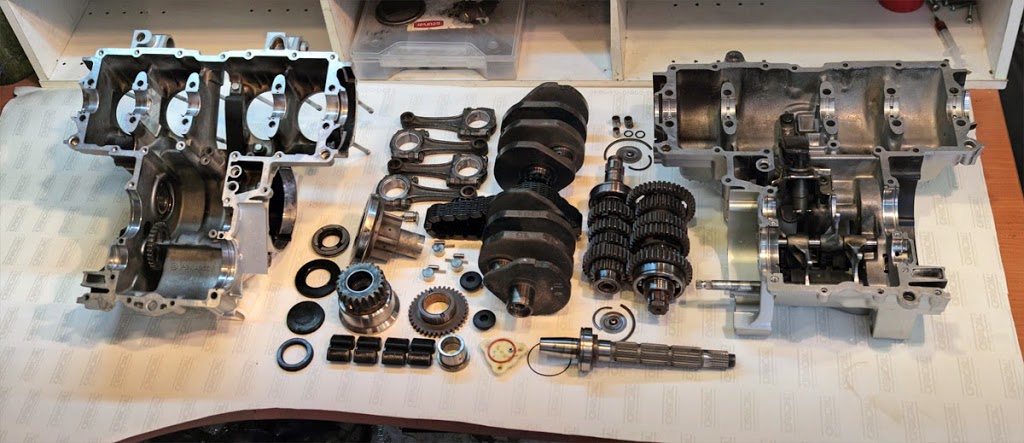 The trick of an easy crankcase halves joining is in transmission shaft binding to lower half with a plastic cable tie.
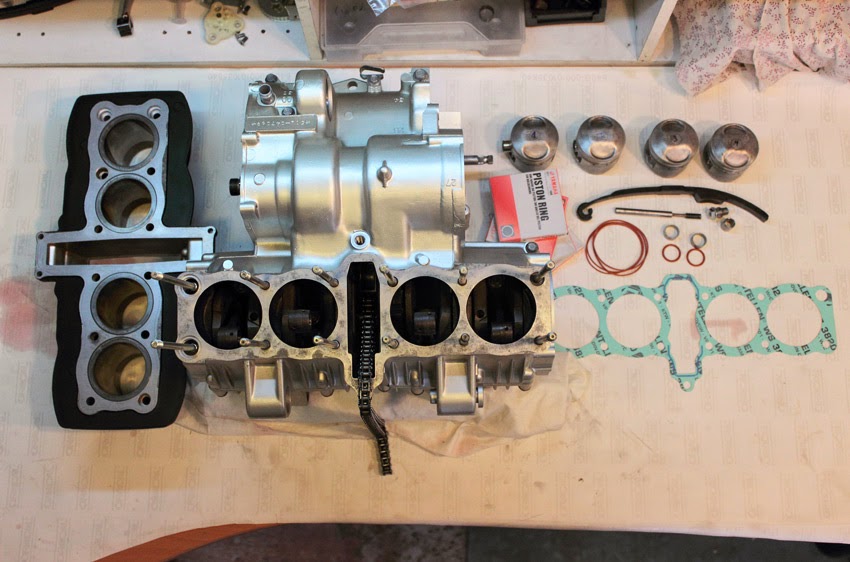
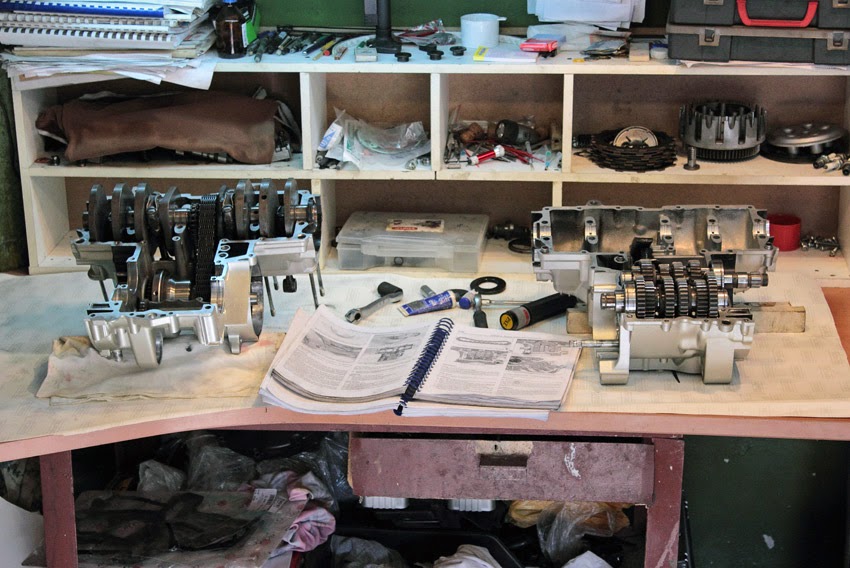 Subsequently I prepared cylinders to installation.
 Also the cylinder head was ready to be installed in its place later.
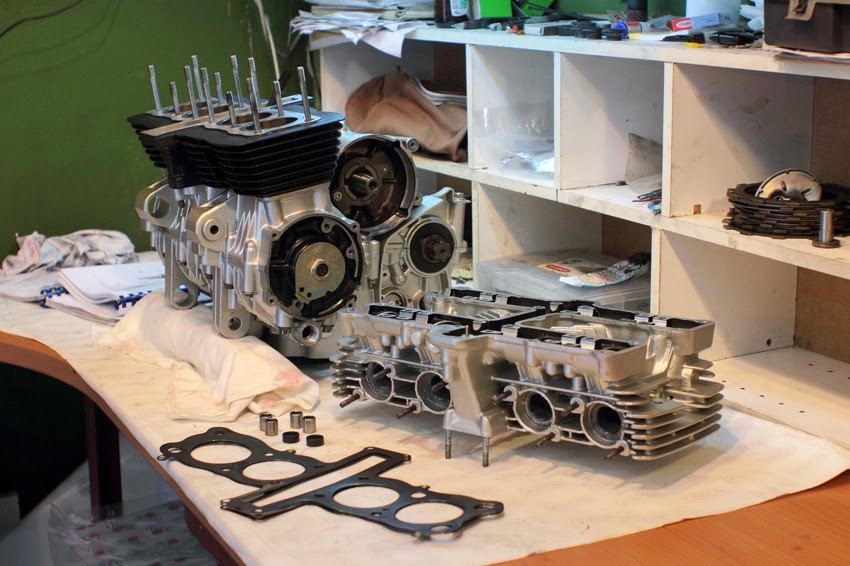 Soon engine was ready for camshaft installation and valve clearance.
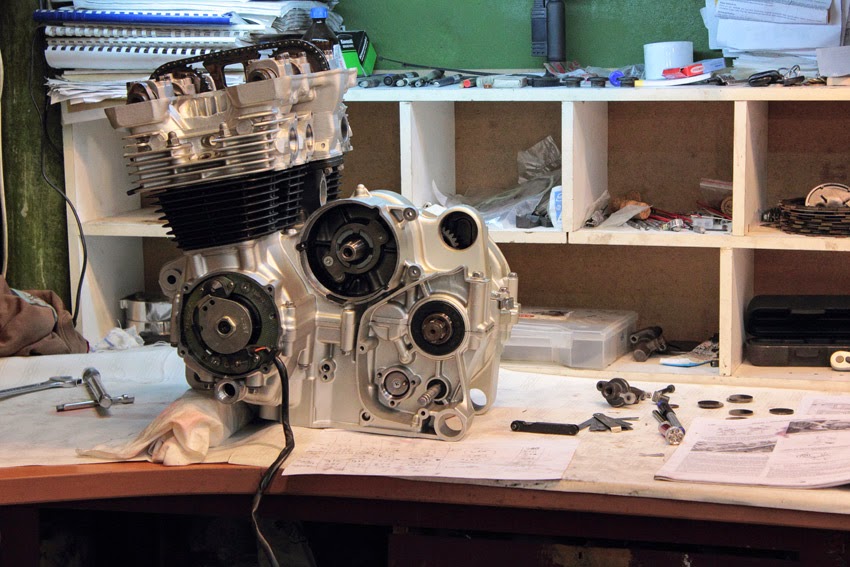 There was a question with valve shims. I was forced to replace at least a half owing to valve seat cutting. But there were no shims even in the Yamaha local store. Or should I put it: “especially in the Yamaha local store ” because they never have parts you need. But I wouldn’t be myself, if I didn’t try to find an alternate way. In fact I found out that old BMW F650GS have the same to XJ400-550-600 shims. And there were a lot of them in Local BMW store and they were even cheaper then Yamaha shims on Wemoto.com.
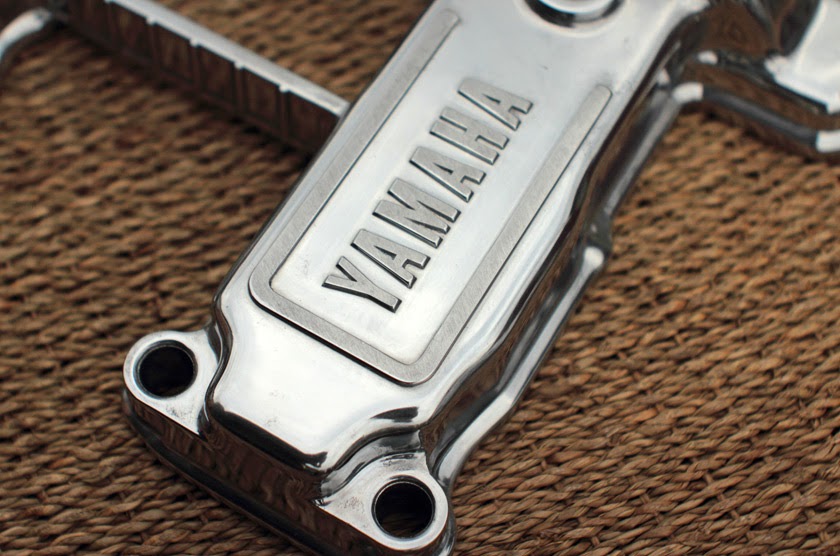
Another tone of work to be expressed “in couple words” was engine cover polishing.
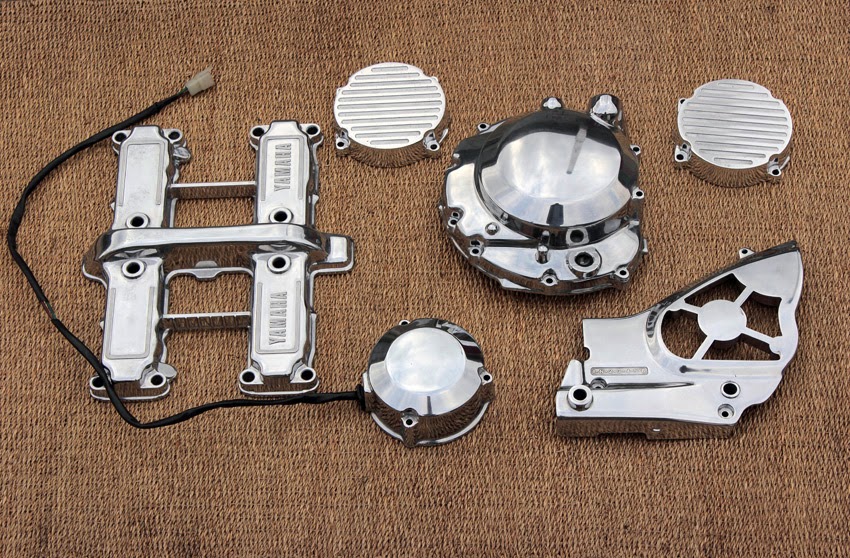
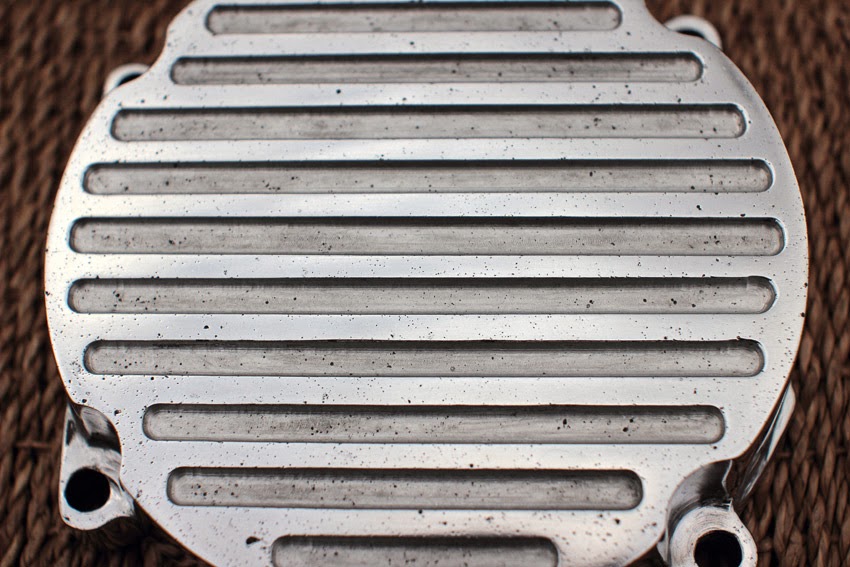 I think, this cover and opposite one are sand casted. They were chromed initially, but for now partly lost coating, so I had a reason to remove residual chrome completely. Grooves were there originally, but they were additionally milled, while chrome removed.
Yet one feature I added.
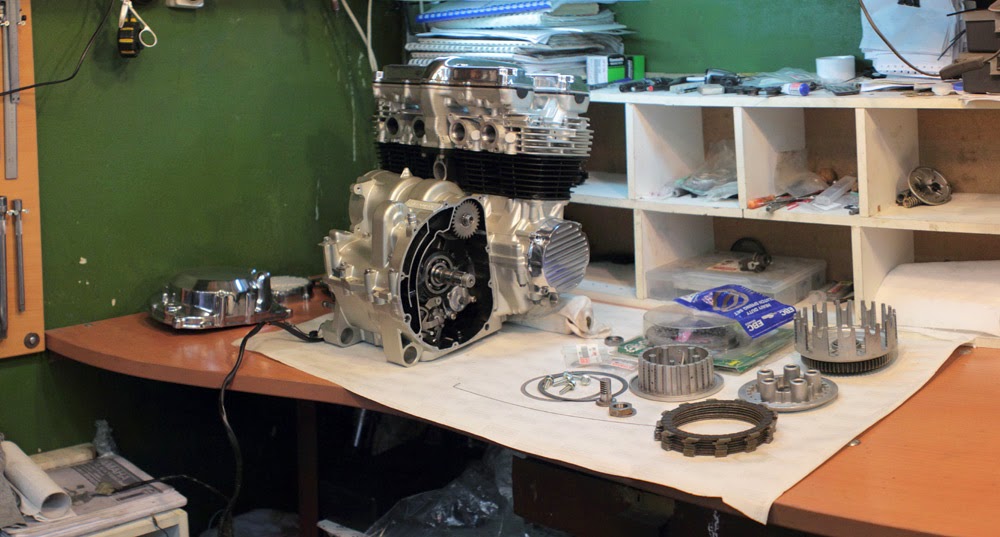 And engine was ready to installation.
 Actually I had to shoot this photo before. So I did some assembling works with such units like a wire box or rear shocks and so on. After I made that photo, I installed engine in frame. Or, to be precise, I put the frame on the engine, that was much easier.
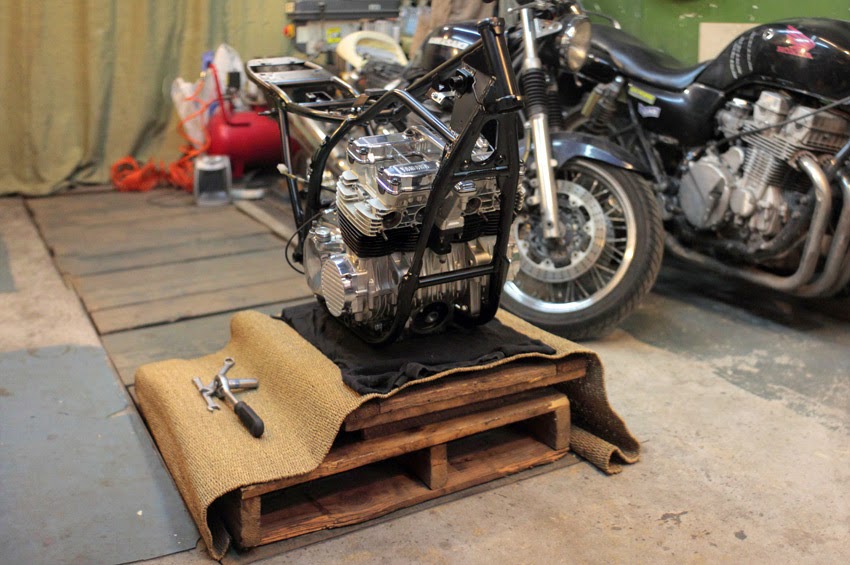 Chassis was built part by part. New bolts, nuts and washers were used everywhere, except wheel, swingarm, engine axles, and other specific hardware. Last chassis bearings were changed.
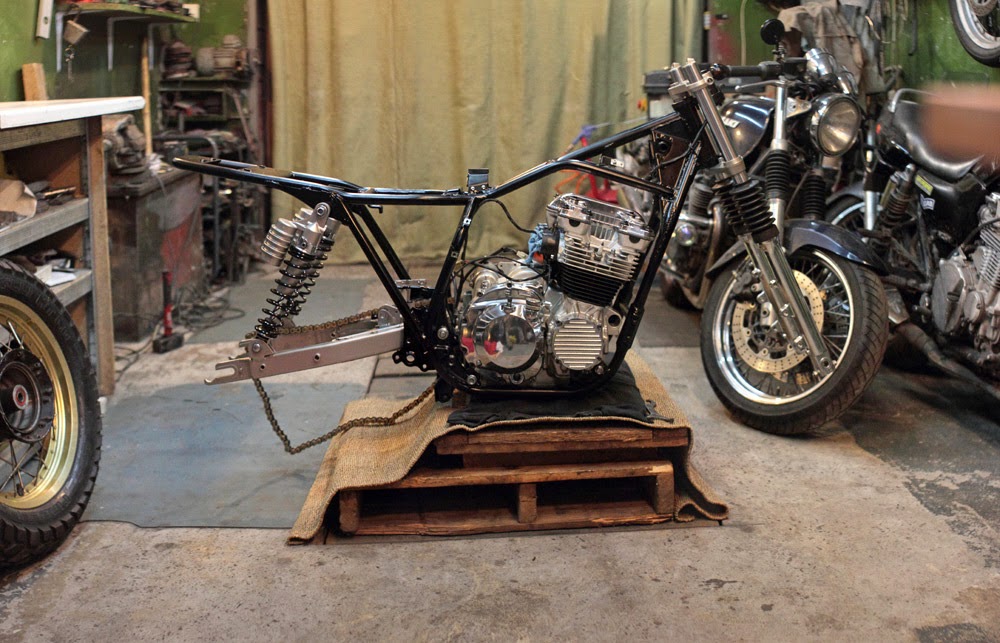
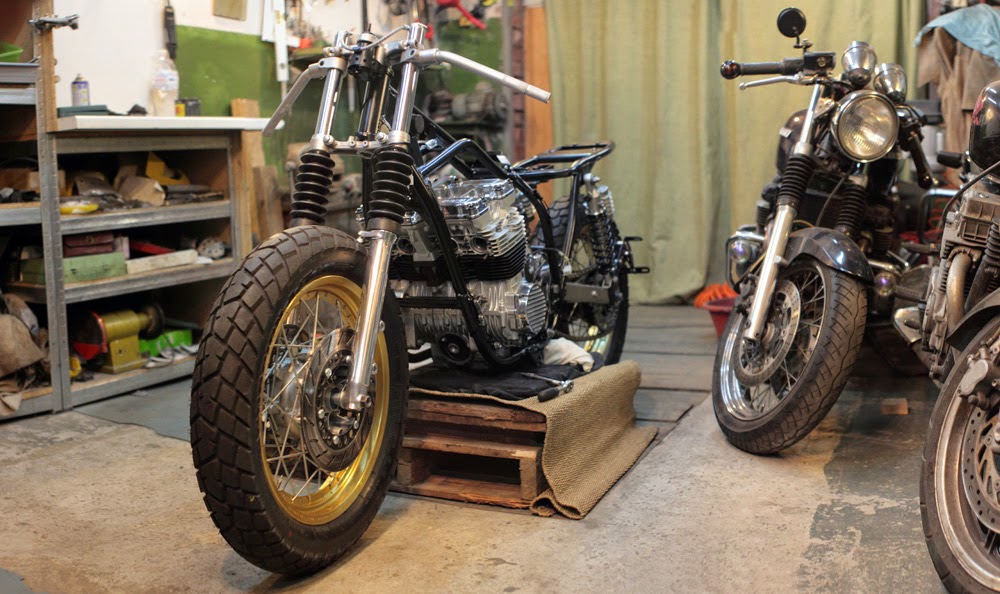 Cable routing and wiring demanded a lot of my attention and efforts, but I’ll tell you about features of “Eight Ball” electrical system next time.
All cables and wire jacks were placed on right places sooner or later. I installed braded brake hoses and made a couple of clamps to attach them to fork.
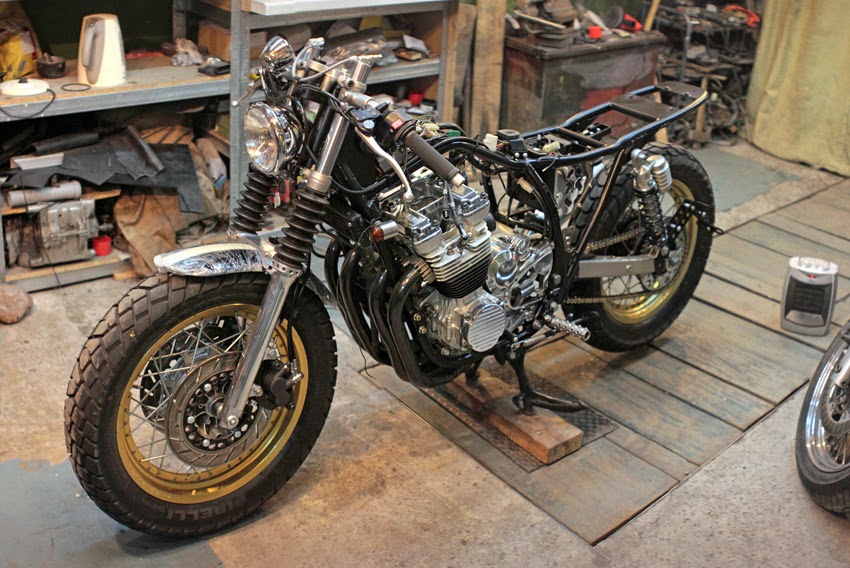 During above mentioned works the last feature was added to paintwork. That was a motto of this cafe-racer: “Eight Ball. As above, so below.” You can see it here>>
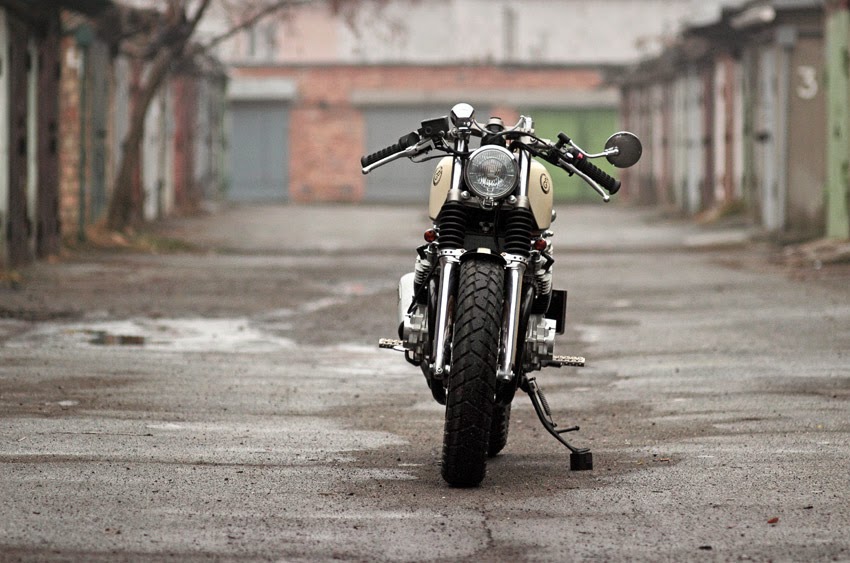
I made a few final works, such as fuel petcock rebuilding or grips replacing… and suddenly bike was ready. I realized it even not after I started engine at first time, but when I caught myself with shooting camera one misty morning.
The Author expresses his gratitude to close circle of friends, who helped, listened, watched, adored, criticized, advised, and even hurried him up.

