So, it’s time to write about wiring, electrical and so on features of my bike.
A couple words about wiring box first. I made it as a dual purpose thing. Box would do both: to protect pod filters from water and mud and to contain battery, CDI, starter relay, fuse box end their connectors. Relay rectifier was mounted on its front side also.
 Here is interior view of box.
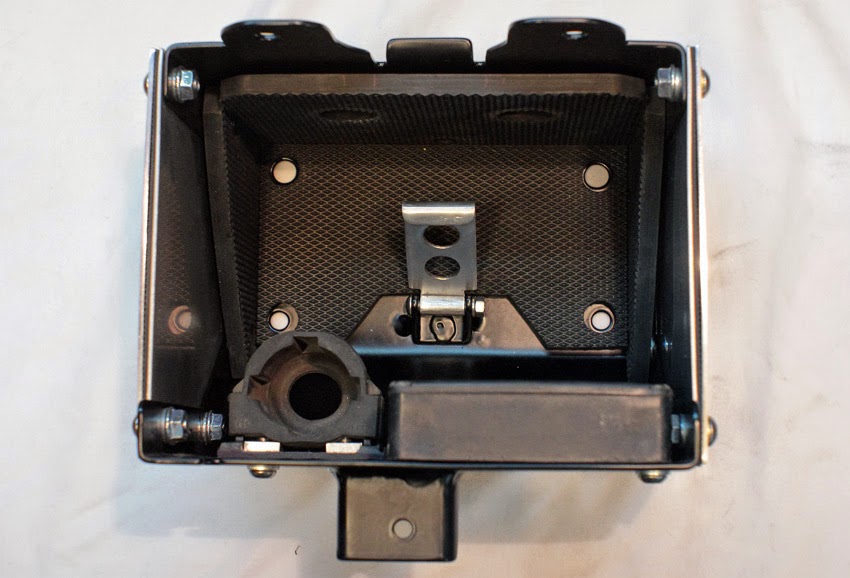 As you can see, I made a set of self – locking rubber plates for battery fixation and protection. Box is pretty tightly packed, but all things and wires have their places and could be serviced easily.
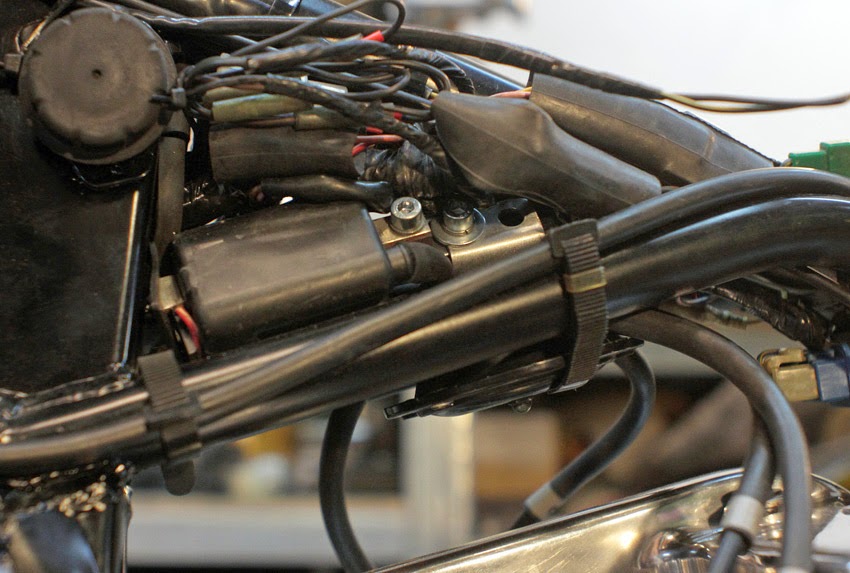
 The horn location is another feature. I located it under the frame, above engine, were it sounds loud and is invisible at the same time.
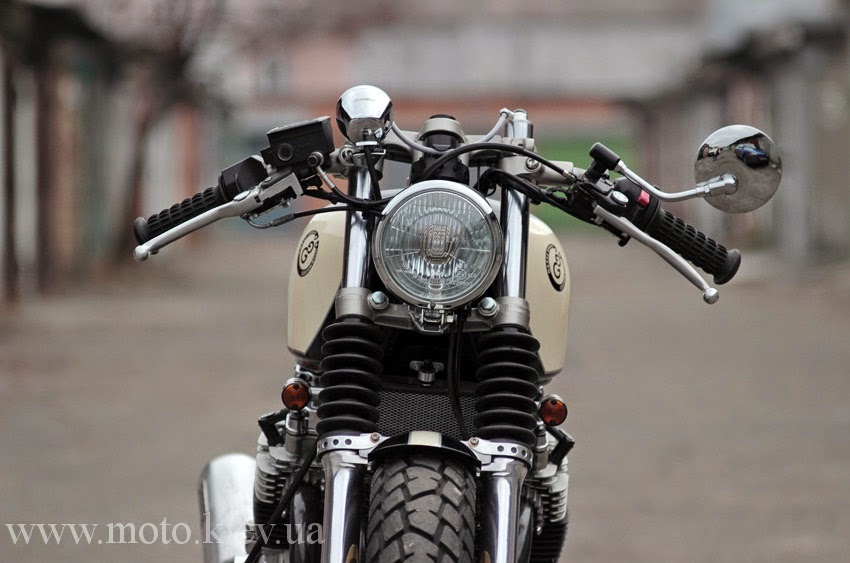
 Next point is wire and cable routing. The only place for all connectors is between frame and tank, so it was difficult enough to locate all of them there. And XJ600 wiring does not designed to be fit to XJ400 frame. So I rerouted wiring three times at least and cut it here and there, but found place for all connectors at the end.
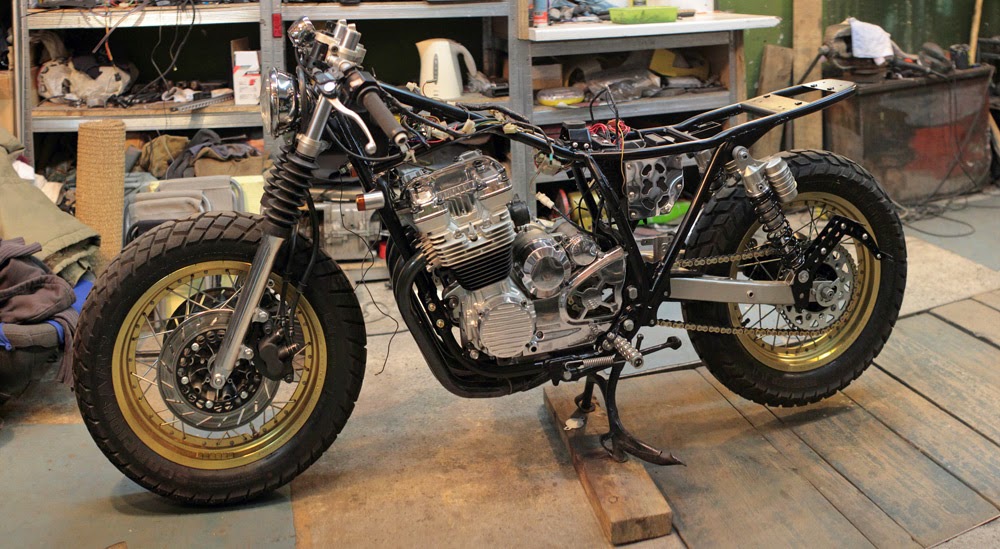
 But routing is not only useful, but It looks good too, in my opinion. I routed and grouped all wires, cables and hoses with all accuracy in this case and made their lines as clear as possible.
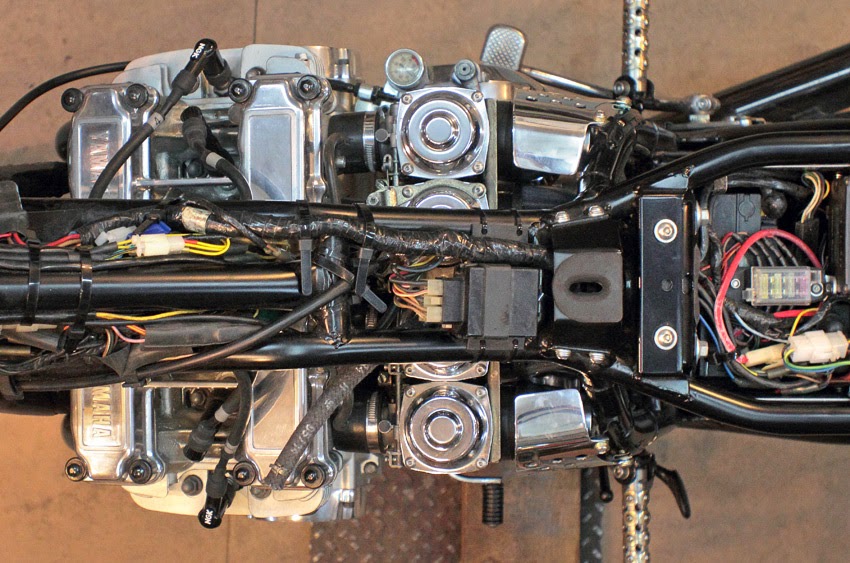
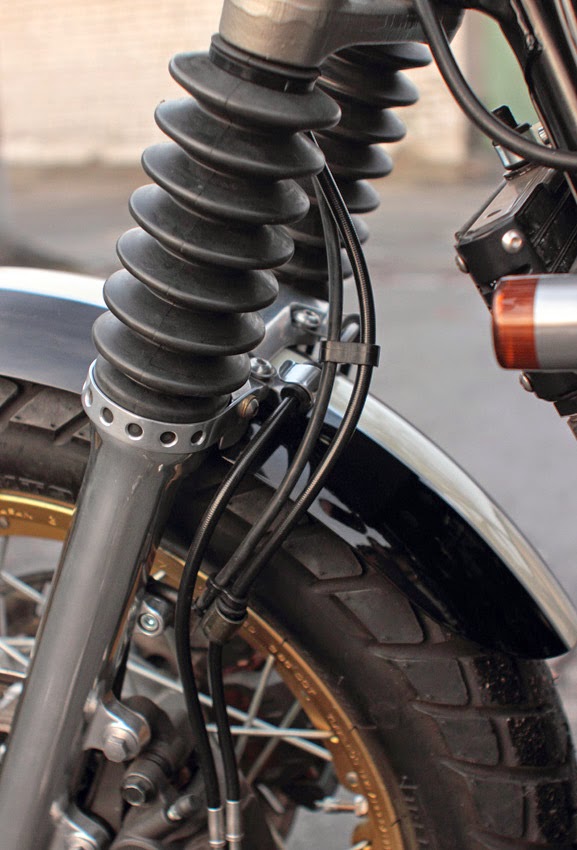
 The speed sensor wire looks a bit ugly, when it wrapped around brake line.
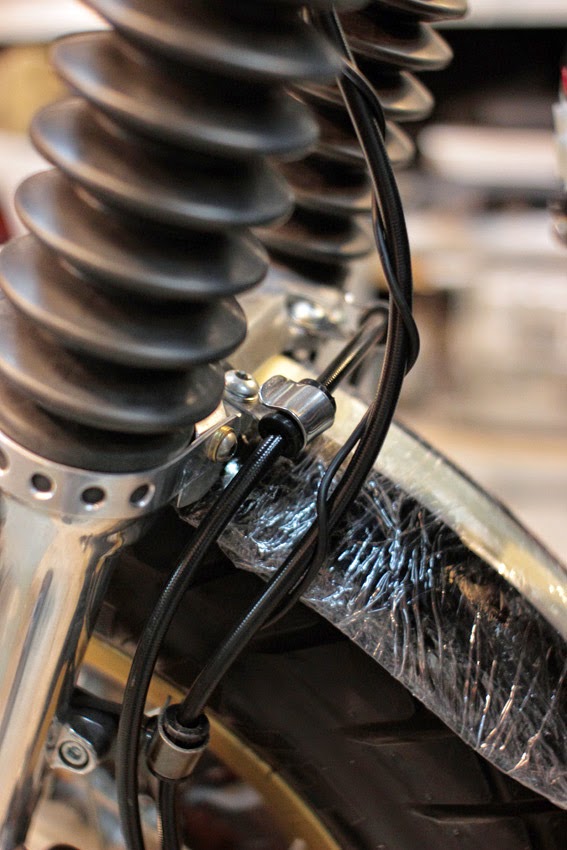 Dragging wire through thin rubber hose is my solution.
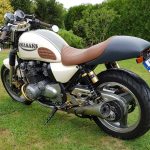
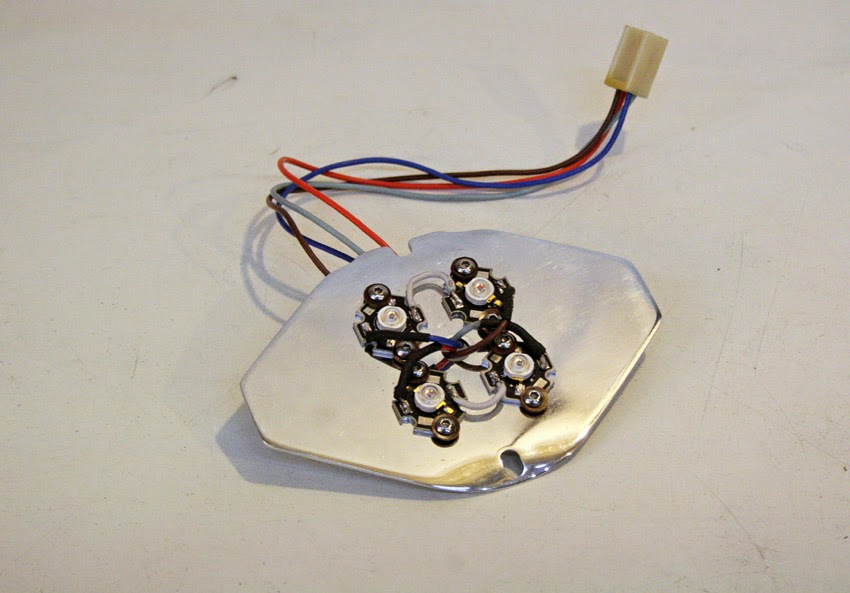
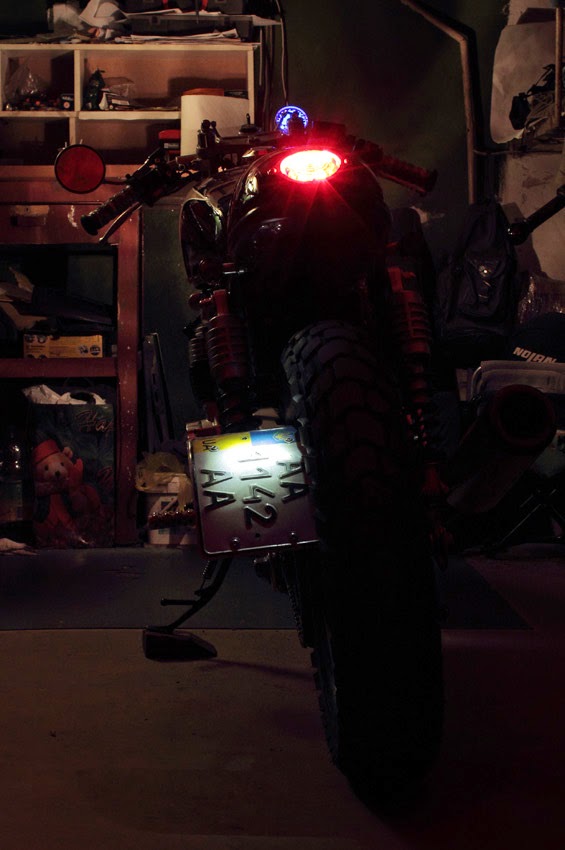
 The last, but not the least feature. Custom tale needs custom lighting. I made my version using old car amber glass, handmade frame an handmade lighting unit. Lighting unit consists of Hi Power LEDs (tail light – 2x1W and Stop light – 2x3W ) and handmade polished aluminum reflector (work as additional radiator for LEDs also).
 Completed version from another side:
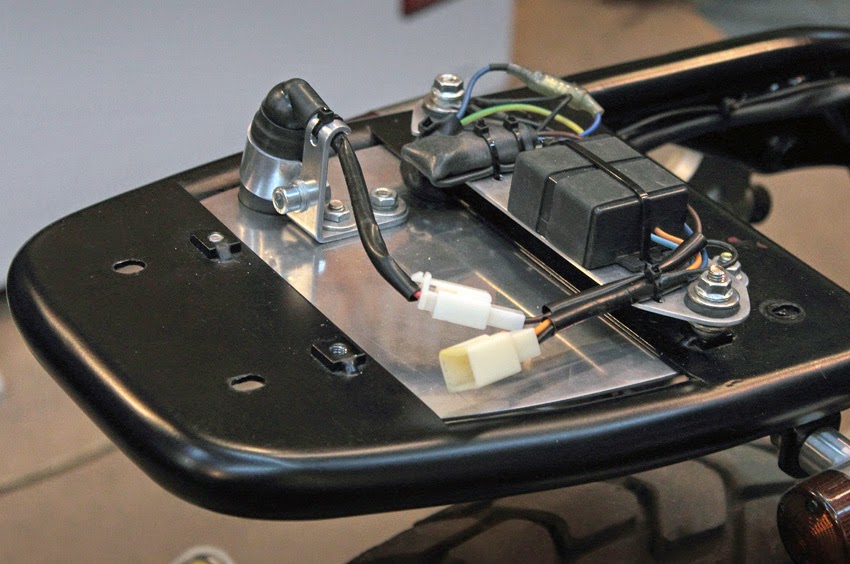
 Hi Power LEDs shines really bright but need drivers, which regulate amperage for LEDs properly work. And these drivers need to be placed somewhere and be a bit protected from water and vibrations. I made special aluminum platform, mounted to frame via rubber bands for this purpose.
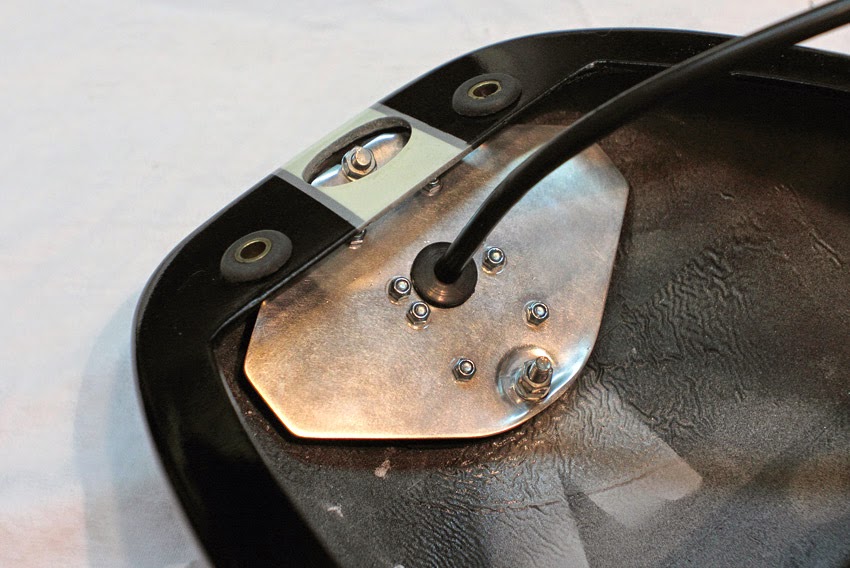
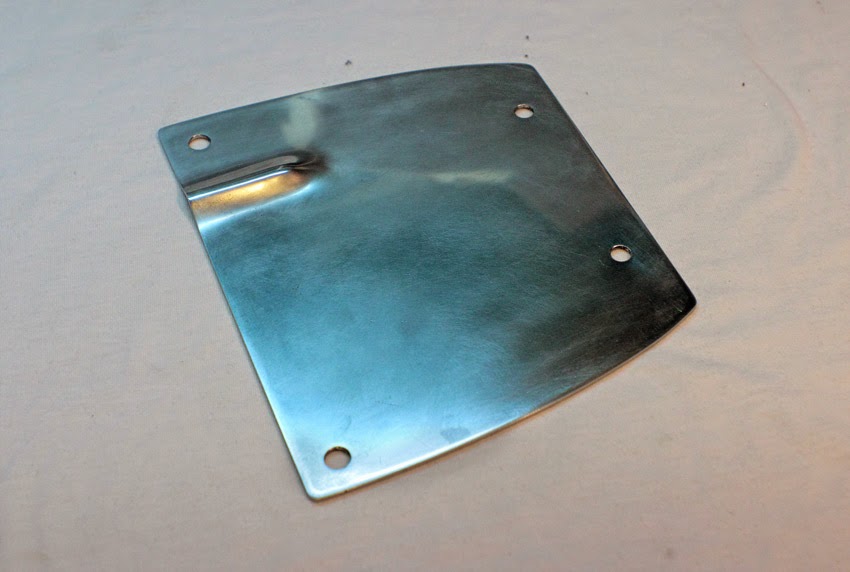
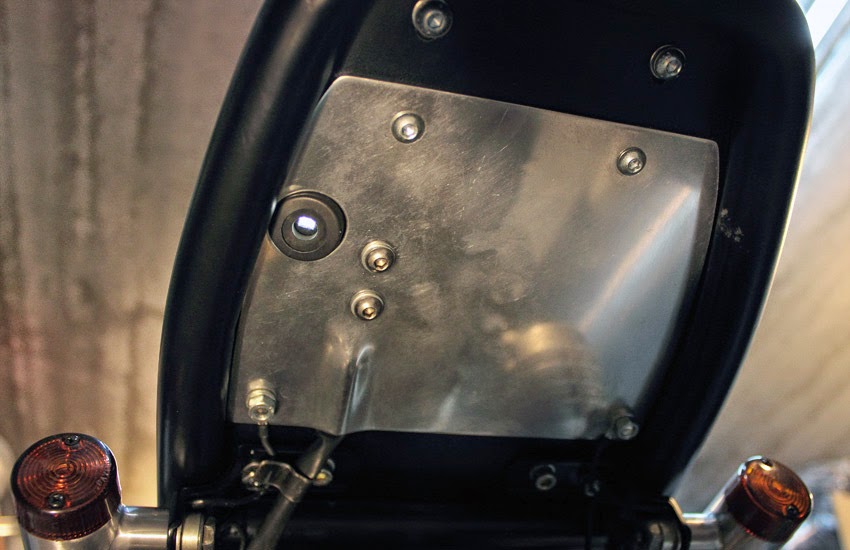
Also I made aluminum cover for tail bottom side.
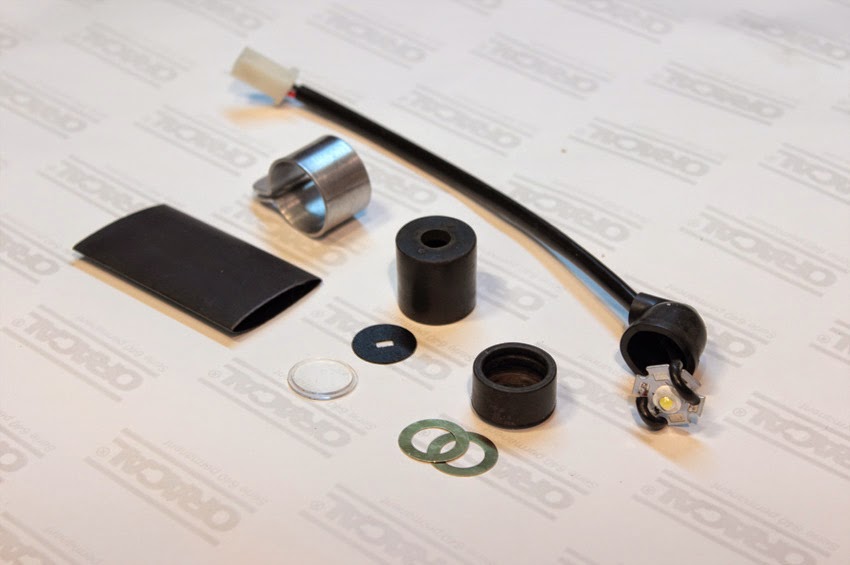
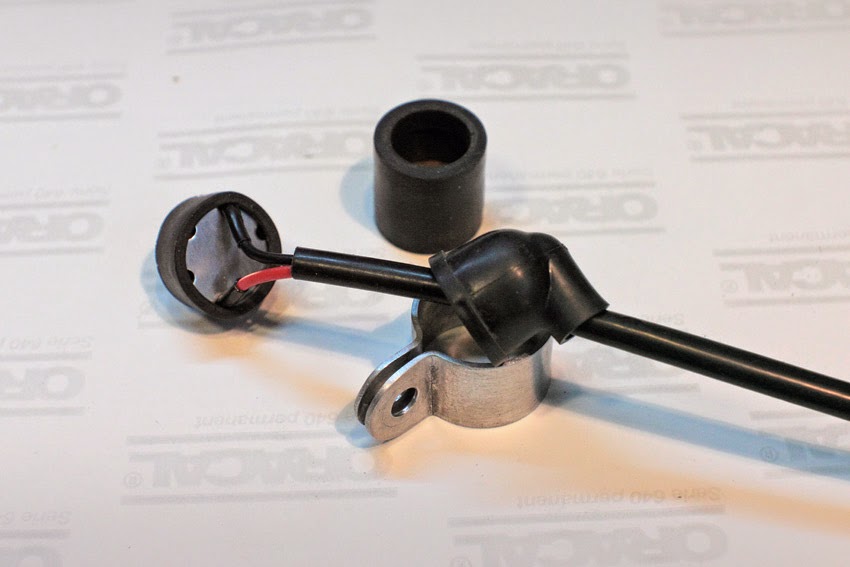
 The only thing left to be described. This is a custom license plate light. After long thoughts and experiments I made it using part as follows: 1W LED, a pair of spark plus rubbers, a couple washers, a piece of heat-shrink tubing, a glass, one turn signal wire rubber and plastic washer with rectangle hole in it.
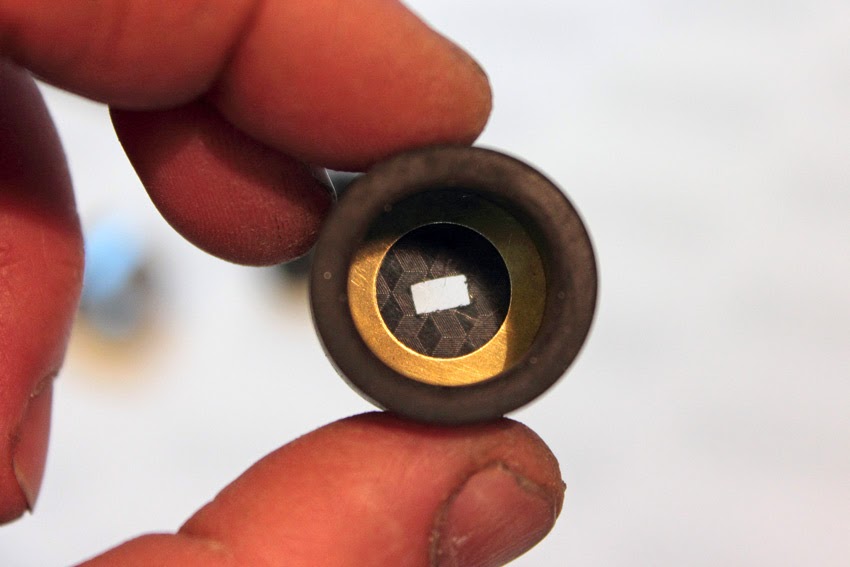
 Glass and washer are clamped in longer rubber.
 Whereas LED – in shorter one.
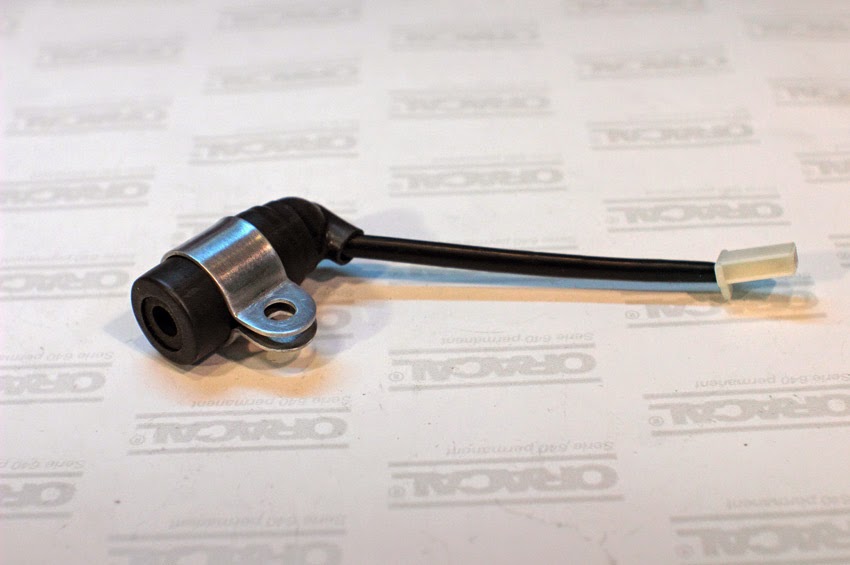
 After that we can join all pieces in one using heat-shrink tube.
 A couple of mountings, and undertail space is ready:
 Bottom view:
 And one at work:
 That’s all. I hope, it’ll be useful for you.