With the cylinder head in place my next tasks were camshafts installation and timing adjustment. I bought a Kawasaki Zephyr 750 camshafts for the KZ650 project. They are mostly identical to KZ750 camshafts and have similar lobe heights but Zephyr 750 exhaust camshaft has only blank in place where KZ750 has tachometer gear. Therefore, Zephyr 750 camshafts are still compatible with KZ650 cylinder head and camshaft sprockets.
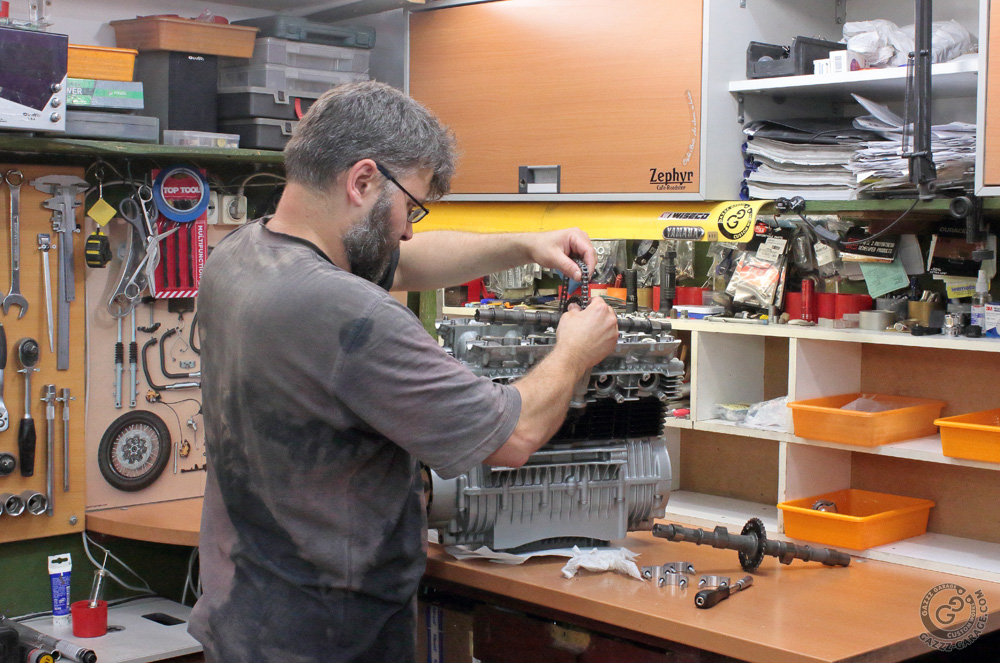
Photo by Oksana Sakharova

Photo by Oksana Sakharova
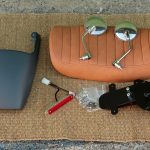
All-new components of new upper idler assembly:

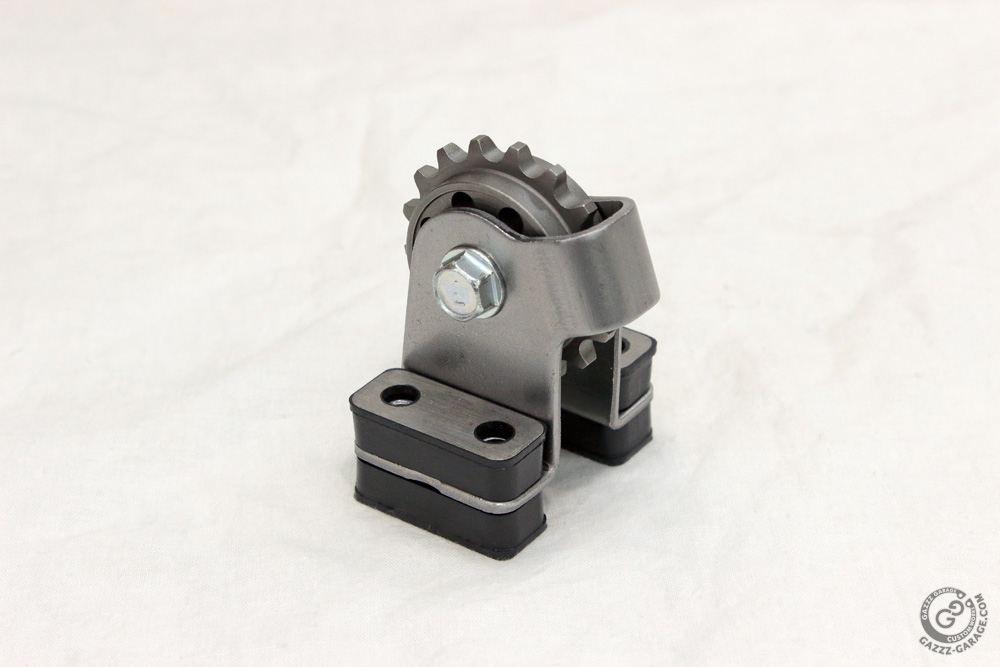 PMC manual tensioner.
 As for the valve shims, I started with the thinnest on the first camshafts installation and then, after measuring gaps I replaced them with shims of correct values.
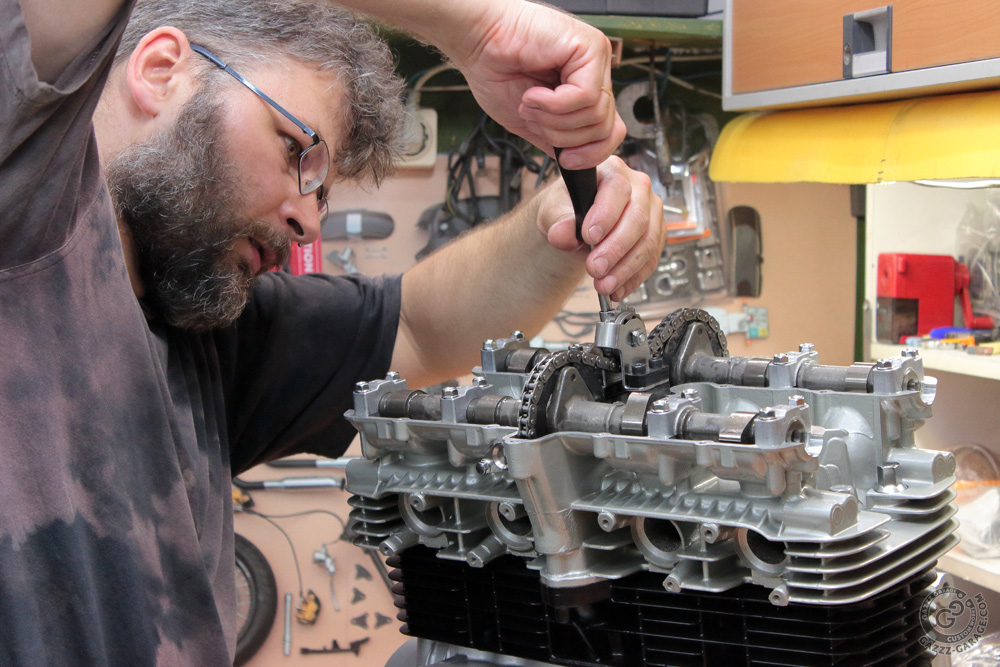
Photo by Oksana Sakharova
 As for the timing adjustment, well, it’d be better to put it in a separate article (and pictures for it are already ready).
 Therefore, let’s jump to the transmission cover. And again, all components except the cover itself and neutral switch were new.
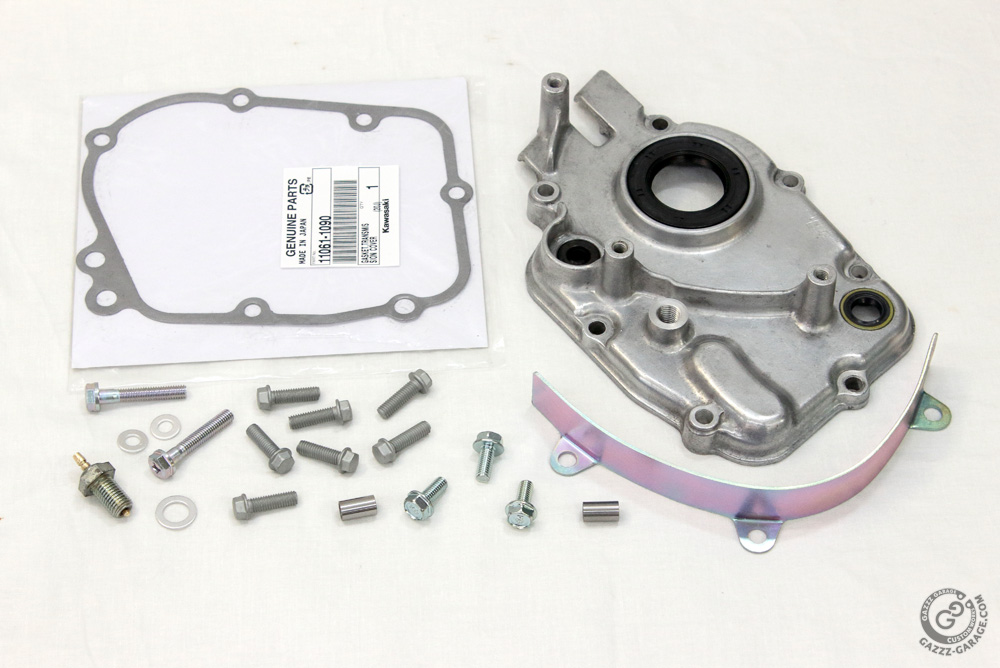
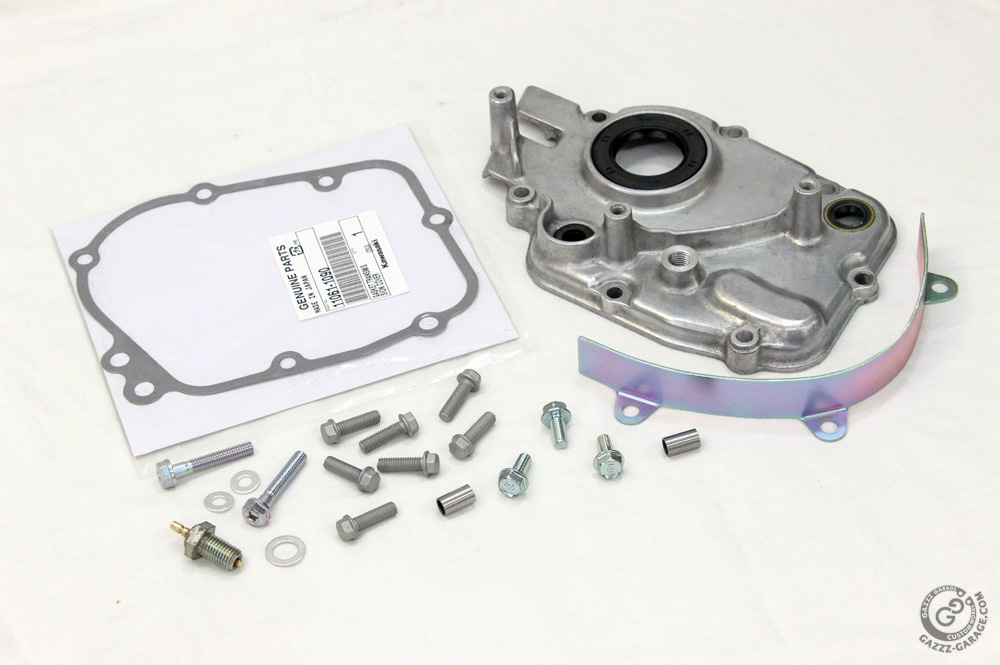 I didn’t use the shift shaft oil seal guide for cover installation. Instead I checked the shaft for smoothness and put the cover slowly with seal and shaft oiled.
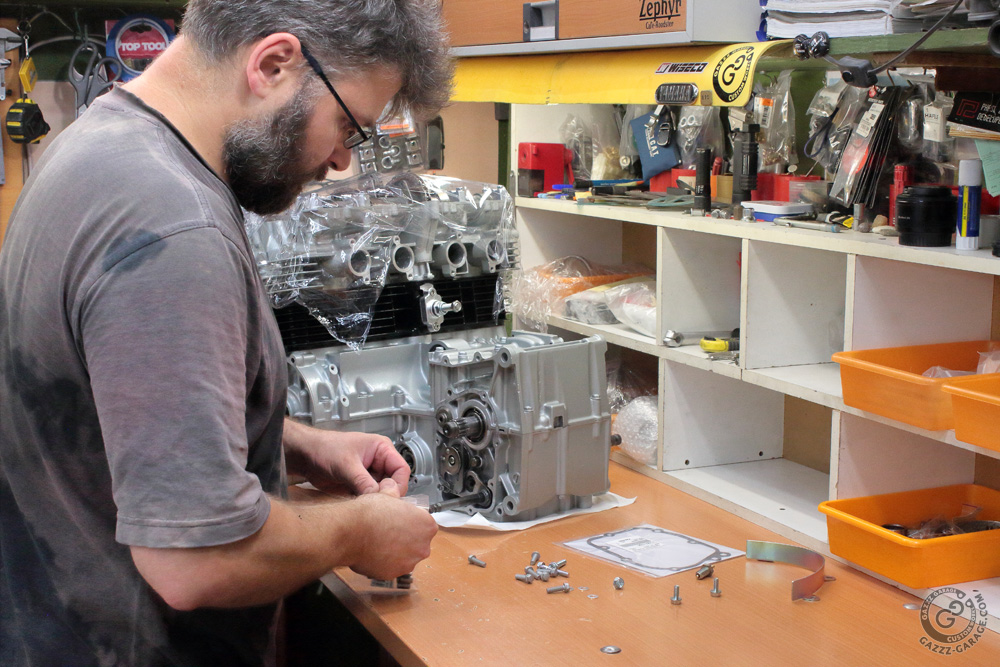
Photo by Oksana Sakharova
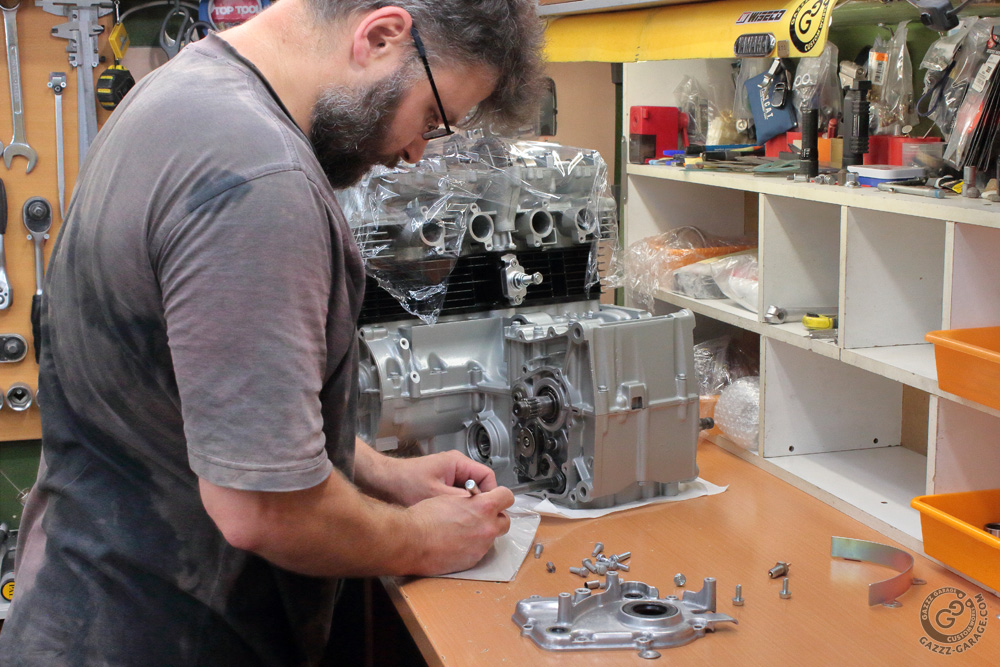
Photo by Oksana Sakharova
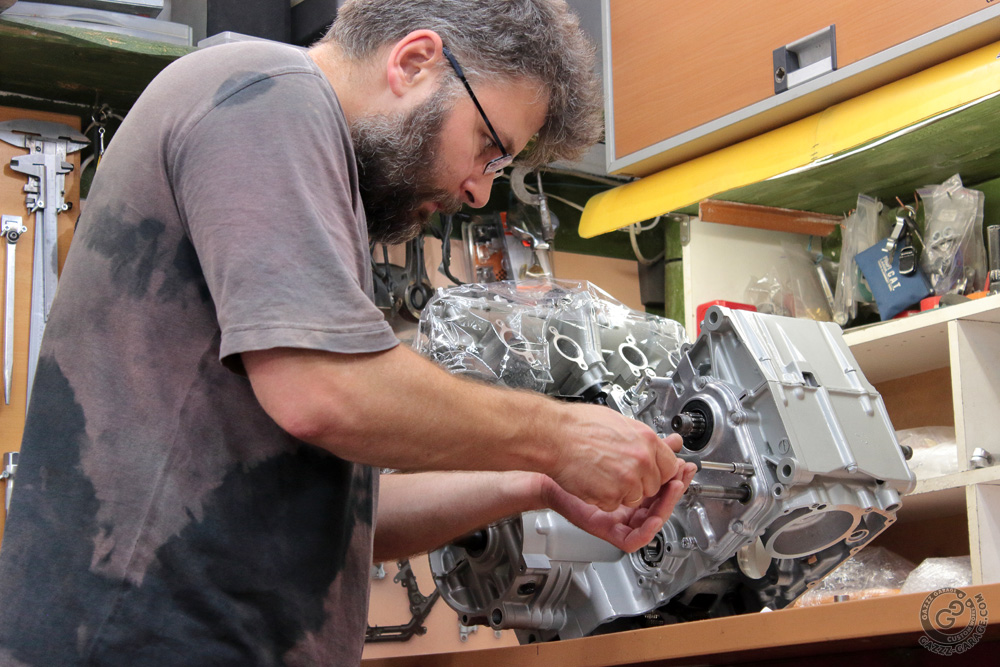
Photo by Oksana Sakharova
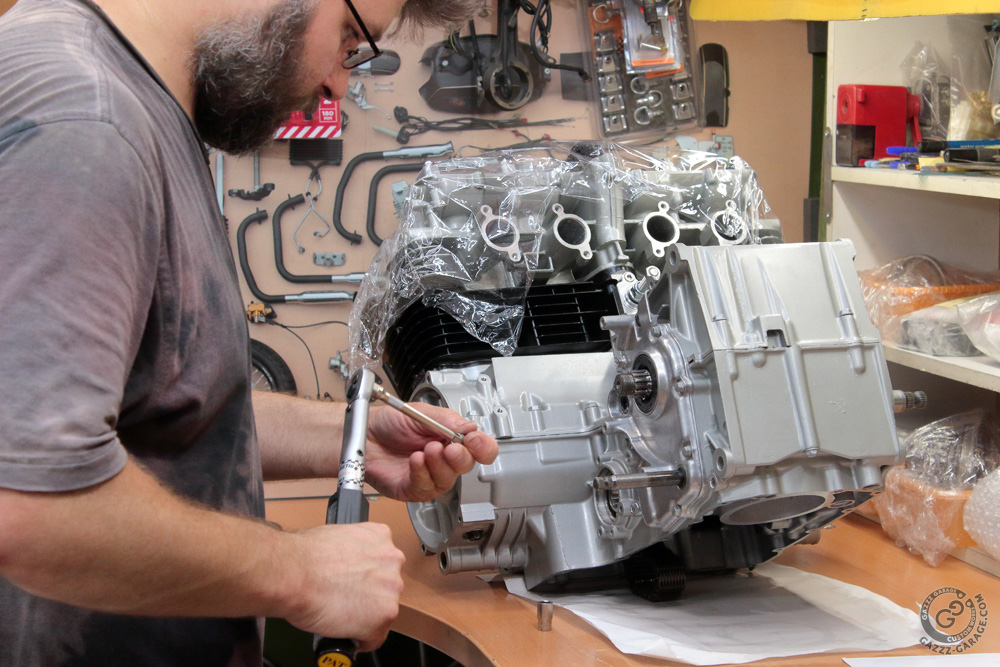
Photo by Oksana Sakharova
 Soon all cover bolts were torqued and I put the last piece (chain guide) in place.
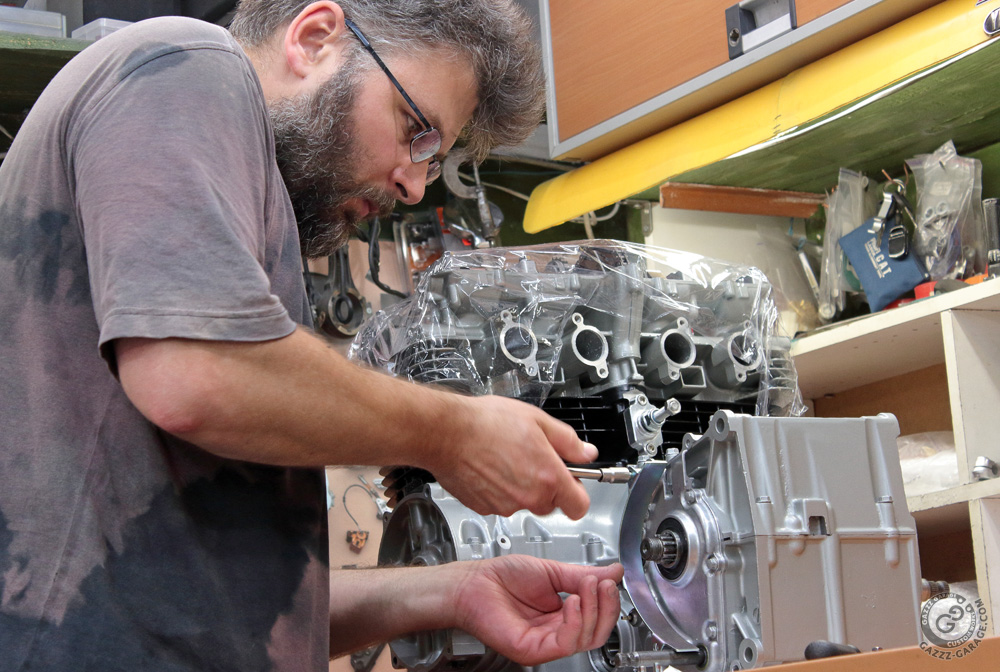
Photo by Oksana Sakharova
Transmission cover looked nice.
 Then I installed an oil pressure switch.
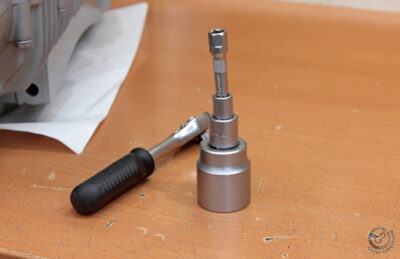
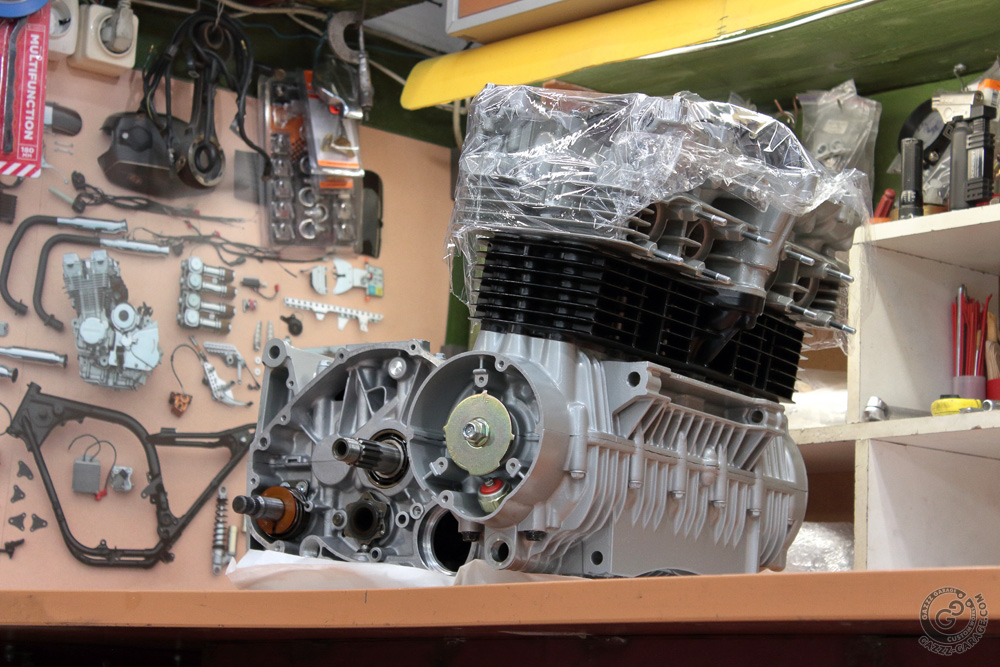
Photo by Oksana Sakharova
And since I polished the main oil gallery plugs, I had to wrap them with paper tape before I tightened them. In such a way the plug wasn’t scratched by the wrench socket.

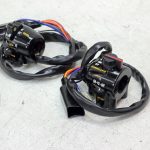
 The ignition rotor in photos came from Kawasaki Zephyr 750. That’s my intention to use ignition, electrical components and modified wiring from Zephyr 750 in this project.
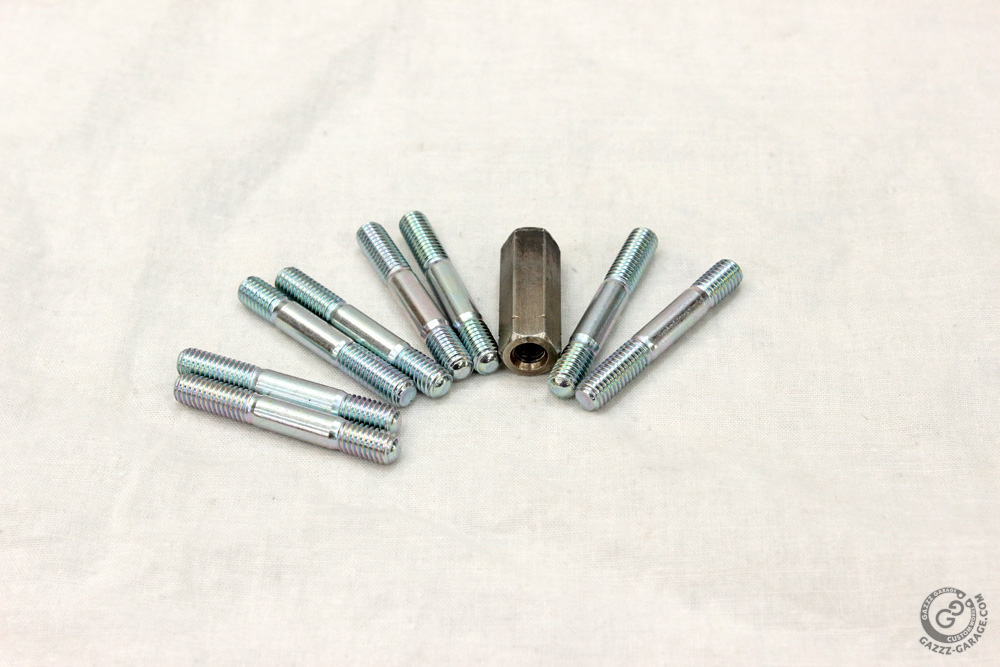
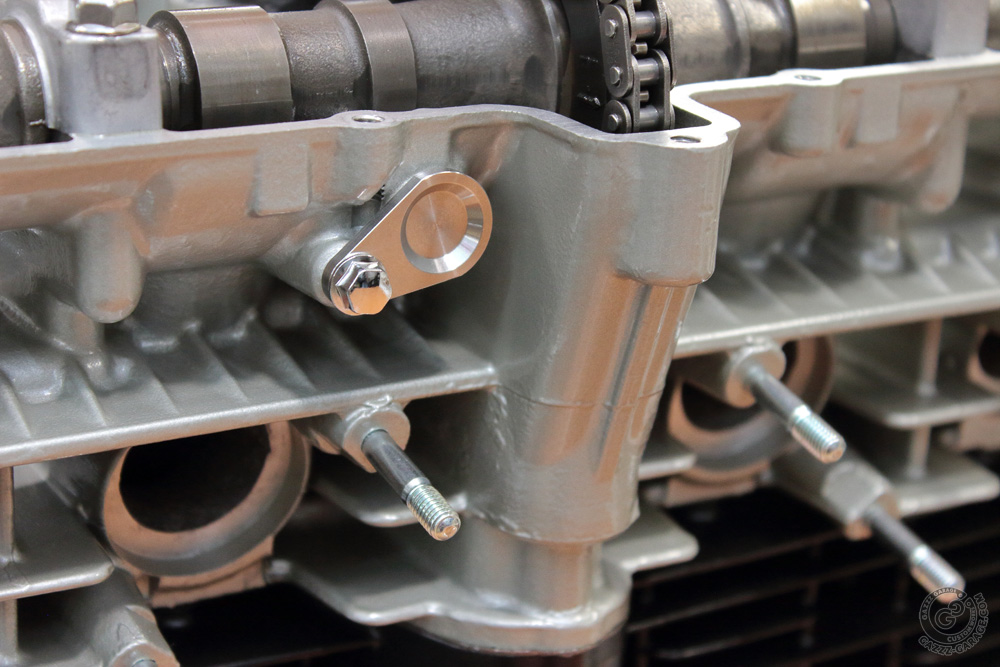
 Next piece is about exhaust studs installation. I had at hand an M6 stainless steel connecting nut with one end securely welded. I equipped it with a spacer of appropriate length and a bearing ball of suitable diameter. In this way I got a “special tool” for M6 studs installation. It made the process of installing exhaust studs an easy thing: no thread wrecked and marks on the end of studs are similar to those one may find on factory installed studs.
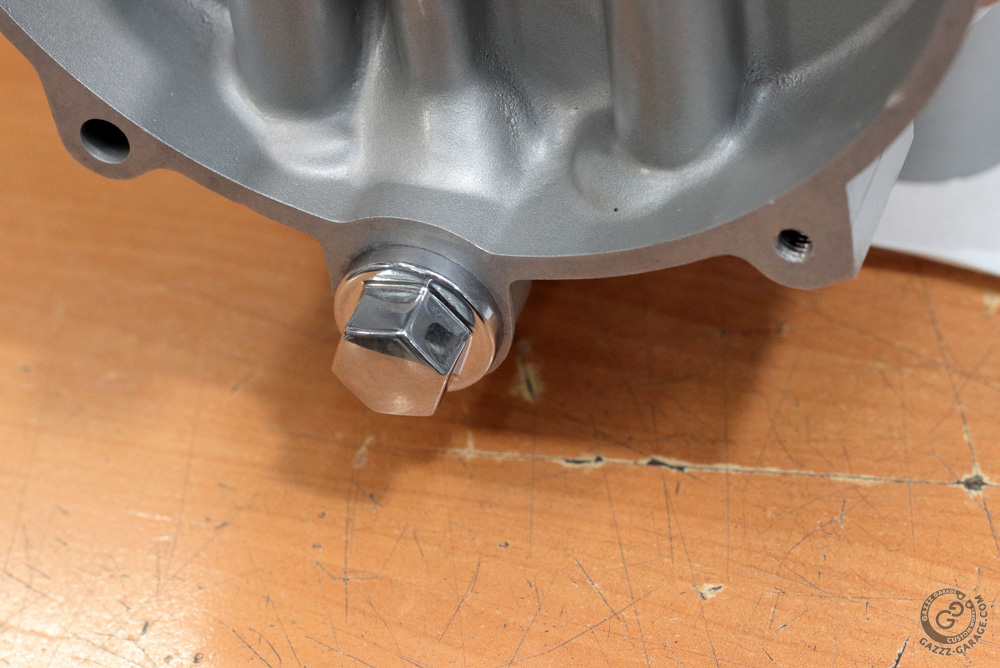
 Then it was time to fit the PMC tachometer port plug and fix it with an appropriate chrome plated bolt (with a small head).
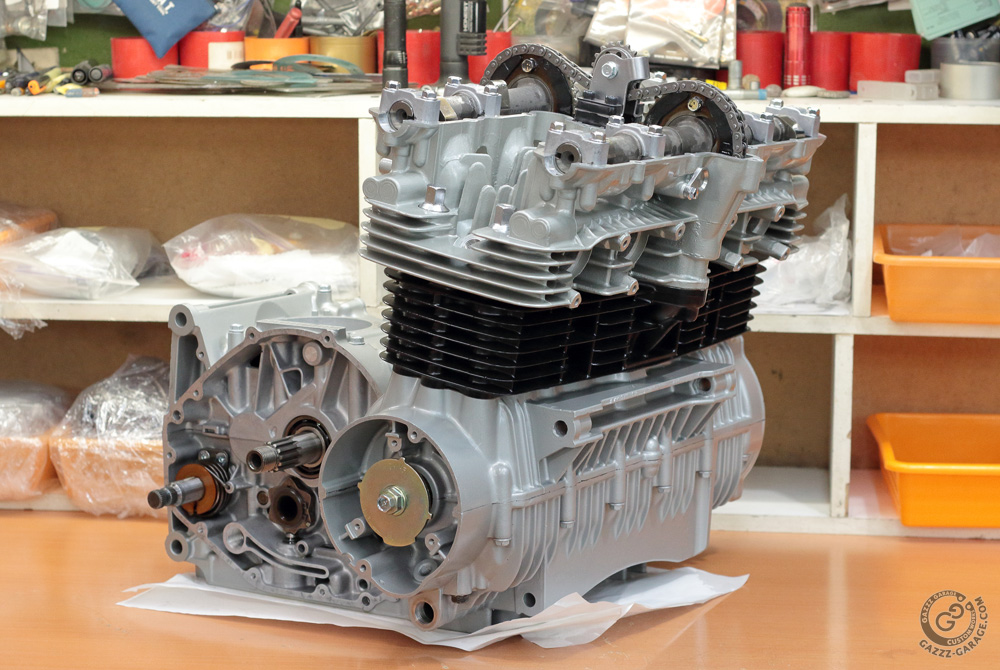
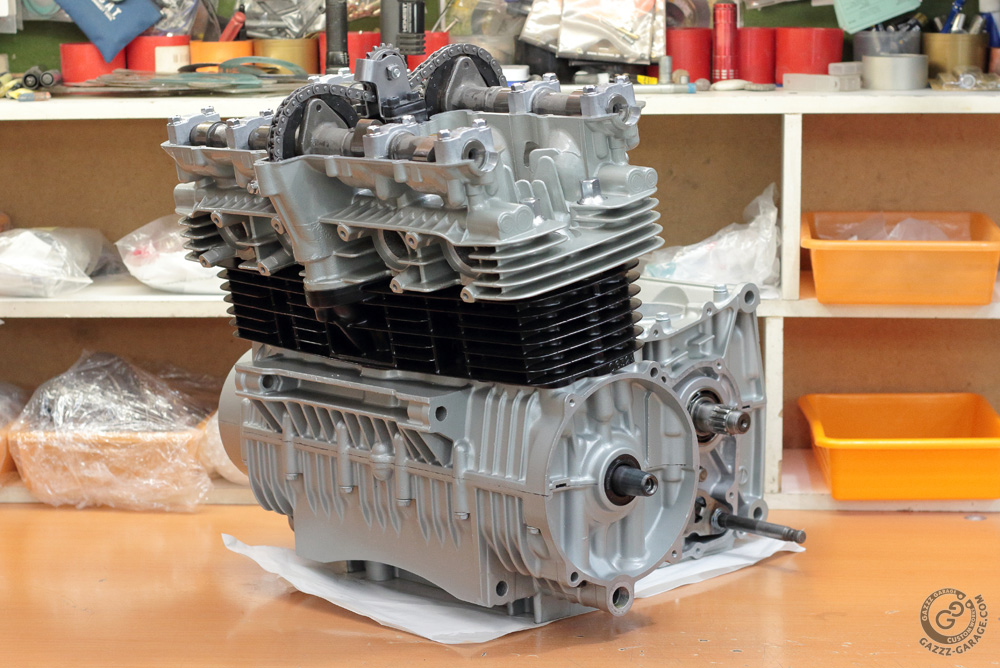
 To finish this part of story, here are a few photos of engine:
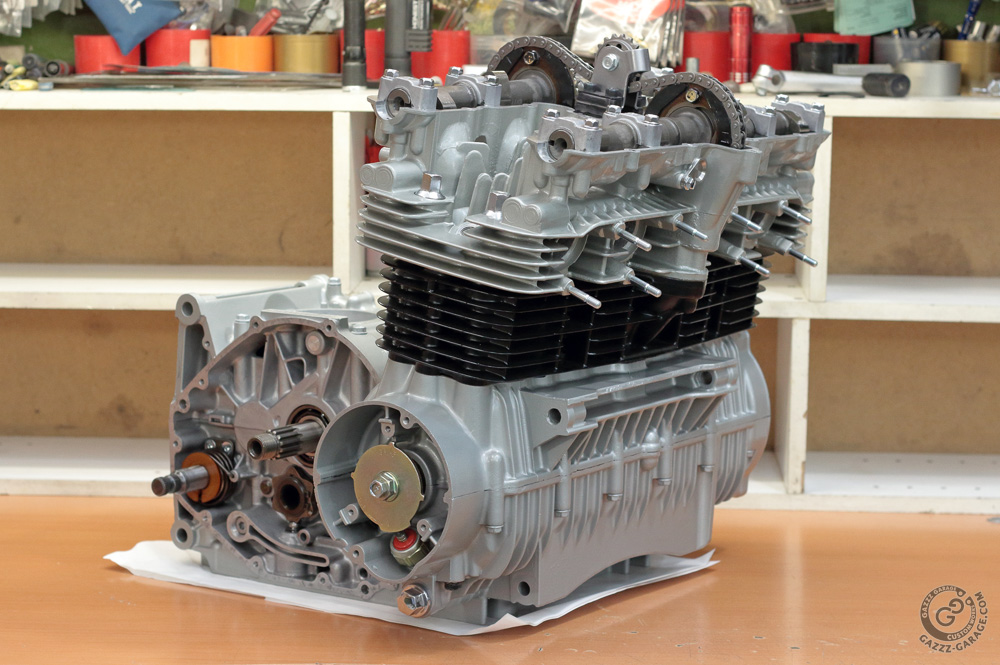
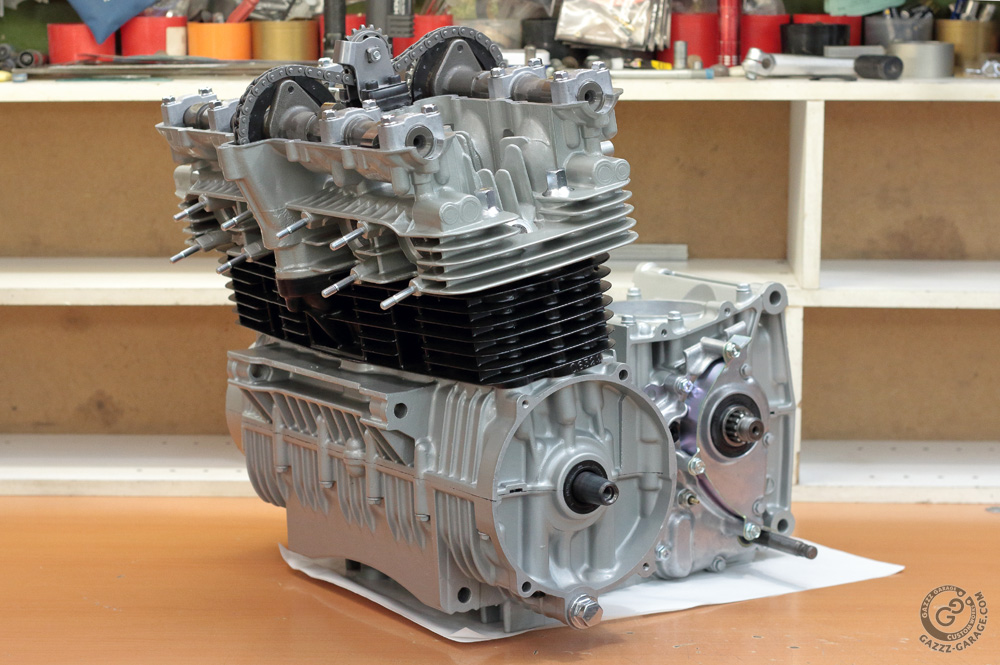
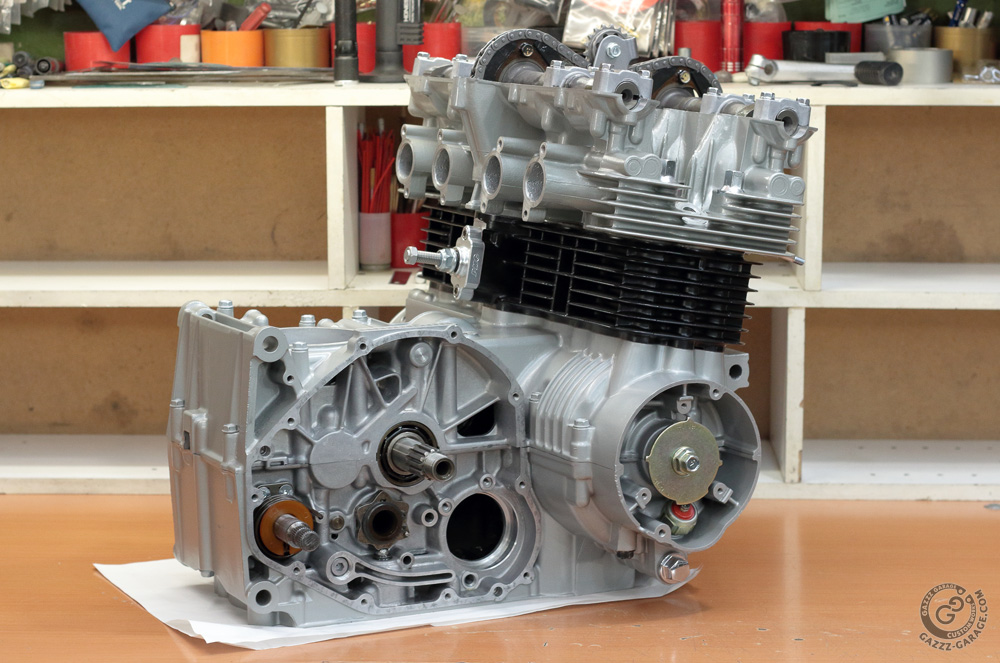
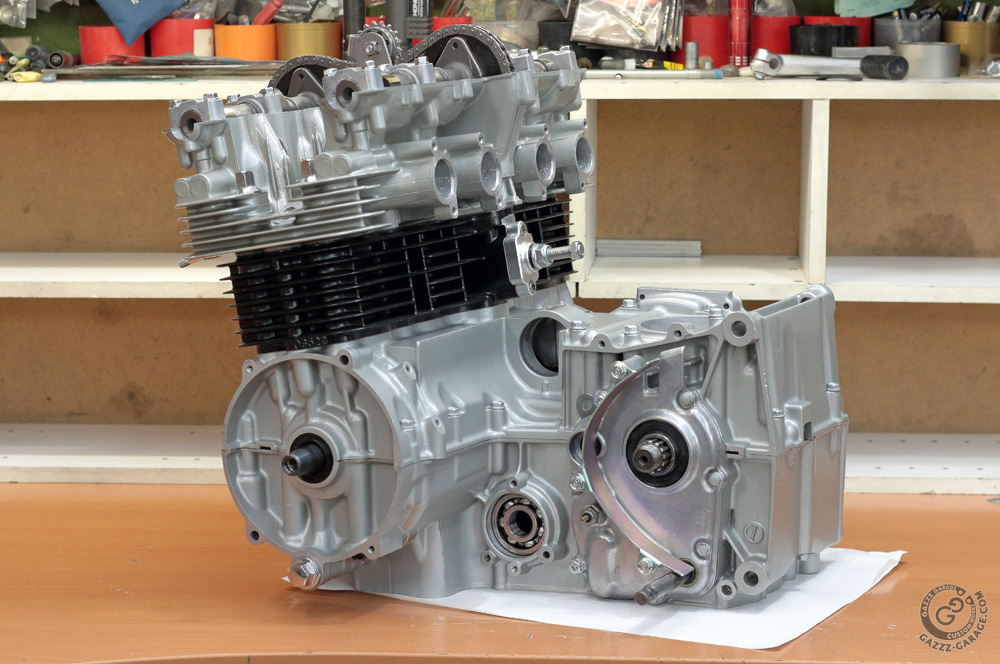
To be continued.