With piston bases and piston ring compressors it was a matter of minutes to get cylinders installed. I spent more time on photo shooting than on installation itself.
 I oiled bores because I could not exactly foresee how long the engine will sit on my table before it starts for the first time.
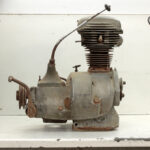
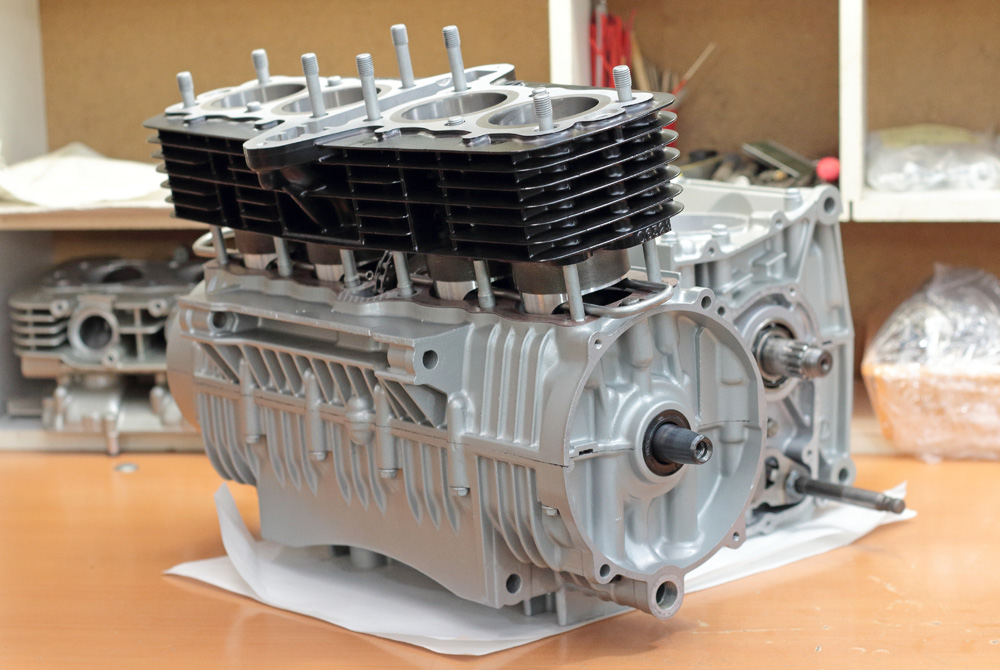
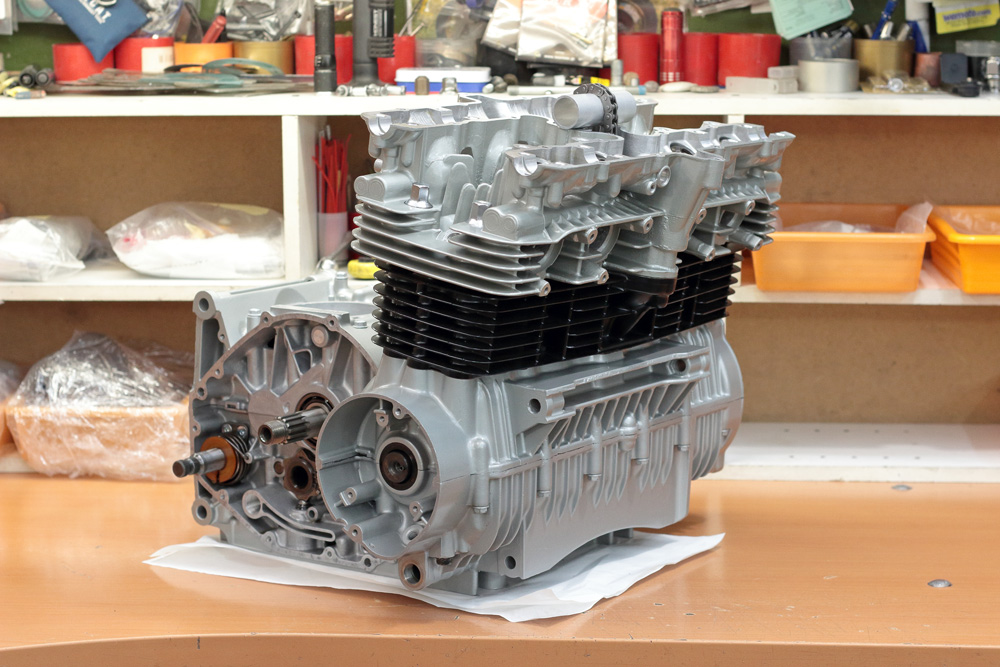
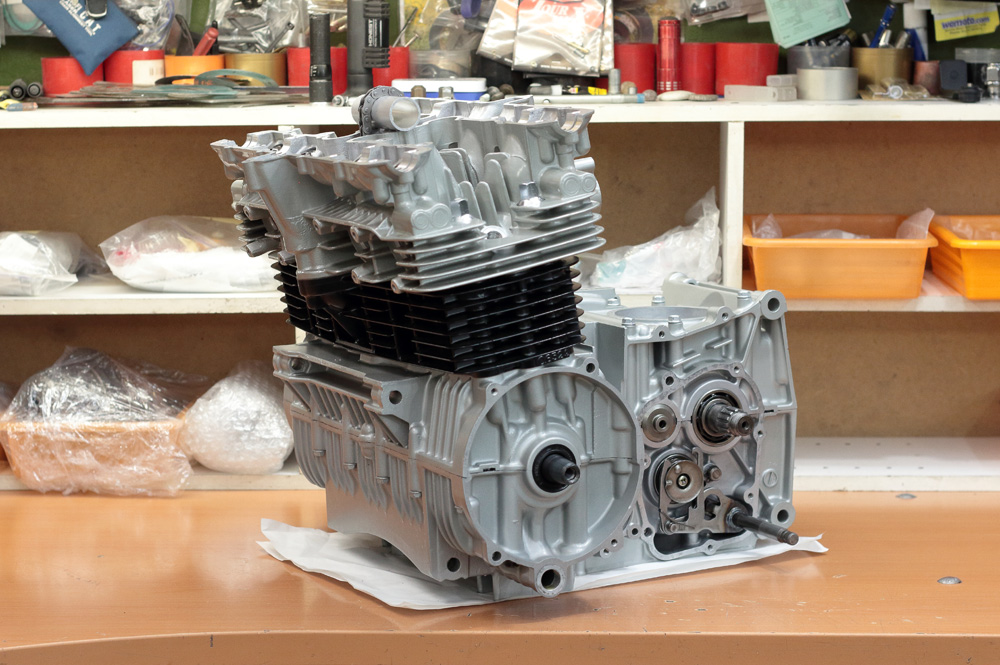
 Engine with cylinders installed looked inspiring.

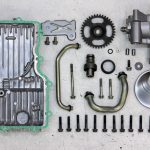
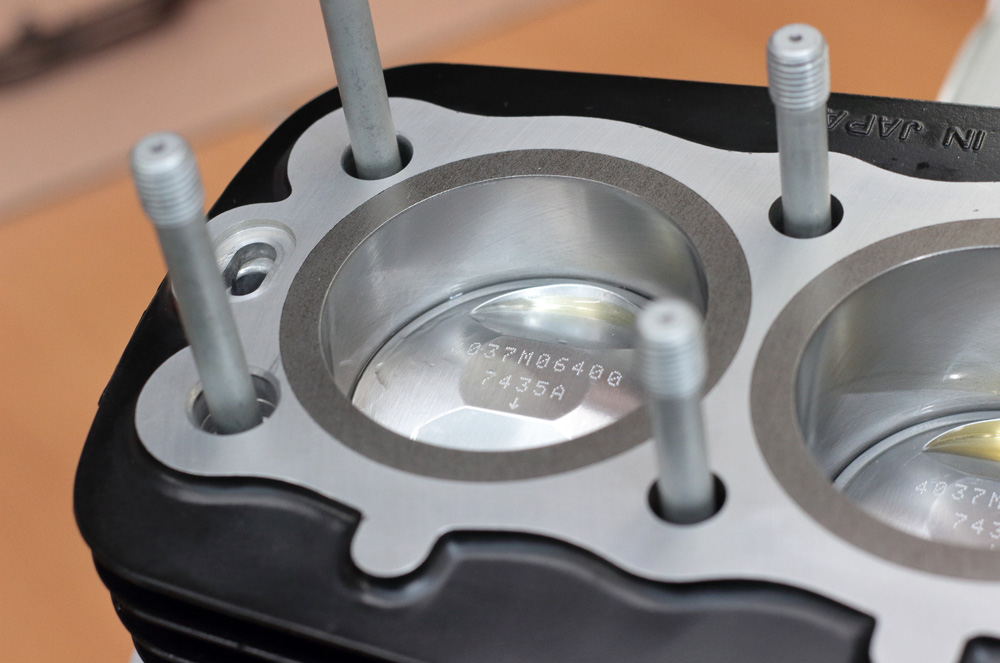
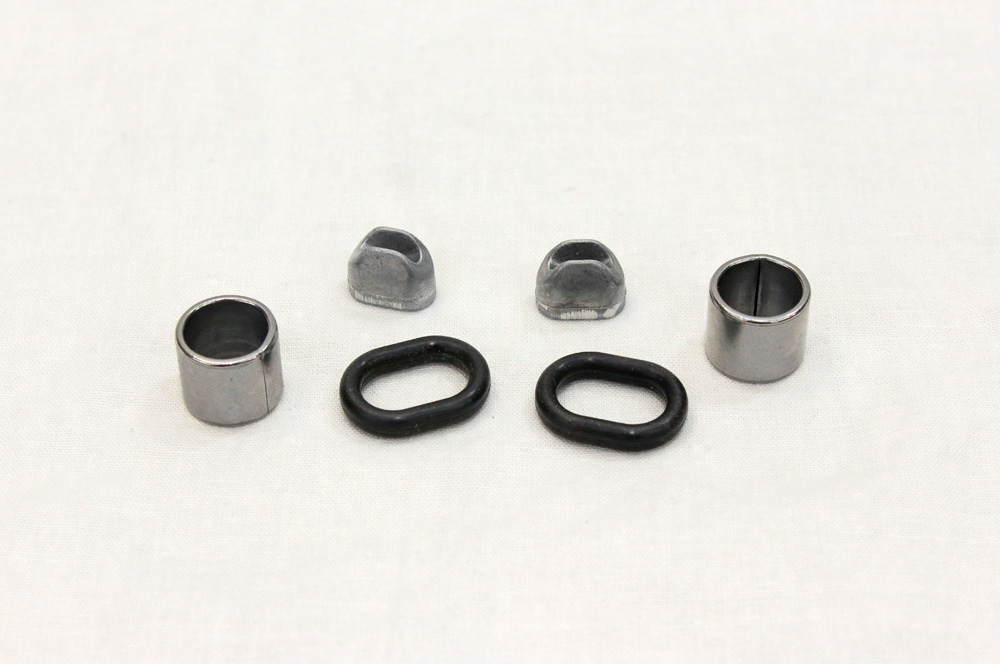
 I installed new genuine dowel pins, O-rings and the latest version of oil restrictors (early KZ650 wasn’t equipped with them, but I picked KZ650 cylinders that for sure were compatible with restrictors).
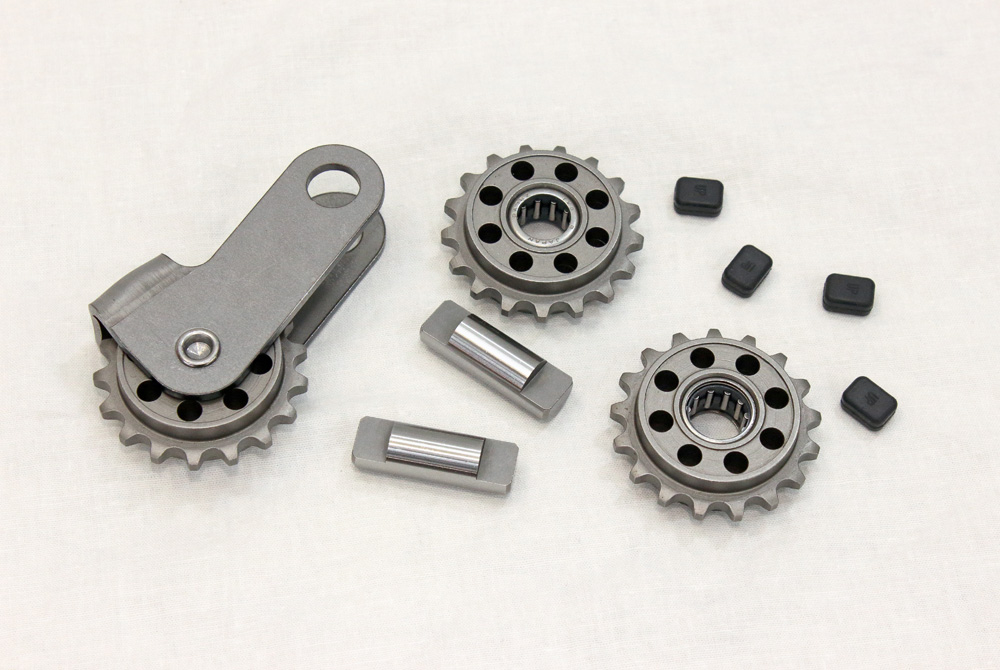
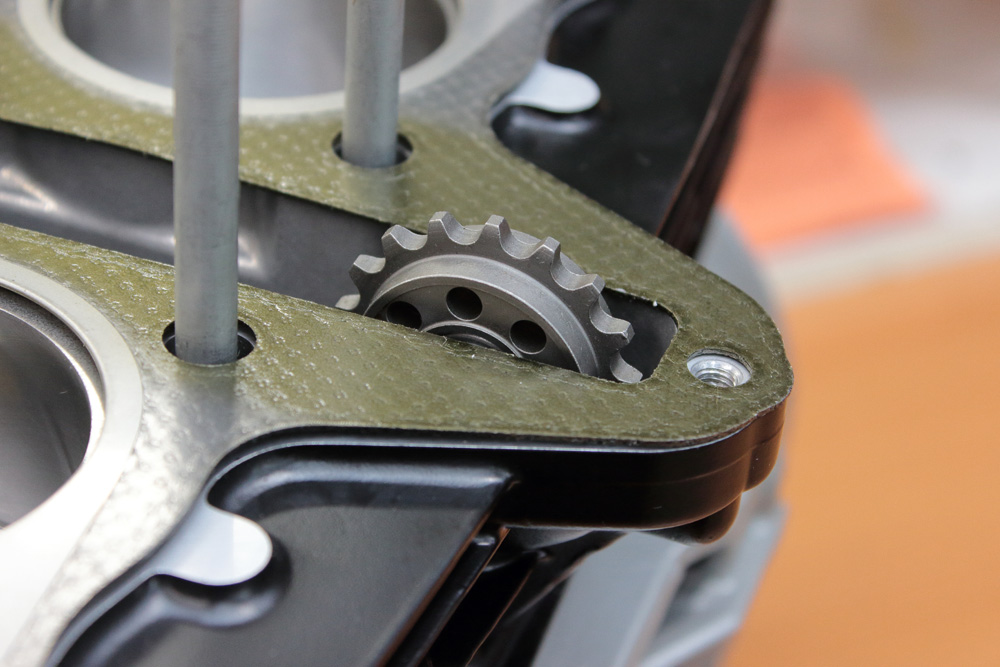
 Next went components for the timing chain’ tension system. I oiled them and assembled…

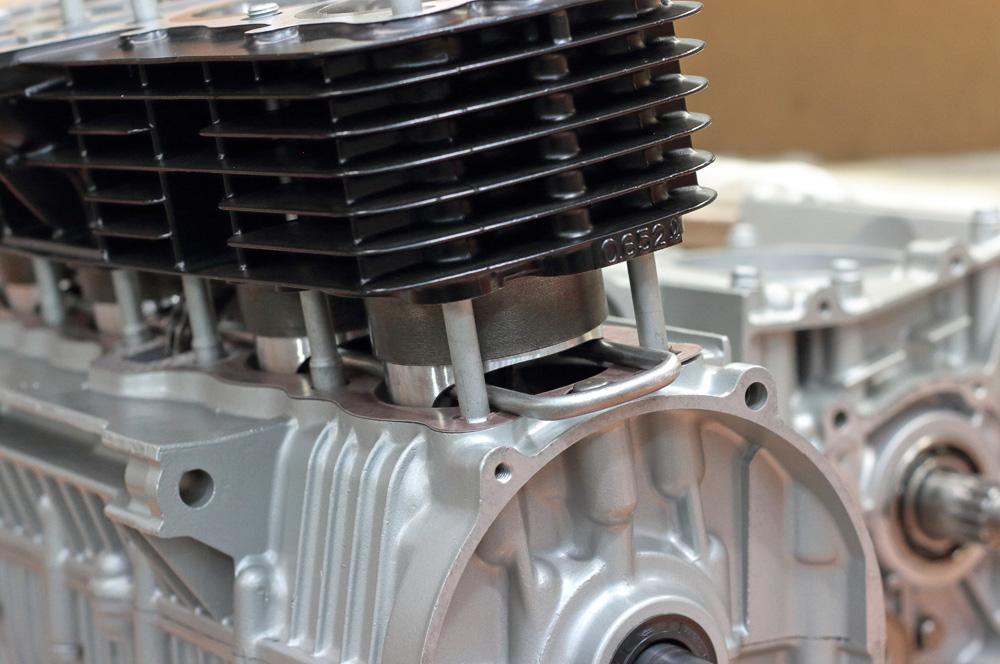
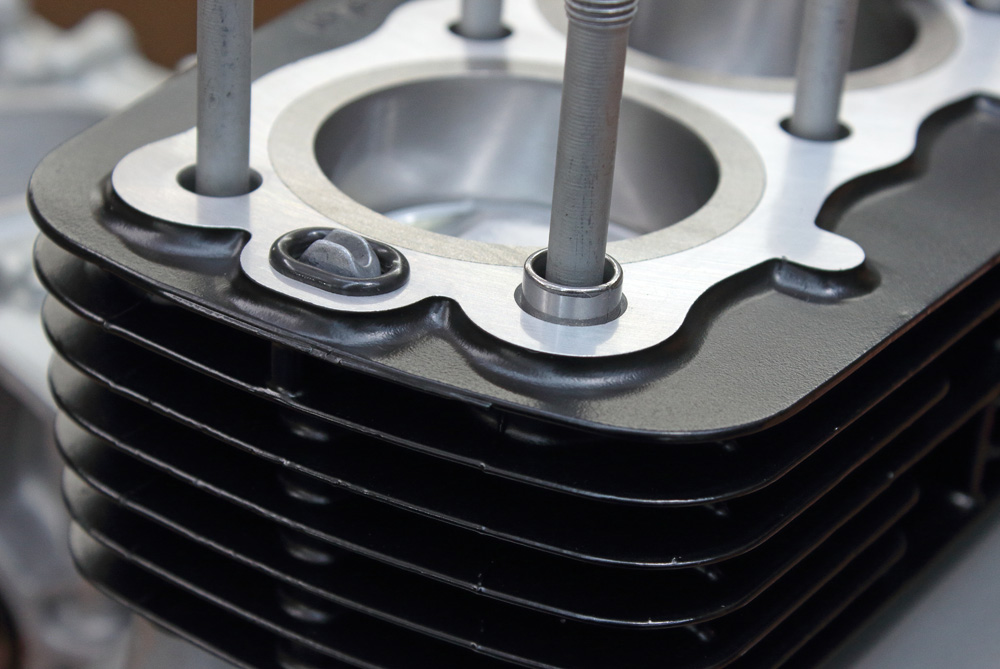
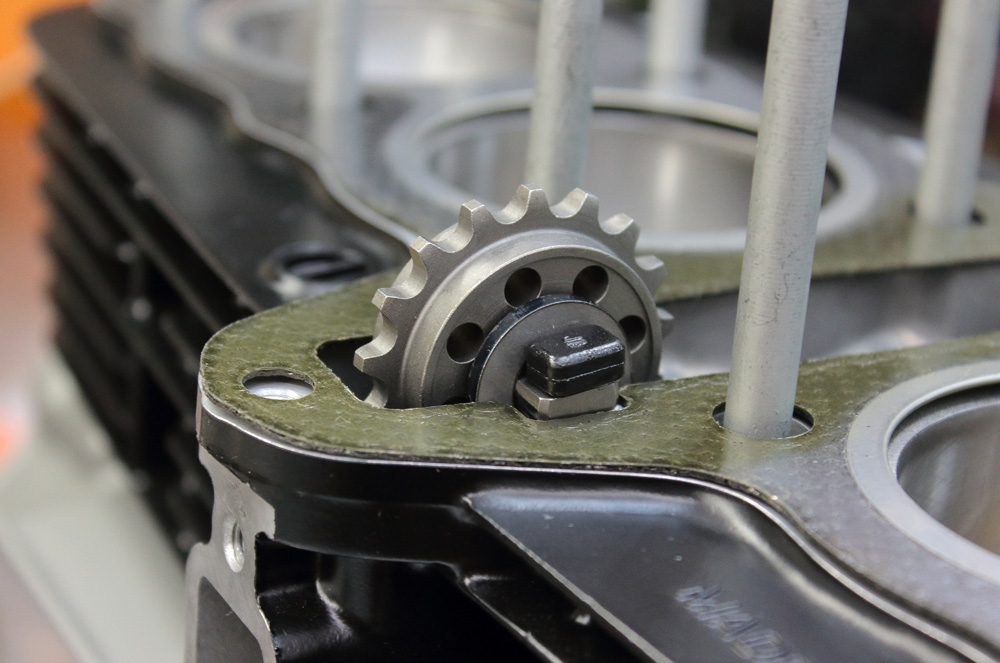
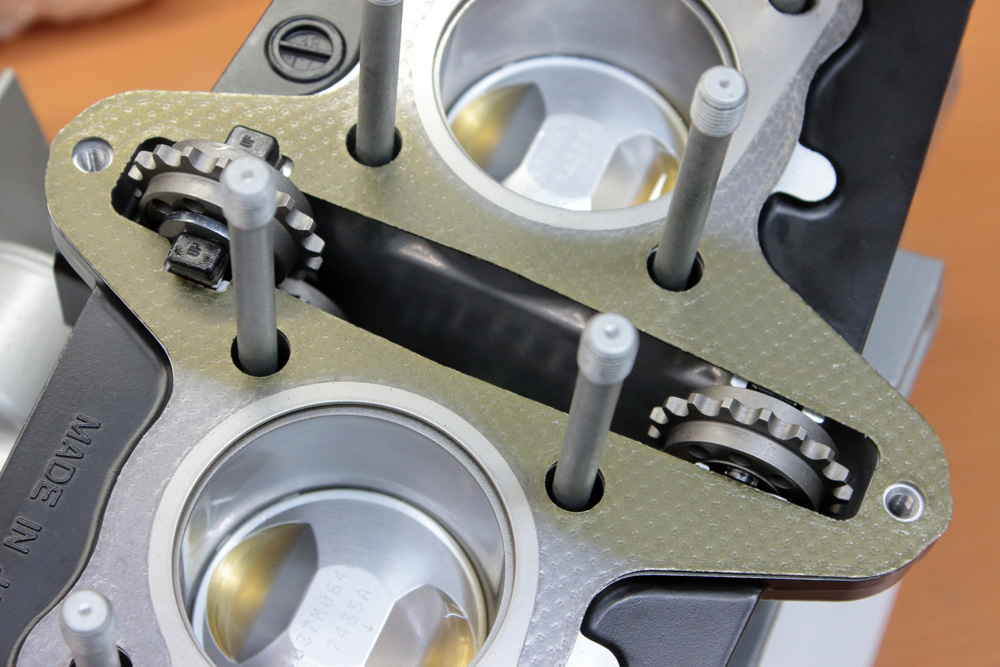
… then I installed them in place along with new rubber dampers (shafts and rubbers are all OEM or genuine, whatever is the best word for original parts). As the last “brushstroke” before cylinder head could be put in place was installation of a new genuine cylinder head gasket.

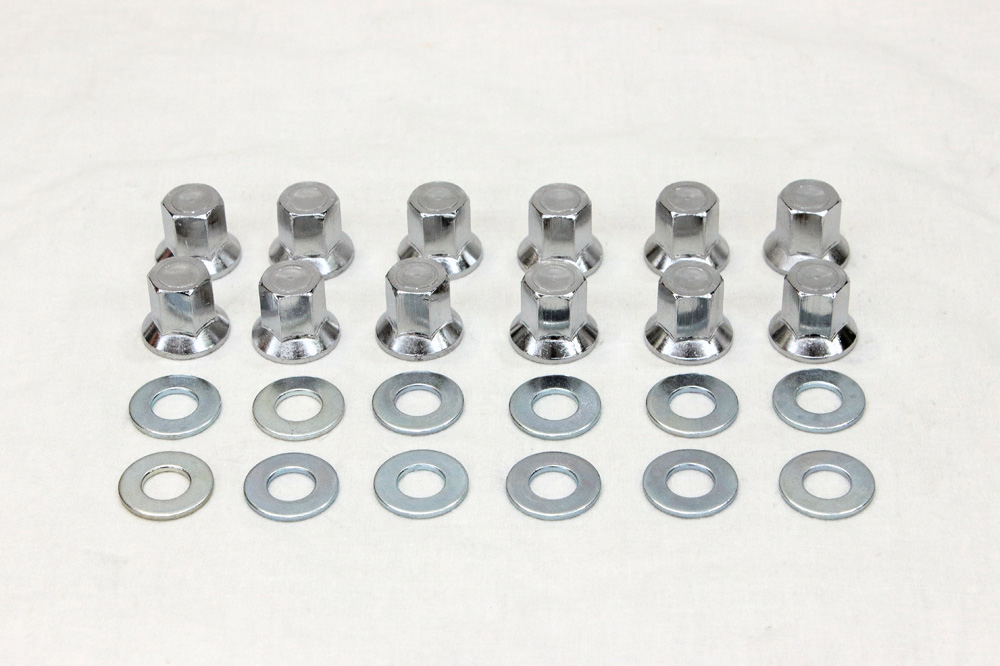
 With preparations completed it was time to take from the bags all new (and again, genuine) cylinder head nuts and washers:

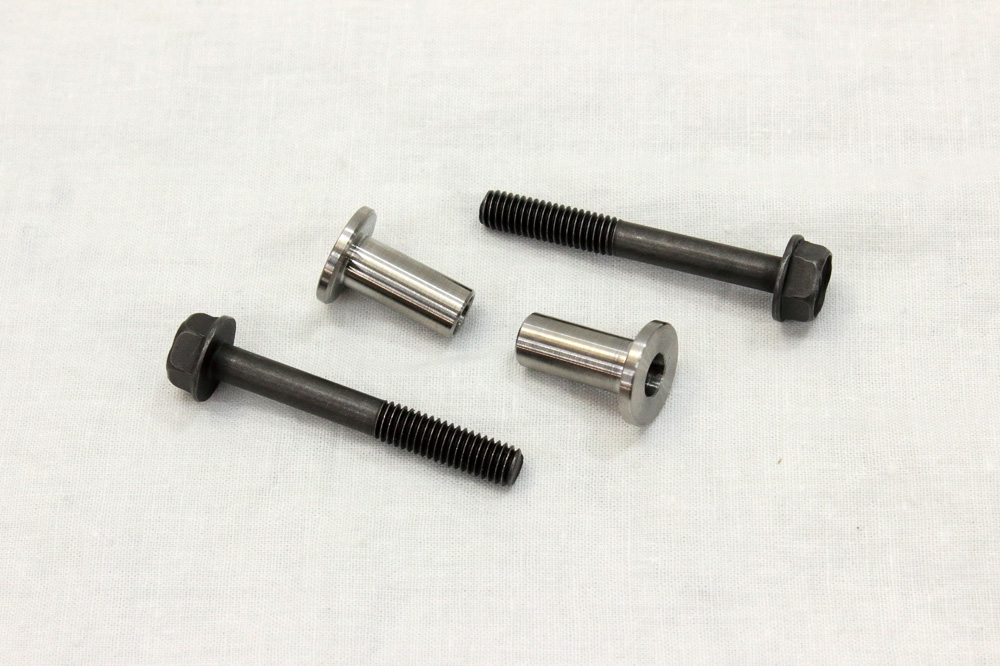
 As well as cylinder head bolts along with custom made adapters:
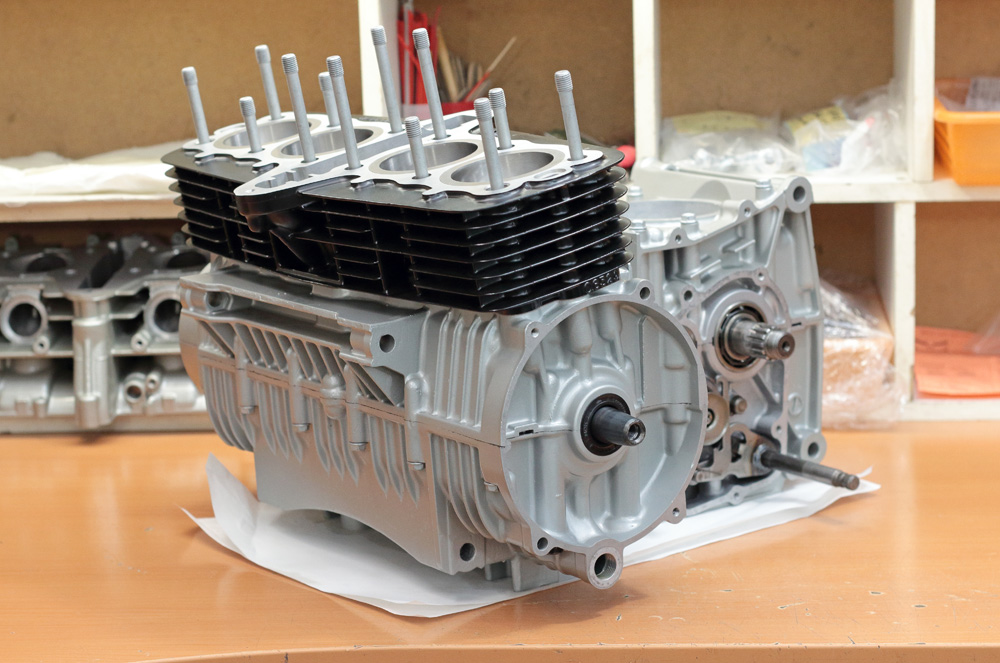
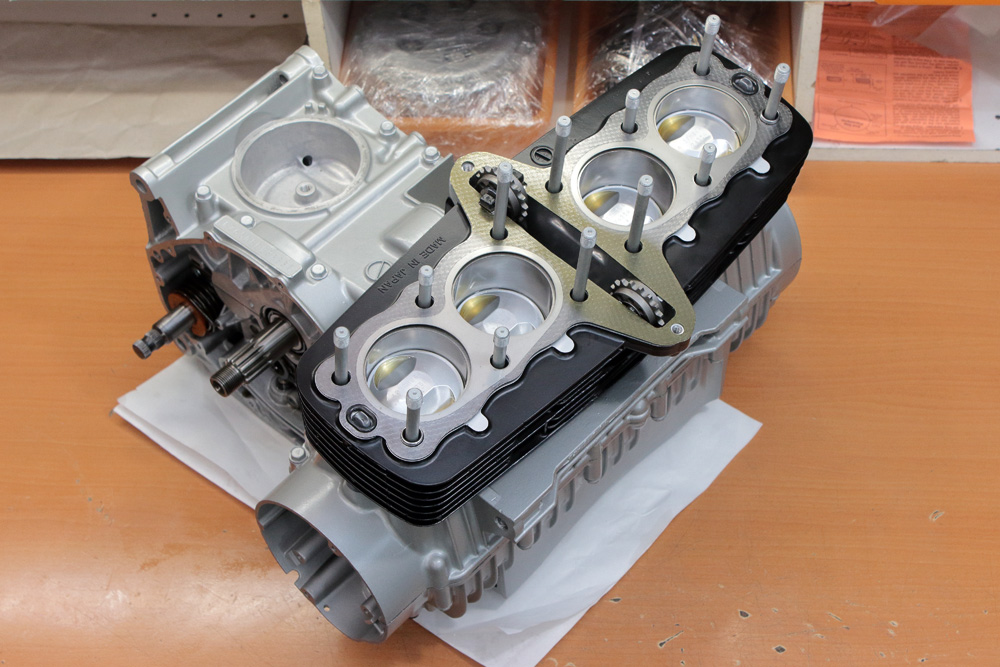
 And since the KZ750 cylinder head itself was already assembled…
 And again, it was a matter of minutes to install the cylinder head and torque all nuts and bolts according to specs. Kawasaki books don’t state using oil on threads and flanges and threads of cylinder head nuts. However, I have read service manuals of different manufacturers and I always apply a smear of oil on both thread and flange of cylinder head nut. A little oil allows for tightening cylinder head nuts more evenly.
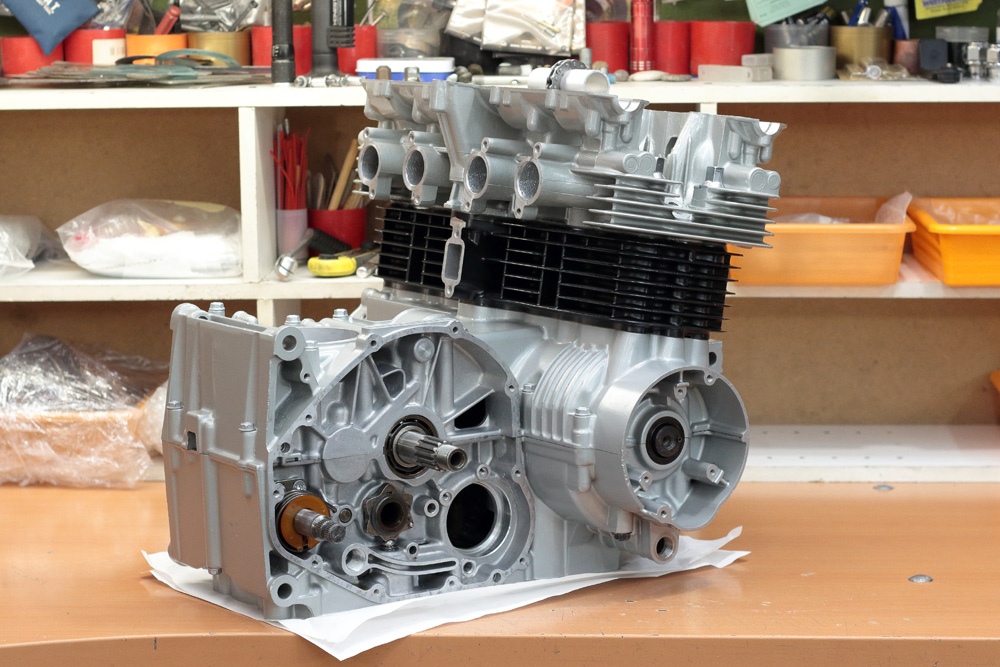
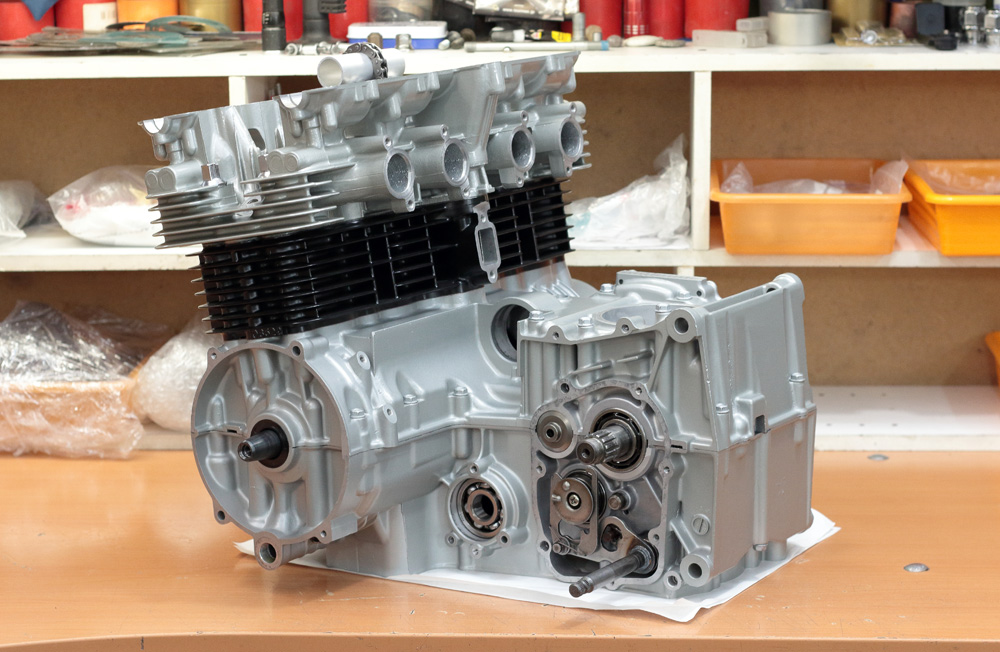 With the cylinder head installed, the engine looked mostly assembled, but still there was a lot of work to do, so the story is still far from being finished.
Therefore: to be continued.