As long as the starter motor works, people rarely think about it. Especially if the starter motor is hidden under the fancy cover like that on Kawasaki KZ or SOHC Honda CB. I duno what position tops the list of most rarely serviced parts: electrical starter or swingarm bearings. Same happens with projects: one may build a fancy bike, but under starter cover still may lurk some oxidized hulk of steel and aluminium.
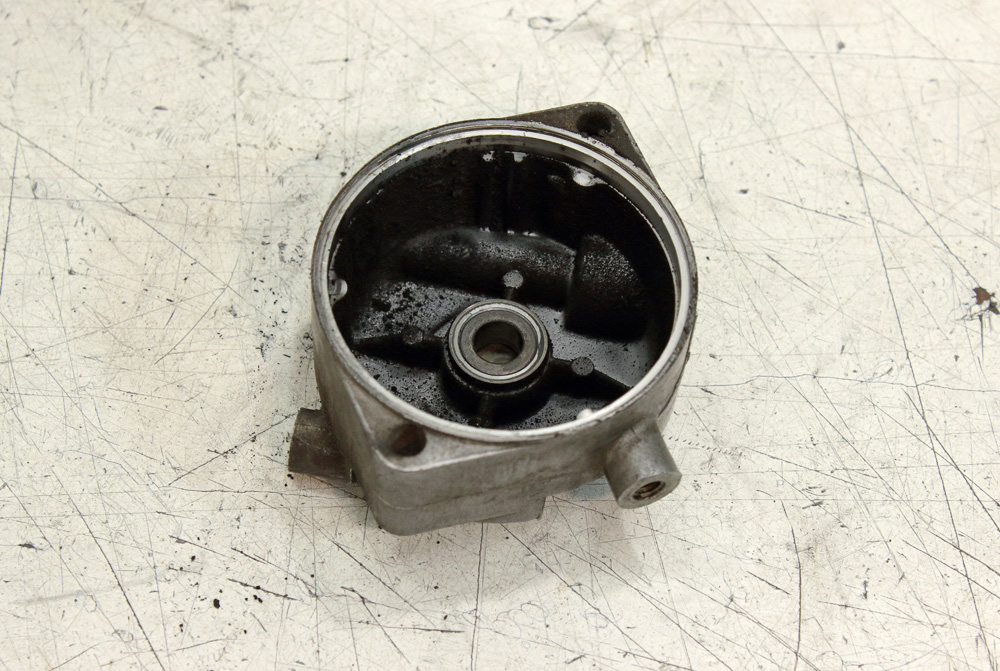
My first thought about the starter motor for our KZ650 cafe-racer project was simple: dismantle it, clean, grease, do paint housing. At first look the starter wasn’t looking THAT bad. However, what seemed to be simple dirt turned out to be oxidation and rust.
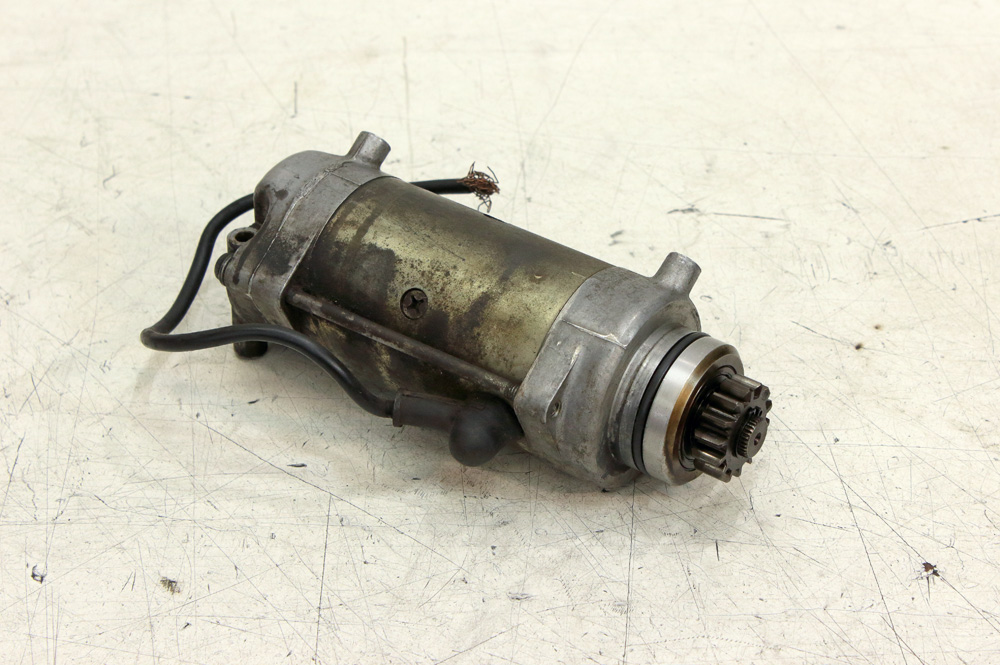
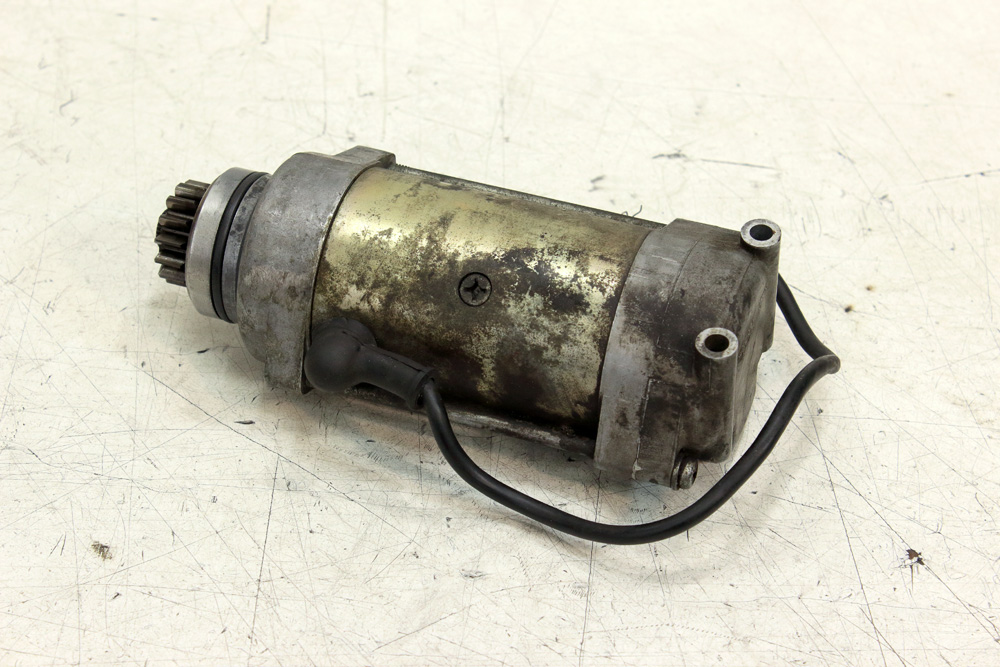 I started dismantling the starter motor for cleaning.
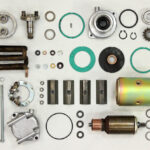
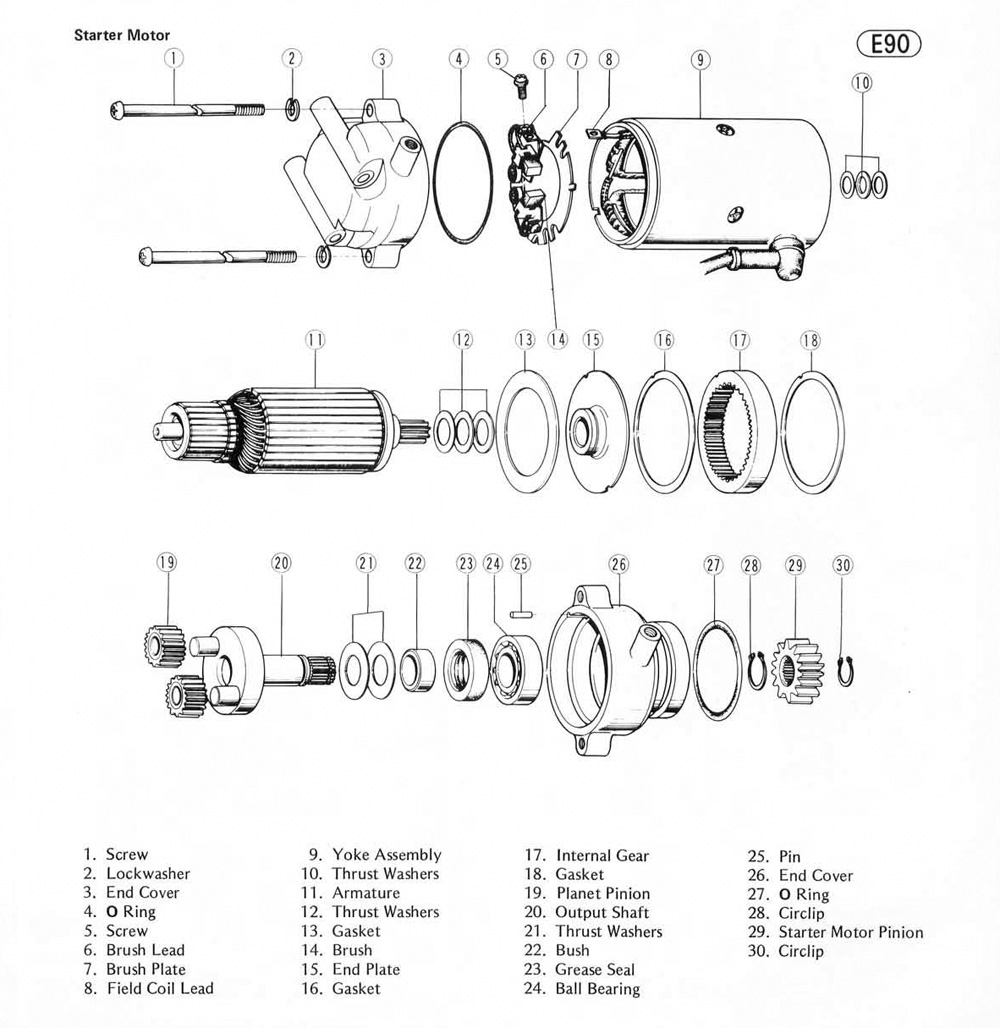
 Here is a picture from a service manual that shows the build of the starter motor. As one may notice, there are three gaskets and none of them have part numbers. The same is the situation with most parts of Kawasaki KZ650 starter motor.
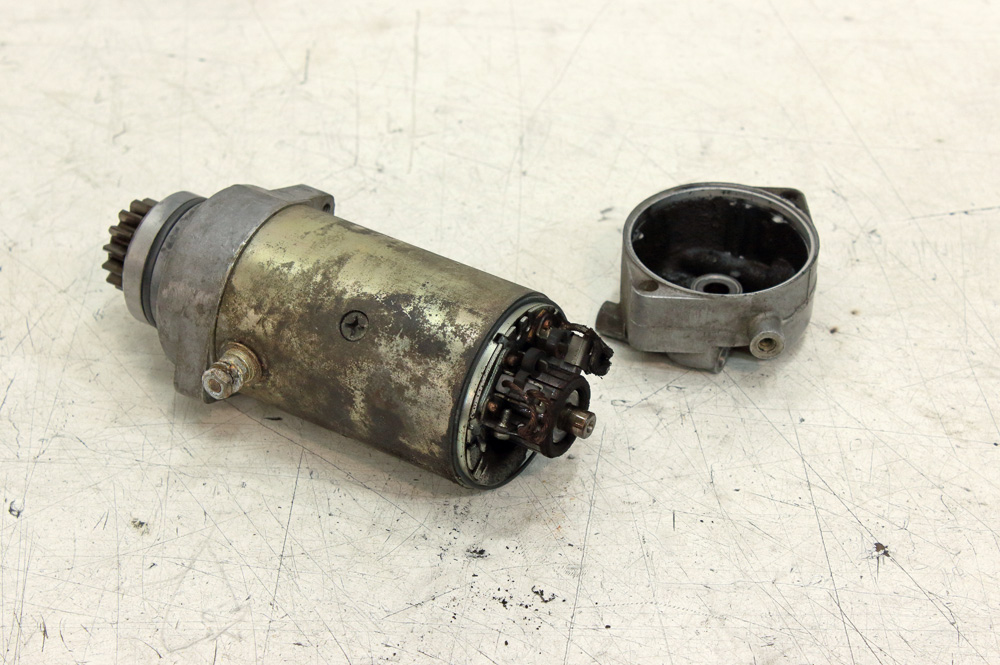
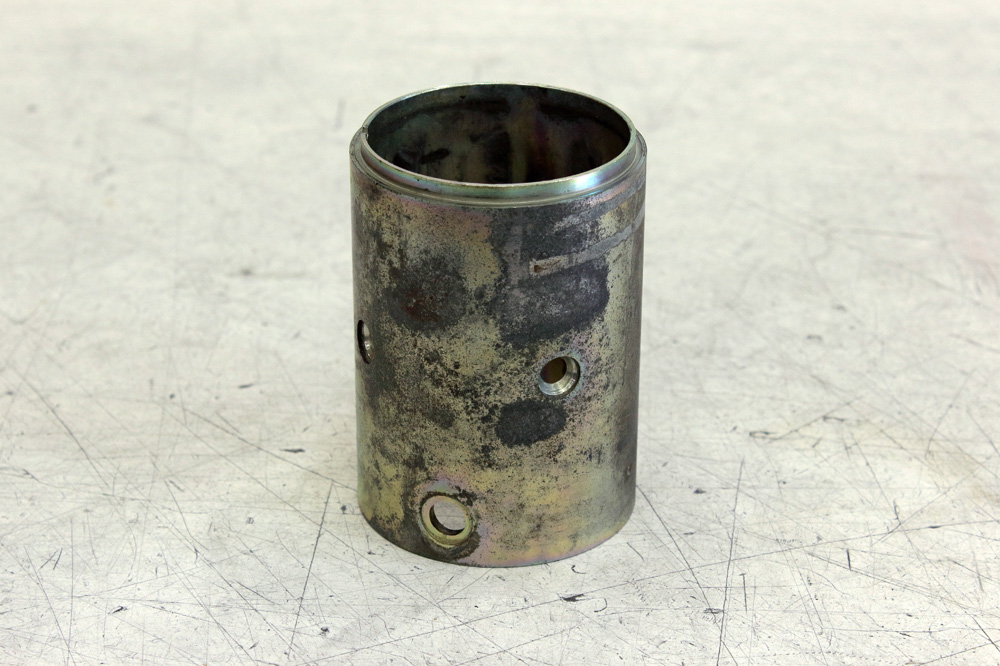
 Sure, I have no chance to remove 40 years old gaskets completely intact. And for sure, I couldn’t but to notice that the yoke assembly could be easily disassembled, even as Service Manual states that it “is not meant to be disassembled”. The itch of curiosity and wish to know if it’s possible to restore such part to original condition won, and I dismantled yoke assembly.
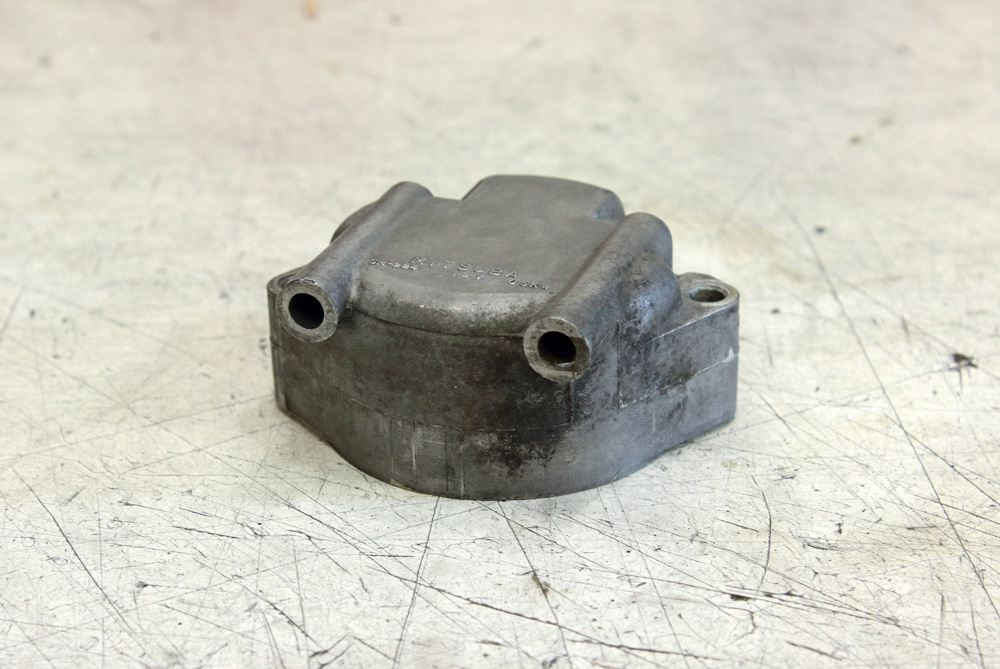
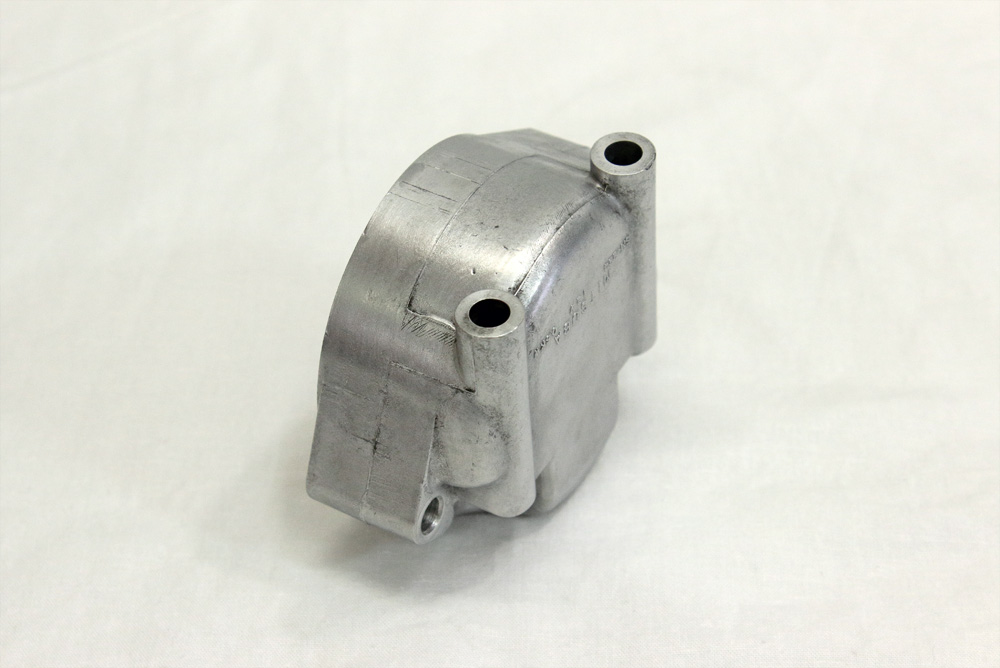
Housing, even being cleaned, looked pretty ugly:
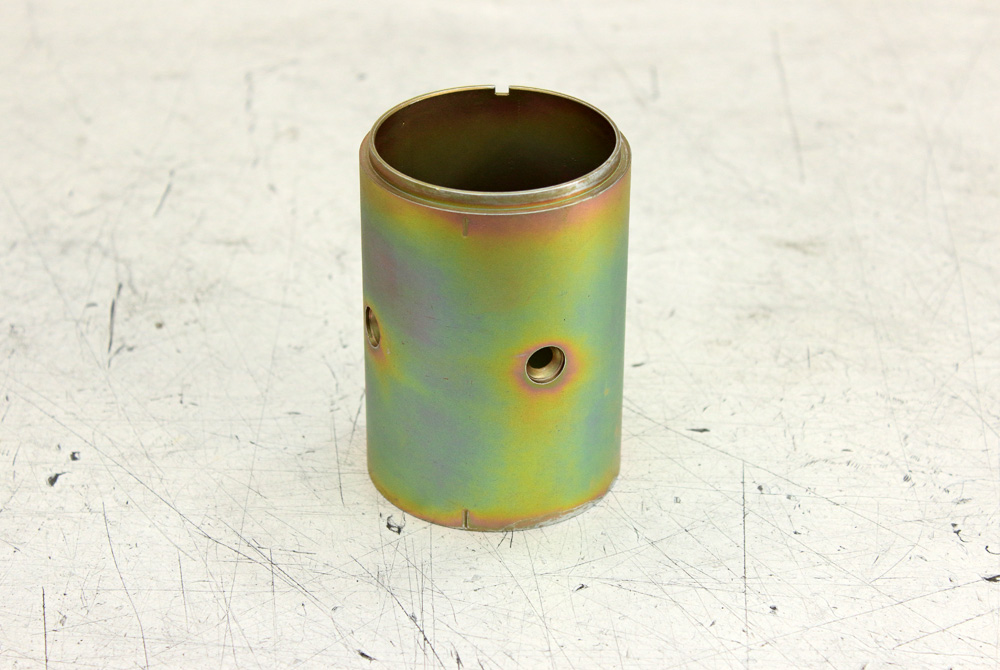
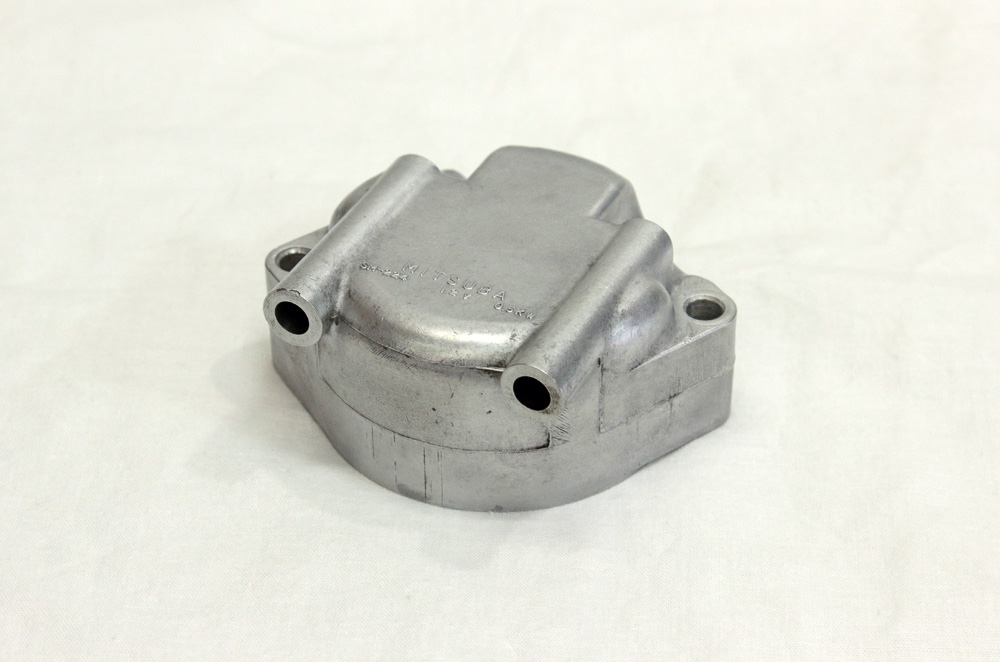
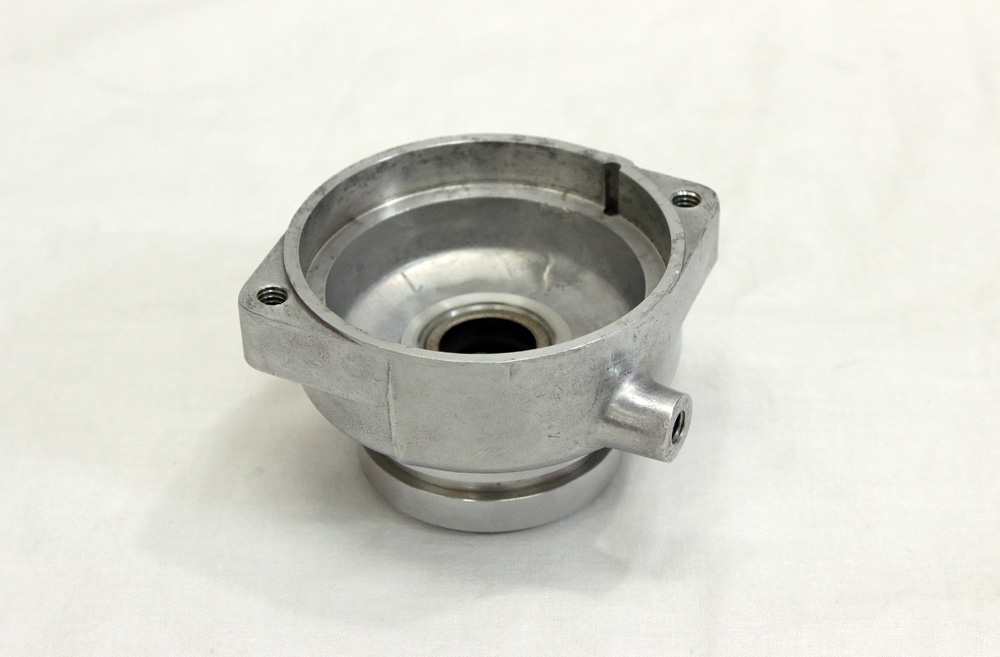
 Therefore I’ve got it glass beads blasted and zinc re-plated. I chose yellow passivation: for one thing it provides better corrosion protection, for another, original passivation also was yellow.
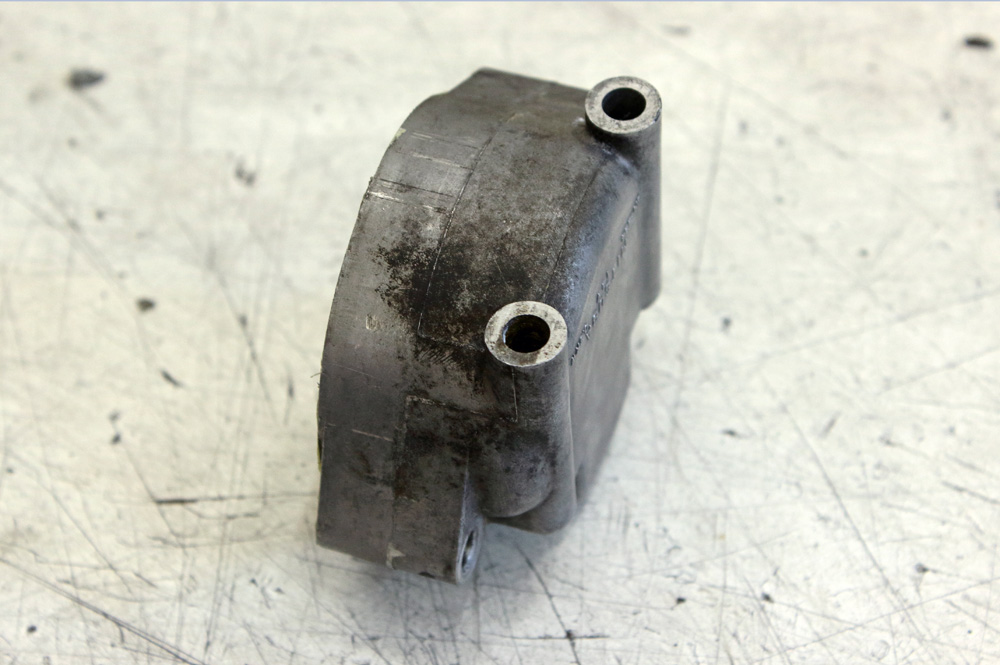
 Then I cleaned the insides of end covers, sealed them and proceeded with outer sides.
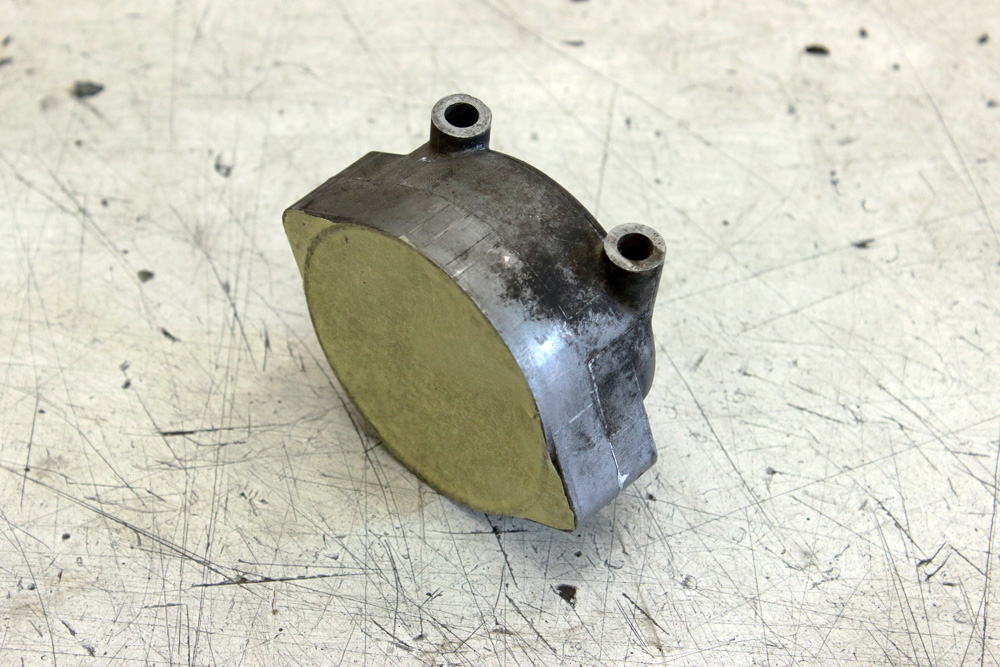
 I could have them polished, but the general idea was to make them look “new stock” so I just refreshed them. As you may see, I removed the output shaft and bearing to clean the end cover through and out.
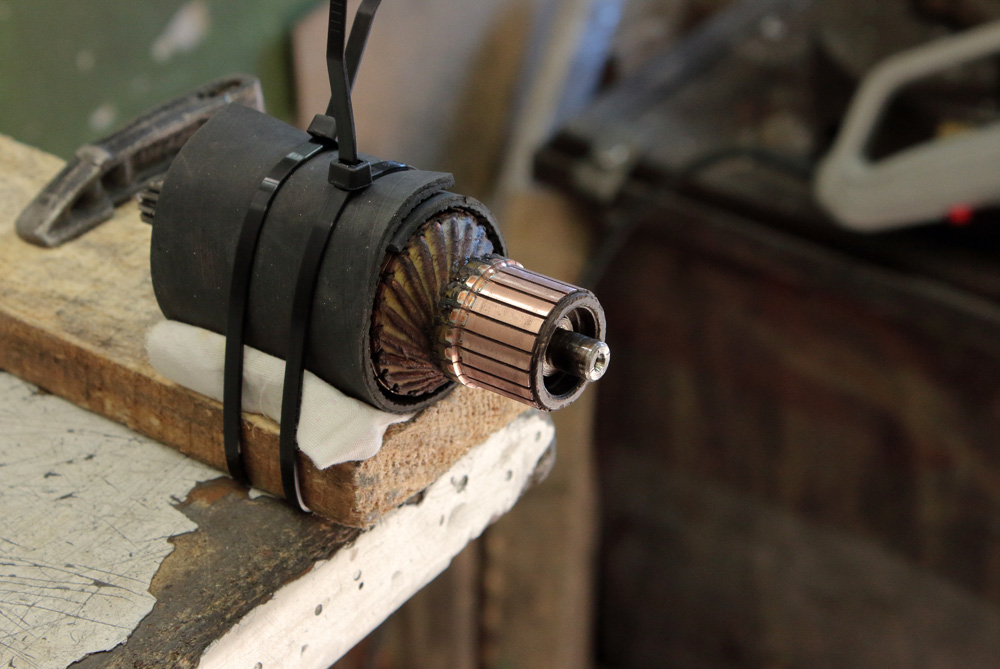
 I checked and maintained the armature (rotor) by the book. Here is how my improvised holder for rotor looked :
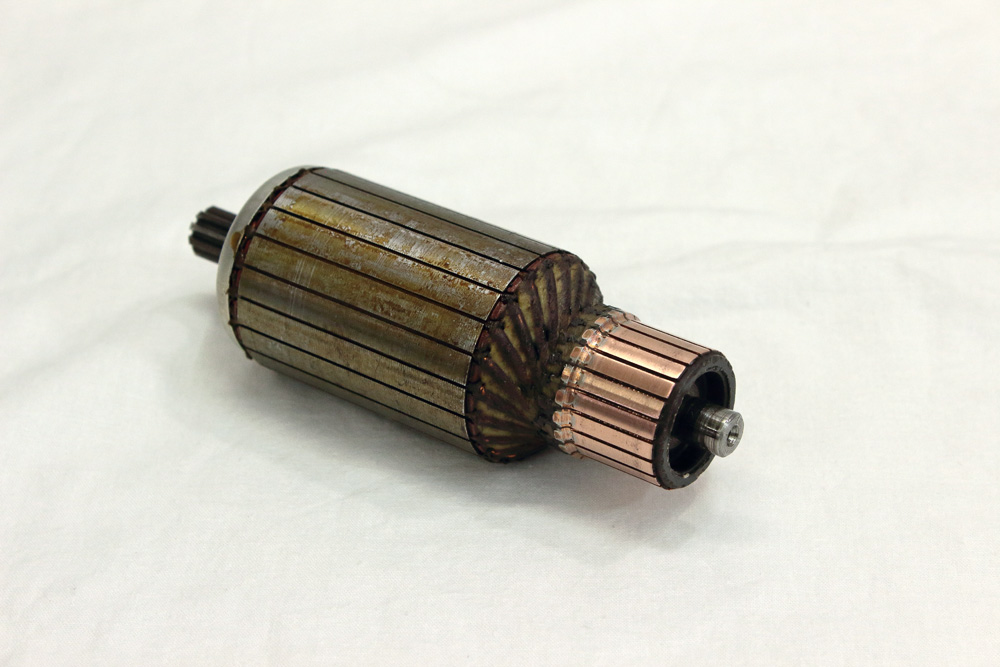
 After cleaning it looked nice. Brownish coating on it is varnish.
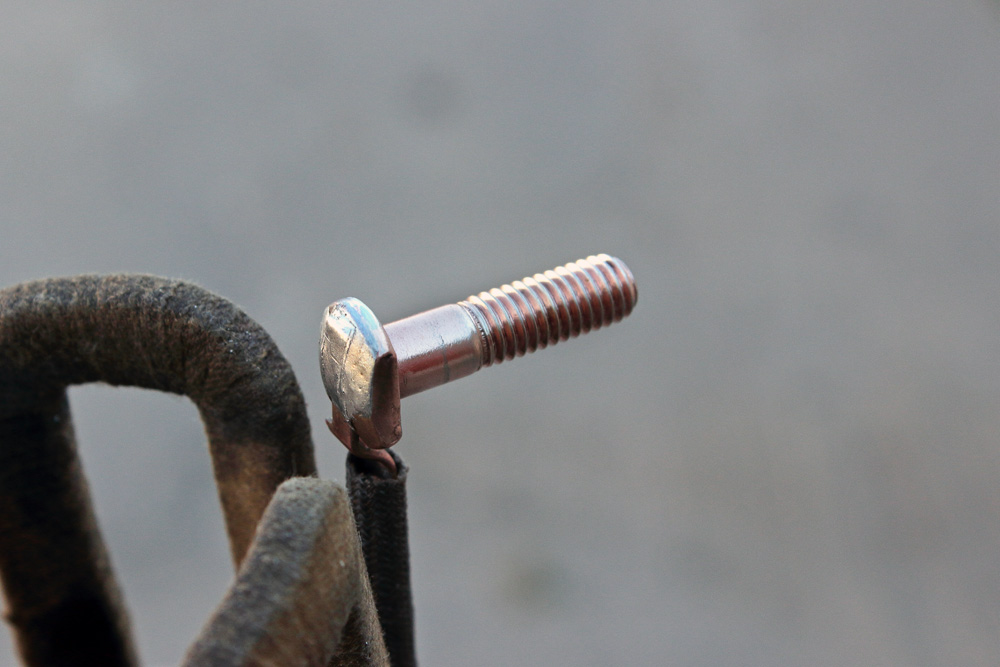
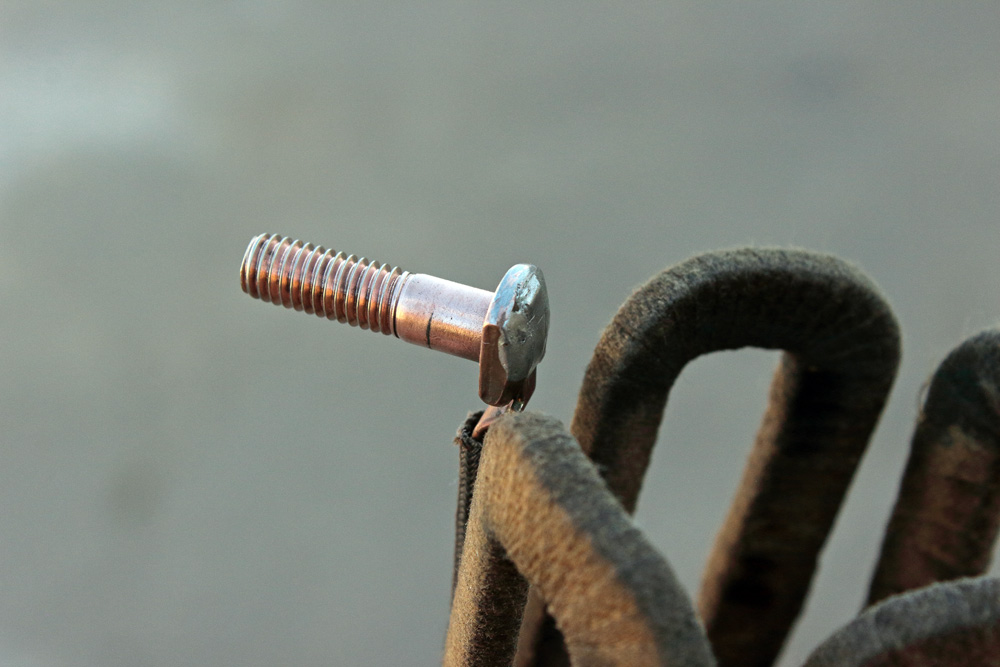
 Input terminal of field coils also needed attention.
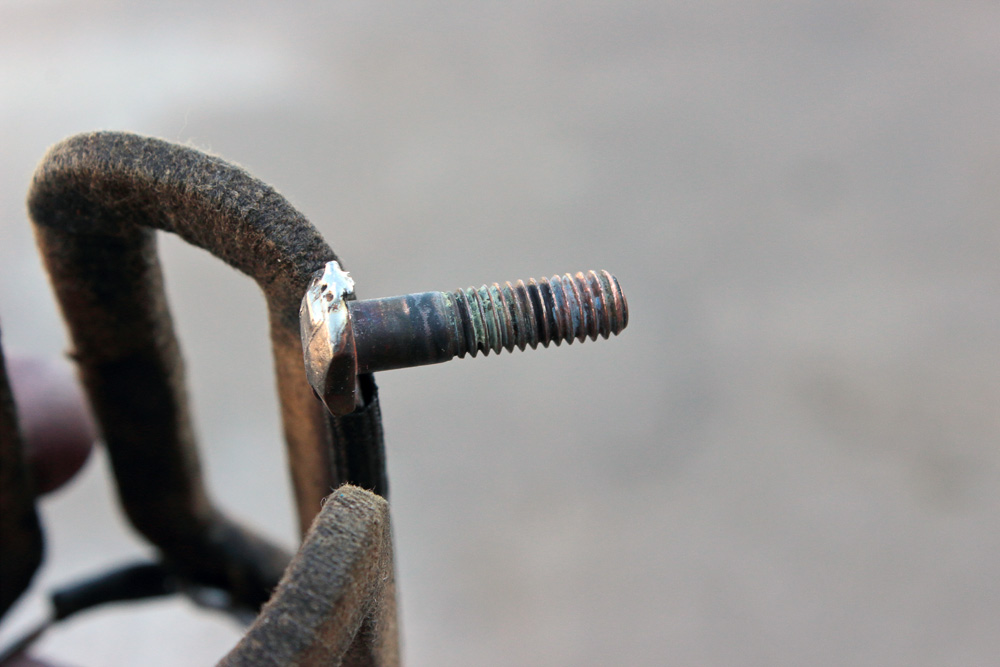 I cleaned it and removed some protrusion of solder.
 After this task of cleaning was finished, however, I had to find replacements for some parts before I could start assembling.