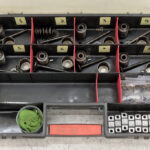
Carburetors were ready for assembling, however I have a couple of other works to attend to, thus I placed parts of my Mikuni VM24 carburetors onto the shelves and smaller of them I put in caps from carburetor cleaner spray, grouped according to their destination. Those carburetor cleaner caps are mighty useful things when it comes to sorting small parts/hardware that one doesn’t wish to mess to.
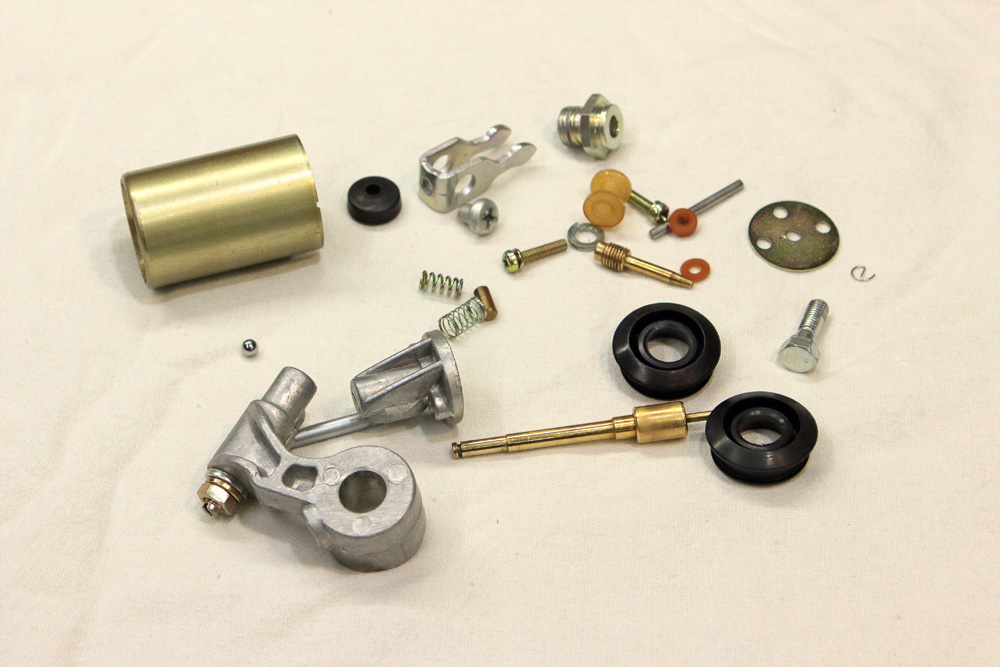
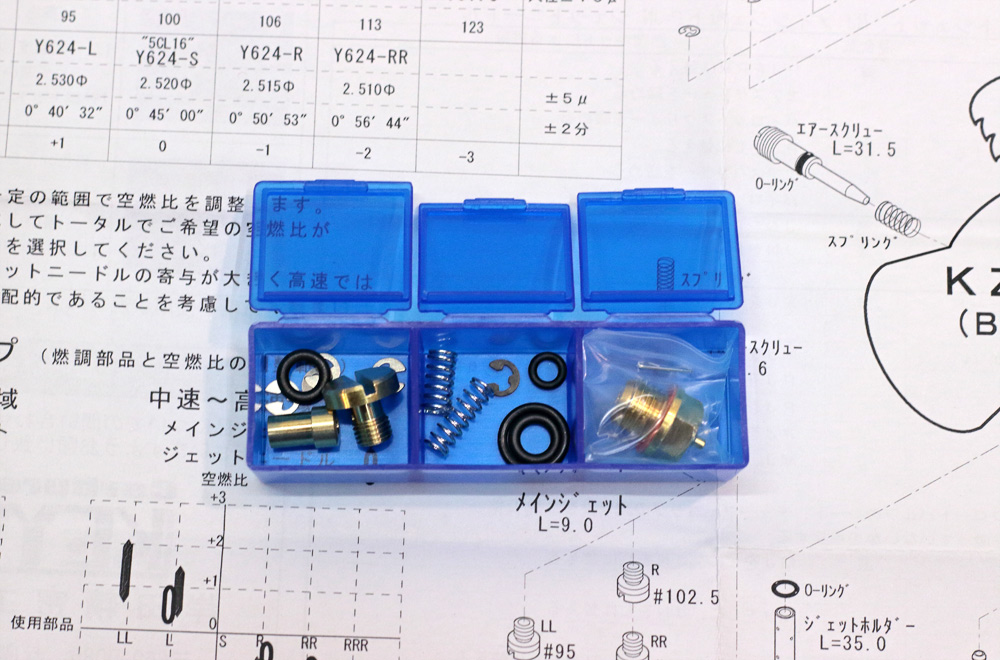
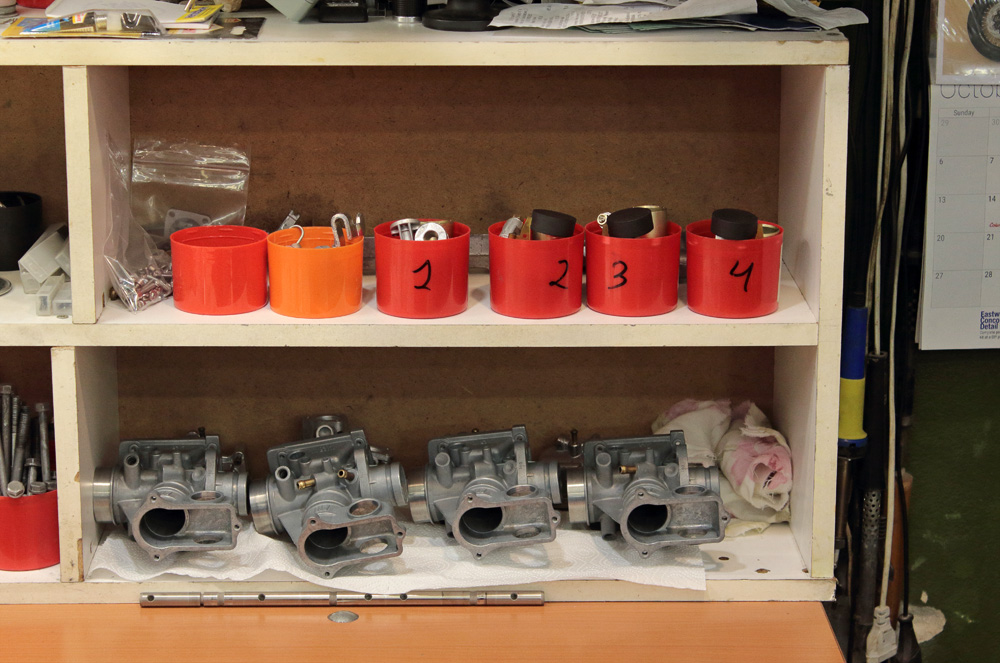 Cap with parts for one carburetor contains such set of parts:
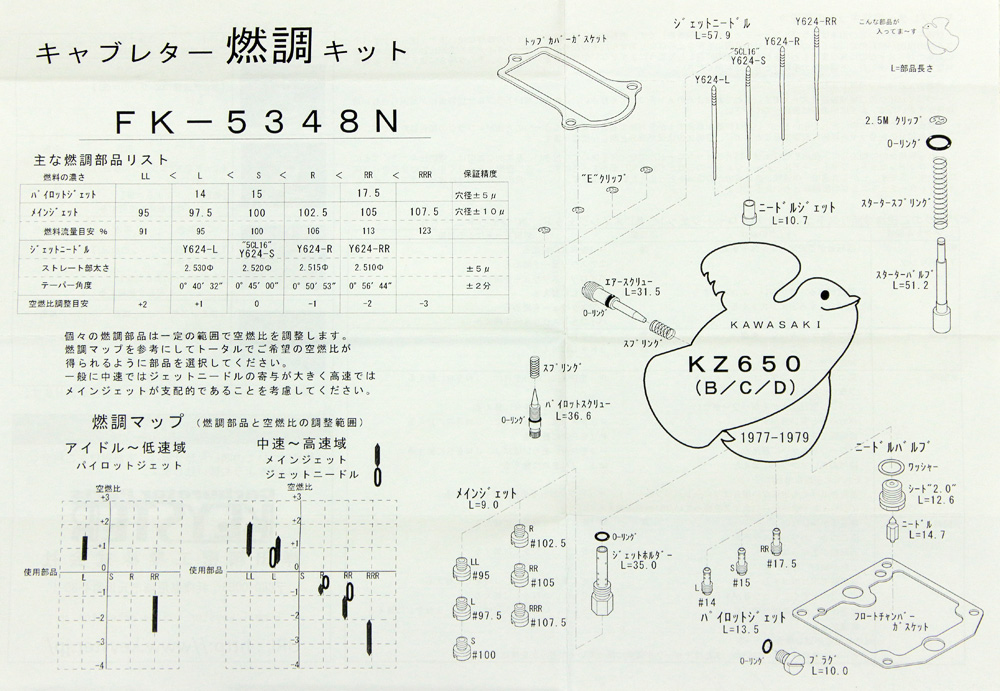
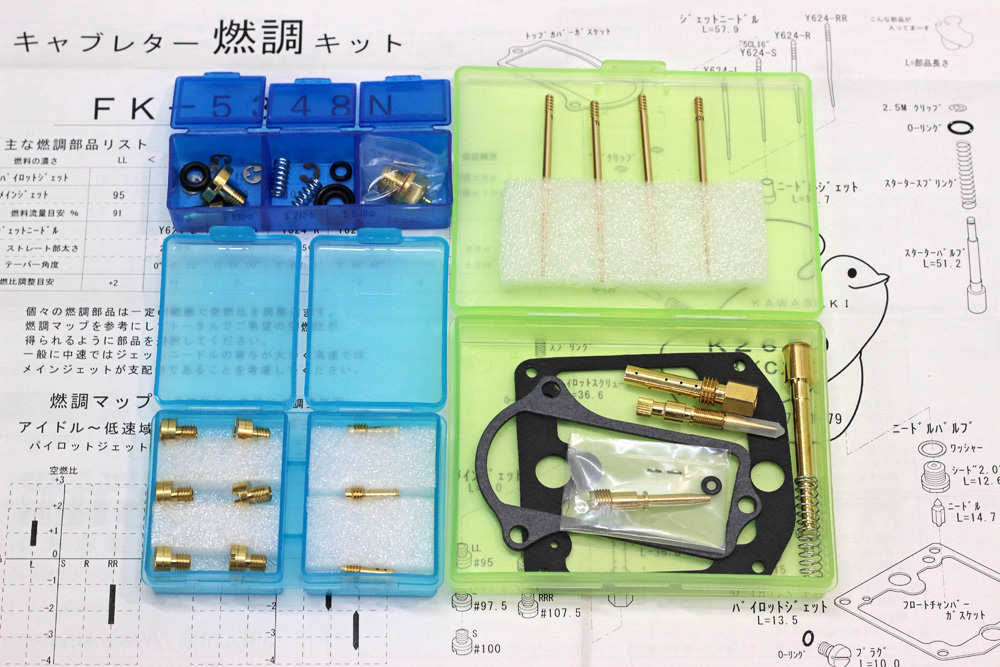
 And sure, I have to remind that I have a Keyster FK-5348N set of parts for every carburetor.
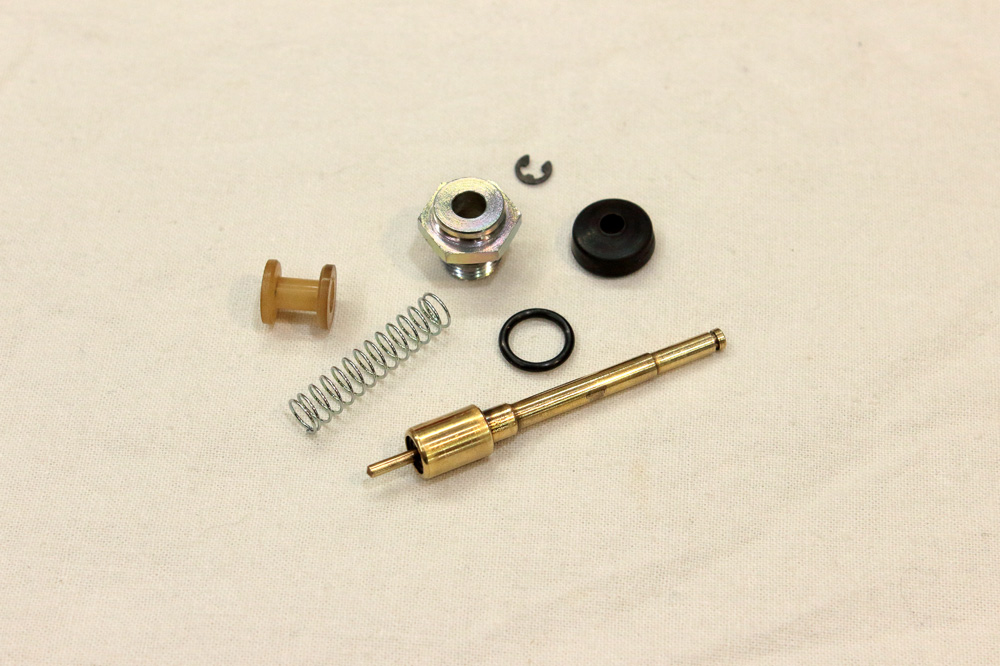
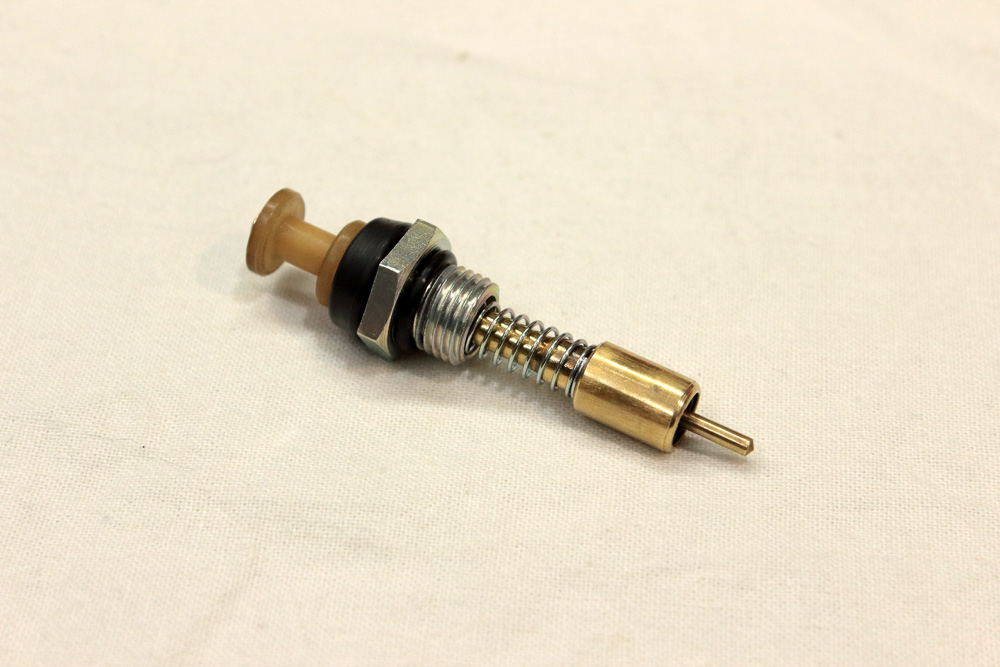
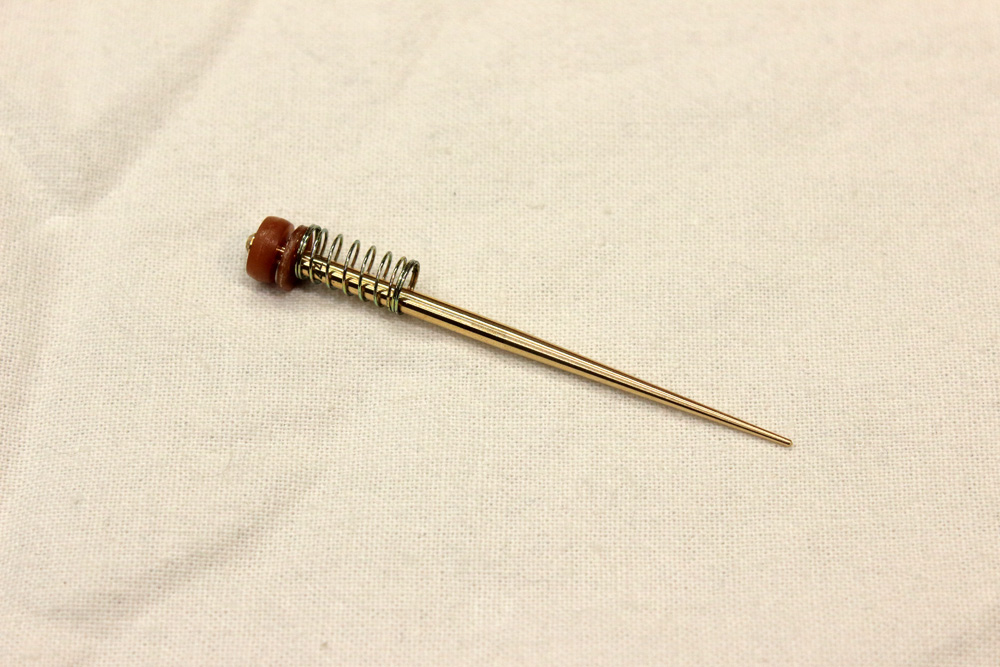
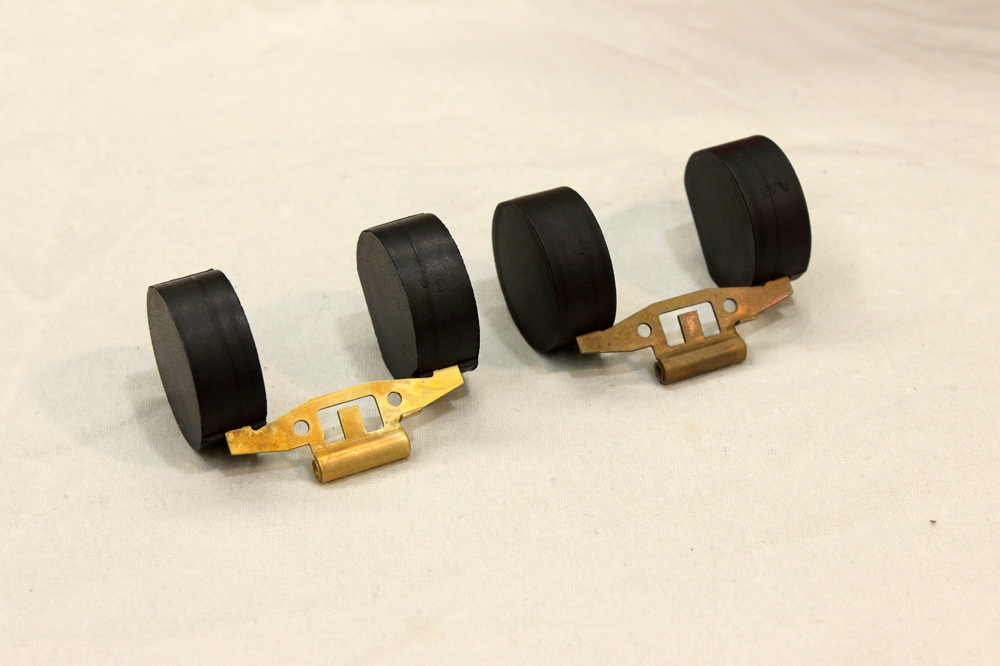
 Let’s start assembling from start plungers.
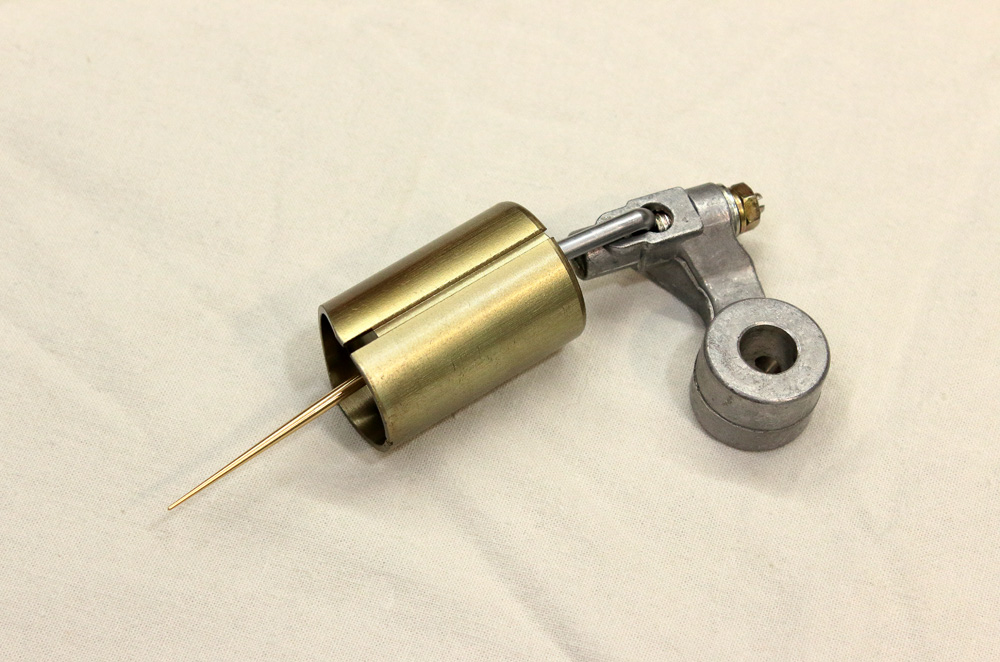
 Then we are about to assemble throttle assembly for every carburetor.
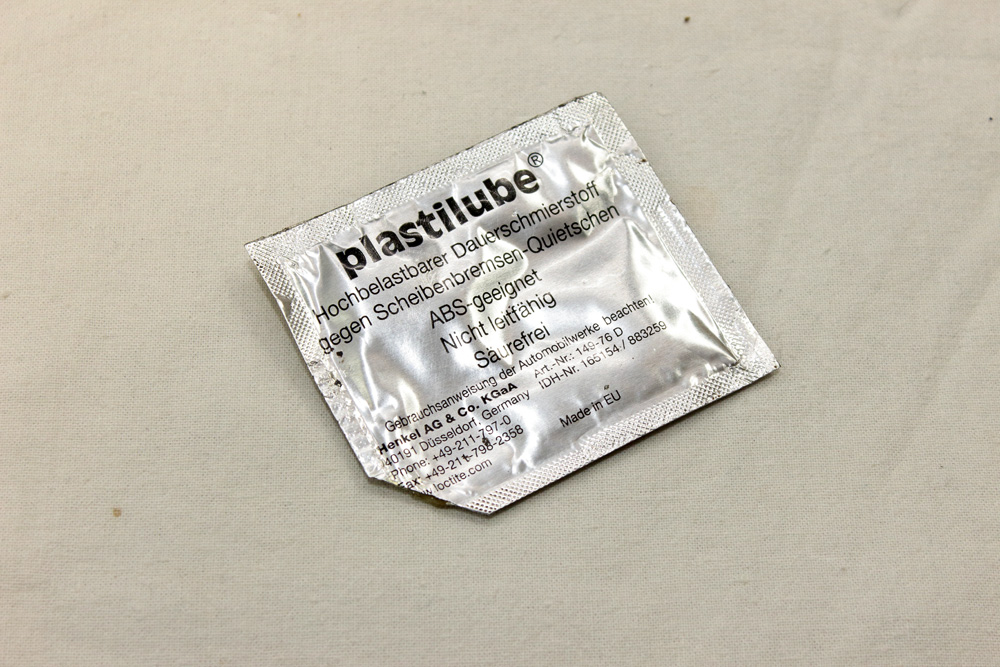
 After some thoughts I decided to grease throttle arm joints and throttle shaft bushings with Plastitube grease. It’s suitable for such kind of application and it withstands high temperatures as it’s designed to be used in brake systems.
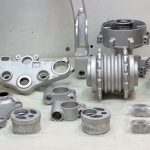
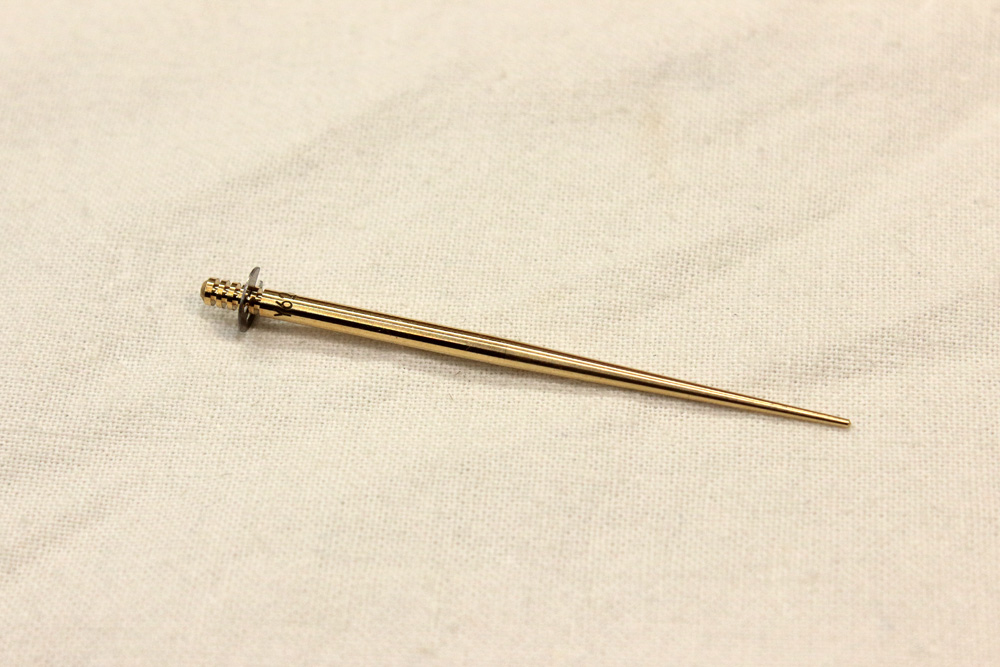
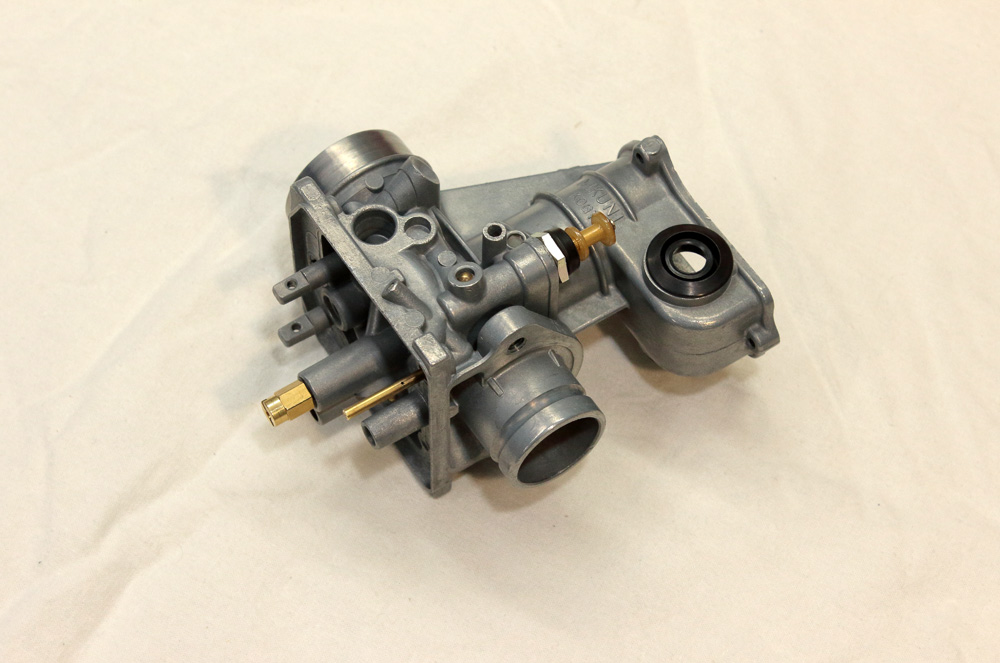
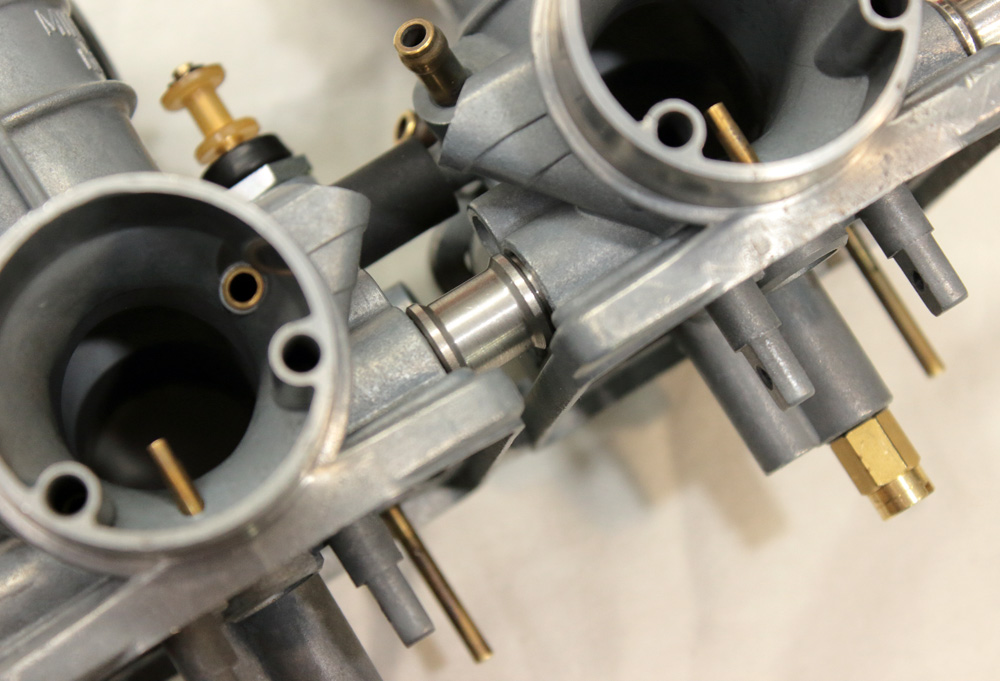
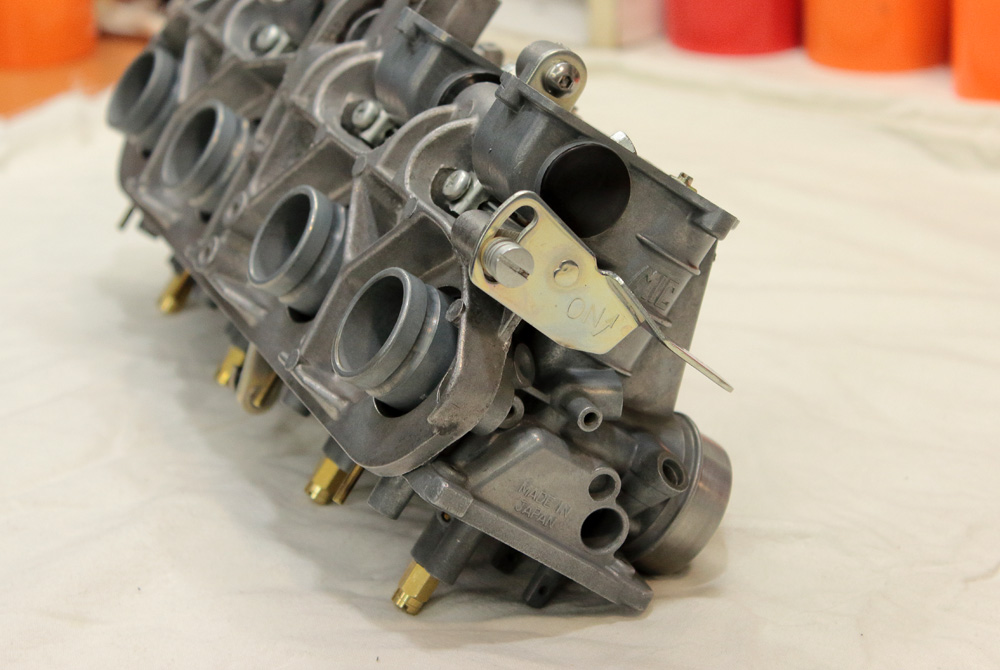
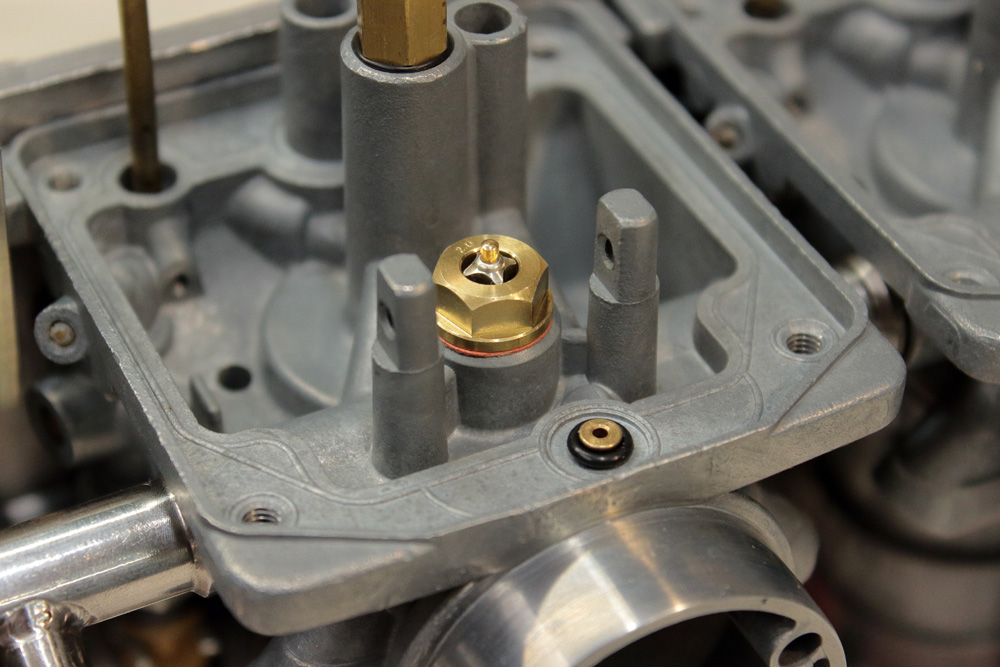
 Now let’s pack every carburetor body with pilot jet, needle jet, emulsion tube (air bleeding pipe), main jets and starter plungers. Mind, you have to install all starter plungers before assembling carburetors rack, as after starter plunger’ nut on second carburetor couldn’t be easily accessed with wrench or socket.
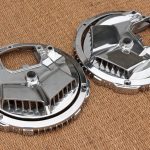
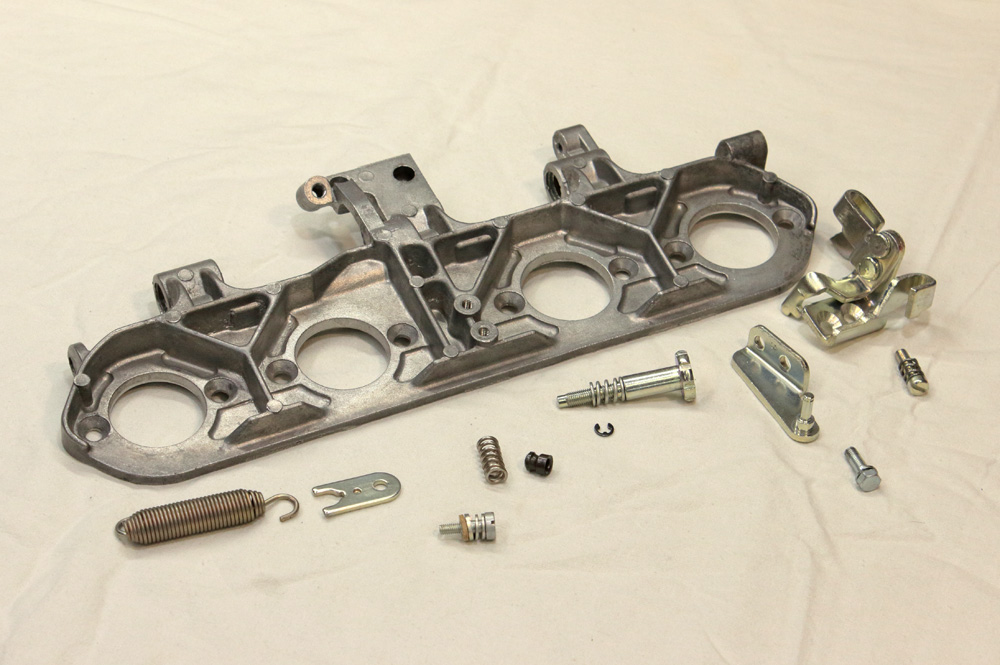
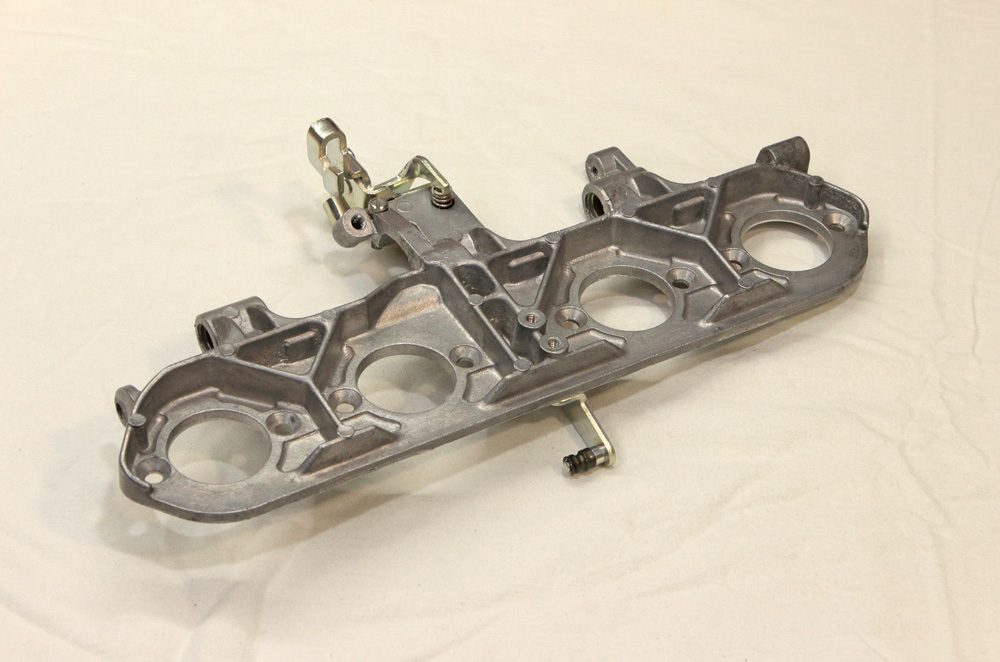
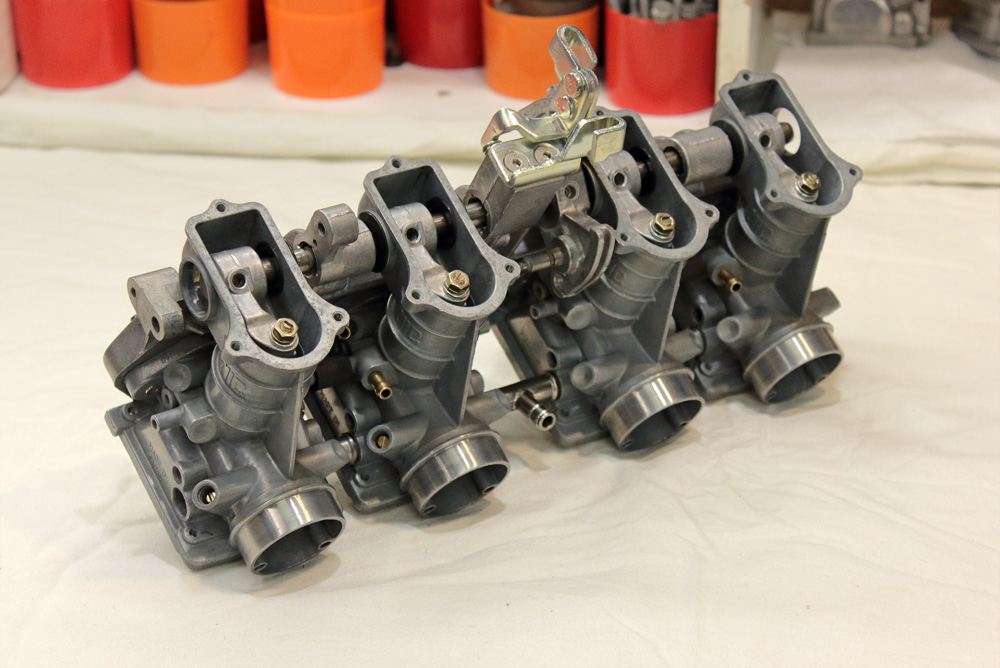
 With that job done we could proceed to heat shield (mounting plate) assembly.
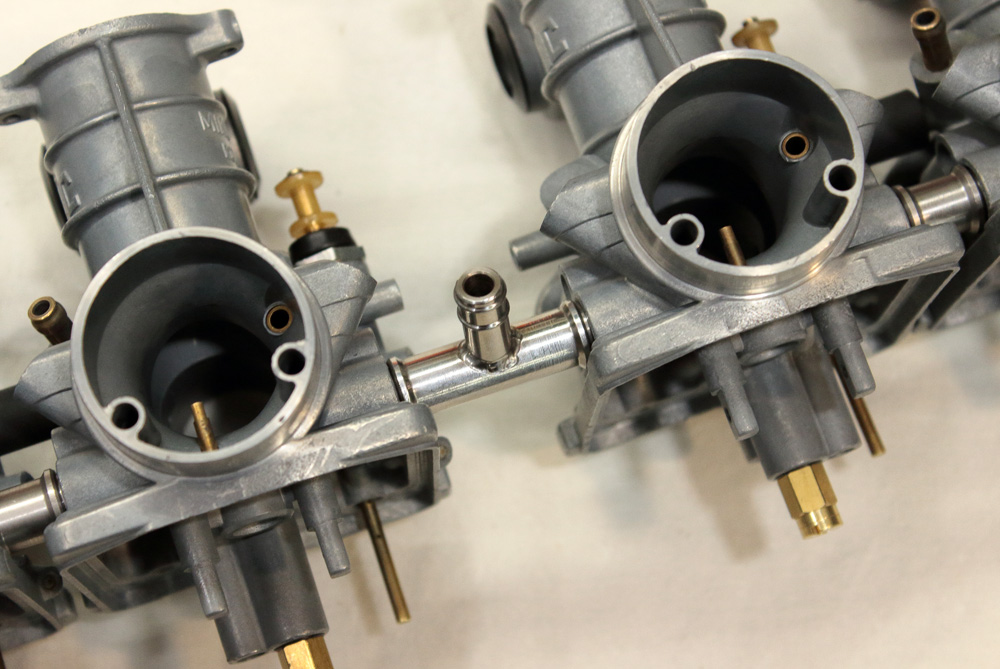
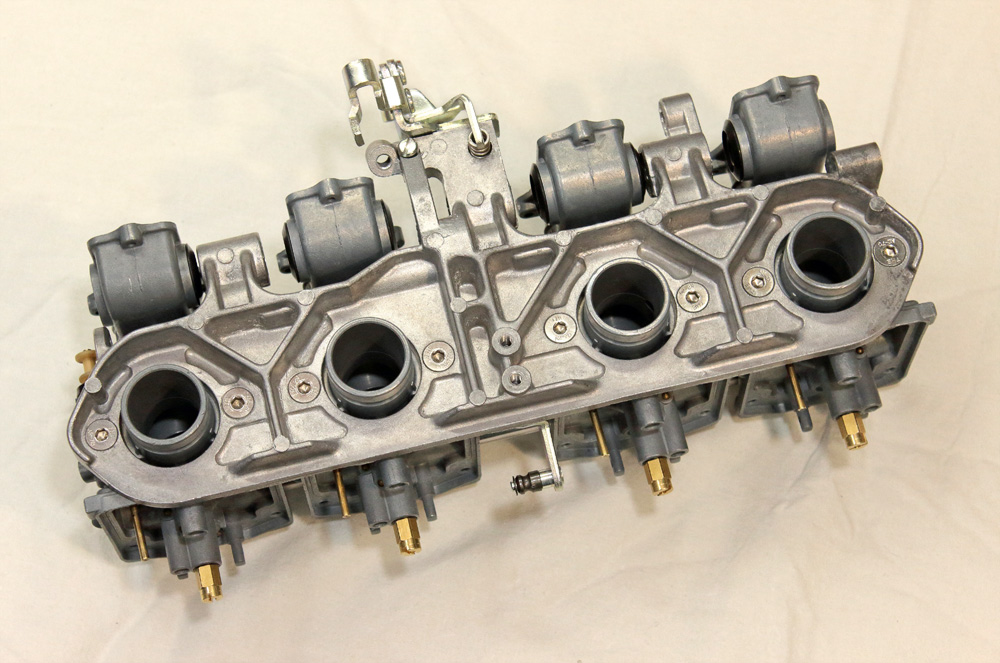
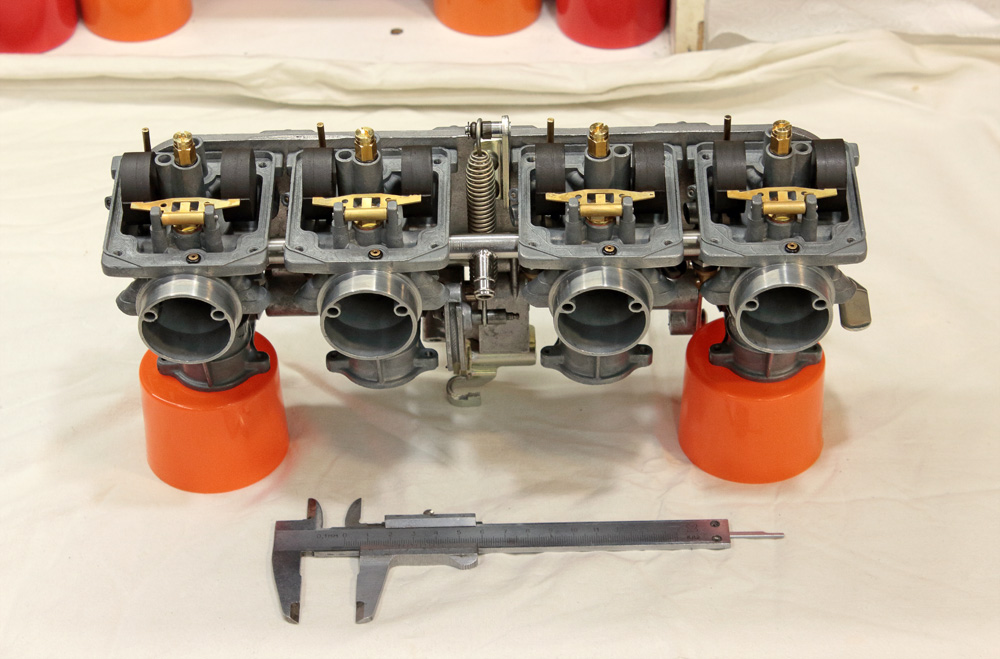
 And step by step we came to point where we could connect all four carburetors using choke system pipes and new PMC fuel joints.
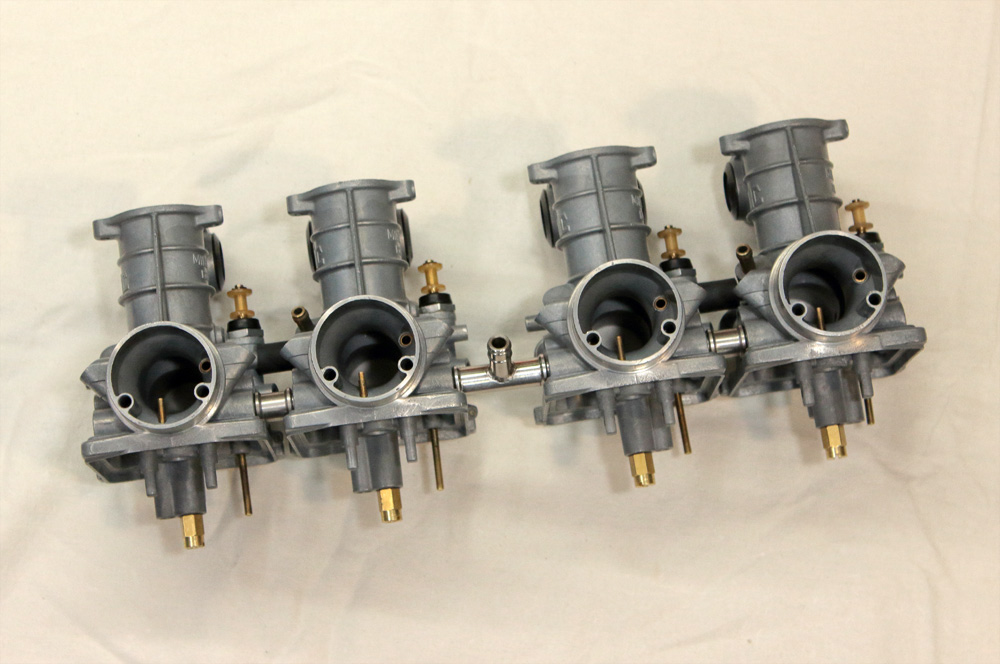
 Be this carburetors assembly part of restoration project, I’d have no choice, but use original hardware. However, its custom project so I found no objection against using stainless steel hardware with hexagonal sockets, including those screws with countersunk heads for carburetors to heat shield mounting.
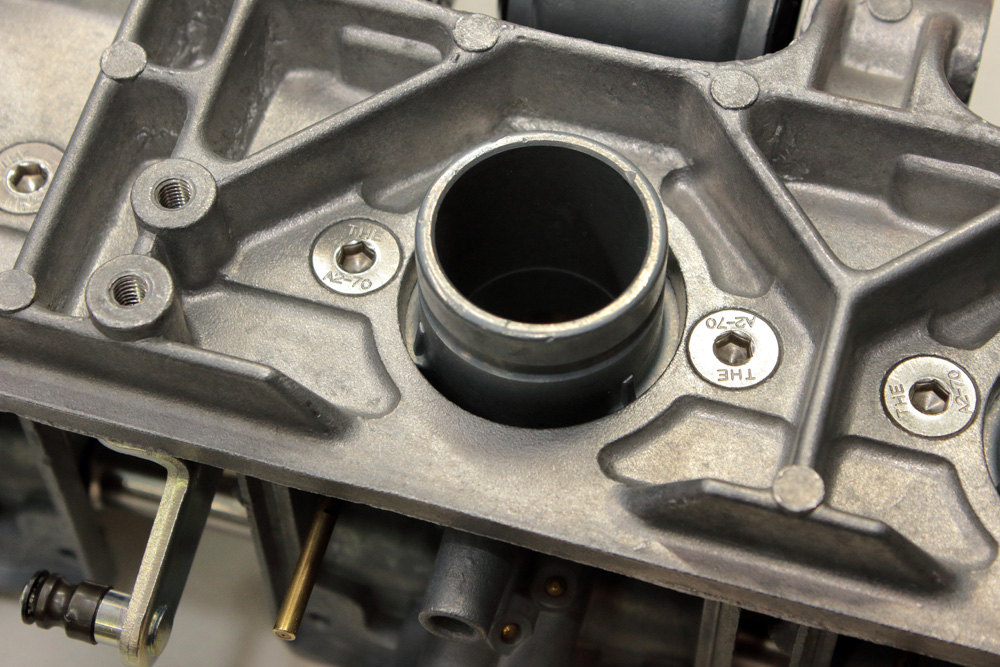 Another little warning: don’t forget put throttle pulley into the assembly before you screw carburetors to heat shield.
After rack is assembled, we could put into carburetors throttle assemblies and install throttle shaft and then choke actuator.
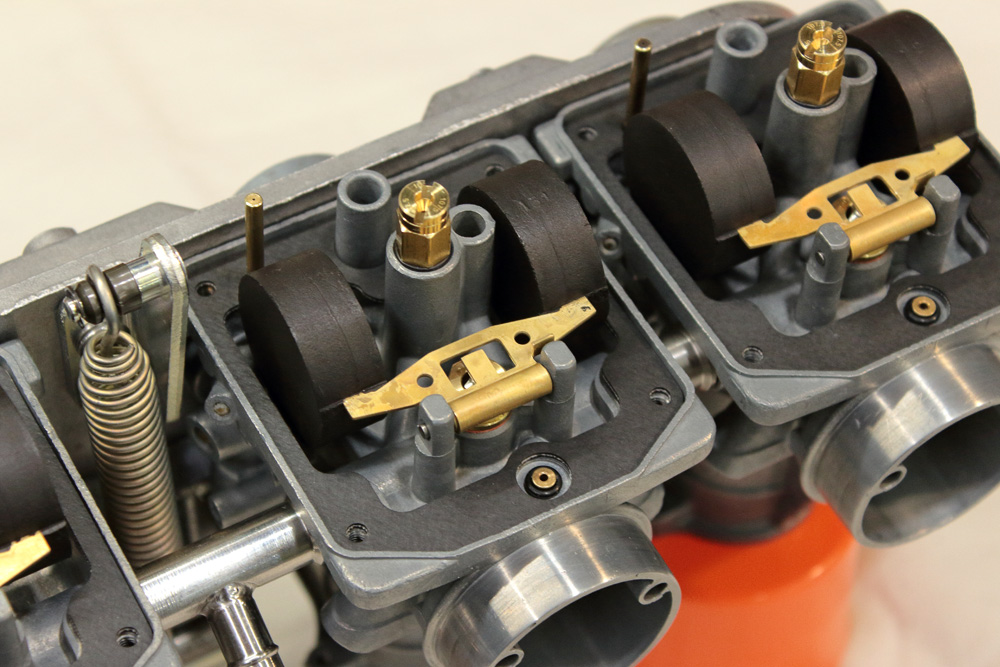
 Yet one usage for caps from carburetor cleaner rattle cans: rack of carburetors might be installed upside down on two of them. thus installation of last components became easy game. Valve seats and valve needles on their place, as well as small O-ring for accelerating pump jets.

 I have two racks of carburetors. so in last moment decided to use floats from second rack just for the reason that their brass parts are more bright.
 After I installed floats I adjusted their height according to information in service manual.
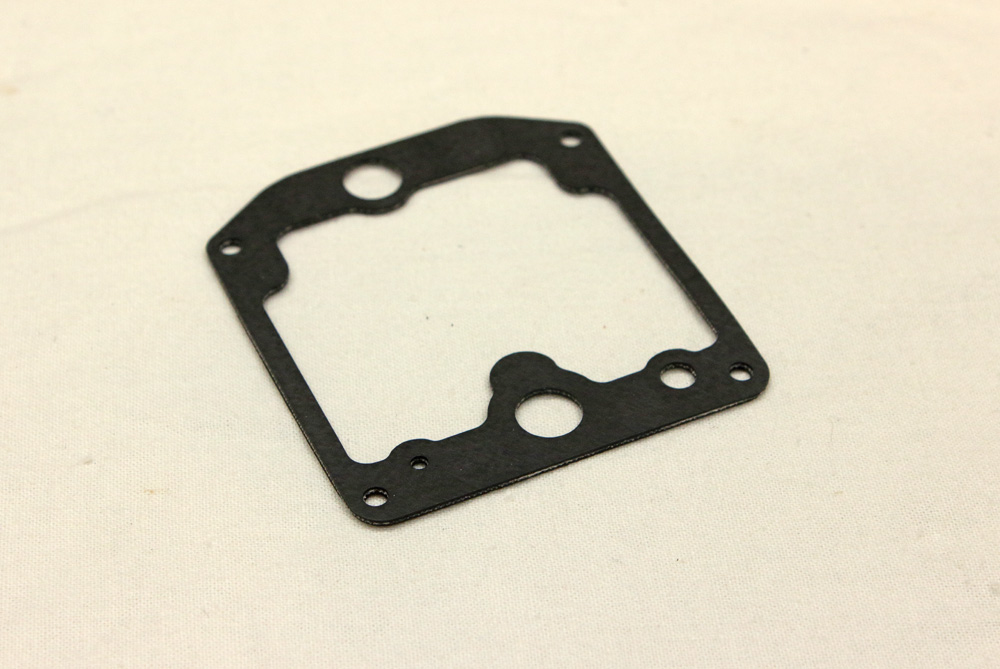
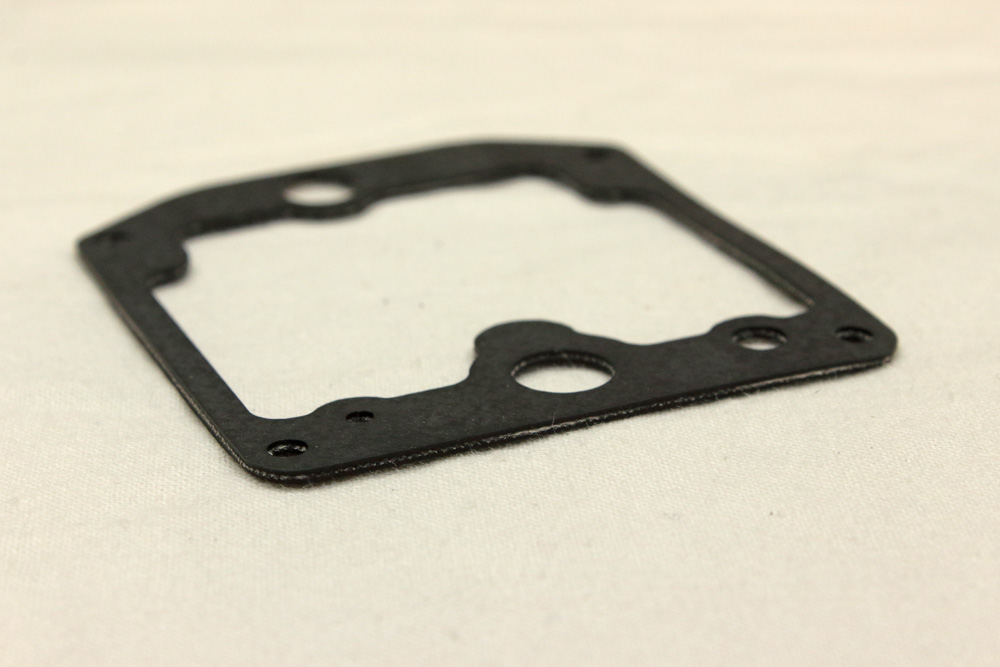
 I also head a small issue with Keyster float bowl gaskets. The hole for the pilot screw shaft (in fact for shaft where pilot screw has to be, as only early models of VM24 carburetors has it there) turned out to be a little smaller than original one. Keyster gaskets are made not of paper, but of two layers of rubber with reinforcing layer of fabric between them, see photos below:
 Thus it was just a matter of some accurate Dremel work to fit them perfectly.
To be continued.
Carburetors assembling. Part 2. >>