I begin my story about CB750 cafe-racer wheels from new rims. As I wished to have perfect result, I decided not to paint or powder-coat those pair of rims you may see on all previous photos, but to order a couple of new rims. In fact I needed pair of rims anodized in semi-gloss black, and in specific dimensions. These dimensions were dictated by tires I chose for this project: 160/70-17 for rear and 120/80-17 for front, thus rear rim should have width 4.00″-5.00″ when front one – 2.50″-3.00″. Yet one condition, the number of spokes, was due to hubs built: 32 spokes for rear wheel and 36 for front.
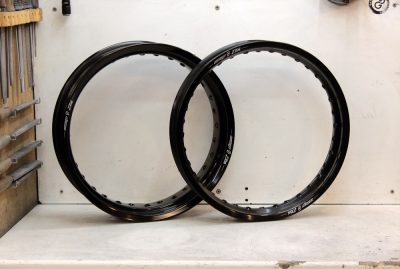
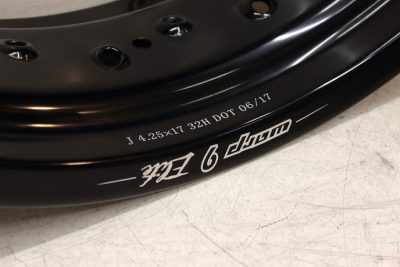
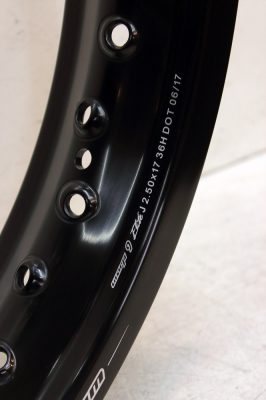
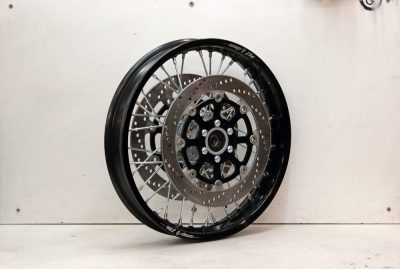
I made some searches and found that the best combination of conditions mentioned above, plus price and availability had rims sold under the brand of Warp 9. I made another search via Internet about this brand and asked friends of mine about it. Reviews from both sources were positive, so I ordered a pair of Warp 9 rims: 17″ with 4.25″ width and 32 spokes for rear wheel and 17″ with 2.50″ width and 36 spokes for front. The speed of their delivery was quite impressive, especially considering the distance between Ukraine and USA, from where they were sent.
The rims themselves looked very impressive too:
 I ordered new spokes even earlier than rims, so when I assembled chassis of my CB750 cafe-racer to the point, described in my previous post, I instantly proceeded to wheels building. Firstly I started to spoke rear wheel, but turned out that Warp 9 32 spoke rim has some features that make it compatibility with Honda hubs not an easy thing.
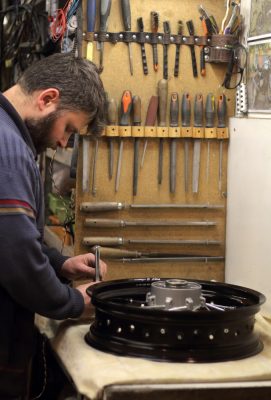
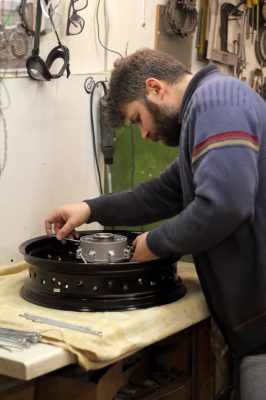 But more detail about this curios fact you’ll find in the next part of the story. Meanwhile, the weather was even more sucks than Internet in my garage.
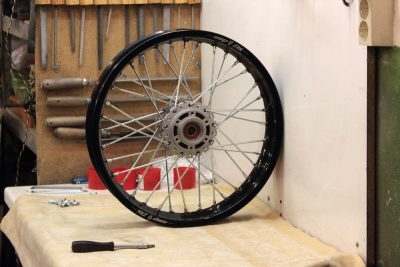
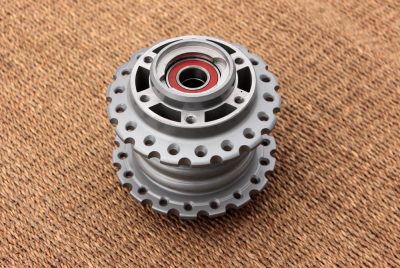
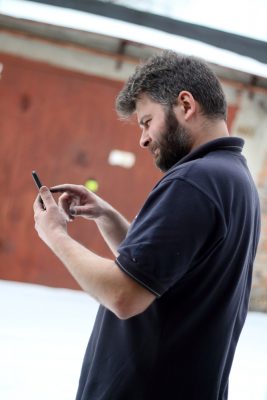 As for the front wheel, I made some modification with front hub. Original spoke holes were too large so hub was machined and new holes were drilled closer to hub center and remnants of old holes were turned into the element of design.
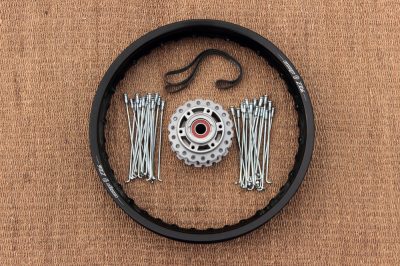
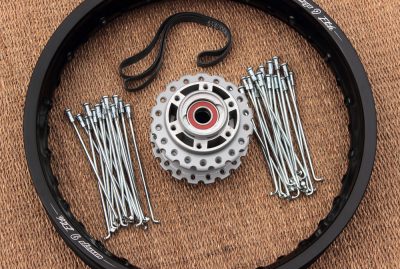 And wheel previously assembled:
 What advices I could give to those who decide assembling the spoked wheel on their own? Here are my tips and tricks:
- First and main thing in spoke wheel assembling and adjusting is patience. Hurry and convulsive movement do no good in this case. Calm down and prepare yourself for a long work before starting, especially if you do it first time. If you stuck, better take a brake and try to figure out what is wrong, otherwise you’ll risk wandering in the circles without result.
- If you are a novice, don’t be discouraged if you don’t achieve result in first try. The real goal of first try is to figure out “how it works”: what happens with rim when you tighten or loosen these or that groups or singles spoke nipples.
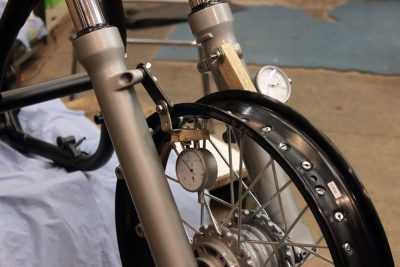
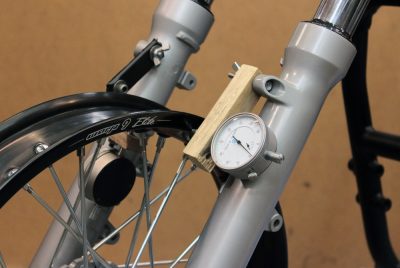
- Somewhere in the Internet you may find advice: do not use indicators, they’ll make you mad. As for me, the best guaranty of good work made are the couple of indicators, used simultaneously for measuring lateral (out-of-round) and axial (side-to side) runout. Indicators are simply things and are easy to read: when its pointer moves clockwise it means that rim became closer to indicator, so when pointer moves counterclockwise, rim moves away from indicator.
- Here we naturally came to the value of lateral and axial runout. I ran through pile of OEM’ and Hynes’ manuals and figured for myself that standard value of lateral (out-of-round) runout is 0.8mm when for axial (side-to side) runout it is 0.5mm. But sure, these values may be achieved only on new rims of good quality. For example with Warp 9 front rim I managed to cease lateral runout down to 0.5-0.6mm and axial from left side of rim down to 0.3mm, while from right side it was still 0.5mm. Indicator clearly shows that reason of such difference is a local bent of rim. Still, it’s a good result. But for used rims such perfection may be unachievable so don’t hesitate if you get runouts up to 1mm on used rims. That’s how it looks in motion:
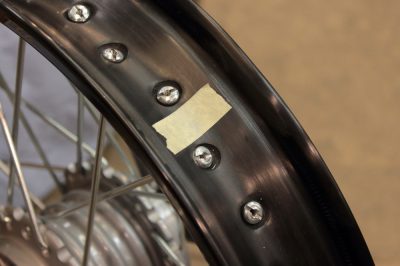
Another little trick: mark rim welding seam. Even perfectly grinded seam may look like kind of anomaly on indicators, but ones marked it doesn’t bother you. Here I also should admit that seam on Warp 9 rim I used for front wheel is perfect.
- Greasing of spokes thread and nipples contact surface are also frequent subjects of discussion. My solution in this case is to grease spoke thread with touch of Li-MO grease while oiling of contact surface I consider optional and depending on type of spokes.
But this will do for one article. If I remember yet something useful about spokes, I’ll write it in the next post. Front wheel for my cafe-racer was spoked and adjusted, thus ready to next assembling scene:
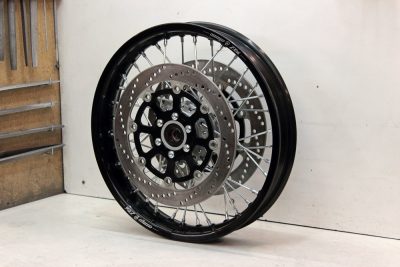
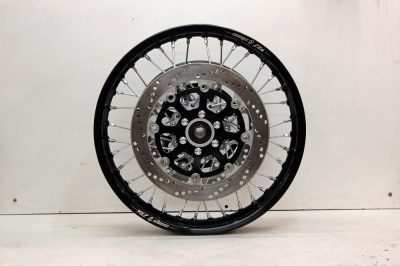
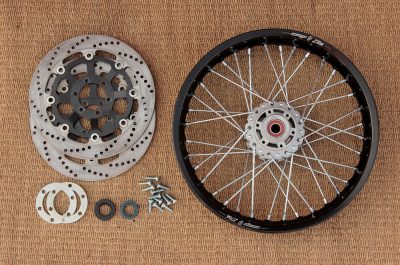 I installed seals, brake disc spacers and screwed discs themselves. Then I checked brake discs runout, found that it is in normal limits (0,2mm) and after that front wheel was ready:

Your work is amazing. I am excited to see so many details in your project. I am looking forward to the end. Hello from Paris, France 🙂
Thank you, Michael!
Hi,
I think i found your rear hub on ebay
( https://rover.ebay.com/rover/0/0/0?mpre=https%3A%2F%2Fwww.ebay.com%2Fulk%2Fitm%2F172313517526 )
But could you tell me which hub you used on the front ?
And did you drilled the holes with a CNC machine ?
Greetings from Germany
Hi Lukas,
Yes, that’s it.
I couldn’t clearly identify front hub. Its design is similar to Suzuki GS750 hub, but turned out its dimensions is different. You may use Honda CB750 SOHC or Yamaha XS650 front hub. The main point is find brake discs of original size but compatible with hub. You may find information about discs dimensions in online catalogues of TRW, Braking or other brake component manufacturers.
Kind regards,
Nazar
Awesome. Would like to do the same on my -93 sevenfifty. One question, where did you get the front hub from? The rear was fron an africa twin right? Looking forward to reading through the rest of your work.
Kind regards, Tony from Sweden