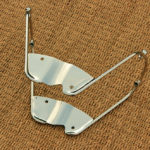
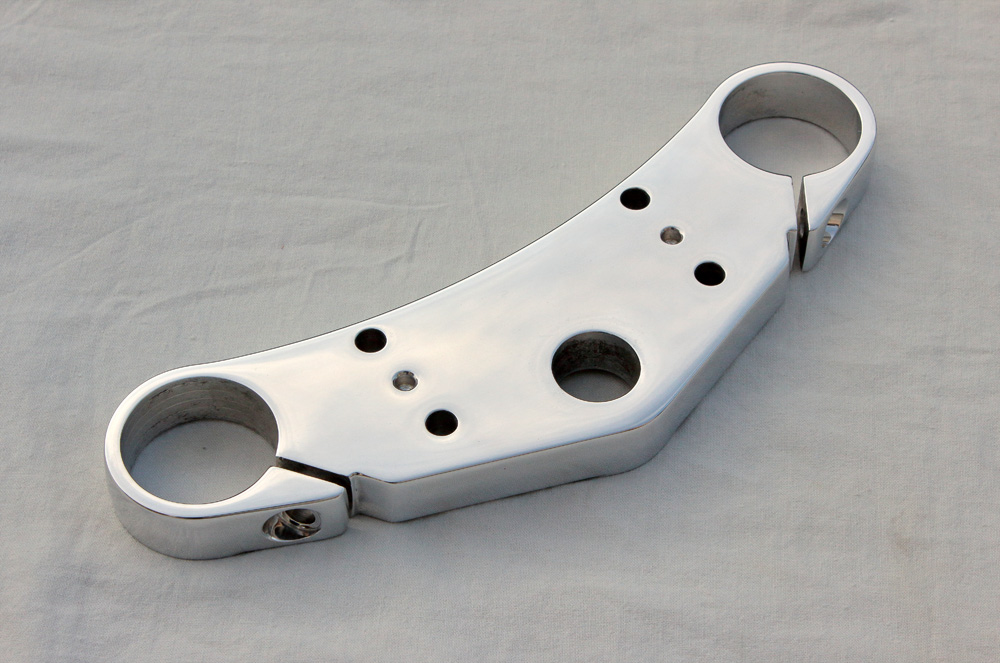
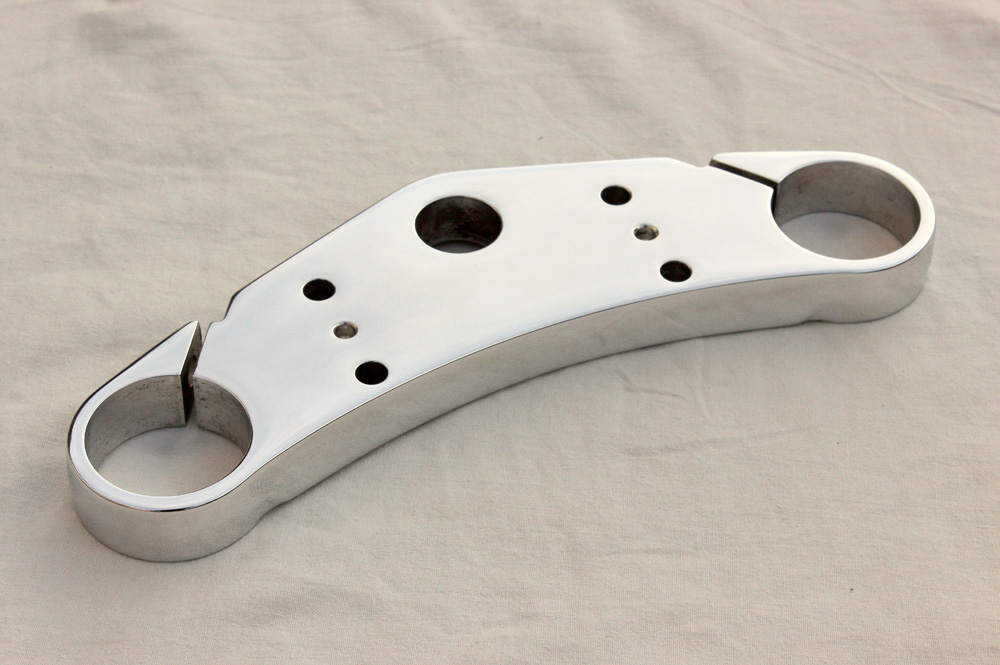
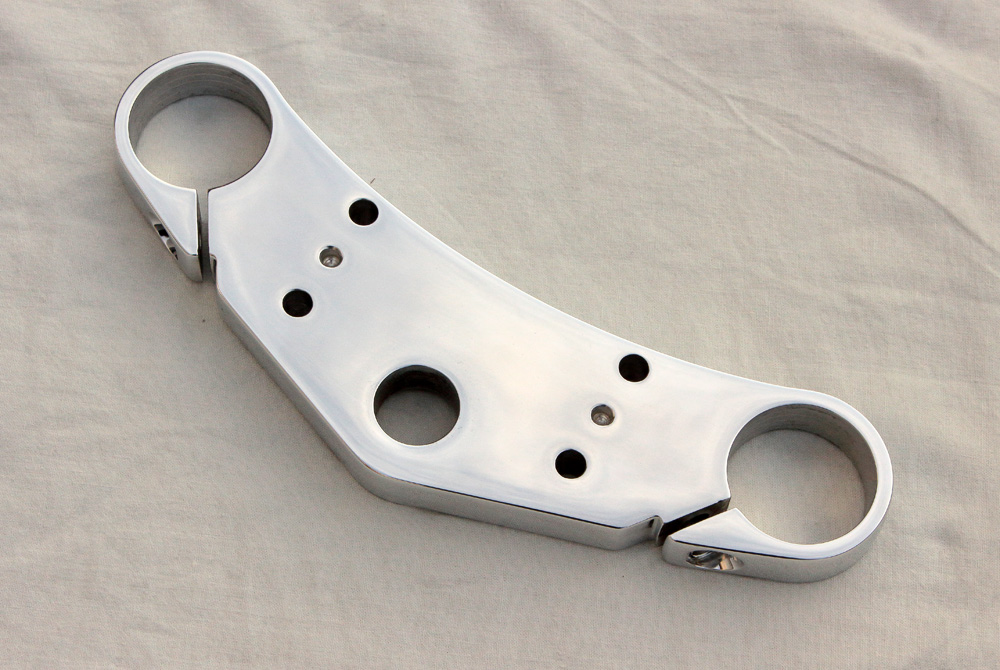
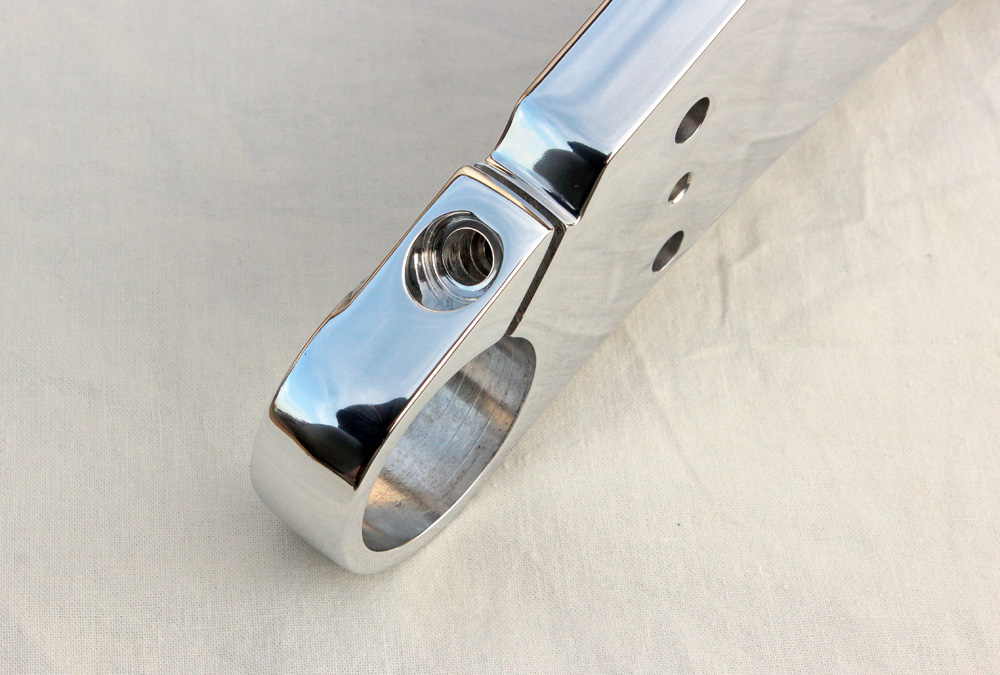
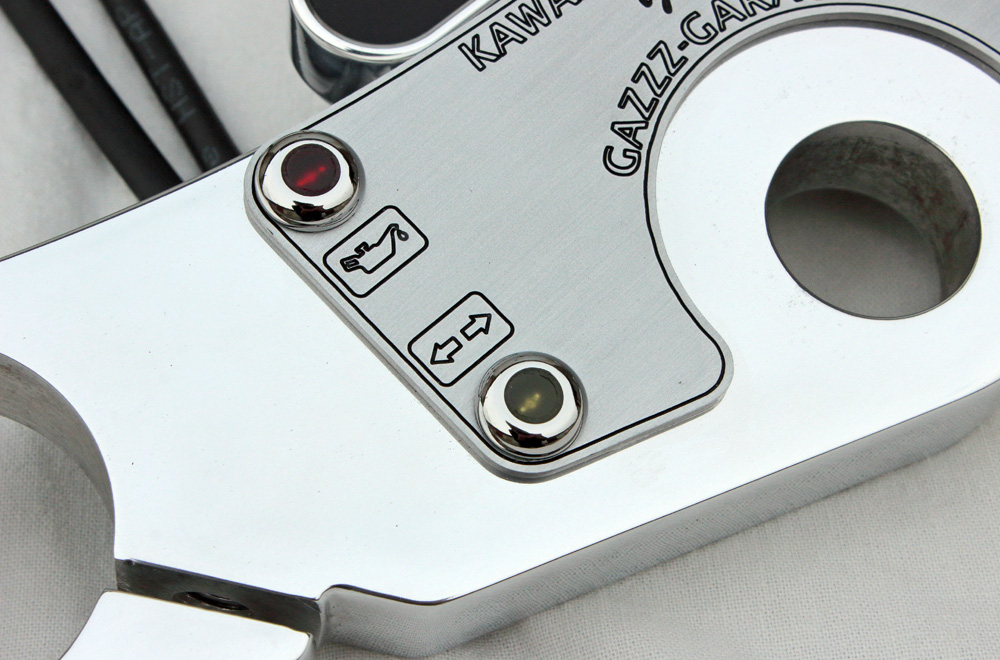
All components for dashboard were ready, but I had to polish top yoke before assembling . The surface of part isn’t complicated and its top is flat, so what might be simpler you might ask? However, the longer I do polishing, the more I became sure in only one thing: every case is individual. Result depends on alloy and if it is cast part, it depends on how it was cast (pores, unevenness of alloy). Thus, sometimes small part could take more time than a much bigger one (if you are interested in more or less perfect result of course). This top yoke gave me quite a headache, but after some time I found right approach and got very nice result. Here it is:

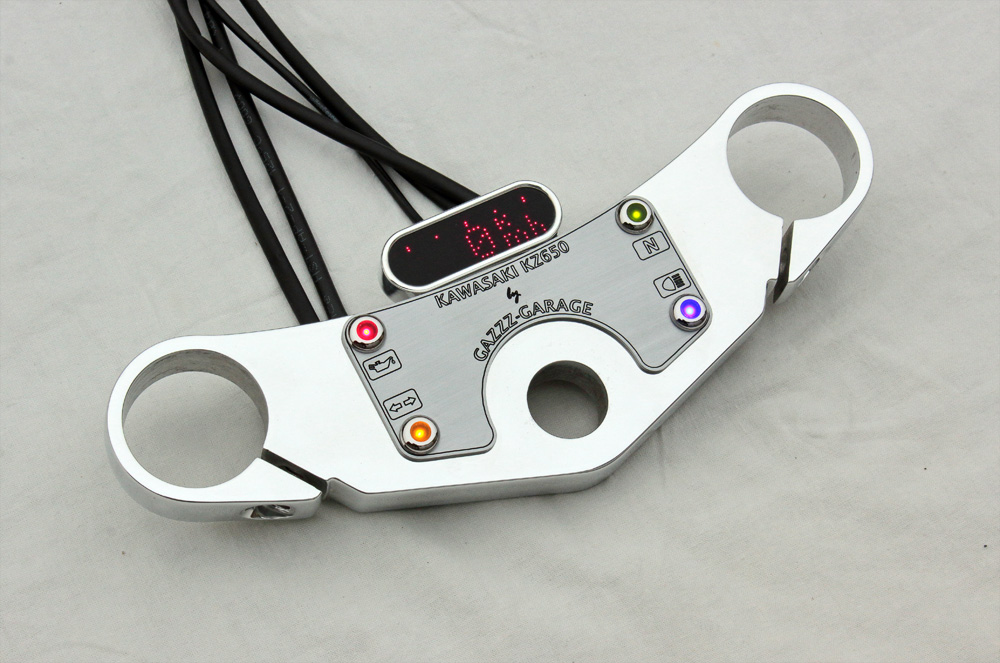
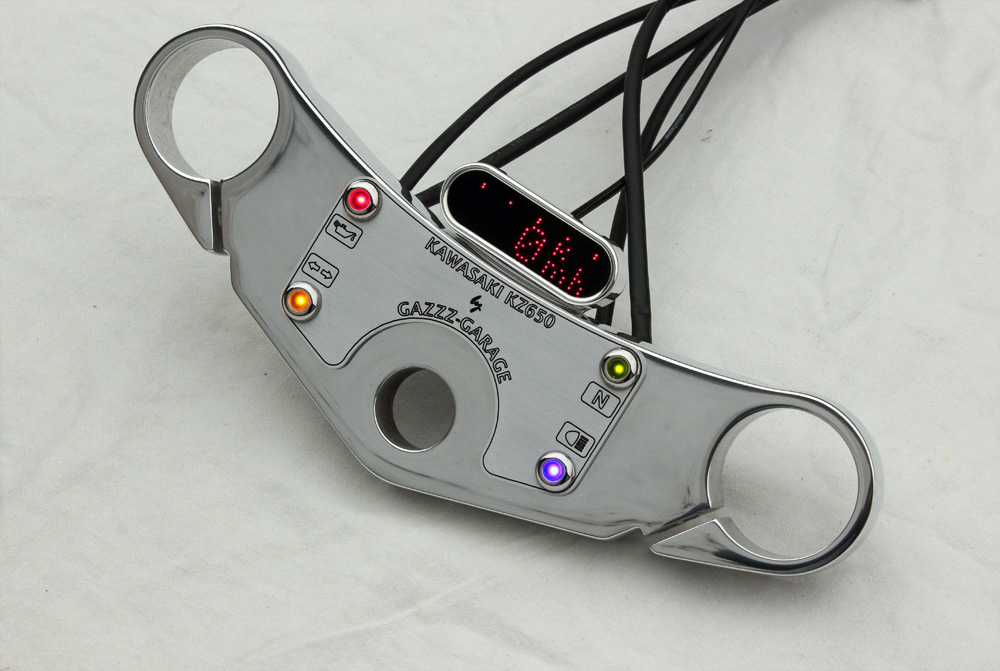
 Assembling was alike to final strokes of artist’ brush: he makes them and picture suddenly became whole and finished, alive, there is nothing to add, nothing to remove. Light was changing when I was photoshooting result of my wok, so as it often happens with me in such cases, I shot too many photos. I selected those that I considered to be the best at the moment of choice, but still there are fifteen more left.

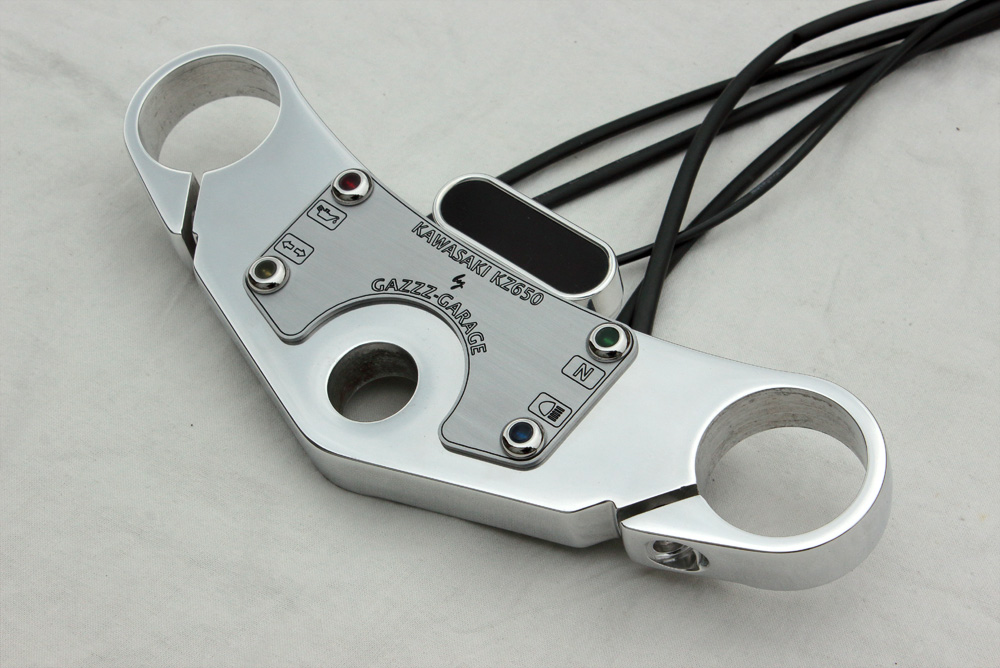
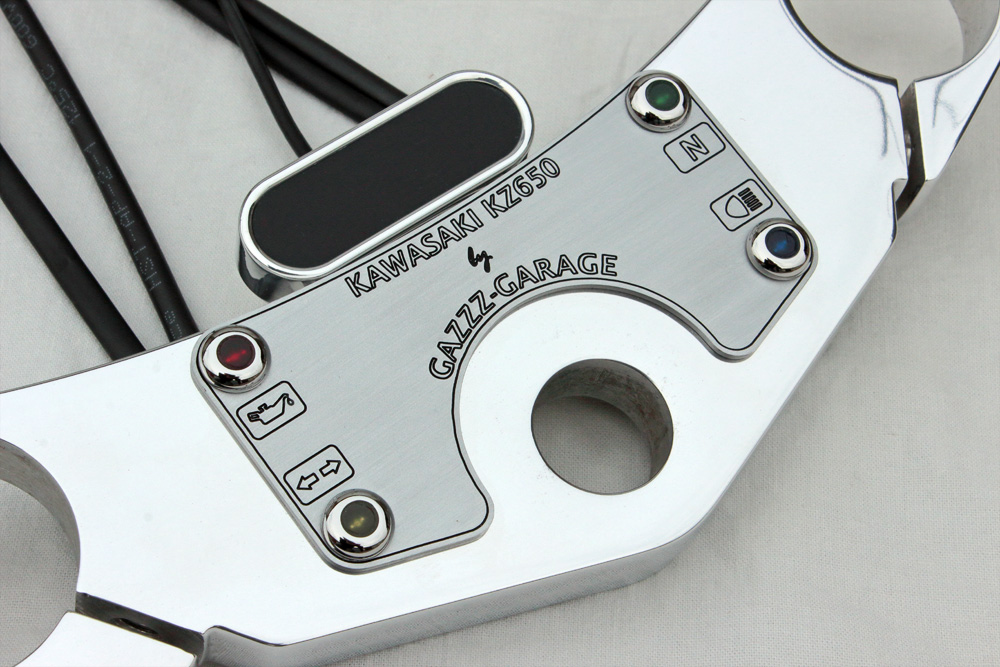
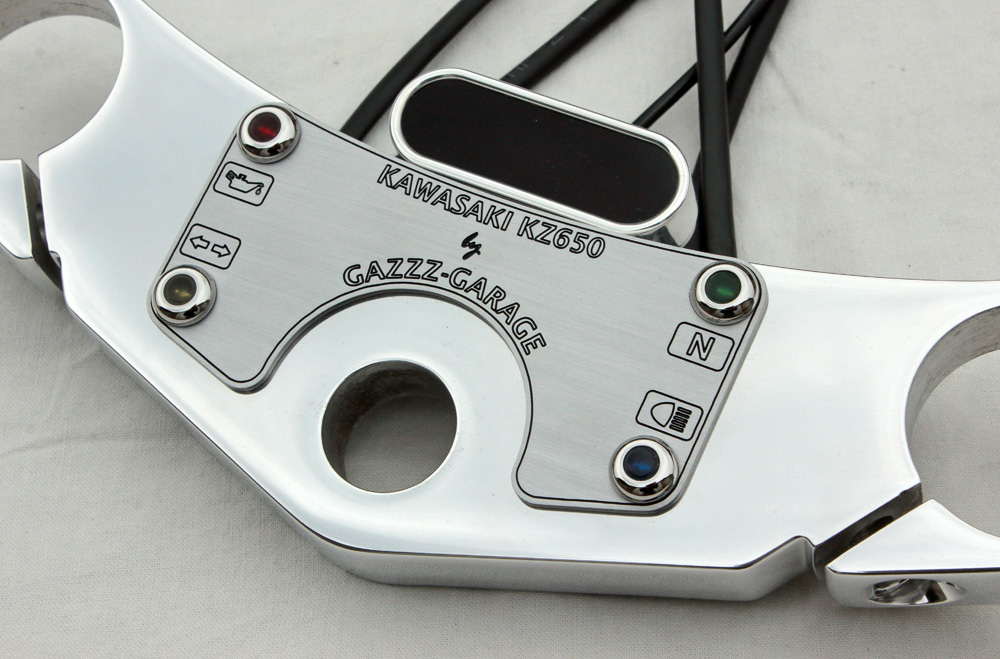
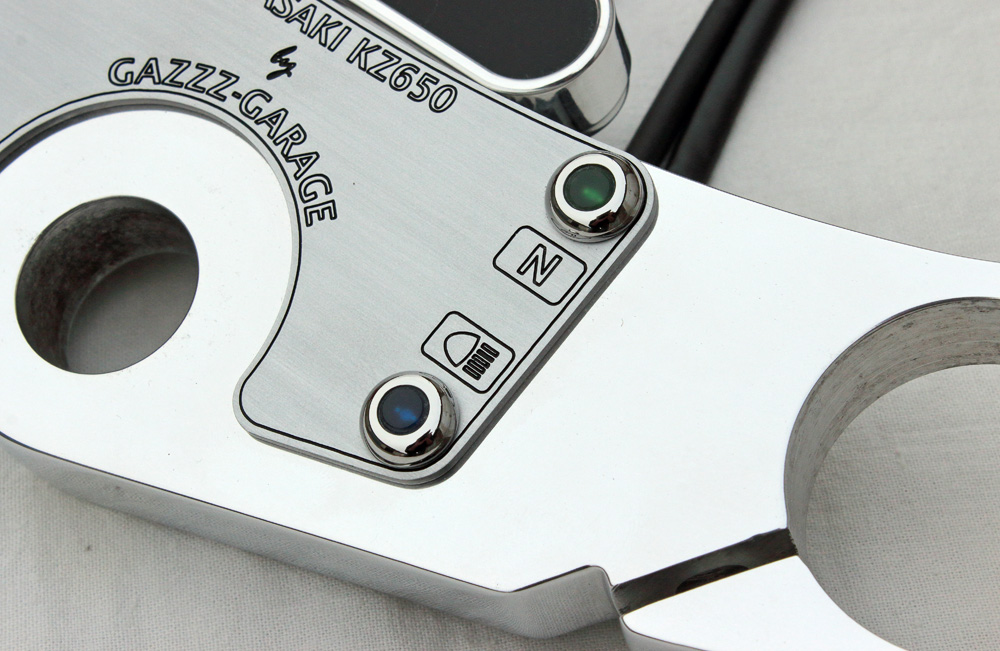

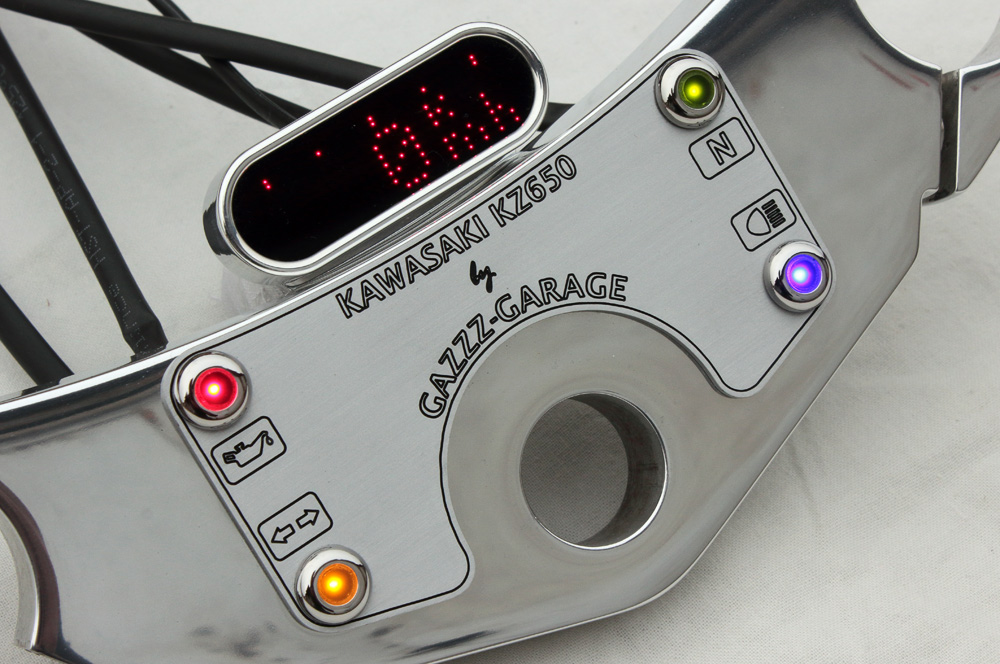
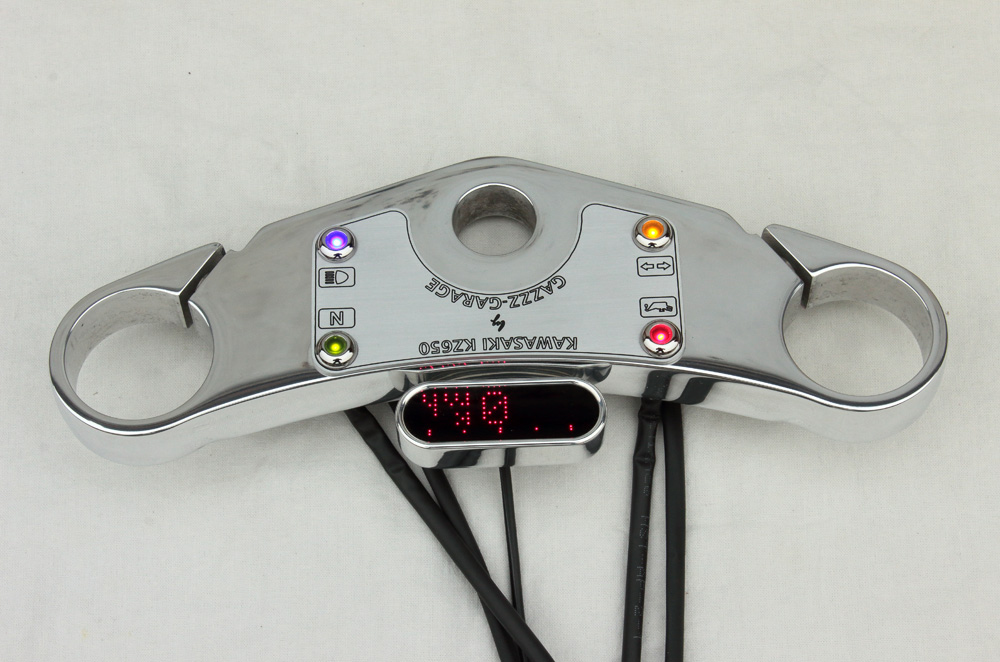
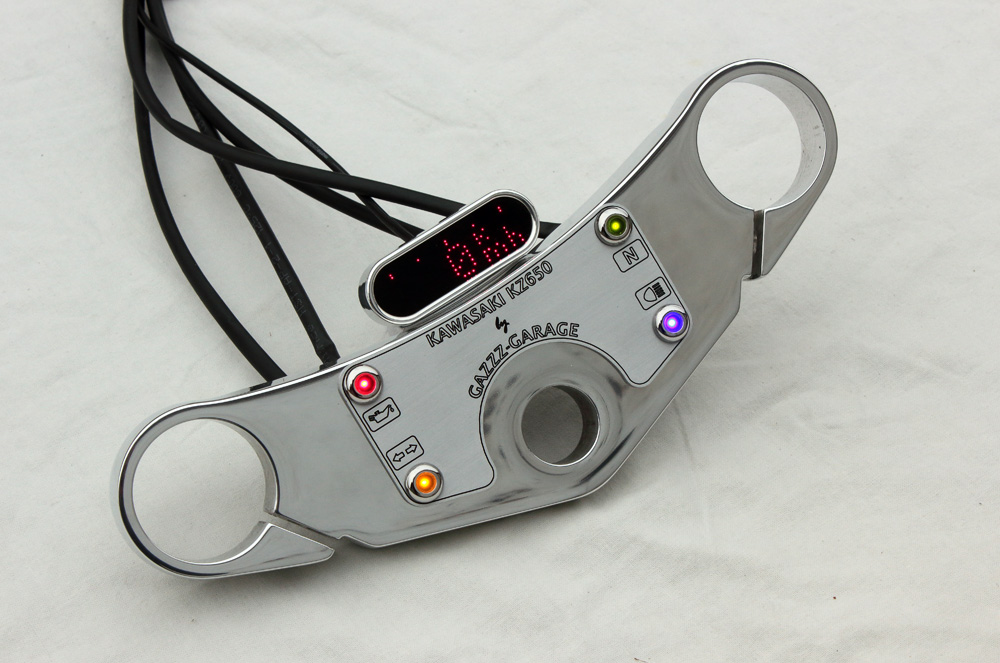
 And sure, I couldn’t resist desire to see how all indicators and speedometer look when power is on, therefore some part of these photos are of dashboard with all lights put alight. No photo could convey how it looks in real life, but I did my best. So here we go, just imagine that colours of central points of indicator are more even to their edges (especially for blue light, it’s just blue, without high-pitched magenta tone).