
Previous part of rebuild story>>
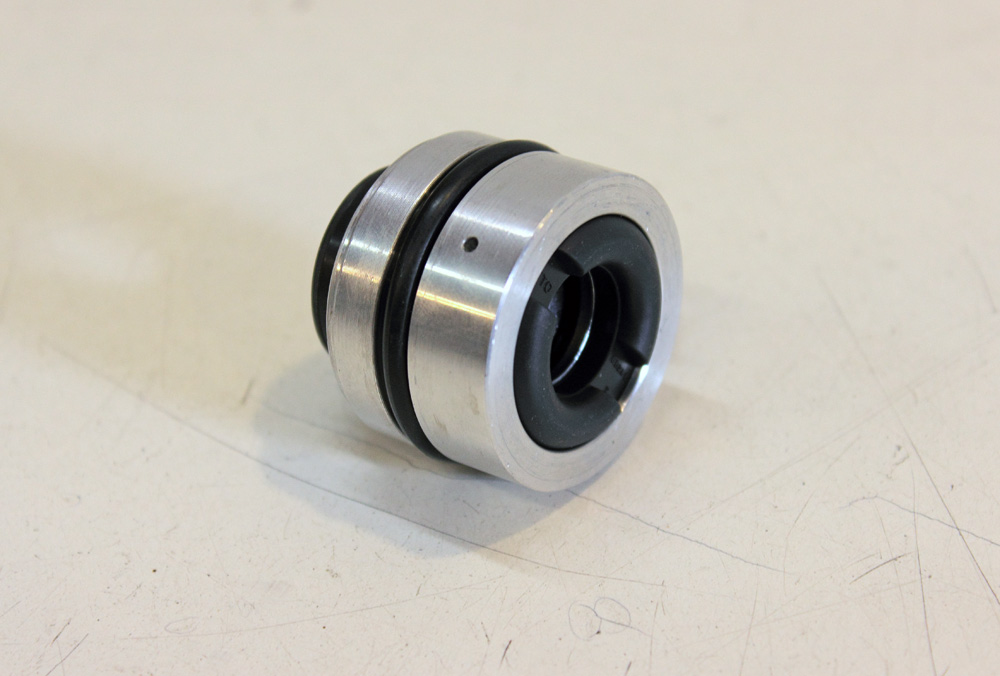
This time I decided to use new seal head instead of just seal replacement. This is not the most difficult question as you know its dimensions. Zephyr 550 and 750 seal head dimensions are 12.5x36mm and as far as I see the many other Kayaba shocks, like ones from Suzuki GSX1400 or Kawasaki ZRX have the same seal head dimensions. I made a quick search of seal heads I may got as soon as possible and found out that it turned to be All Balls. I ordered a pair of seal heads and received them in week time. The manufacture part number is 37-1012. The price is around 40$ per one seal head.
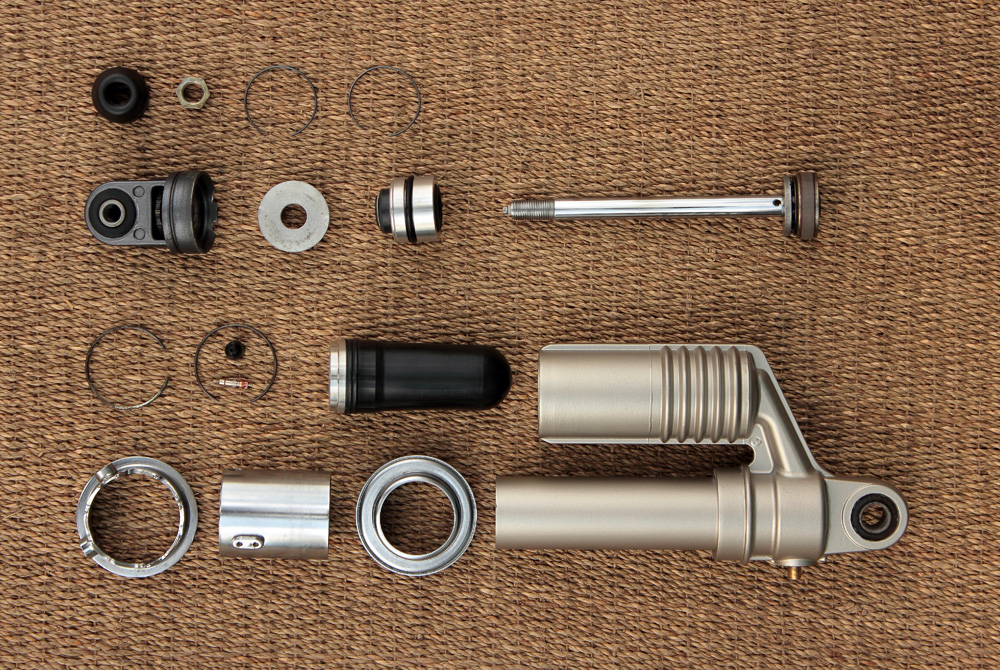
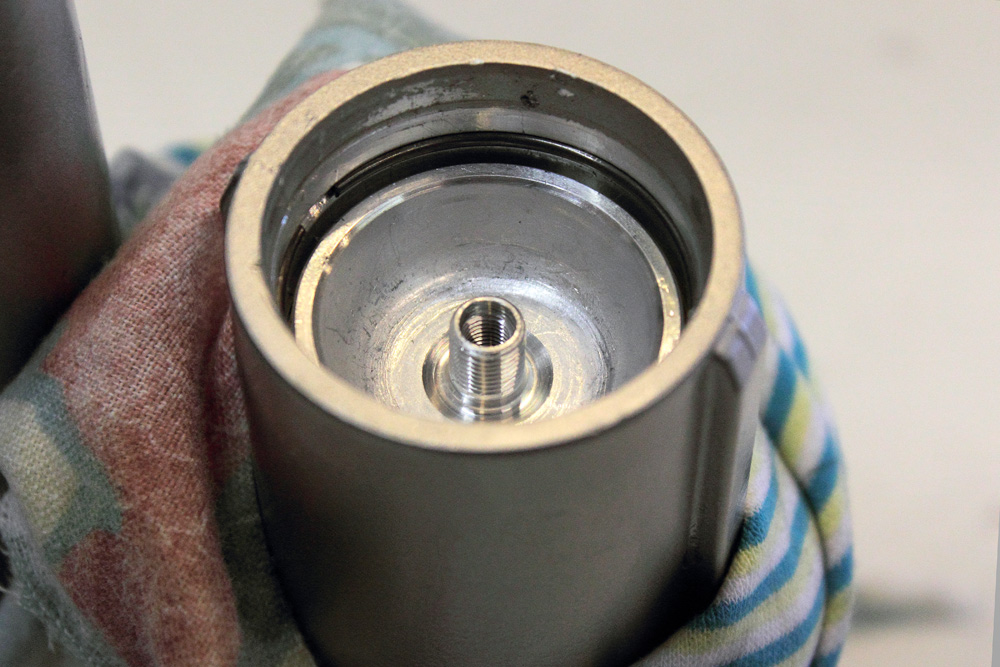
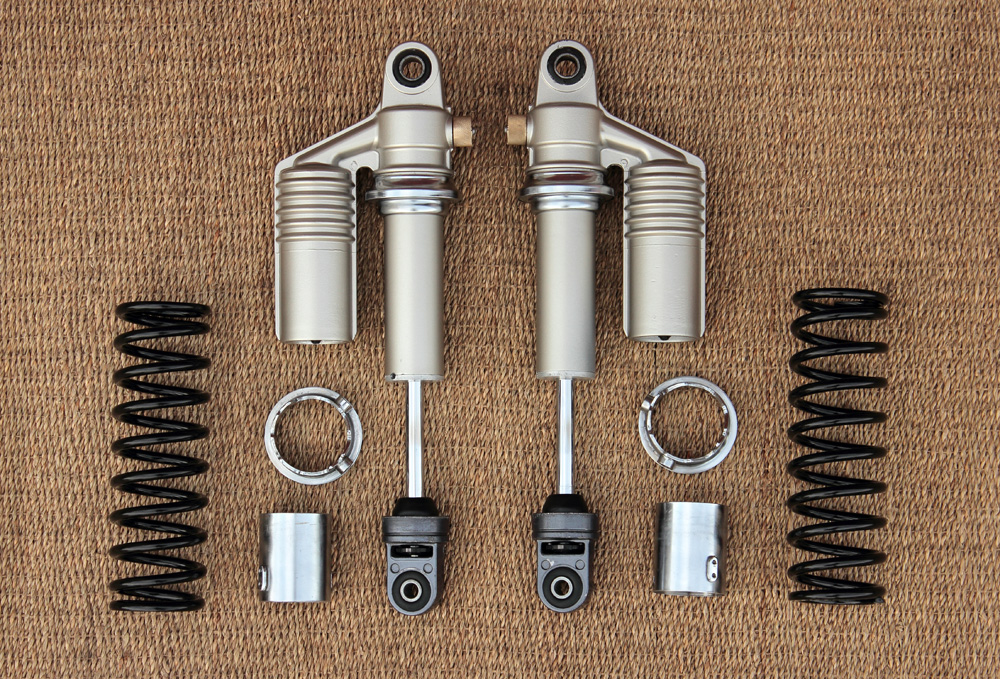
 For this time I had shocks bodies cleaned and painted in the same shade of silver colour which I used for whole “Eight Ball” silver parts. I forgot to give painter lower shock heads, but as I had all to assemble shocks I decided to left them in original colour. That’s how looks disassembled shock:
 But let’s assemble shock! Our first point is to return all we removed from shock. New seal head, new damper rubber.
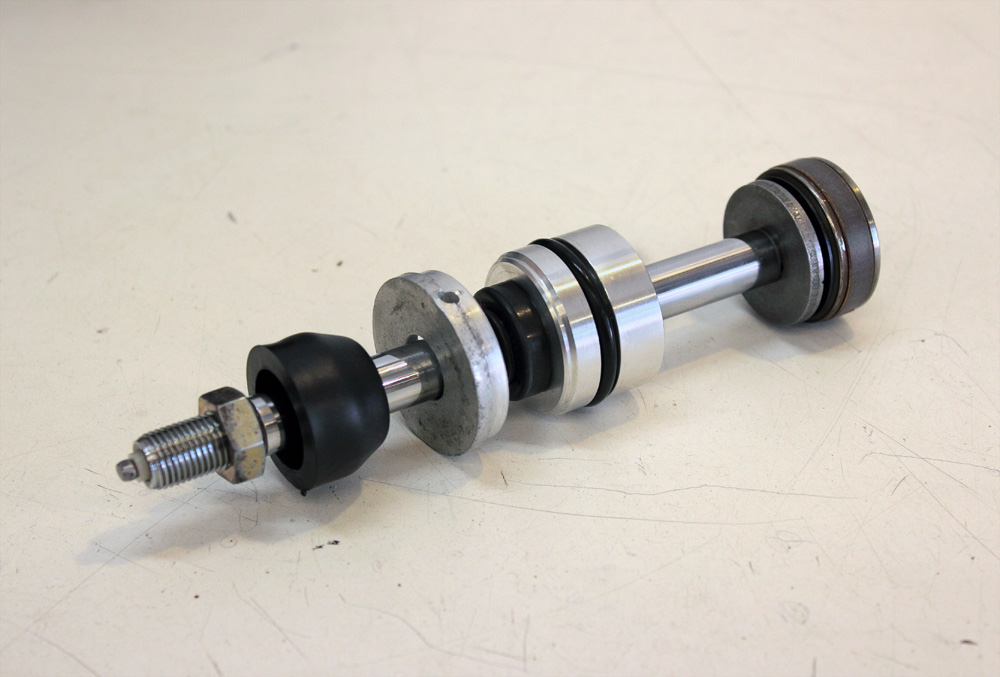 As we removed lower head with rebounding adjuster, now we have to install it back. The main trick is to align biggest hole in adjusting rod
 with mark “1” on adjuster,
 and screw rods of both socks on similar distance into the heads. Nothing difficult, but takes some mind concentration. Don’t forget to lock the head with lock nut.
 I don’t like the idea to clamp shock in vise, so I invented my own little trick with half of plastic bottle to place shock in it and rags to fix it there. You do not need to apply much force while assembling shock, so system is stable enough for this purpose and rags which fix shock body also work like oil absorber.
 After shock body is fixed in plastic can, we should fill shock with oil. This time I chose Fuchs Silkolene RSF 2.5W.
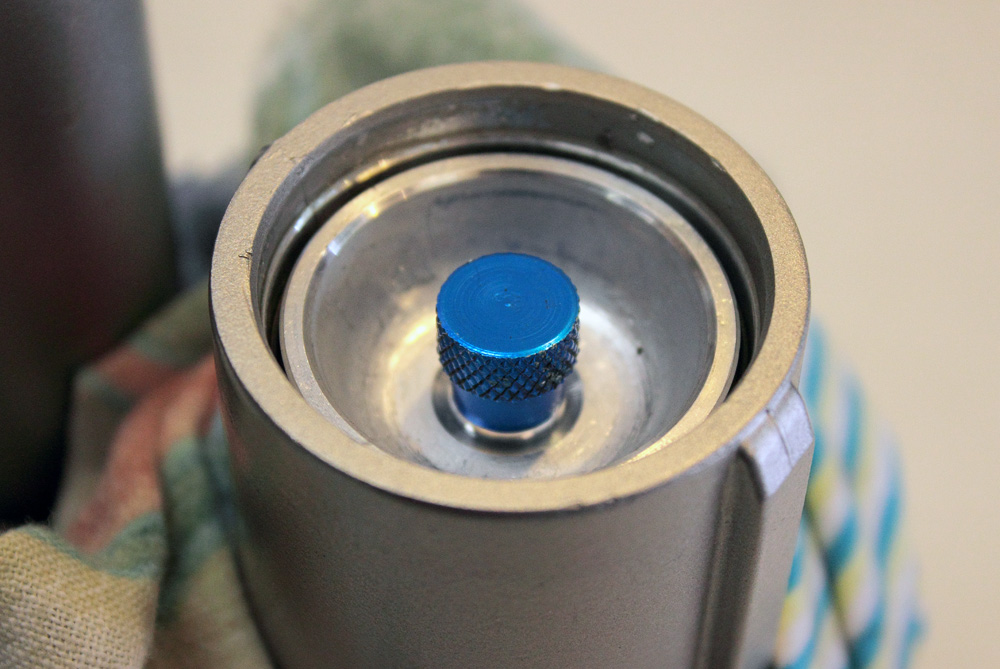
 Then we may install gas reservoir, push it into case and to install circlip.
 To pull it back I used occasional Chinese valve cap and pliers.
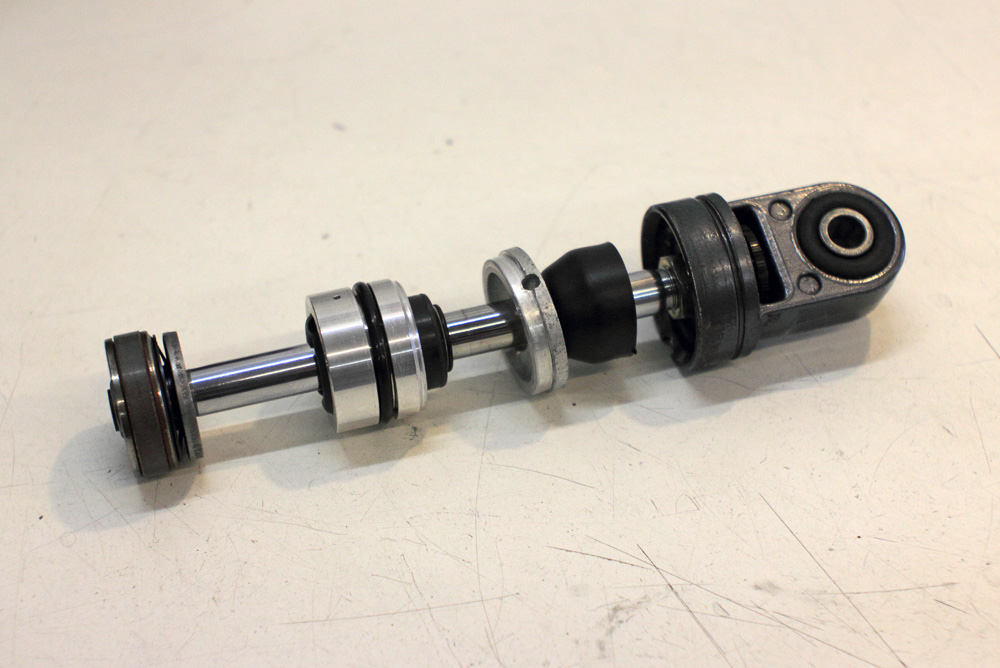
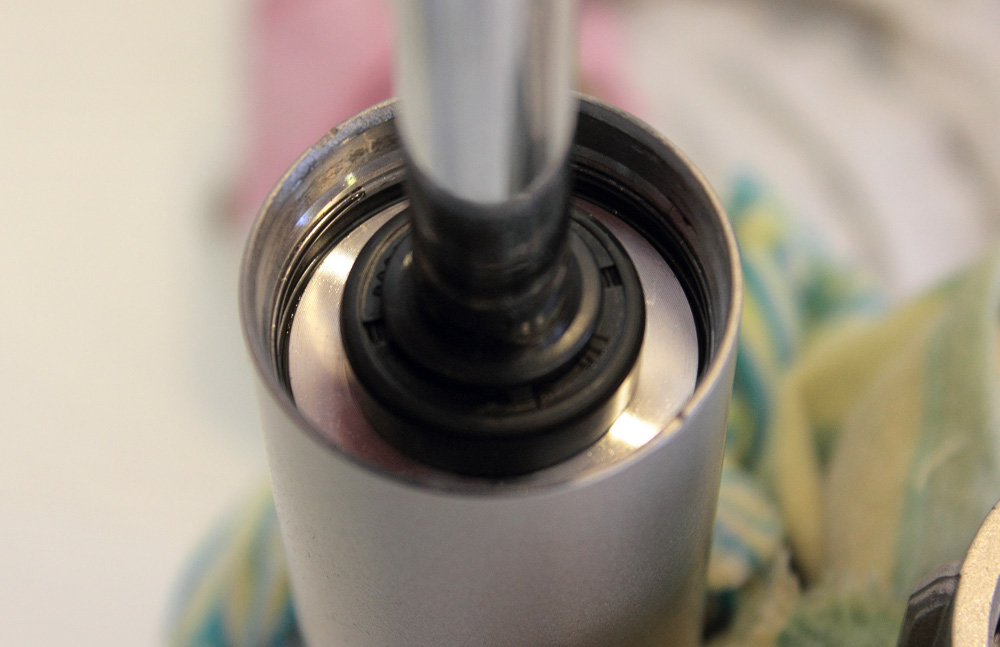
 Next step is shocks guts installing. Attention to Zephyr 550 owners! Do not forget install spring’ upper bearing washer on its place, because one may be unable to do so after piston is in the cylinder.
Insert the piston into the shock cylinder slowly. Push and pool it slowly few times to ensure an air absence behind the piston. Add oil into cylinder up to the upper circlip groove if needed, than slowly push the seal head trying to expel as much air as possible.
 Push seal head dipper into cylinder and install both circlips.
 Pull seal head back by rod with piston. After that screw valve in gas reservoir and fill it with air to 0.1 Bar just to hold bladder being crumpled.
Then we may take shock from the can, position it vertically, and slowly pump it to get all the air above in the top of shock. The point is to pump slowly to avoid creating foam in oil. After pumping, pull the rod back and let shock stand vertical for some time (to dissolve foam if we got any).
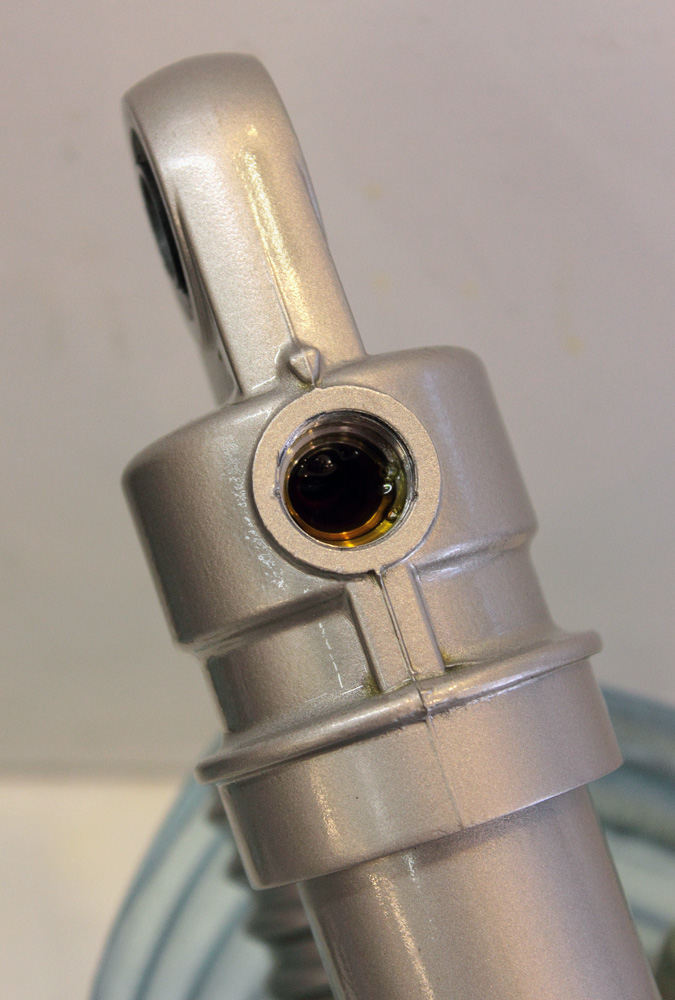
Okay, we are close to finish. Our next step is to get air and extra oil out of shock. For this purpose we use a pressure adjuster on top of the shock.
 We should unscrew this brass nut with improvised “special tool” like this:
 Then carefully pull adjuster from shock case. Be careful and use a piece of rag to catch potential oil splash.
Remove air valve from gas bladder and fill shock with oil up to the adjuster neck.
 Install adjuster and fix it with nut. Now main work is done.
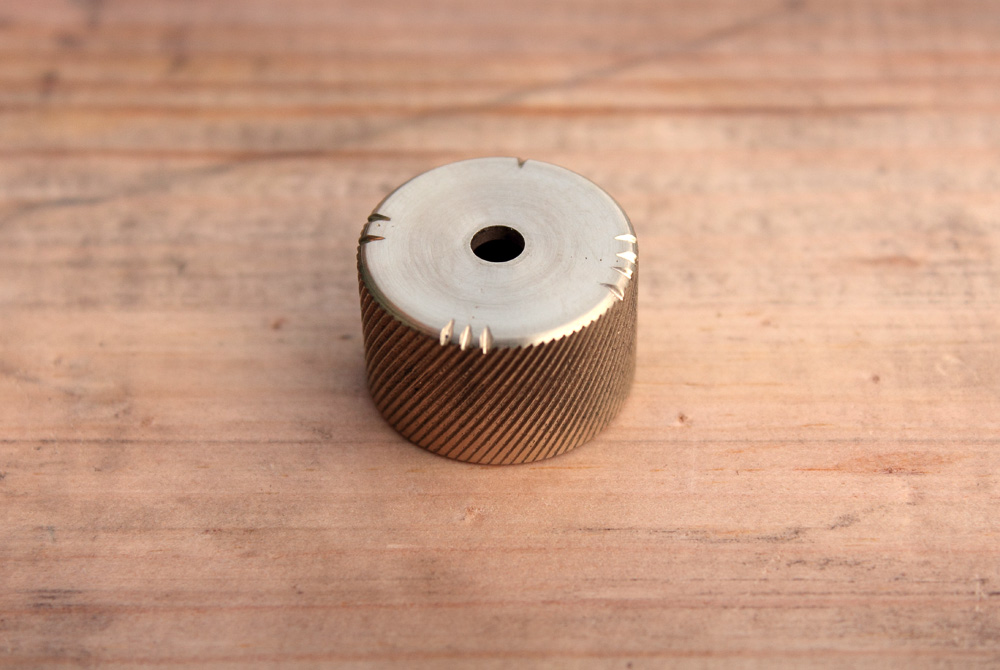
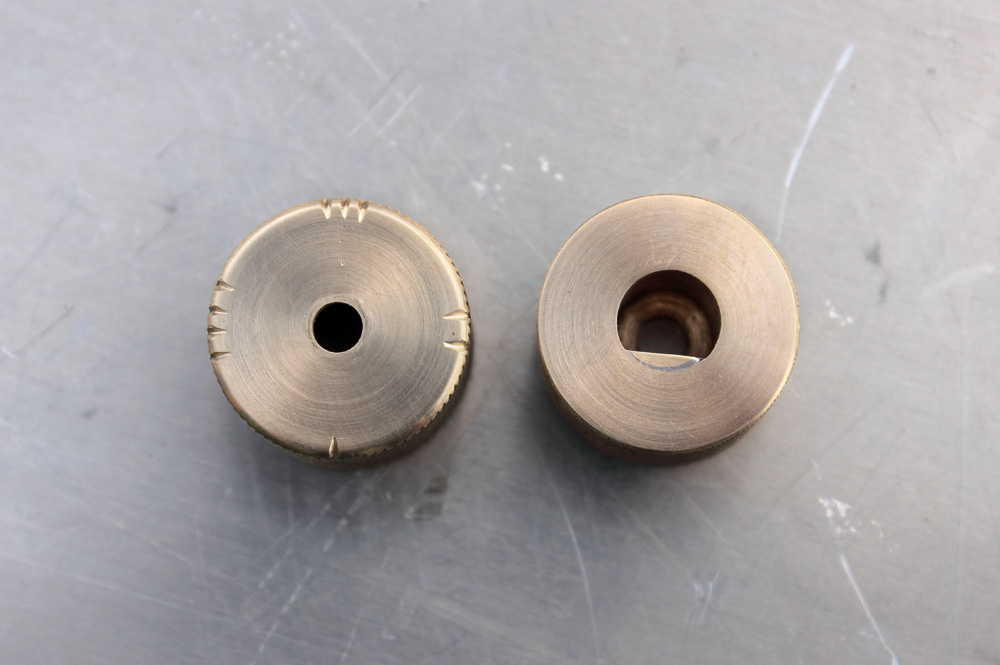
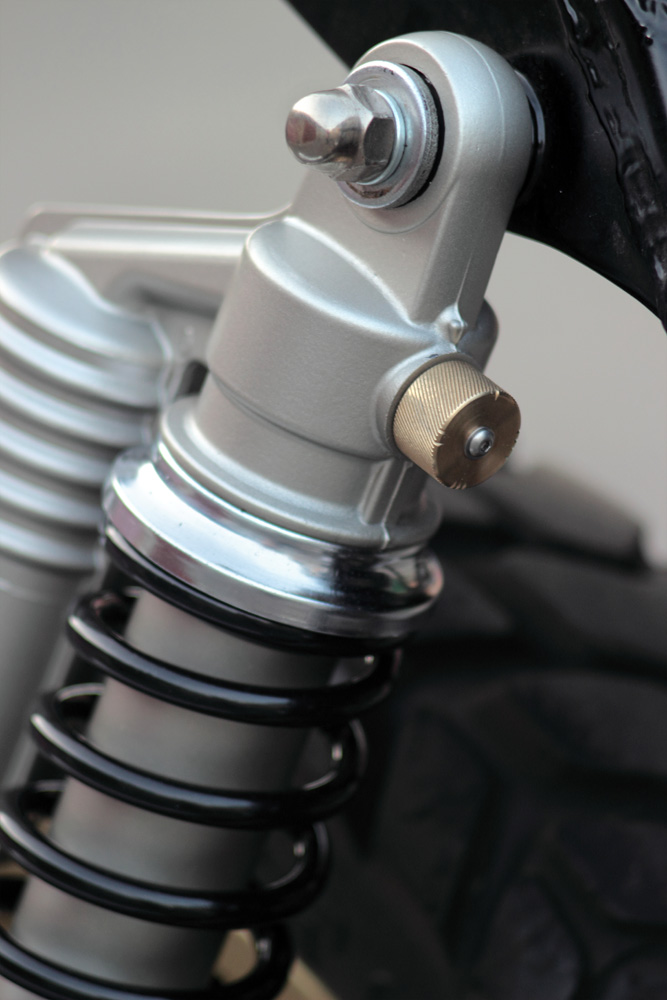
As you know from first part of this article, I prepared this shocks for my “Eight Ball” cafe-racer and I decided to add one little custom feature. I designed and made a couple of custom brass compression adjuster heads. To avoid any redundant external turn fixers I just soldered holding shelves right into heads.
 Bladders filled with air up to 8kgf/cm2 (yes, I am rather on side of “airists” in air VS nitrogen holy war ) and shocks ready to spring installation.
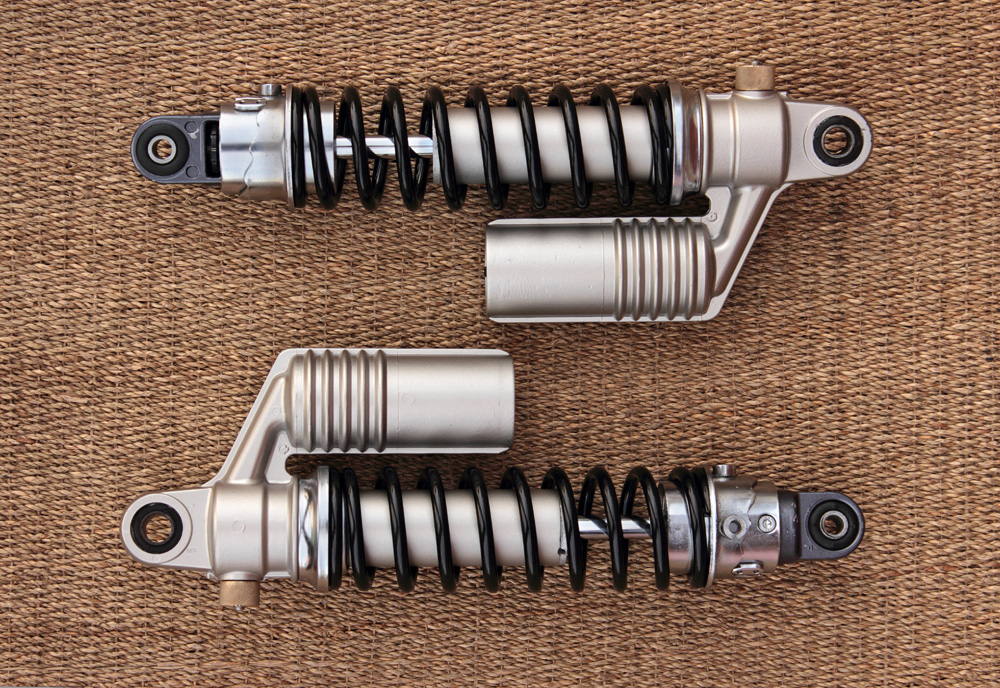
 And then shocks ready to be installed on the bike.
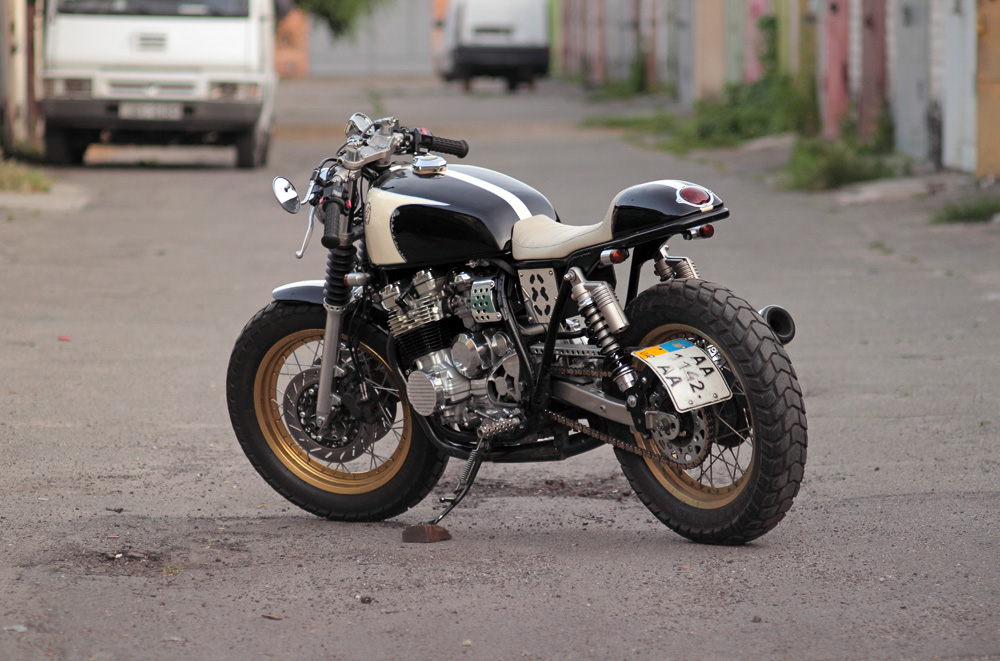
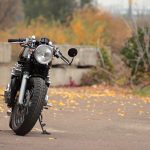
 That’s how my Yamaha XJ “Eight Ball” cafe-racer looks after this little update:
 The end.

Hello.
What do you think about the k-tech repair kit:
http://store.ktechsuspension.com/shock-absorber-seal-head-service-kit-kyb-36-12-5.html
it’s compatible with seal head dimensions?
Thank you!
Hi,
Dimensions of Kayaba seal head is 36/12.5, and since description indicates that service kit is designed for KYB (Kayaba) seal heads, it should be compatible with original parts.
How much oil does each one carry and what price does it carry?
Hi Manuel,
I bought 1l can of shock oil and it was more than enough, but I didn’t measure exact capacity of oil per shock.
Hi, where can I buy new damper rubber?
Hi Piotr,
I assume that closest to you bump rubbers would be in Germany. Just copy phrase “Anschlagpuffer 12” into search line of German Ebay and choose “Motorradteile” category.
Kind regards,
Nazar
Thank you so much! And It is 12 x 25 mm?
Yes, 12x25mm would do.
Great rebuild info. I’m about to embark on a rebuild of Kayaba shocks for my SRX600 so will have this to hand.
Cheets
Min
Hi Min,
This info might not be applied to original Yamaha SXR600 rear shocks. They look to be pretty different to Zephyr shocks.
Kind regards,
Nazar
Brilliant guide, my Zephyr 1100 Shocks are now in pieces awaiting Seal Kits. Thanks for sharing.
Thank you!
can you share your maked custom brass compression adjuster heads design