As I wrote earlier I am fond of aluminum Kawasaki swingarms with eccentric drive chain tensioners. For one thing they are light but strong and excellently withstand lateral and twisting loads. For another thing they are stylish: no axle head or nut protruding from their sides, neither tension bolts stick out from arms ends. And in addition eccentric adjusters are helluva practical: you tight axle nut only once when install it and the process of chain adjusting becomes simple and fast thing, moreover with no need to check marks every time.
The particular feature of eccentric adjusters is rotation of brake caliper bracket around axle when axle nut is tightened. For this purpose it usually has collar and bushing: a collar became static part once axle nut is tightened and bushing, being not mandatory part, however helps bracket to rotate around collar.
This time using of swingarm with eccentric chain adjusters made things a bit more complicated, as Honda CBX550 rear wheel is designed for swingarms with linear adjusters And what is most significant, in case of CBX550 wheel the very brake shield works as brake caliper bracket, thus it couldn’t be replaced with any other bracket.
 Thus, first task was to modify brake shield to make it rotatable after axle nut is fixed. Luckily, brake shield central part has body enough to machine it for collar. Bushing is not necessary part of this system, zinc anodized steel and aluminum will do, thus I made measurements, produced blueprints and ordered these works from local machine workshop.
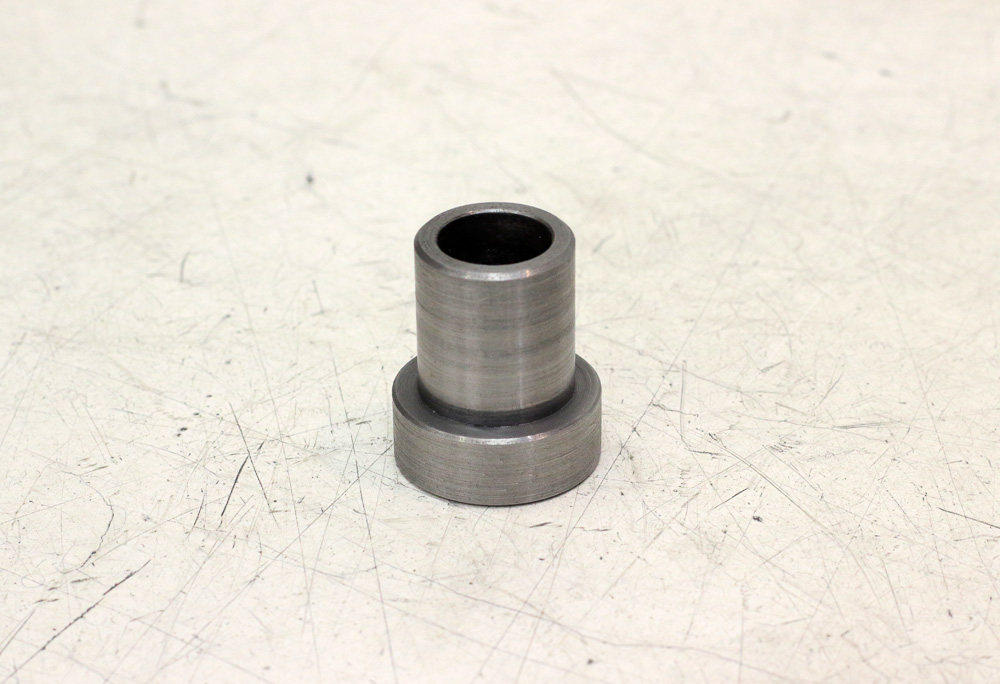
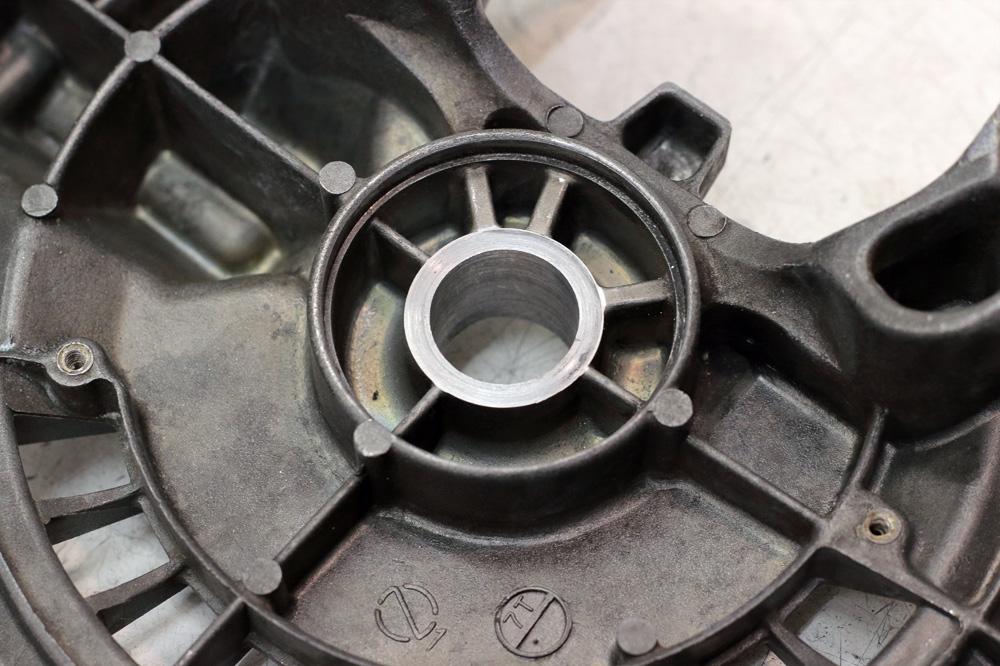
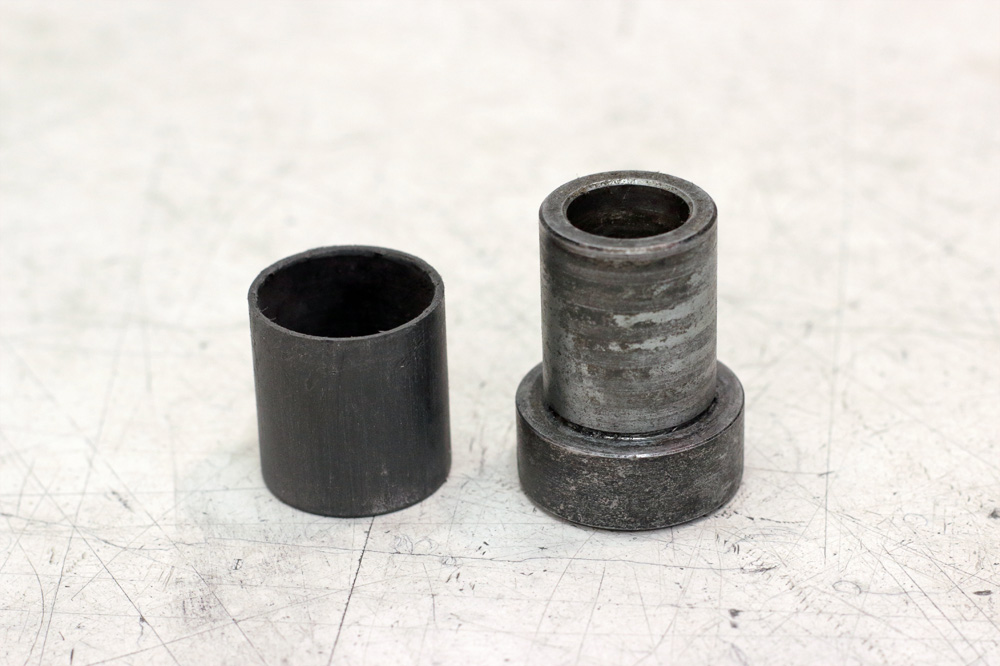
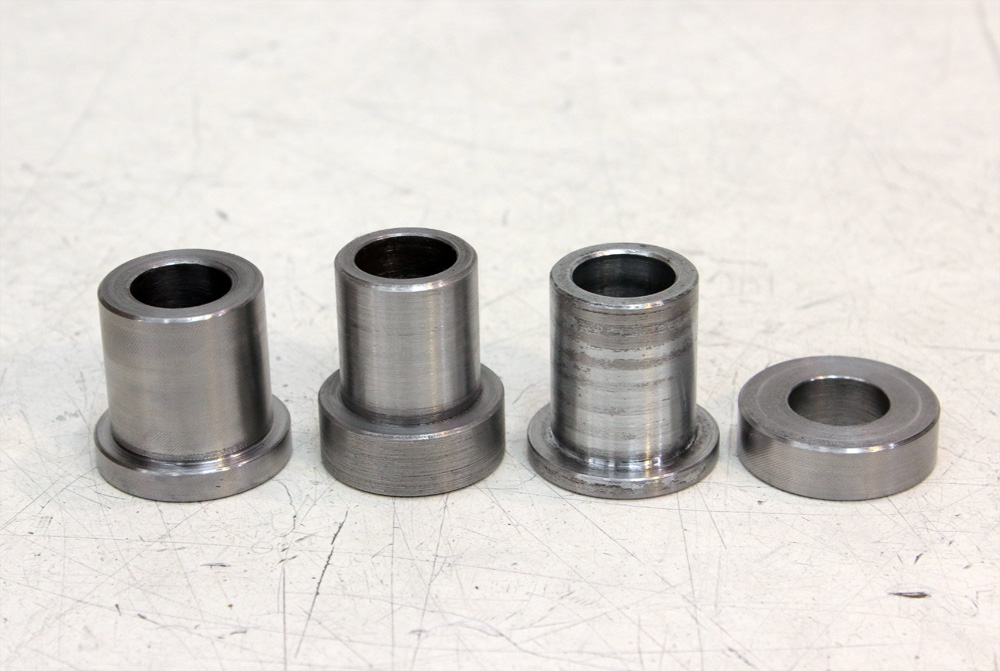
And here is result, the collar:
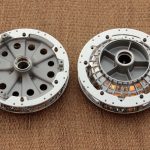
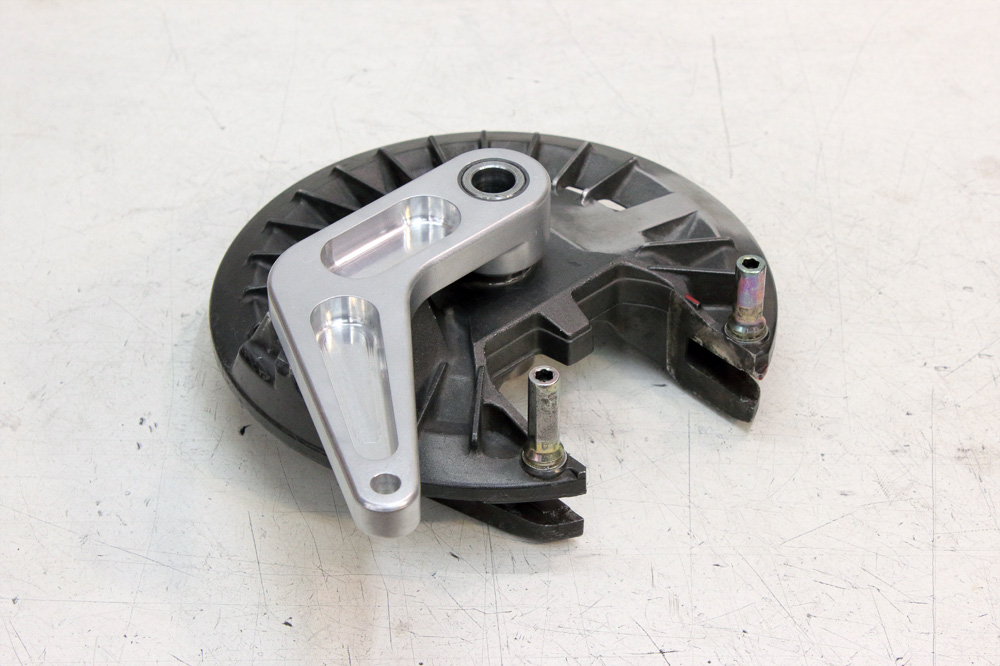
 Machined shield:
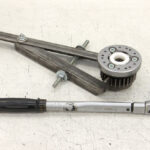
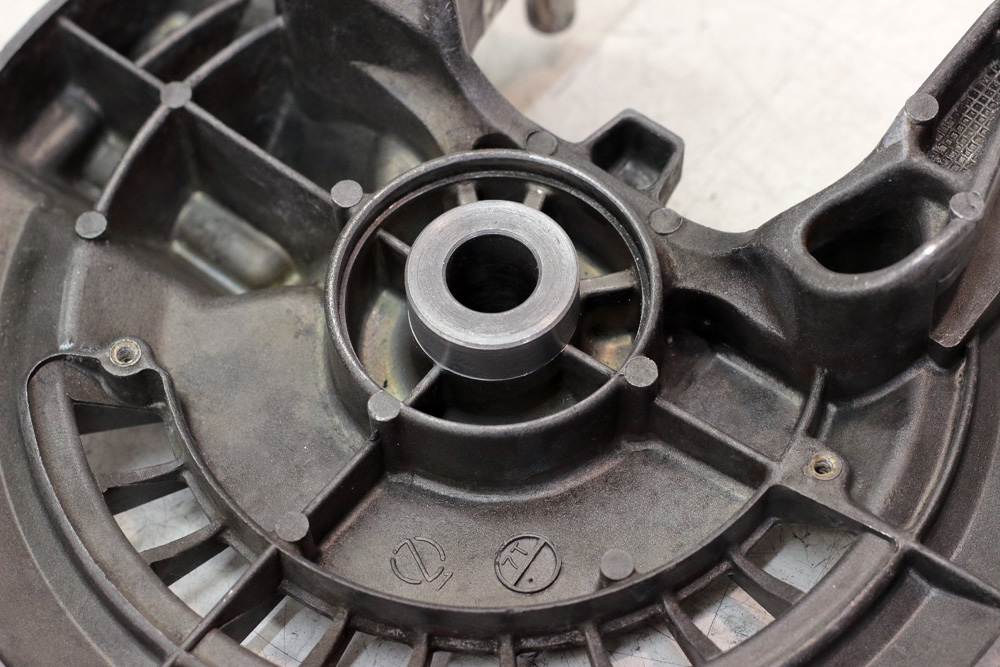
 And that’s how it meant to work:
 Next question was how to connect brake shield and swingarm with brake torque rod. The idea of adapter was quite obvious, but there was more than one way to make it. The simplest solution was to cut it from thick aluminum plate, then make holes for collar, torque rod and threaded hole for “fixer” that connect adapter and brake shield. However, I chose more complicated but more interesting way. First, I made simple PVC model to work out final dimensions and design of parts.
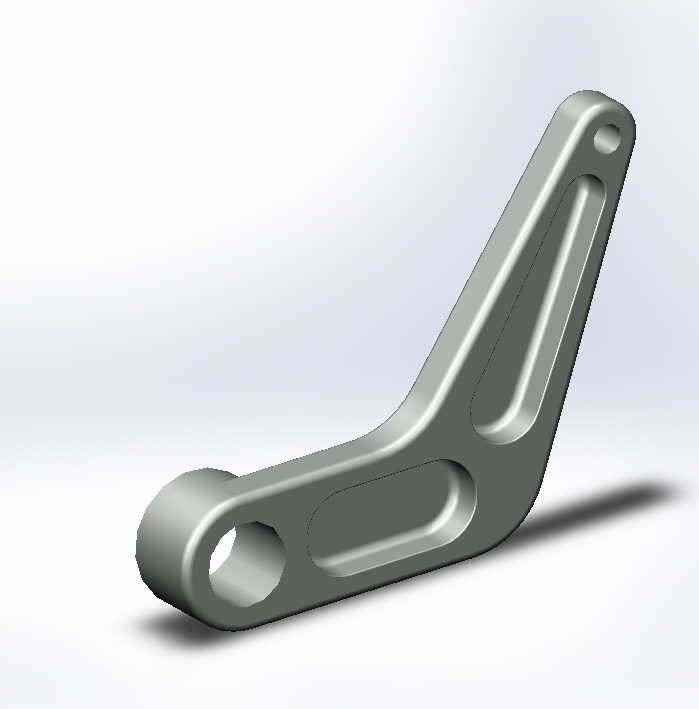
 After that I made blueprints and give them to one friend of mine of whom I also wrote earlier: he make 3D models of parts for company that produce light aircrafts. He made 3D model of brake adapter for me:
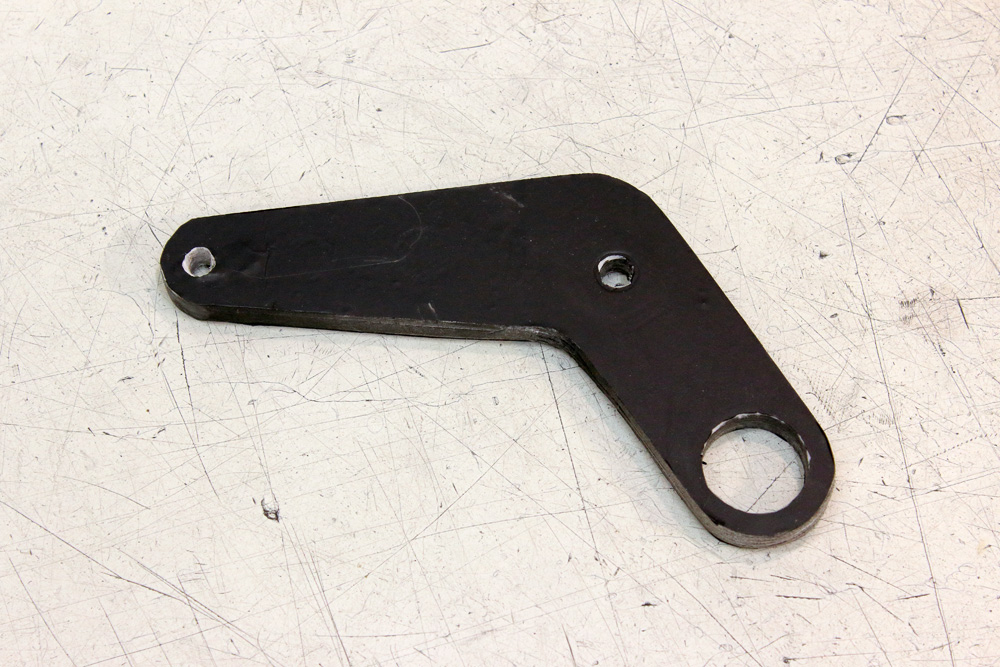
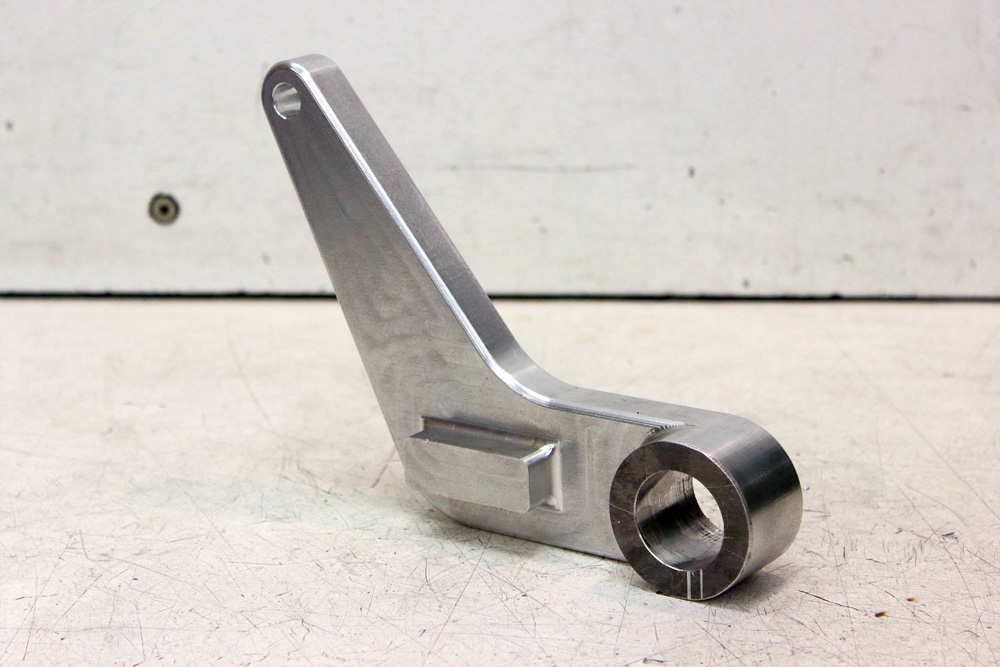
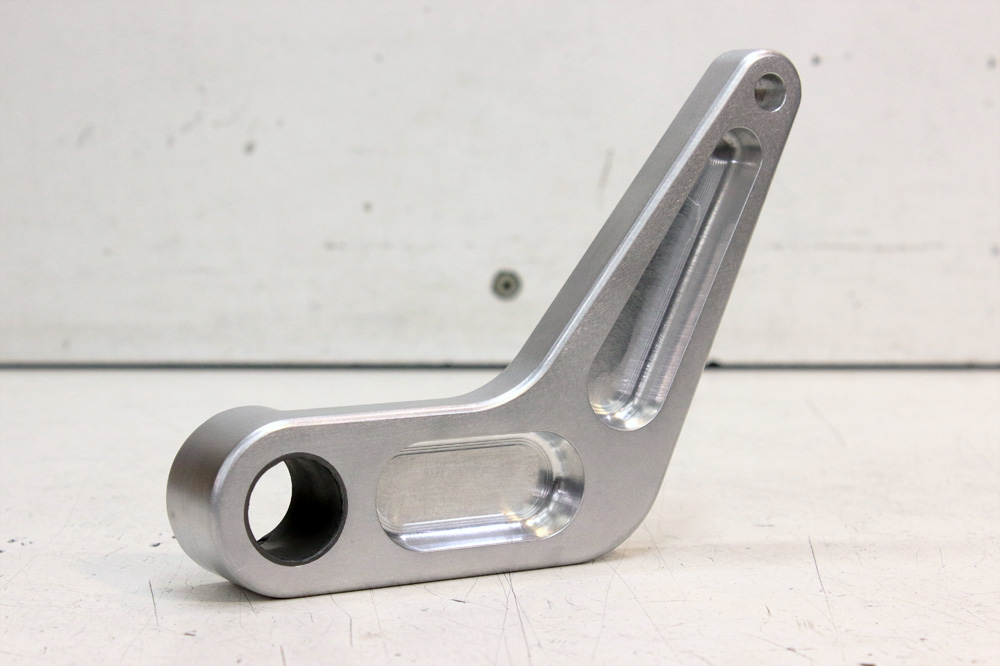
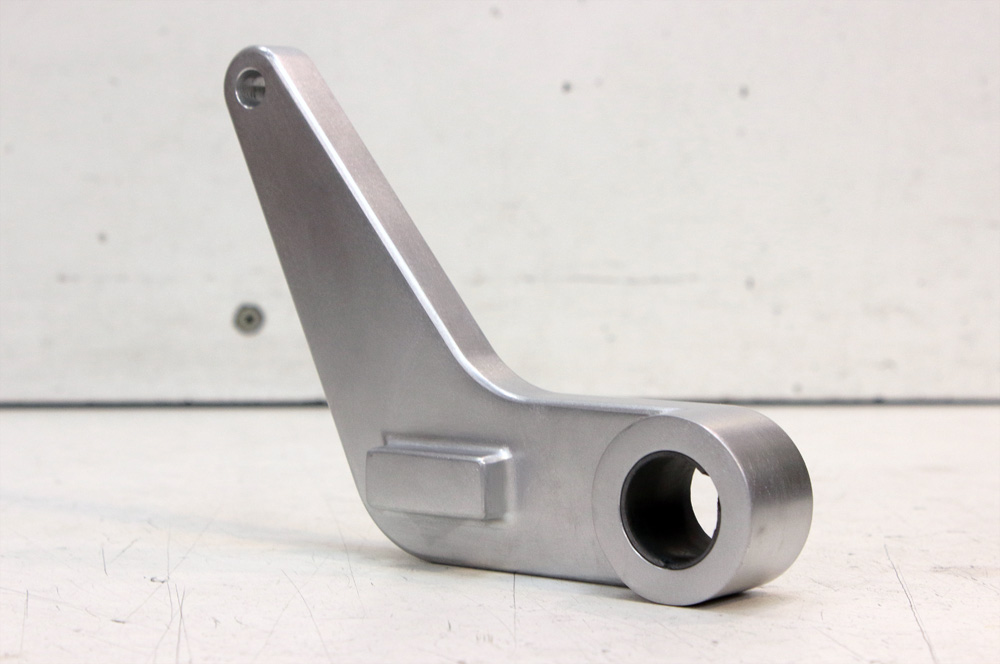
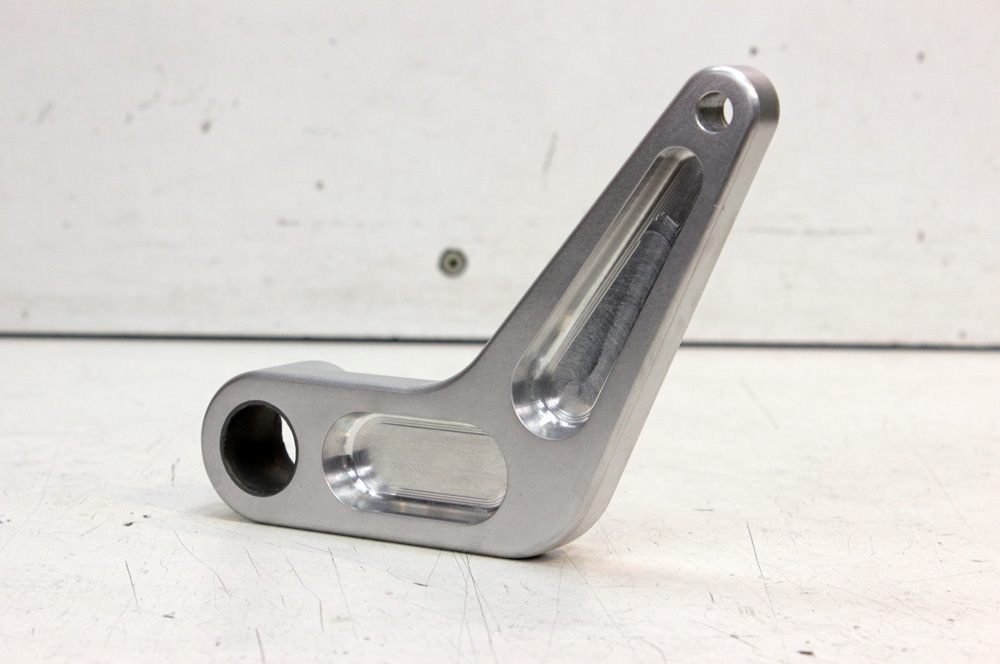
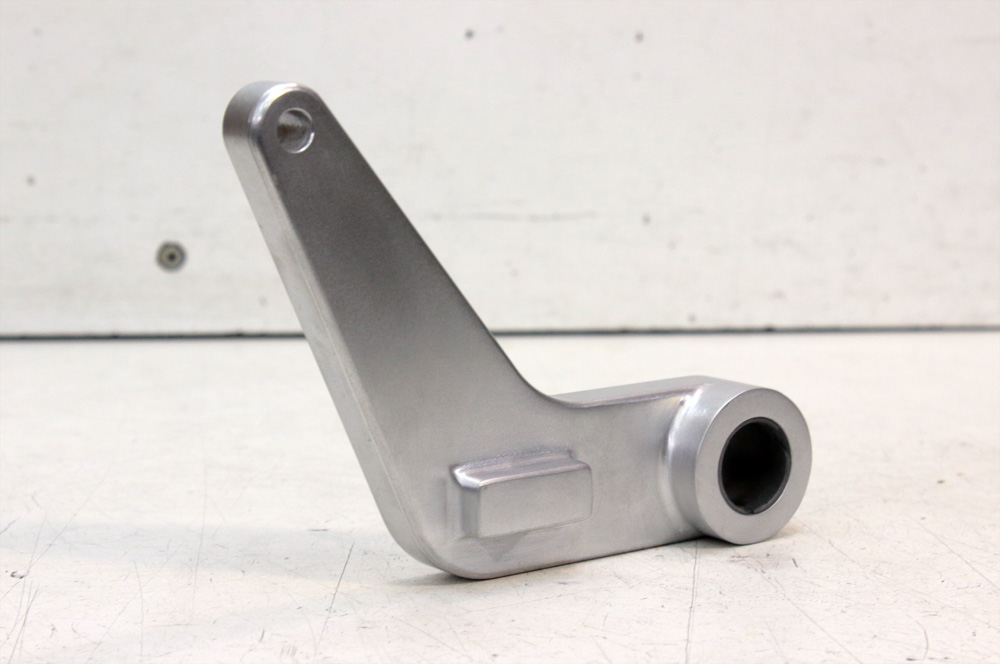
 I gave this model and plate of 30mm aluminum to guys with CNC machines and get from them ready part:

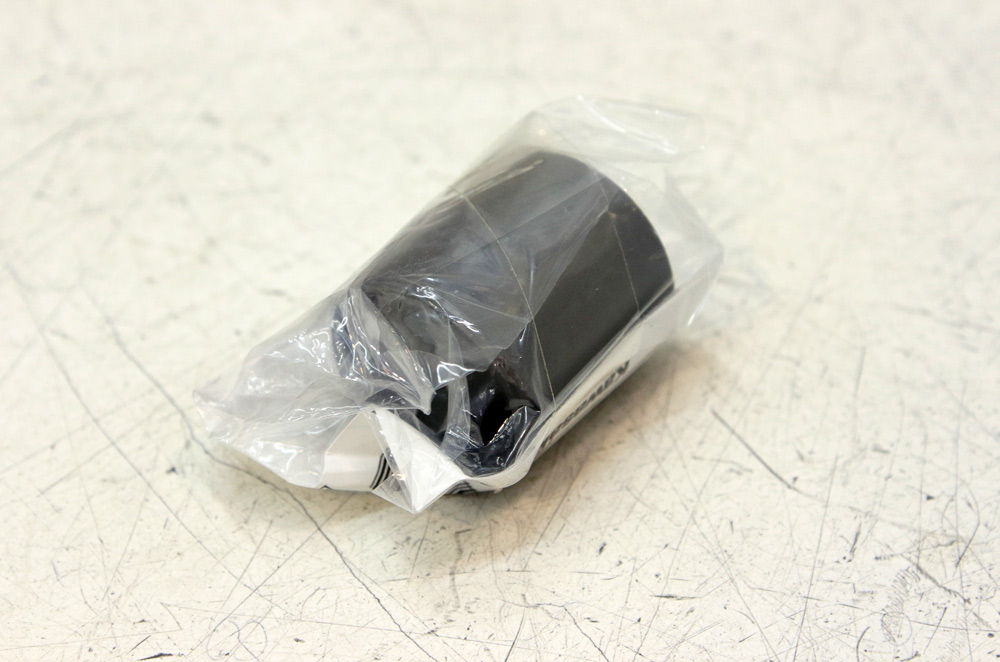
 I designed it to be compatible with OEM Kawasaki Zephyr 550 brake bracket bushing. I bought new bushing, but for now I used one I had at hand in my garage, keeping new unpacked until final assembling.
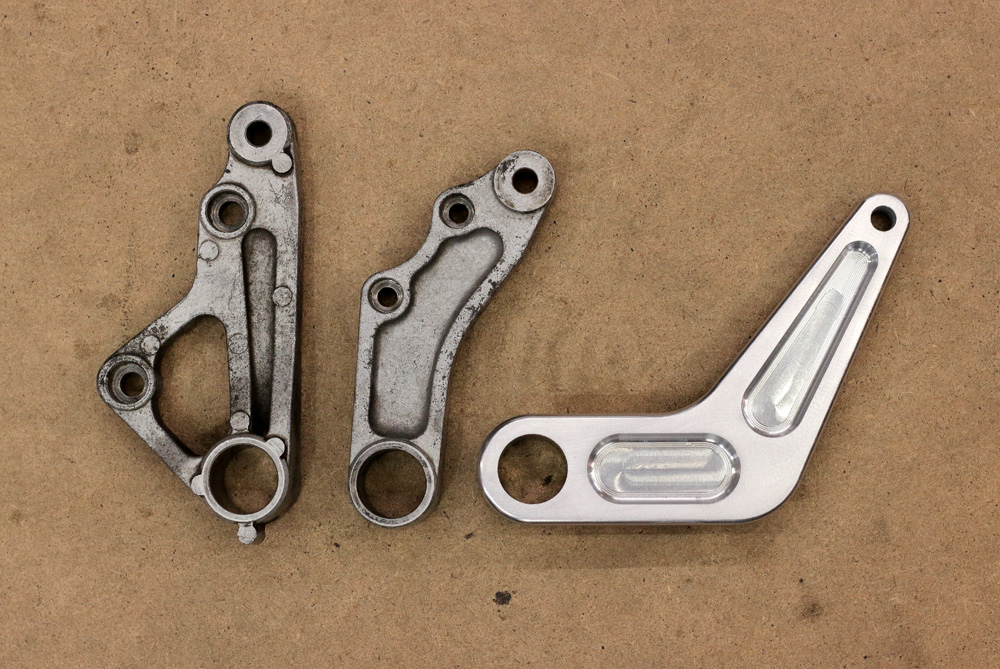
 Here is how my bracket-adapter looks comparing to Kawasaki Zephyr 750 and 550 brakes caliper brackets:
 I sandpapered brake adapter and made some final grinding to fit adapter and CBX550 brake shield as tight and close as possible.

 I used modified original Zephyr 550 brake bracket collar and I designed and ordered all other collars I needed for rear wheel setup.
 Brake adapter and brake shield with collars:


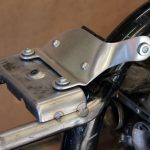
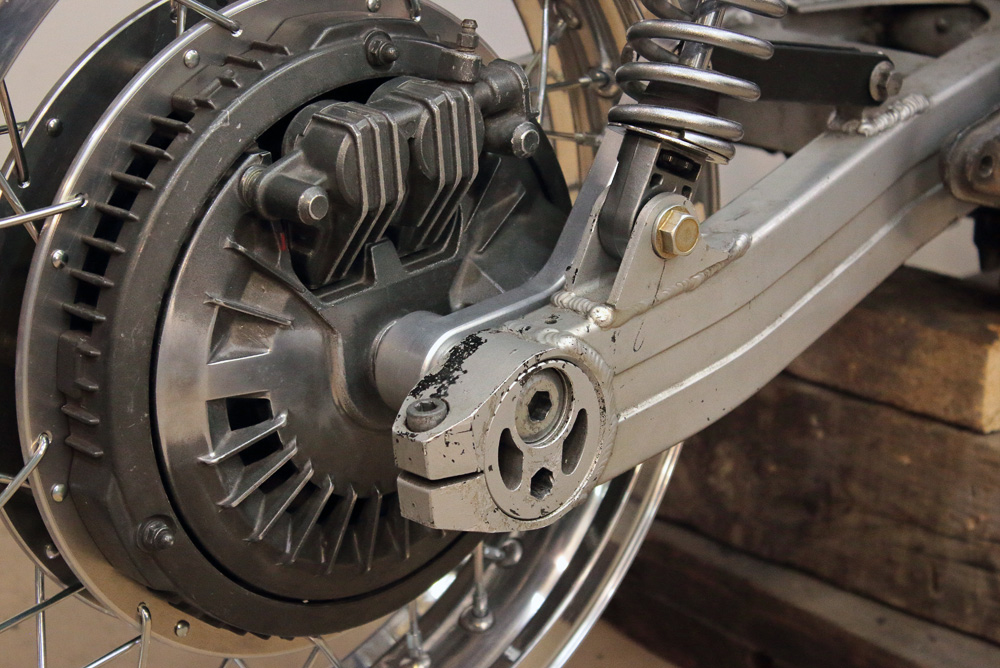
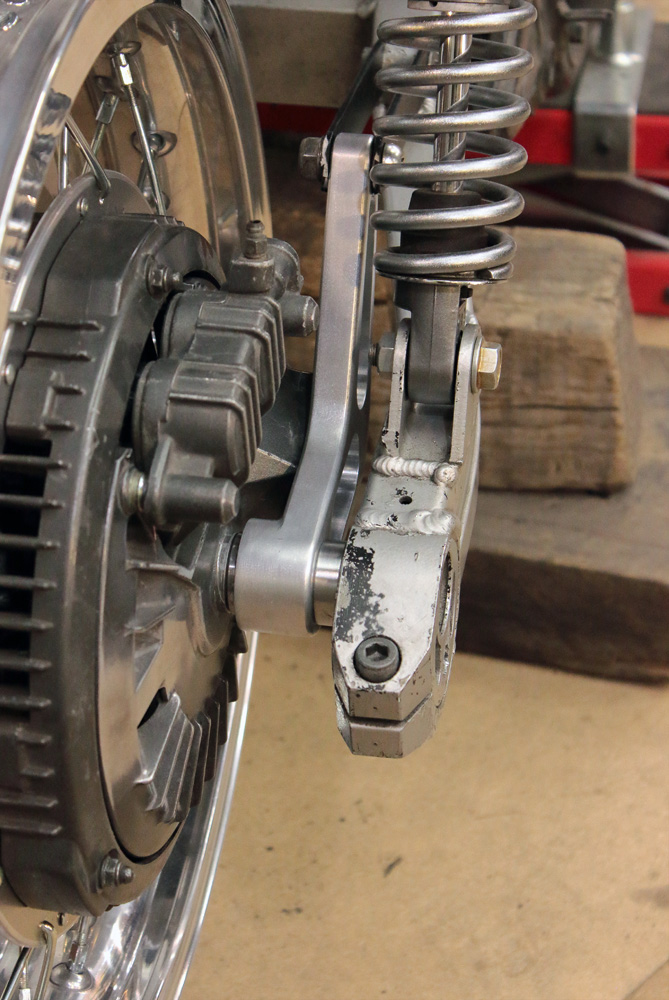
 And that’s how it all looks when assembled together in swingarm:
 Sure, article wouldn’t be complete without this short video that demonstrates why eccentric chain adjuster systems need such movable brake caliper brackets.