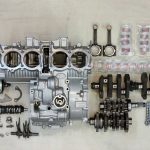
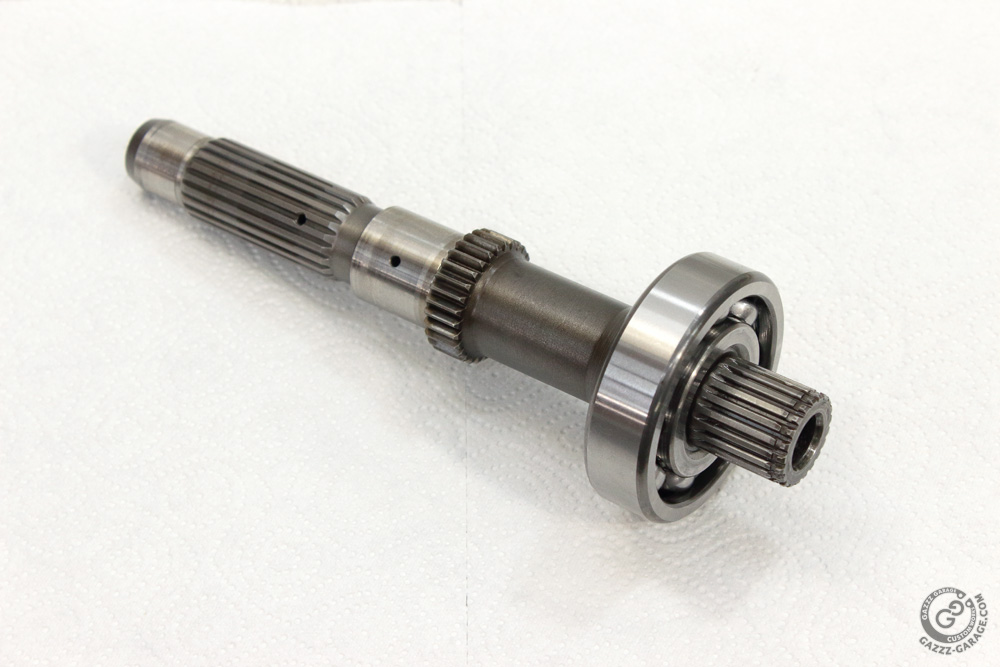
Those of my readers who wondered why I didn’t install the secondary shaft right after I put halves of the engine together may find an explanation of this fact in this post.
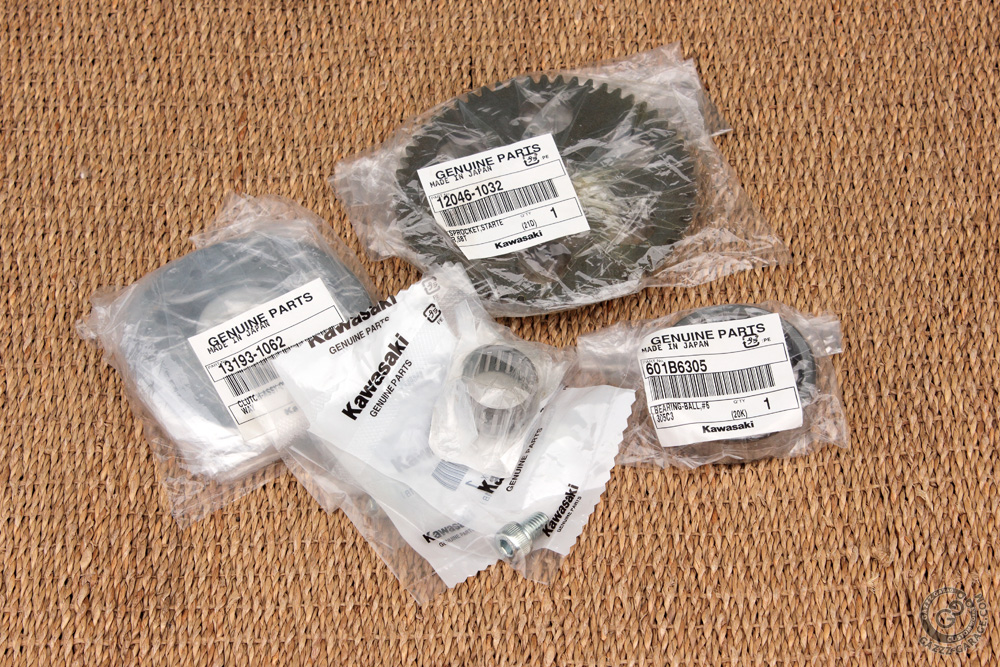
The reason was simple: I was already assembling the engine when I decided to refresh starter clutch components. I had no reason for such replacement except one: with new parts I will have no itch about not replacing them when it was the simplest thing to do. Along with one way clutch assembly and starter clutch gear I ordered a ball bearing that sits on the right side of the secondary shaft, needle bearing for starter clutch gear and new bolts that fix one way clutch assembly to secondary shaft damper housing. I already installed a new genuine secondary shaft left side ball bearing in the crankcase and new rubbers in the damper. With a new portion of genuine parts, renovation of the secondary shaft and starter clutch was completed.
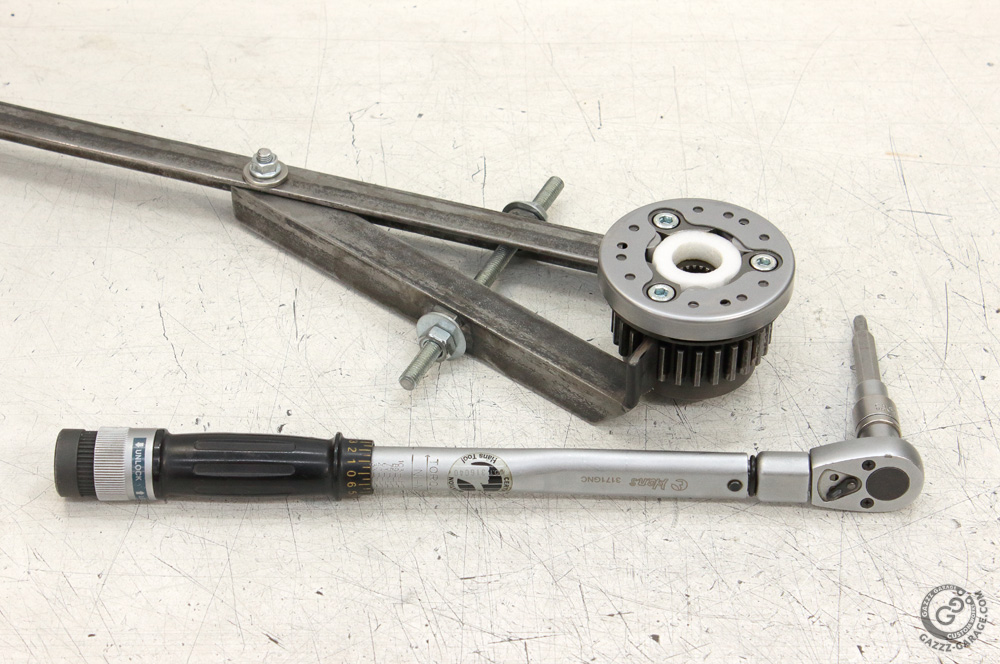
 To install a secondary shaft and to replace its right bearing one needs a special tool: puller for gear that sits on its right end. I had at hand a suitable round steel blank which was a spare blank for other project’ parts. Since I got the end of the drill bit stuck in it when I was working on it I laid that blank aside and proceeded with another one. Now it was time to turn that leftover into a special tool for Kawasaki. I took the measurements of the gear holes position, marked the blank, drilled it and cut a thread for a suitable bolt in the central hole. New special tool worked like a charm.

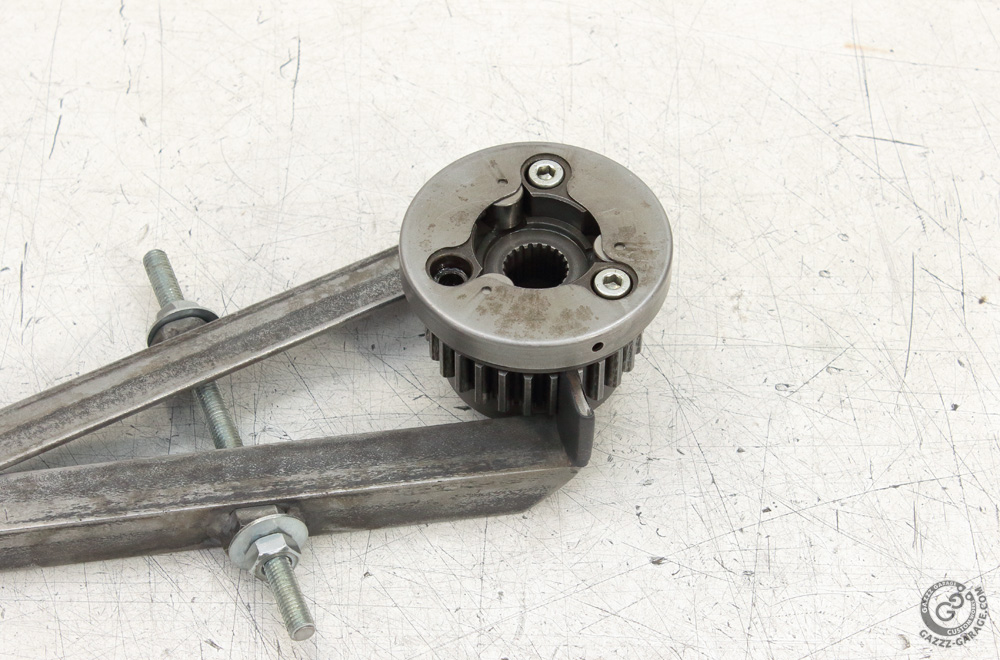
 To remove the old one way clutch assembly I fixed secondary shaft damper housing in my other “home-made” special tool, the universal clutch holder.
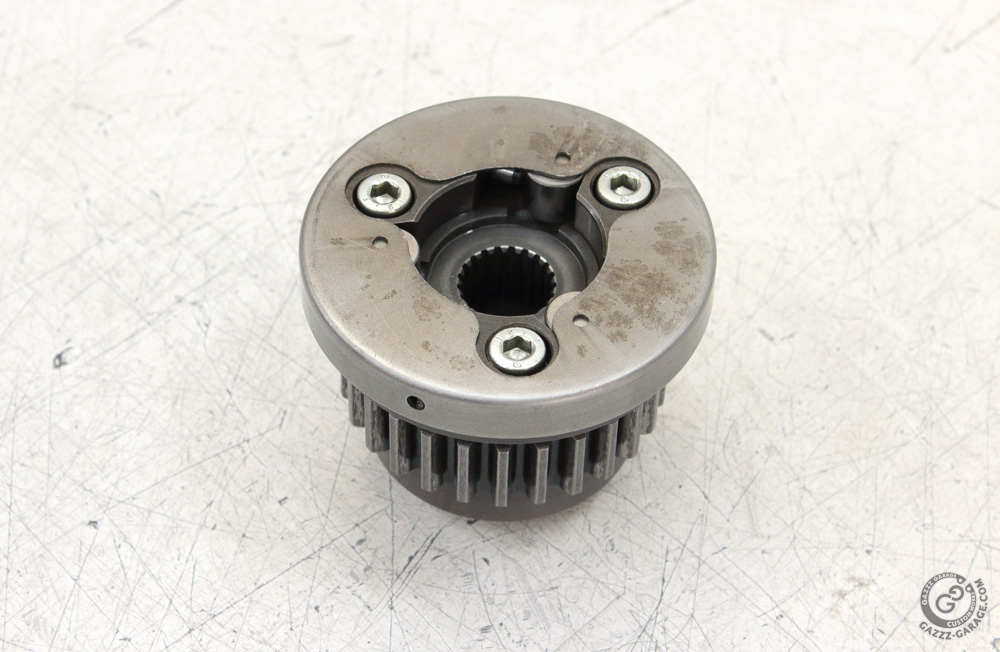

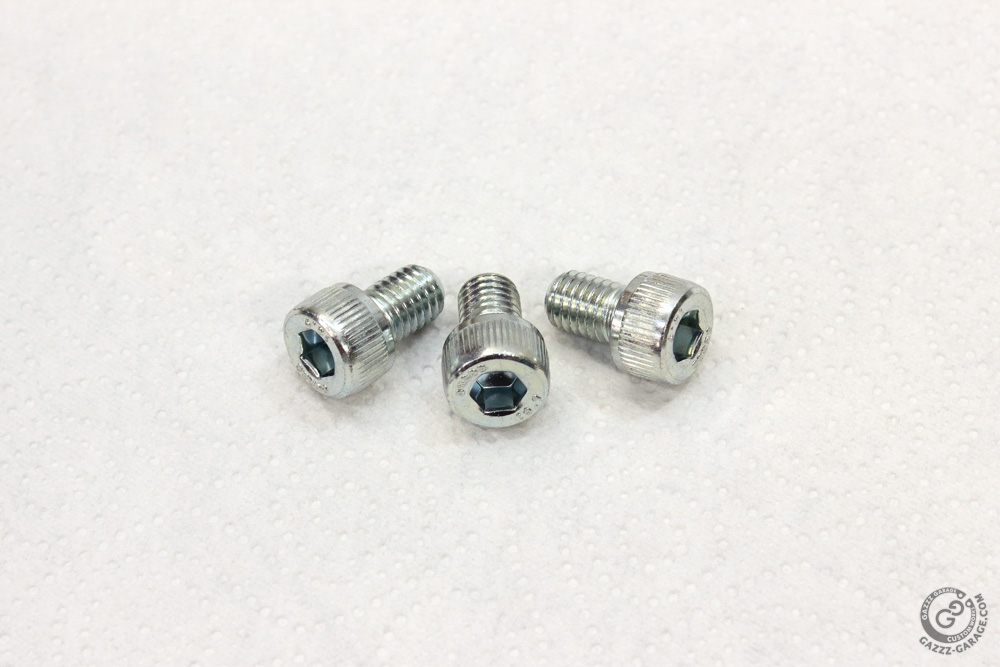
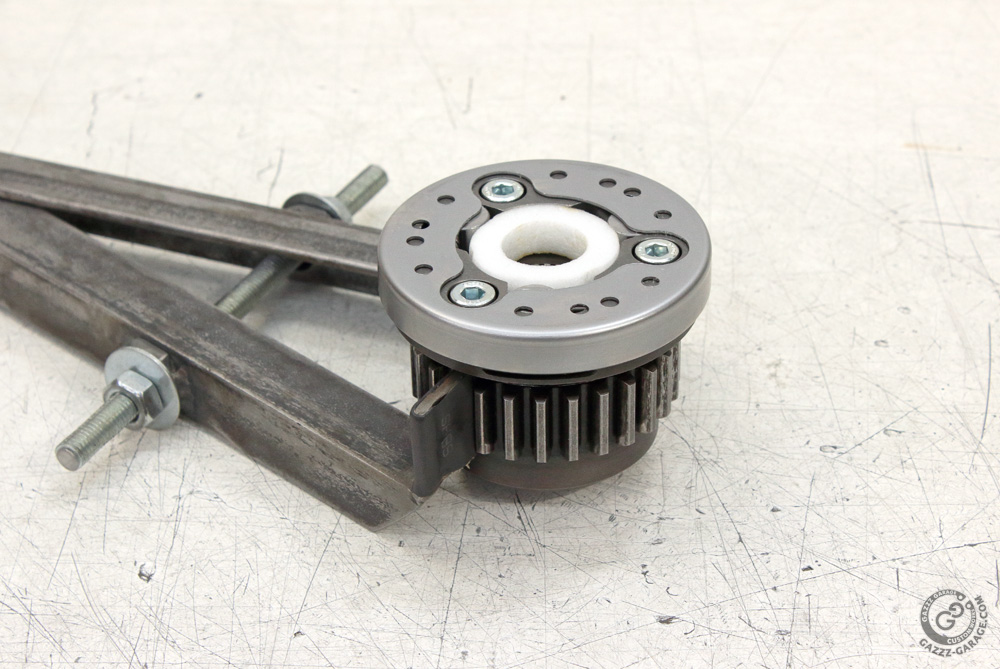
 New starter clutch and new bolts to fix it to the damper housing:

 Soon all bolts were torqued to the moment specified in books.
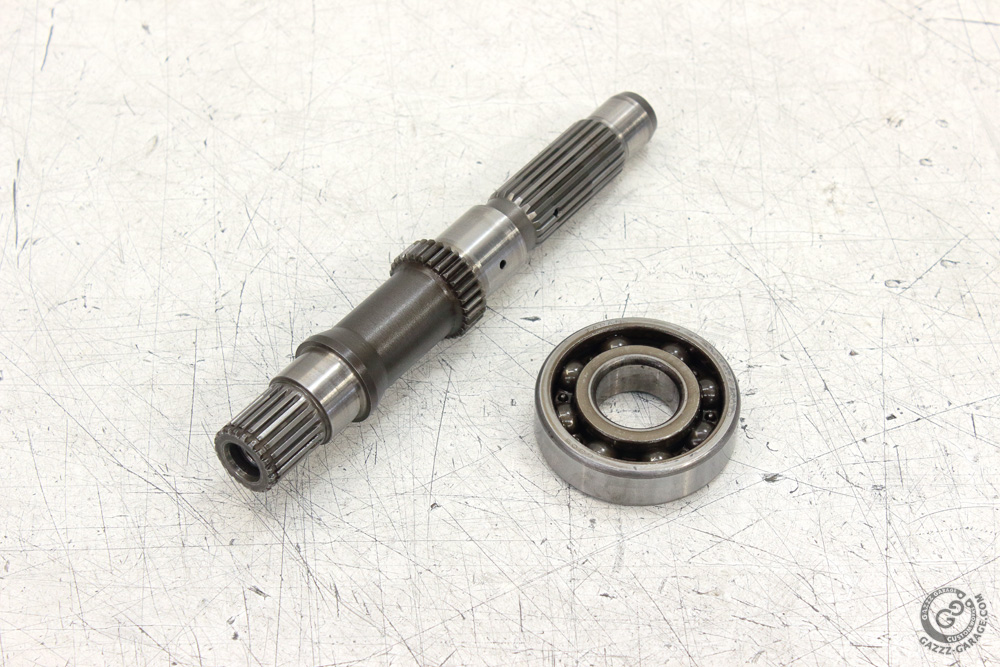
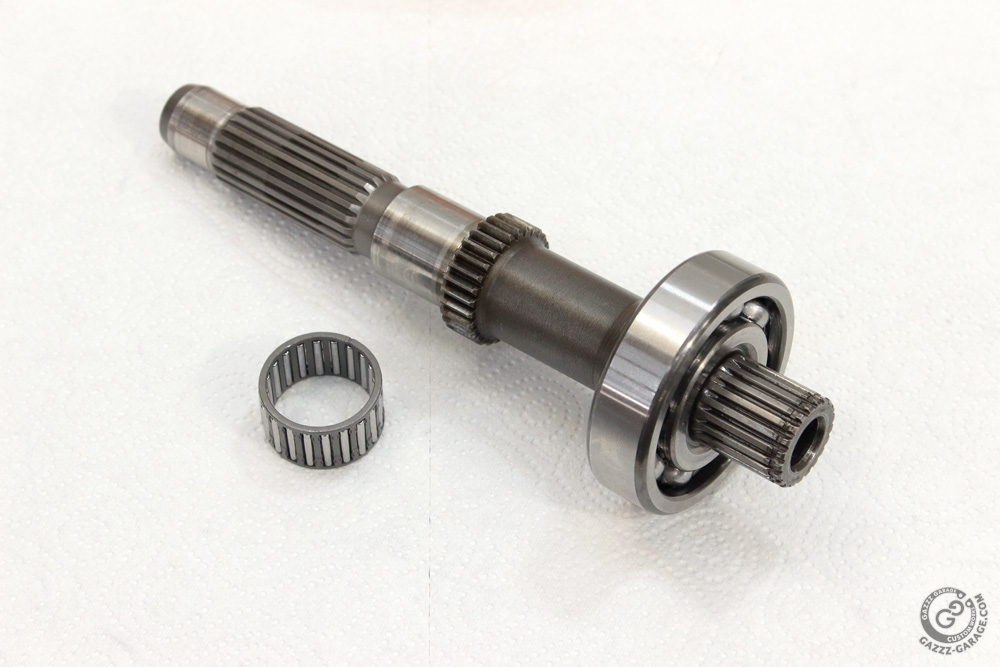
 To remove the ball bearing from the secondary shaft I used a piece of aluminum pipe of suitable diameter: large enough to put over the gear that actuates the oil pump and over the boss on the secondary shaft but not larger than outer diameter of the bearing inner race. Being driven by the inner race, bearing could be reused, even as I have no such intentions.
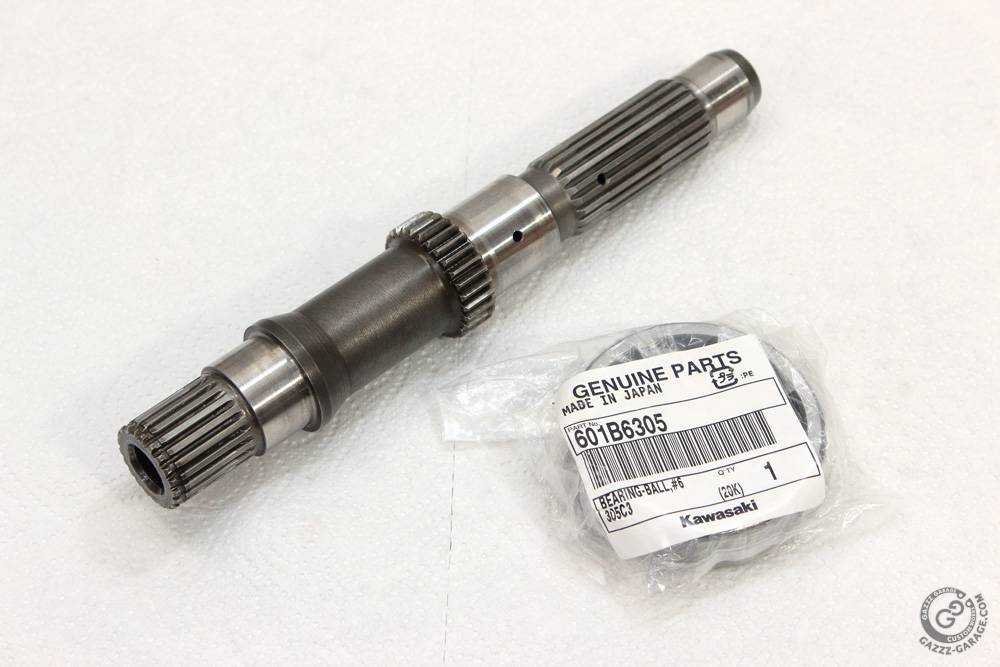
 Same aluminum pipe I used to put a new bearing on the shaft.
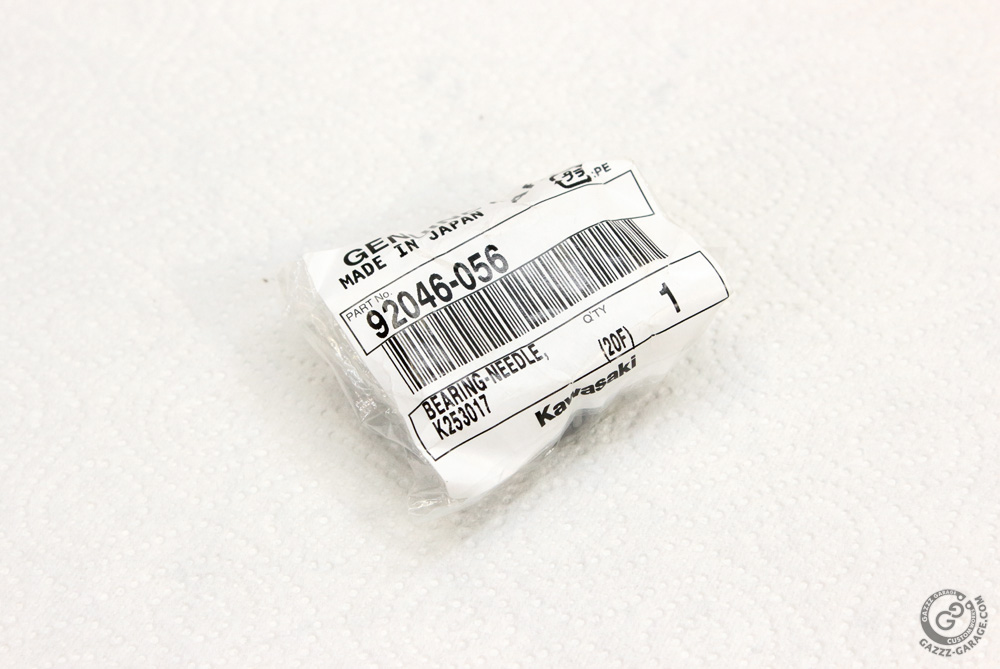
 New needle bearing for new starter clutch gear:
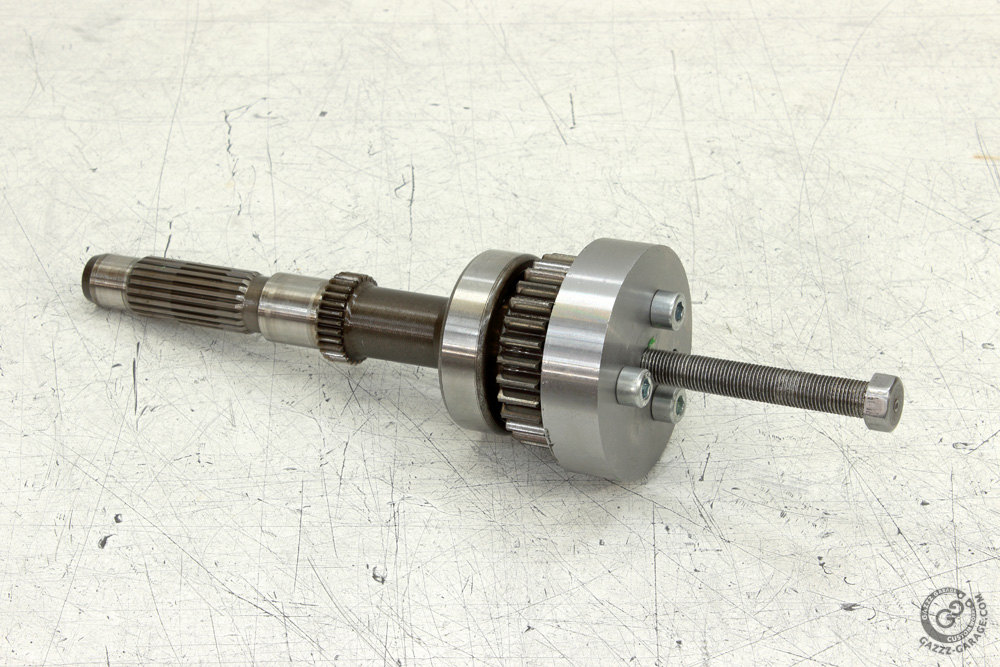
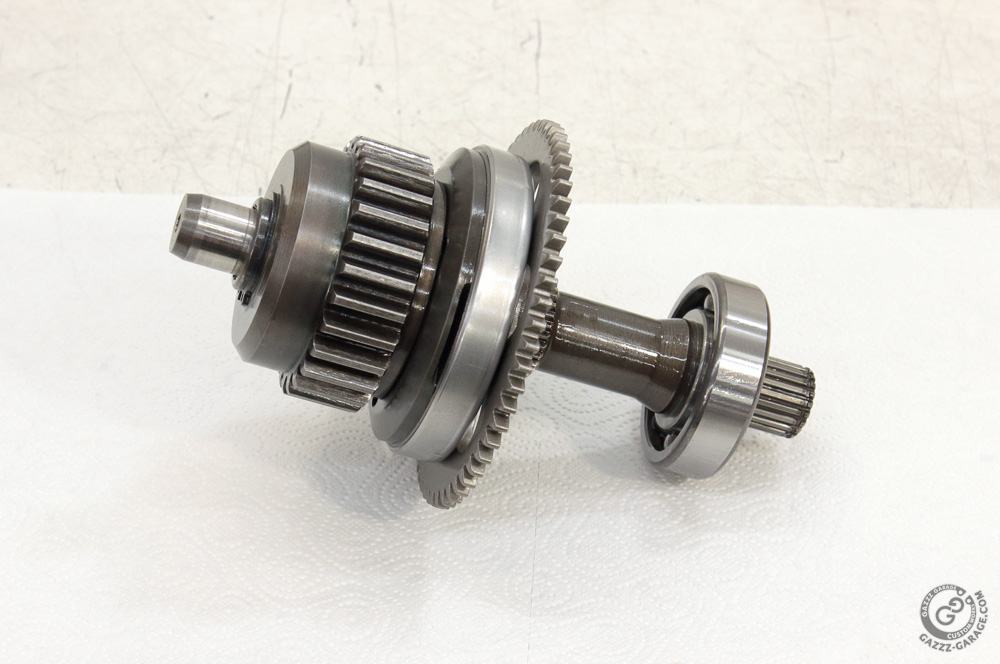
 And here is the secondary shaft repacked with new components and ready to be installed into the engine.
 Now let’s clarify a couple of questions. Sure, change of starter clutch gear design through the years (from 1977 Kawasaki KZ650 to 1991-1998 Kawasaki Zephyr 750) is not a wonder


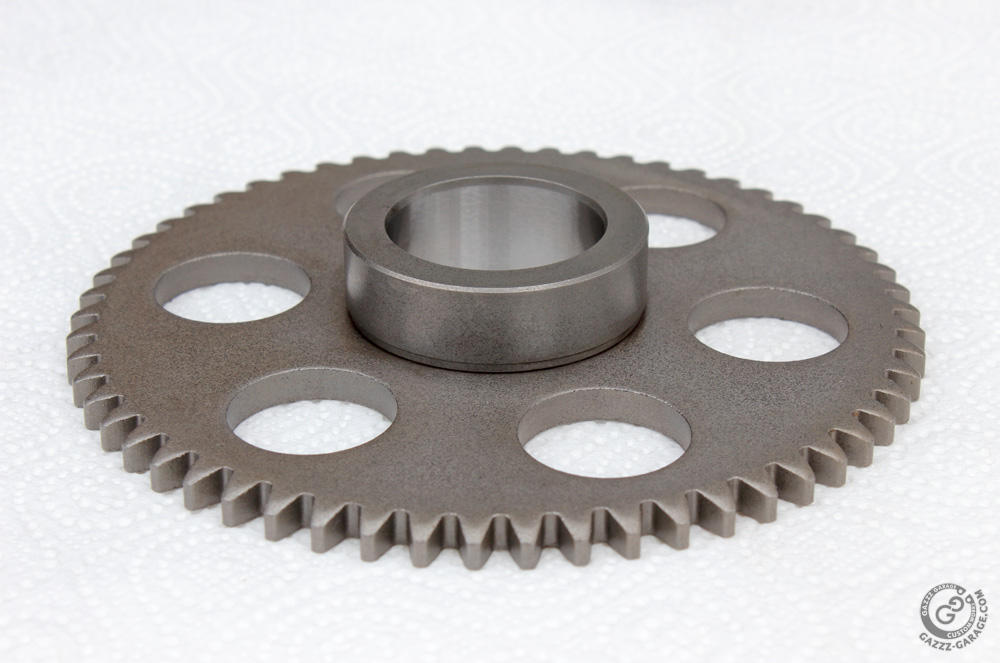
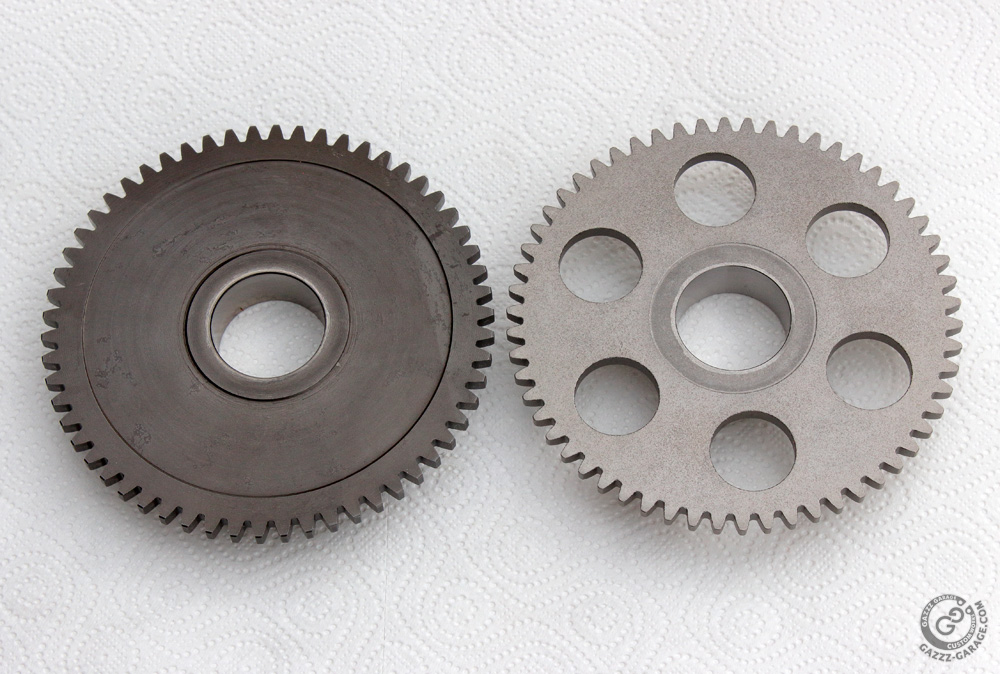 Another point is of more importance. One may find a certain photo (on KZRider forum) in which a new starter clutch gear compared to the used one. In this photo the new gear’ hub surface is machined rawly and this makes contrast between new and used parts more dramatic. Well, I have to say that the hub surface is not always THAT raw. For example, the hub of the gear I received was machined pretty neatly.
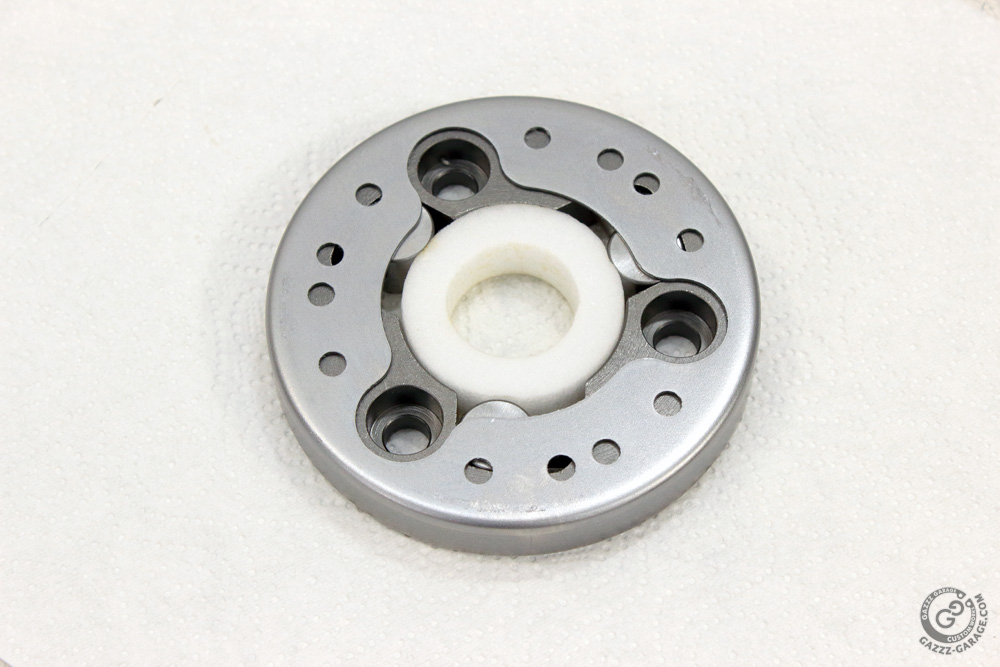
 And last point. One may find advice to replace the whole starter clutch (one way assembly and starter clutch gear) when it fails. But why replacement of only rollers or starter clutch gear may not bring things back to normal? Because it is not only rollers and gear hub that get worn during starter clutch usage. The housing of the starter clutch assembly becomes worn too. Note the configuration of the grooves in the housing where rollers operate.
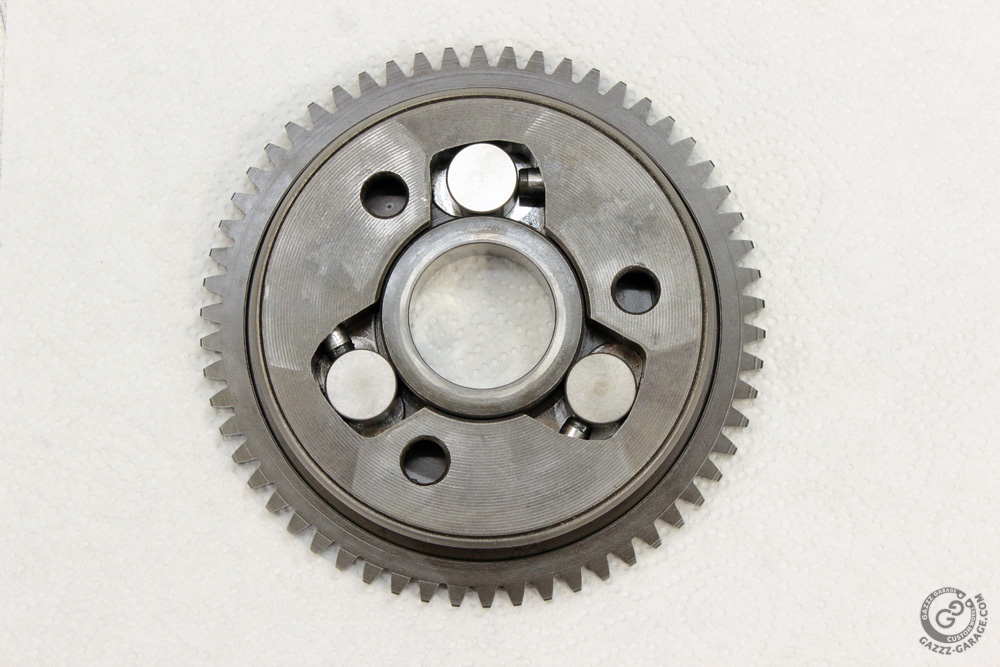 When the starter motor is actuated, the torque from it to the secondary shaft is transmitted by jamming rollers between the housing and the starter clutch gear’ hub. That’s why those grooves have such an askew design.
And in this photo you may see the traces left by roller on starter clutch housing:
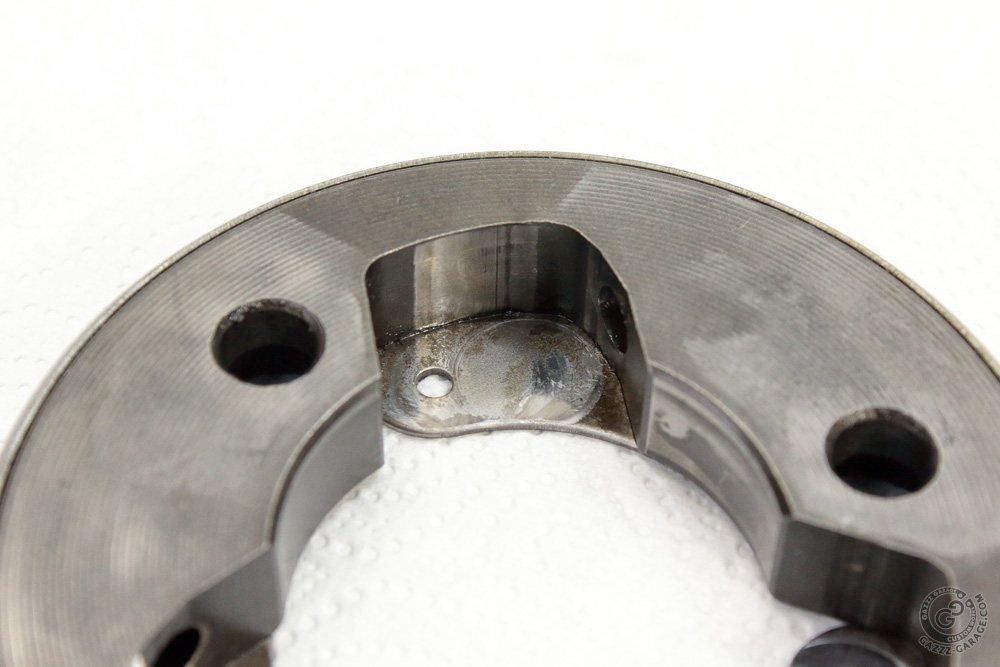 As you may see, rollers travel in the housing wearing housing and therefore changing configuration of the groove in housing by the way. When all parts become worn and the starter clutch starts slipping, replacing only rollers or even rollers along with the starter clutch gear may not help, because housing is worn too and therefore configuration of the groove in it is changed by wearing. With non correct configuration of those grooves new rollers and gear hub could’t ensure correct and faultless work of the system.