As I wrote earlier in my previous posts, I find out that original crankcase of my CB750 Seven Fifty was too damaged to use it in project and CBX750 crankcase is also unacceptable due to imperfection of lubrication system.
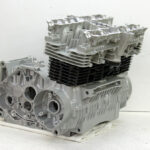
So I bought used crankcase on German ebay. It arrived on February 2017 and turned out to be in a good condition.
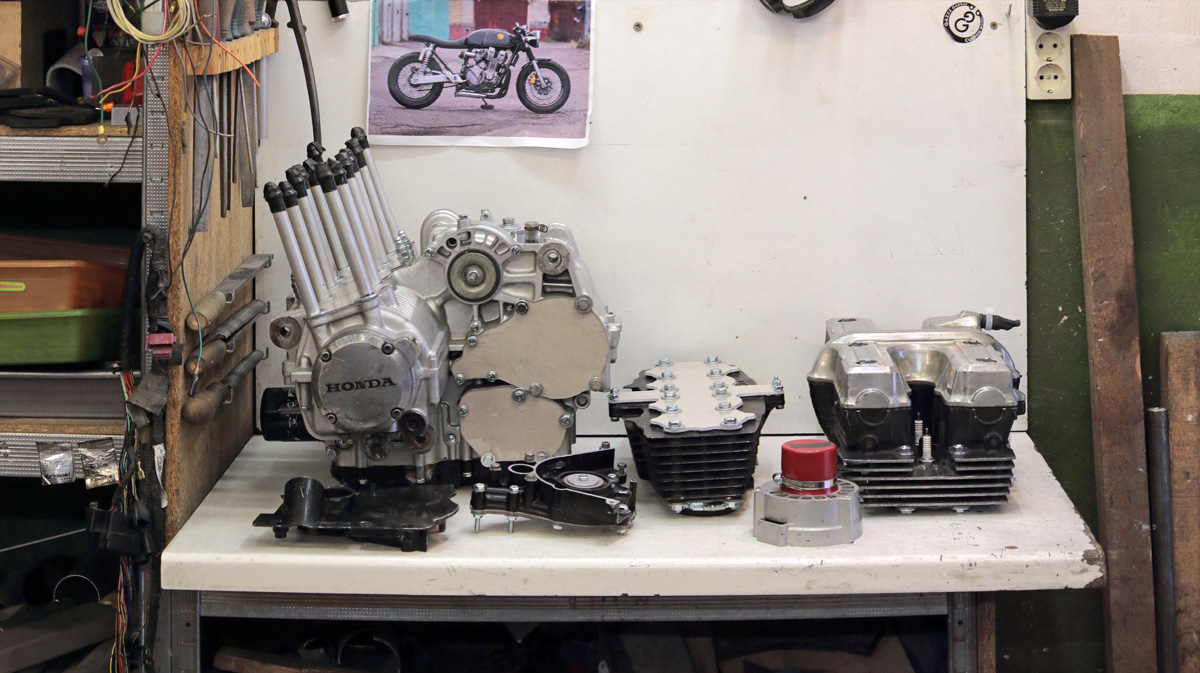
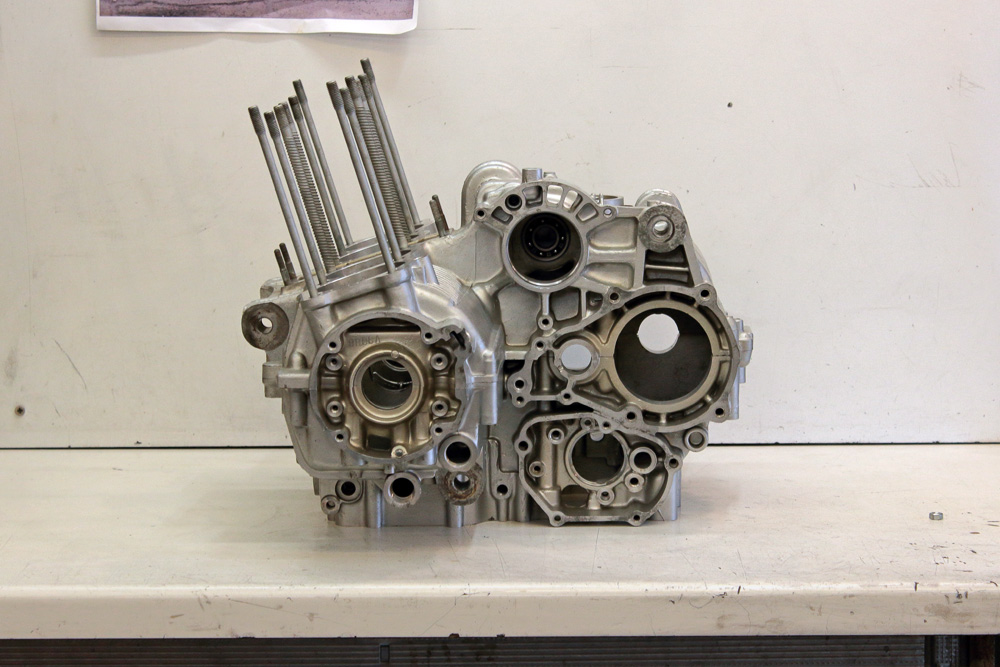 So in fact, there is not a lot remained from original Seven Fifty engine: the valve cover, the clutch cover, the gearshift cover, the generator, the crankshaft and both chain tensioners.
However this post is about another matter. It’s about engine preparation for painting. This time I have chosen the Eastwood ceramic engine paint. I ordered it long ago, at the end of April and it arrived only last week. But I started engine preparation for glass bead blasting a bit earlier so everything was mostly ready when the paint arrived.
As for me, the most important point about preparation for painting is prior cleaning. One should degrease all parts perfectly before give them in media blasting. So I washed all parts with petrol under pressure and by the way used all kinds of brushes to perform the best cleaning. I also used carburettor cleaner for final treatment. That’s all quite a hazardous process, as you have to work with sprayed high octane gasoline, so I was forced to wait for more cool and (what is more significant) windy weather.
 All work was done in few approaches and parts after treatment were as clean as possible.
To achieve the best result with media blasting I prepared crankcases, cylinder block and cylinder head separately.
 As glass bead blasting is a process much more gentle for surfaces than send blasting, I made most of covers from 2-3mm solid polycarbonate. I also used original covers where I could. I cut out gaskets for every cover from thick paper and in addition covered all holes under covers with paper tape. Sure, after painting and curing I’ll wash all parts, especially oil channels with kerosene and blow them down with compressed air, but the trick is get as little amount of glass beads inside engine as possible.
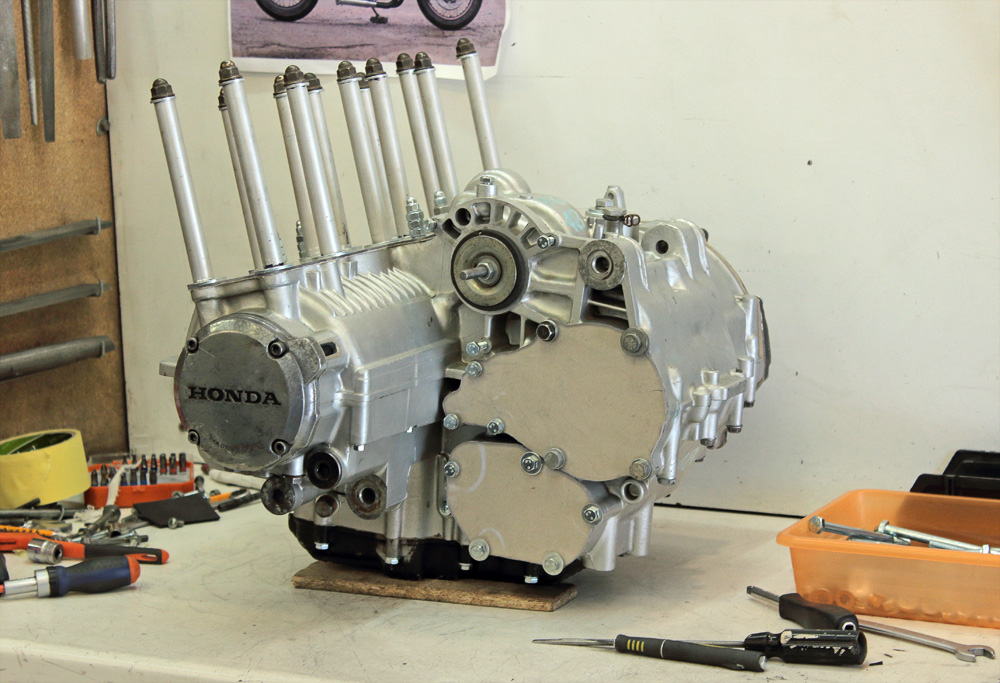
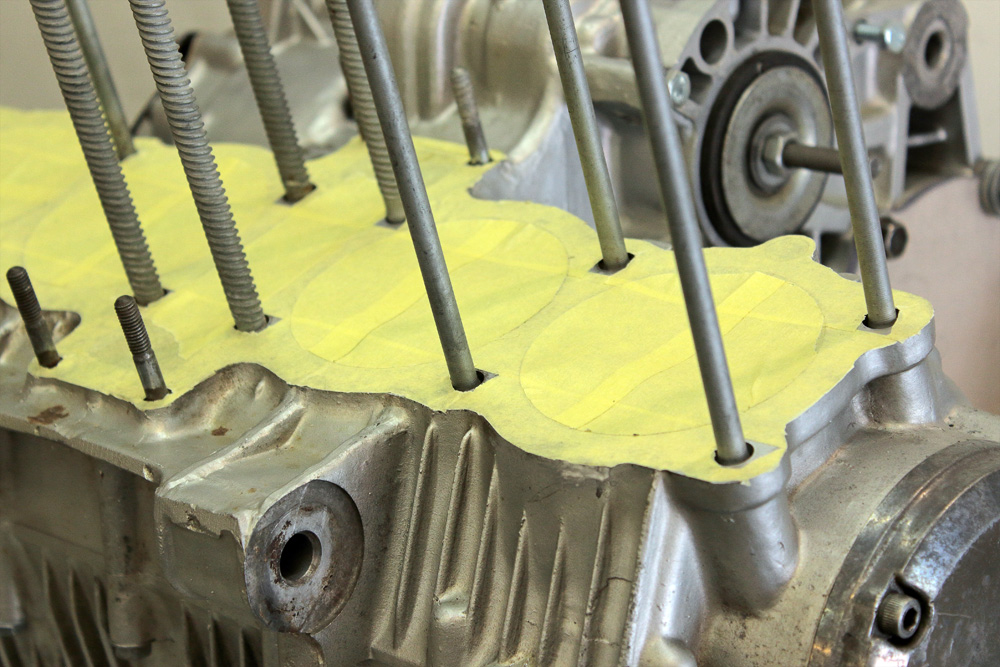 That’s how crankcase looked mostly prepared for glass bead blasting.

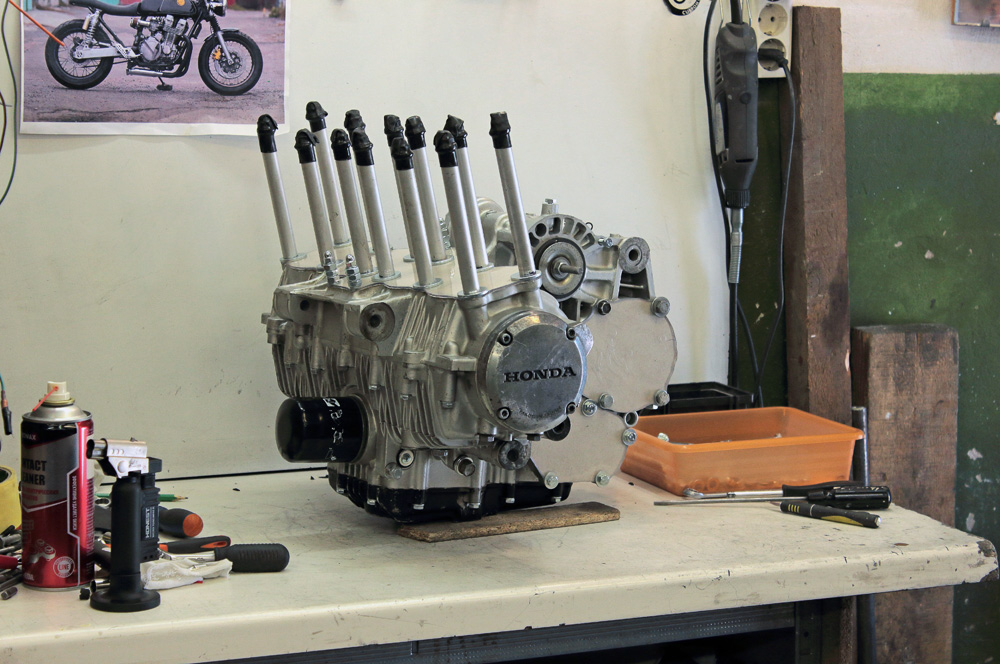
 Last touches: new oil filter and heat-shrink tubing to protect cylinder head nuts.
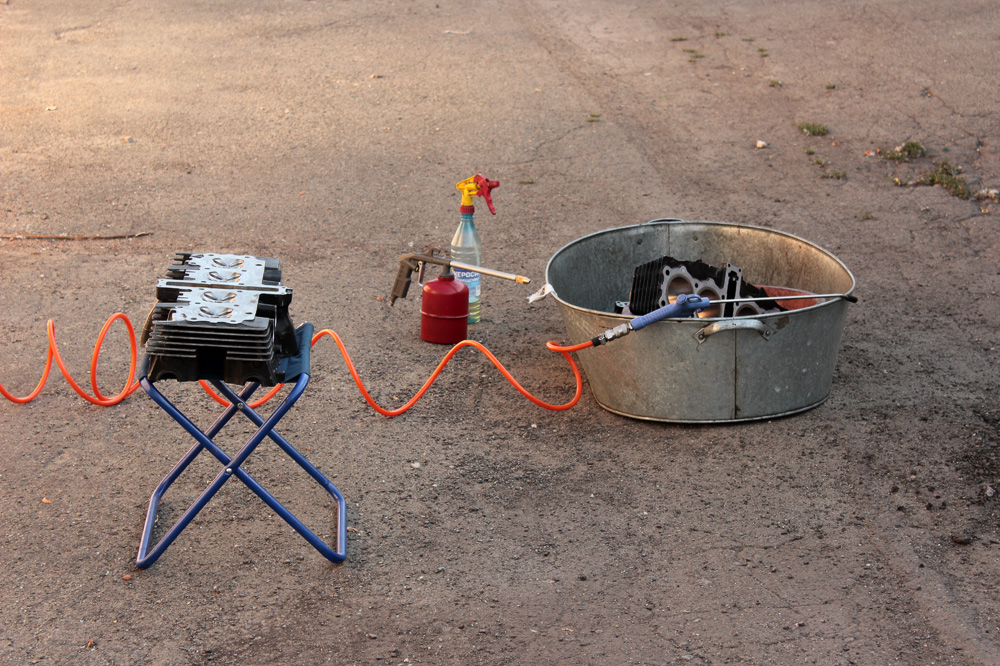
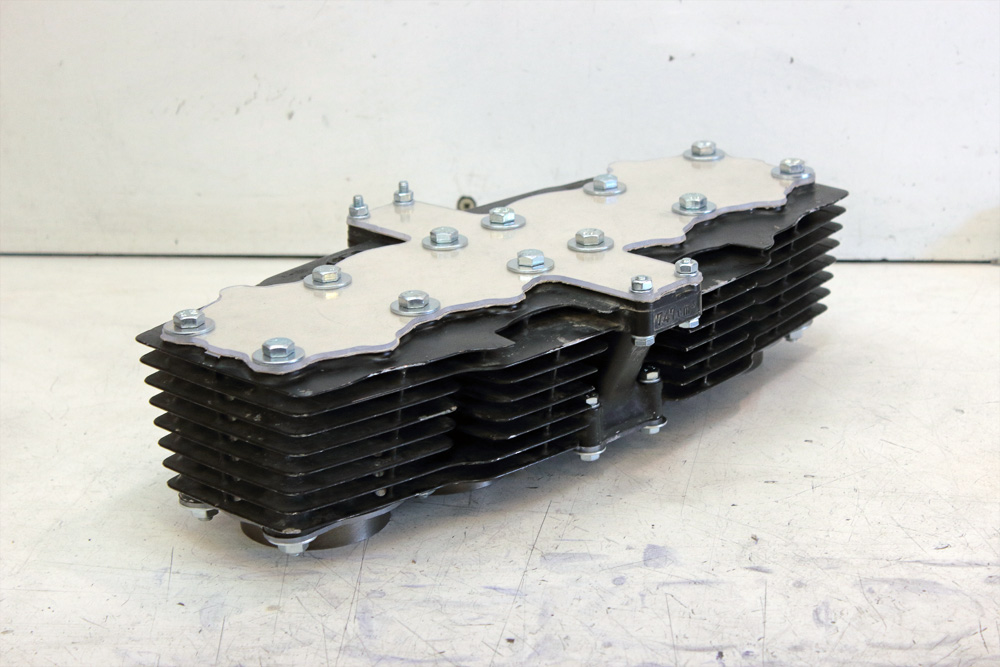
 Cylinder block.
 A lower cover has a bit too complicated configuration but I cut it out all right with my Dremel.
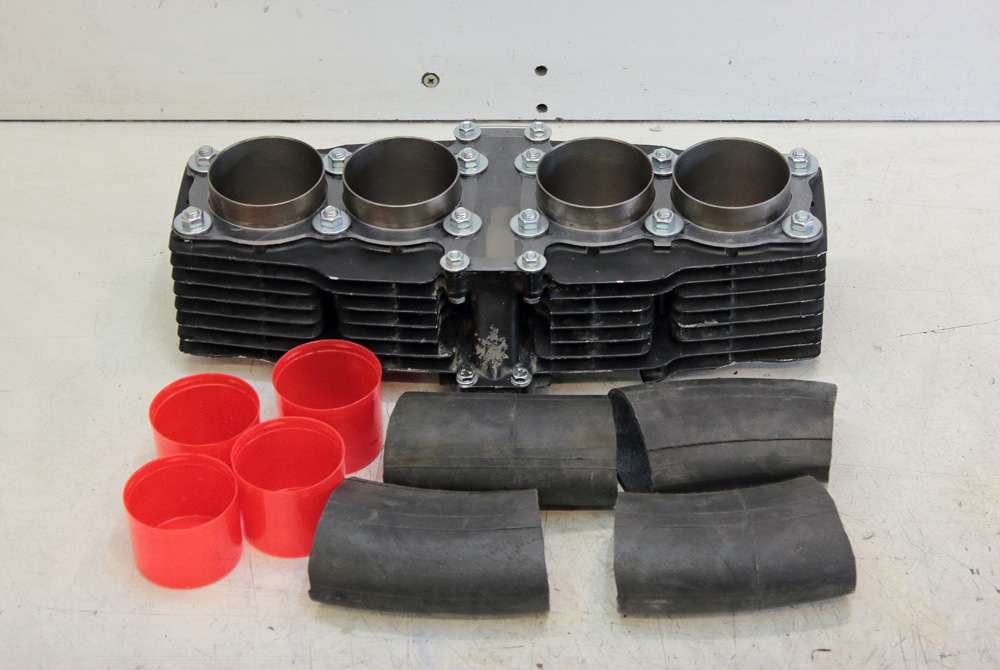 I designed quite an effective and simple cylinder protection.
 Next unit was cylinder head.
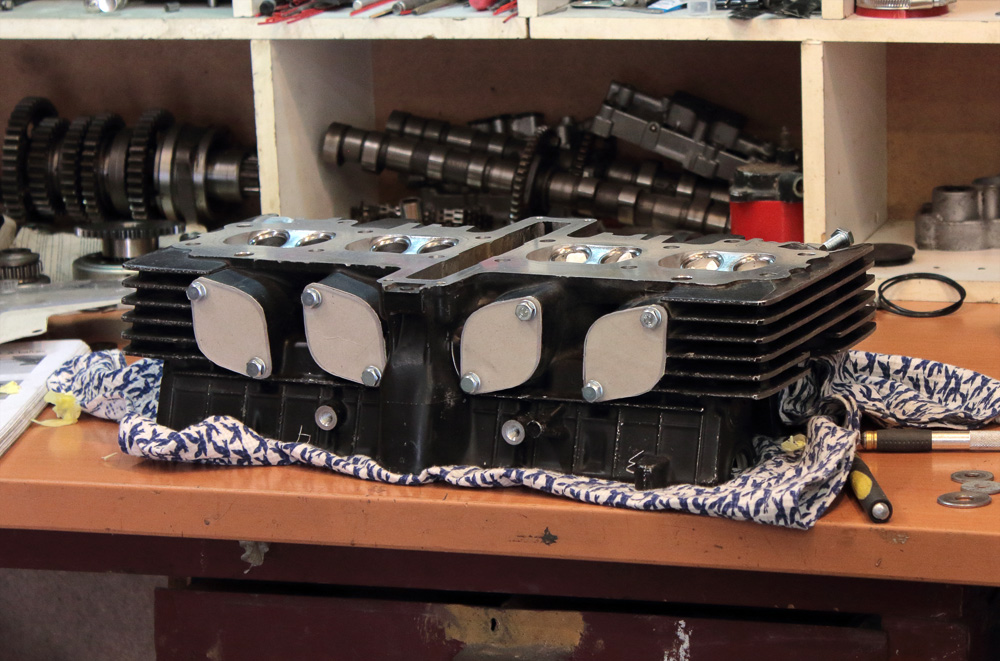 All the same: covers, gaskets, paper tape. But in addition I filled all channels with paper.
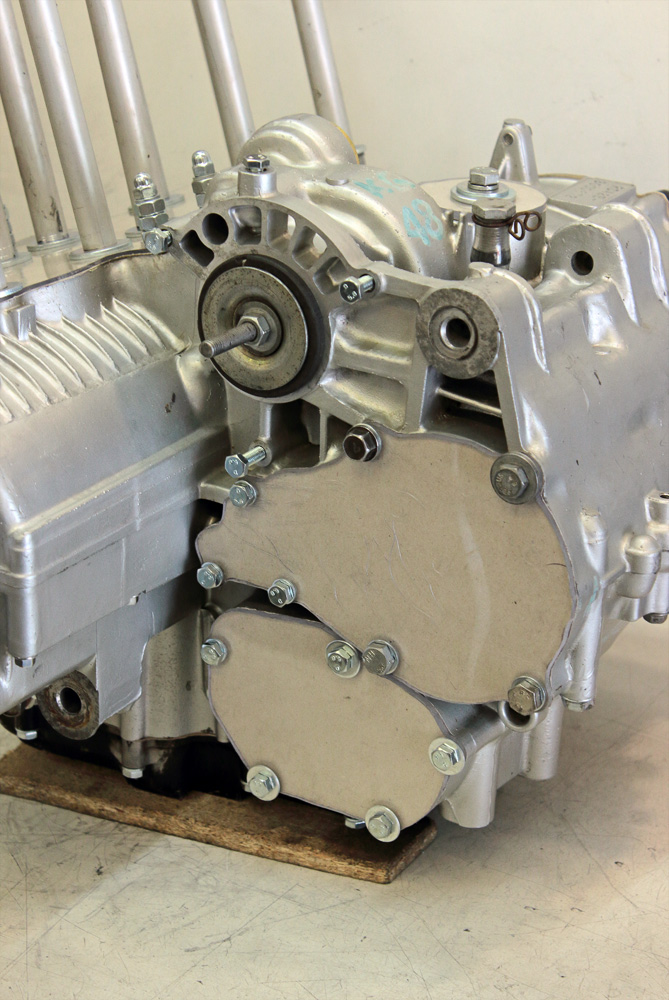
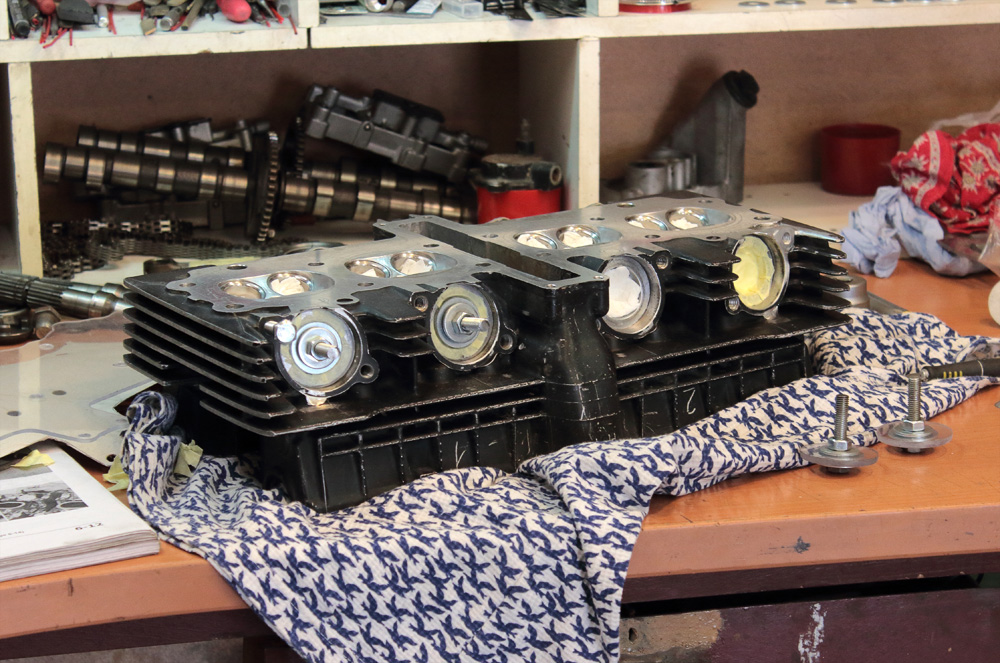 Lower end is ready.
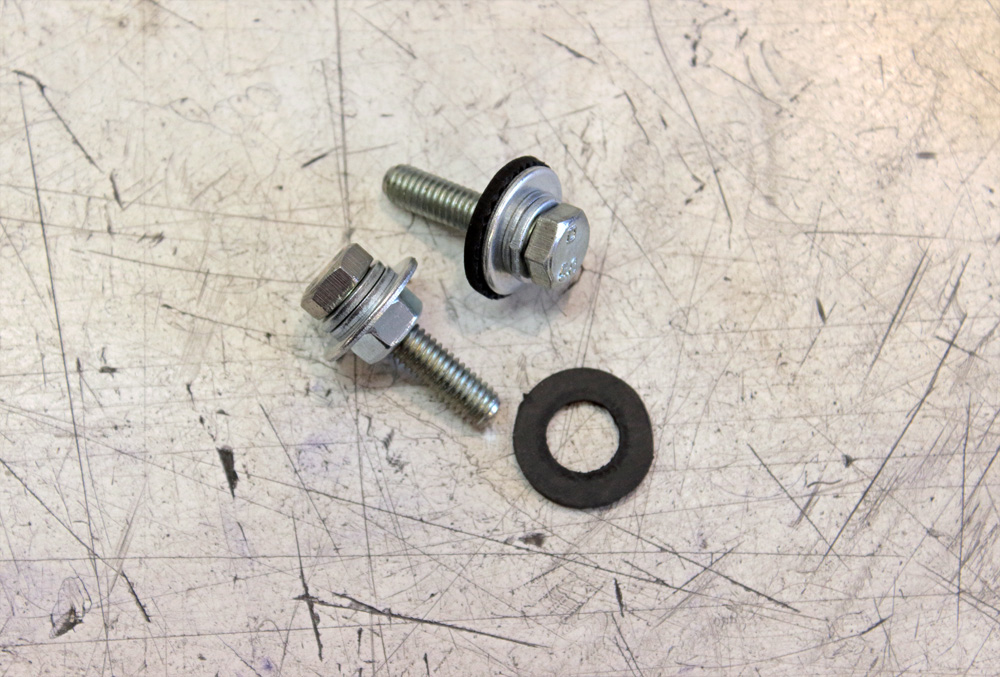
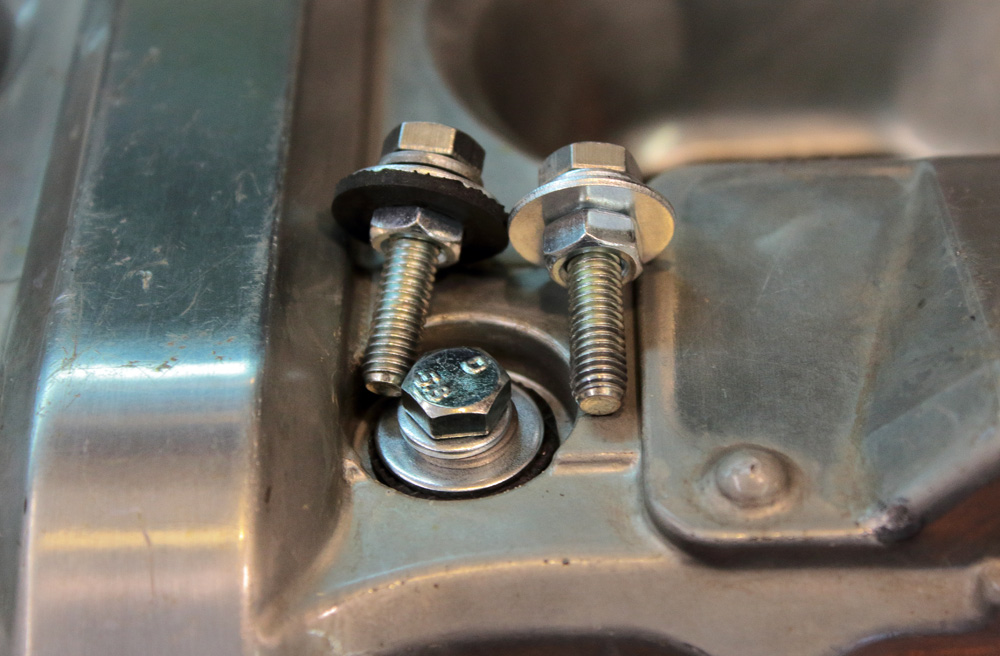
 Improvised bolts for valve cover.
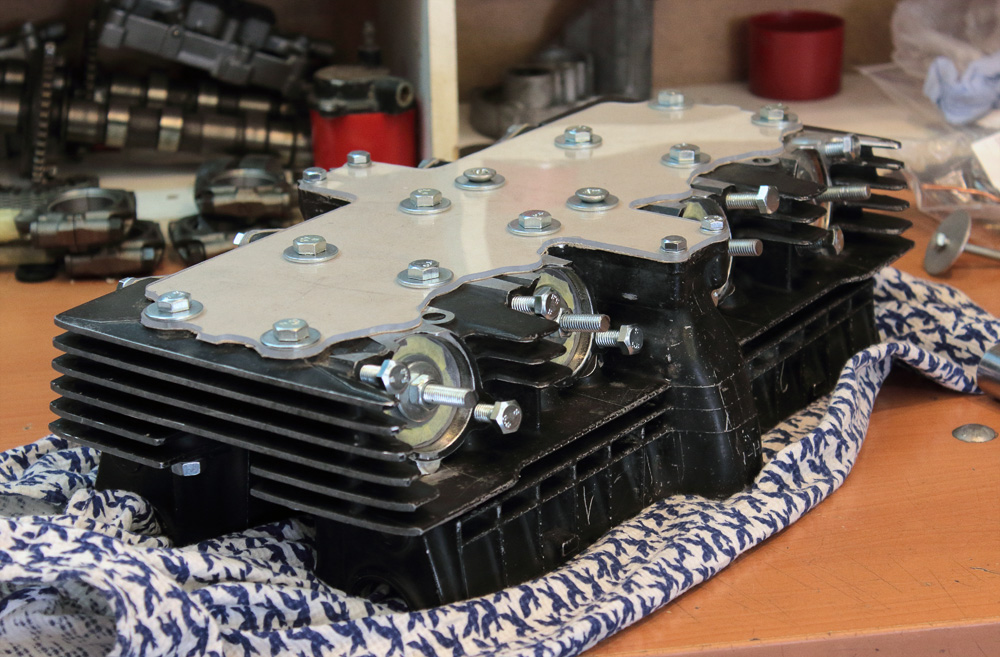
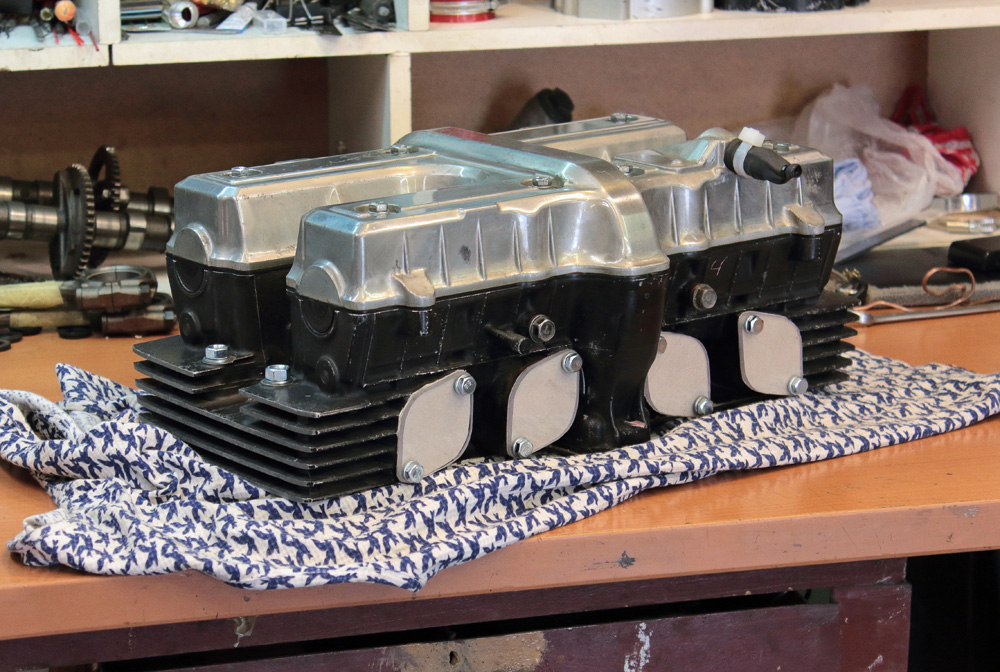
 Thus cylinder head protection was finished.
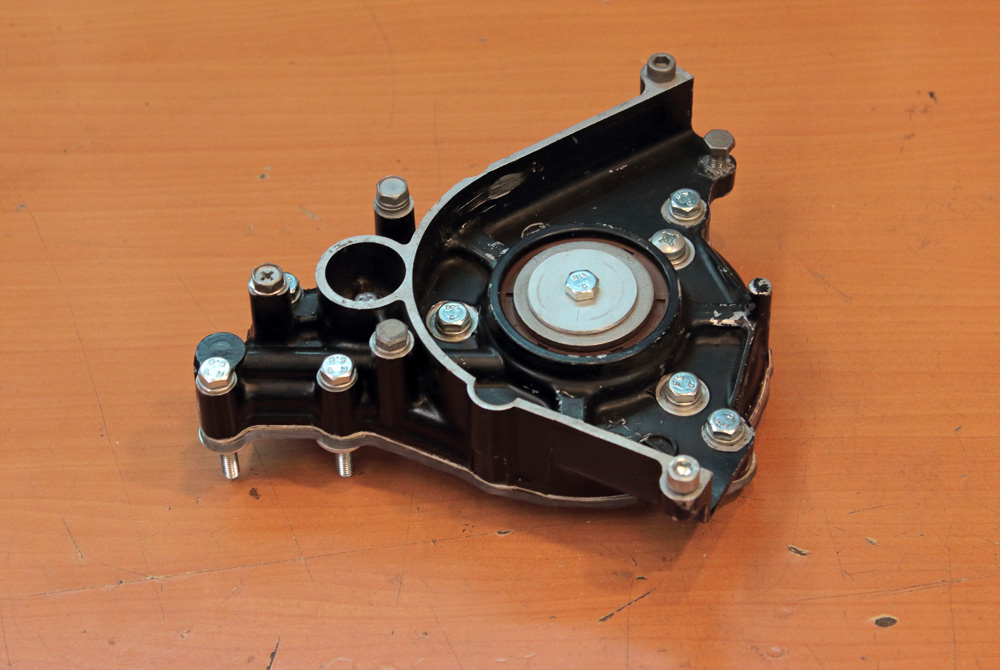
 Sprocket cover.
 I have new seals so don’t need to worry about old ones.
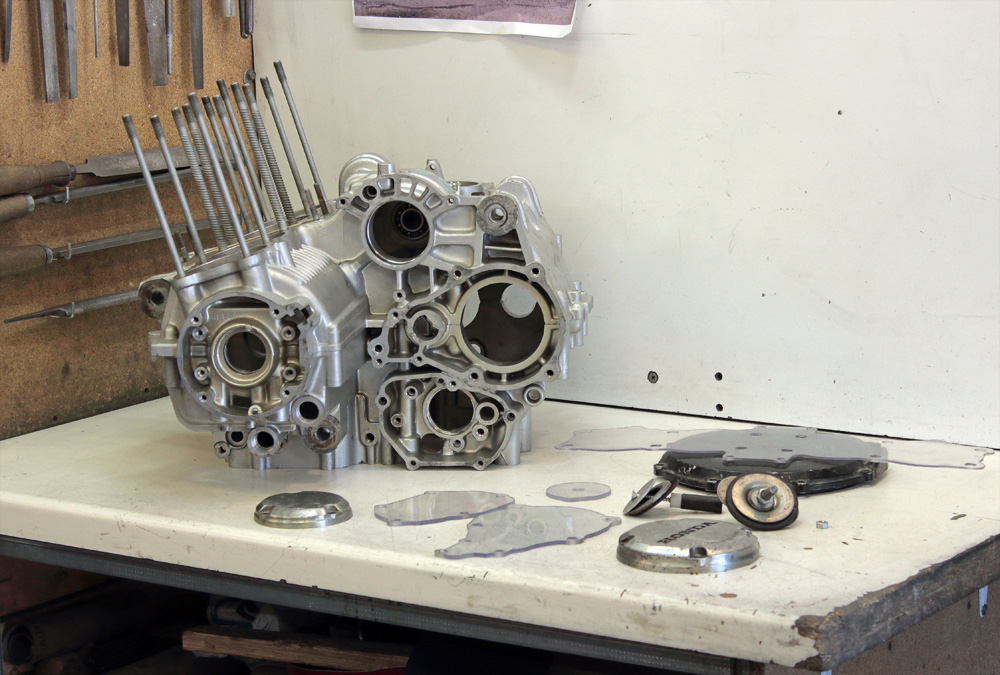
 And photo of whole set, before I loaded it into the car and drove to glass bead blasting workshop.