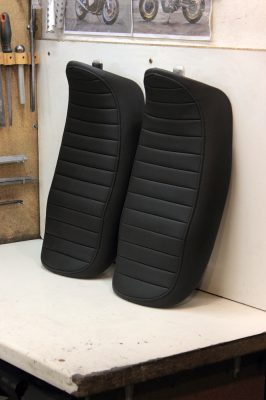
As I finished previous post on seat bases, handed to seat maker, I would begin this post with ready seats. That’s how they look when I get them back:
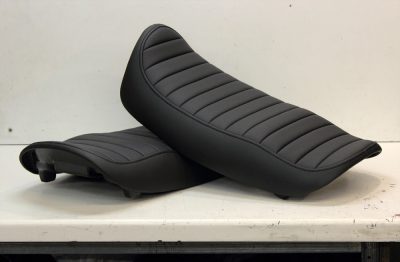
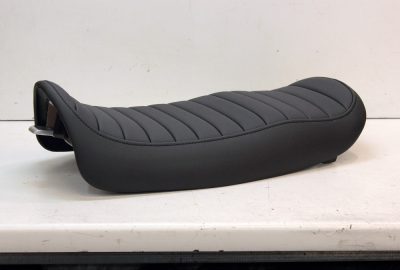 Finally I adjust kit’ locks on my own Zephyr – and seats are ready.
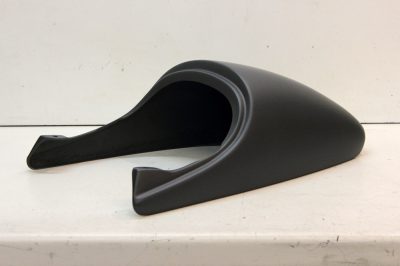
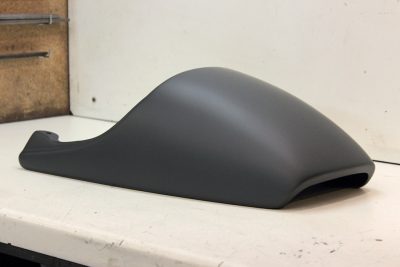
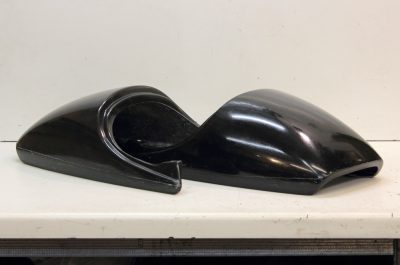
Next point is tails. After edges are cut off and grinded, and mountings are drilled I hand tails to painter.
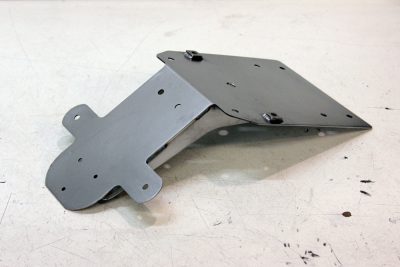
 The license plate holder consists of three parts and two welding nuts which have to be welded together, then part should be sandpapered.
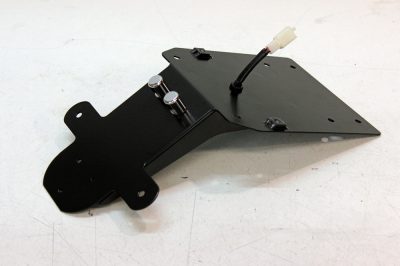
 After that I’ll hand it for sand blasting and powder coating. Style of welding and coat may vary slightly. Once the part is coated, the final work might be done: I mount license plate lights, then lay wiring through special rubber and afterwards equip wires with connectors.
 And about the tail light. Firstly I drill all holes, cut out shapes and sandpaper body of prospective tail light:
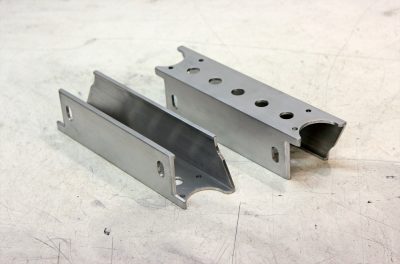 Then I polish it and mount hardware for glass and frame.
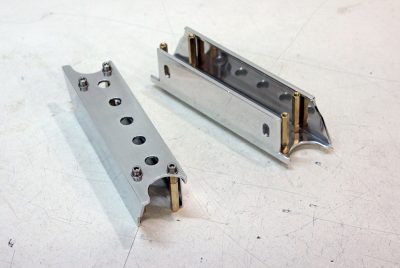 I cut out and polish “glass”, mount LED units, and tail light is mostly ready.
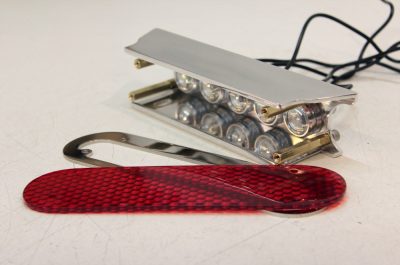 When components are soldered, wires managed and all connectors installed, the tail light is completely finished.
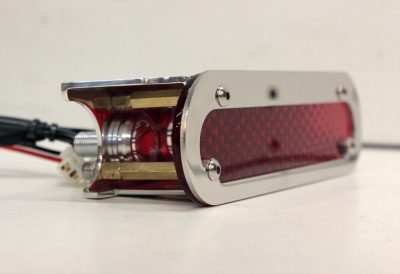
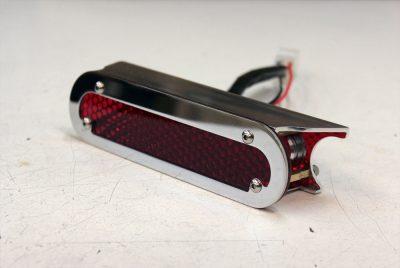 After assembling I run a 5 hours test in tail light mode and one hour test in stop light mode to be sure everything works right.
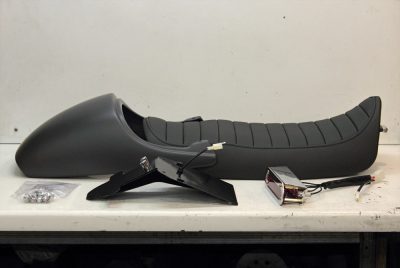 So, as you may see, every kit in fact custom made.
And a little hind about packing. Always pack painted parts in paper wrap firstly. Thus even freshly painted parts will survive a week way in the parcel box without surface damaged by reaction of evaporated reminders of solvent and any plastic wrap.
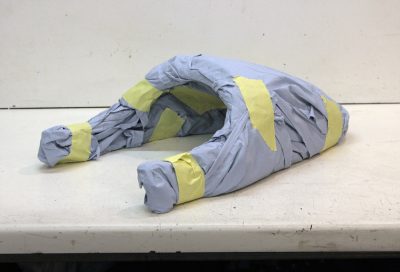 I prefer wrapping all other parts in stretch film before applying another type of wrapping.
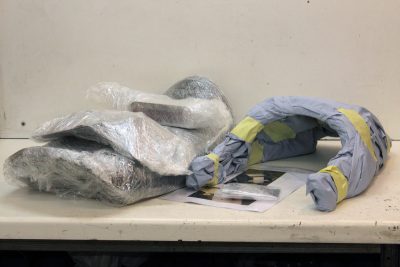 As I wrote this post, one kit already crossed border on its way to his owner and another one was packed and ready to be despatched.

Hola buenas tardes, quiero comprar un kit para Kawasaki zephyr 750, que pasos debo de seguir, gracias un saludo