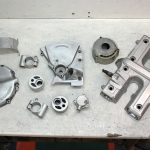
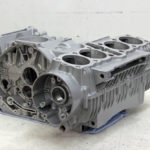
I had no time for photo shooting when I was applying sealant on crankcase contact surfaces. So next photos I took were those of the engine case already assembled, with all bolts torqued to specs.
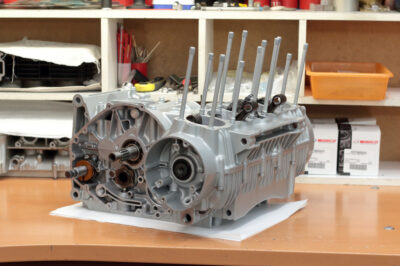
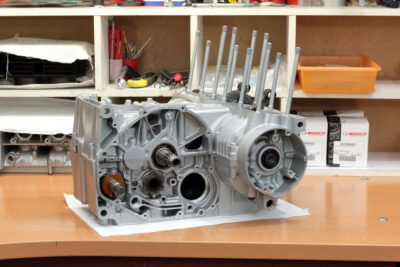
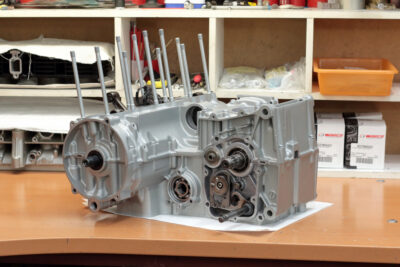
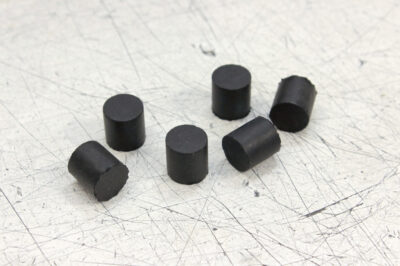
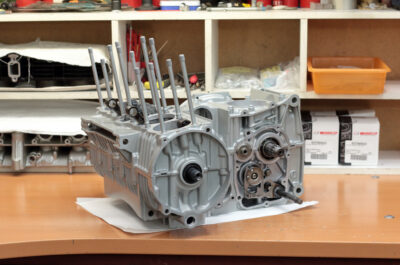 My next task was pistons and cylinders. First thing I installed new original plugs into the bottom of the cylinder block.
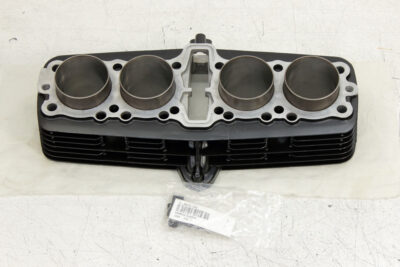
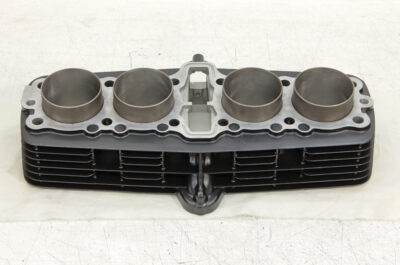
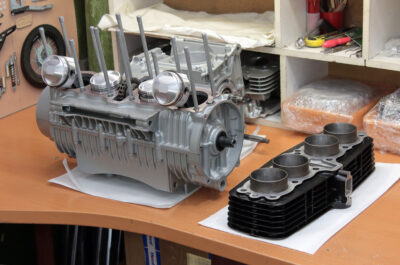
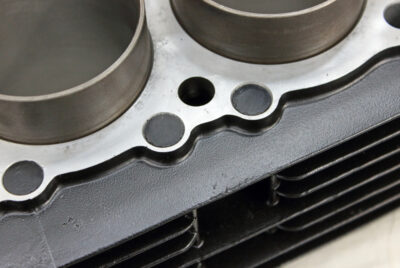 Wiseco forged pistons look as always fancy.
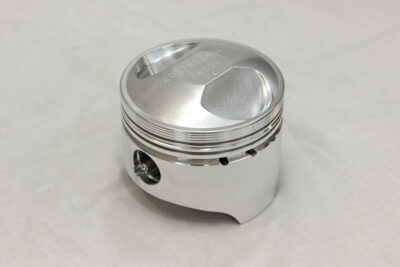
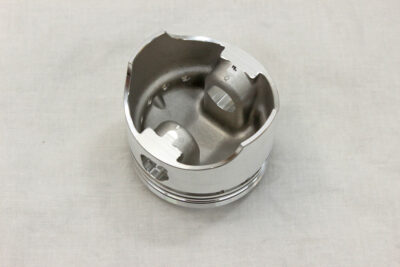 However, the complete big bore high compression piston kit (K700) in combination with cylinders painted in black look not just fancy, but absolutely awesome. I couldn’t stand the desire to shoot more photos than really was necessary:
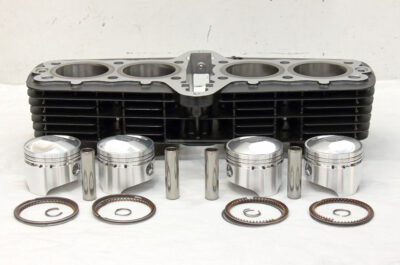
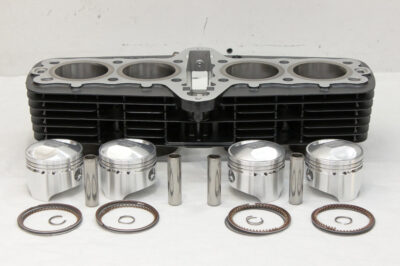
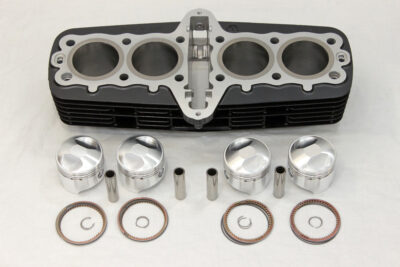
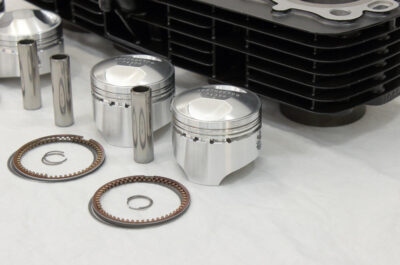 Putting rings on pistons and installing pistons themselves are routine works. However some skills and accuracy are (as always) of essence.
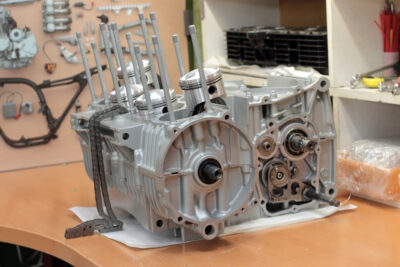
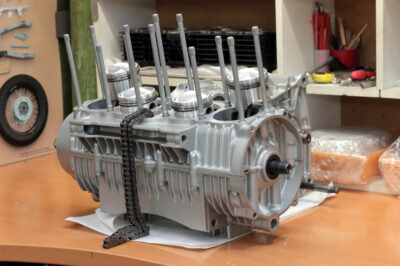
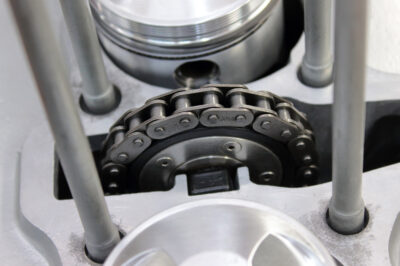
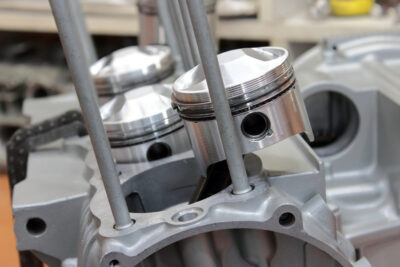 With pistons in place and rings gaps aligned according to Wiseco recommendations it was time to prepare things for cylinder installation. First came brand new (Liska Racing) lower idler roller, new genuine roller shaft and damper rubbers.
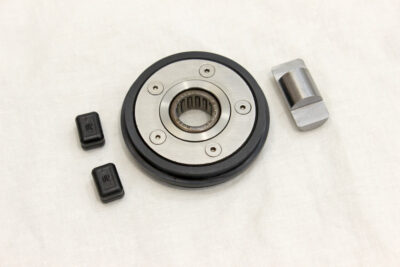
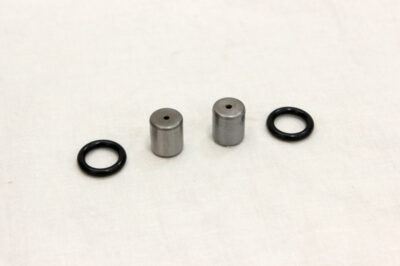
 Then I put in place oil restrictors with new O-rings (genuine again, one couldn’t trust aftermarket rubbers when it came to the oil distribution system).
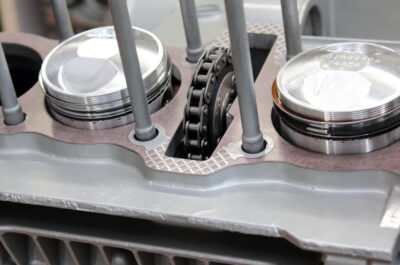
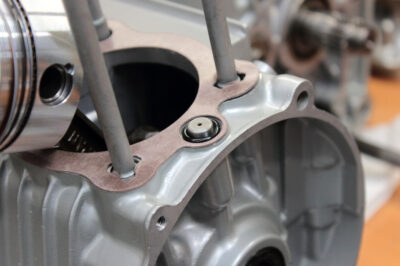
 New genuine gasket finished setup.
 After this it was time for some special tools again. For cylinders installation Factory Service Manual proposes to use two special tools: Piston Ring Compressor and Piston Bases. Both tools came in one set of tools (under part number 57001-531). Well, all is clear with the piston ring compressor: it allows you to slip pistons into bores without working on each and every compression ring. However, I suppose not everyone has a piston bases in the workshop. They are merely two U-shaped rods that have to be inserted under the pistons to hold them level while you put cylinders on pistons. However, they turned out to be mighty useful, especially in cases like mine, when the secondary shaft and clutch aren’t installed and therefore the crankshaft is disconnected from the gearbox. Without these components it’s hard to fix the crankshaft in the chosen position and therefore hard to work out the rings. But even with the clutch components and secondary shaft in place, when the position of the crankshaft may be more or less fixed by switching to one of gears it’s more secure to use piston bases when installing cylinders…
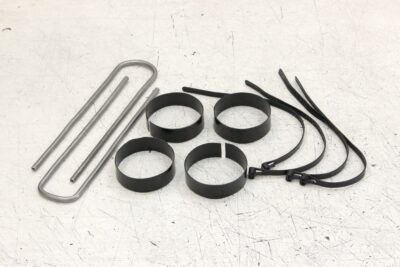
Therefore, I decided to make it all by the book and produced myself another set of special tools. It was very simple with piston ring compressor as I had this ideal in my mind for a long time: I cut off skirts from four carburetor cleaner caps, just like these:
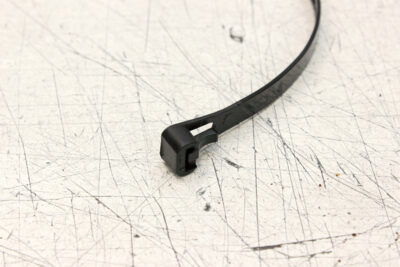
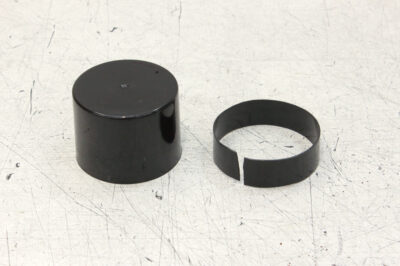 And took four wide reusable plastic ties (I use them to mount wiring to frame etc, works much better than ordinary wire ties).
 As for the piston bases, I was lucky to find two pieces of stainless steel pipe of acceptable diameter. They were bent a couple of times before and therefore far from straight, so I straightened them as well as it was possible and made U-bends of acceptable dimensions. Not the best of special tools I made, but pretty decent for 15 minutes effort.
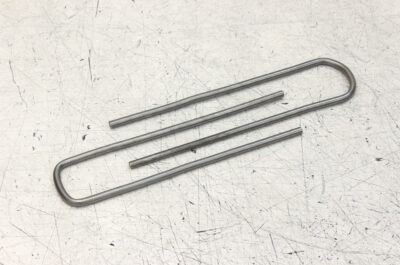 Complete set of improvised special tools looked like this:
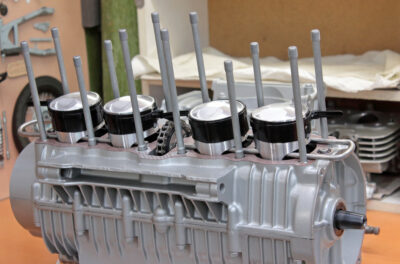
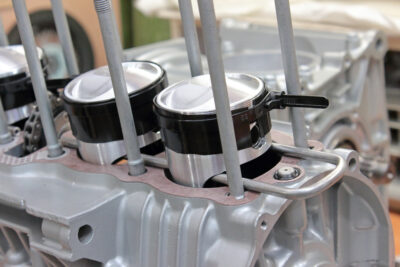
 And here is how they work. Initially I made bands for rings too wide, so later I narrowed them so cylinders went down further and covered oil rings with bands installed.
 After this was ready for cylinder installation. However, it is another part of the story.
Thus: to be continued!


