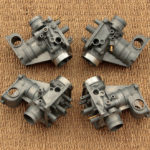
Next step in Kawasaki KZ650 engine assembling was connecting rod installation. As usual, I applied mix of engine oil and Liqui Moly LM48 molybdenum grease to connecting rod bearing inserts.
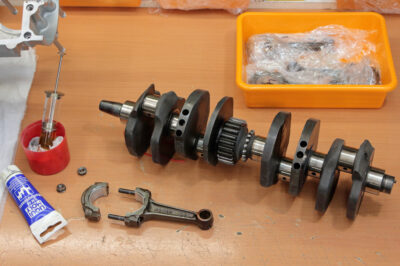
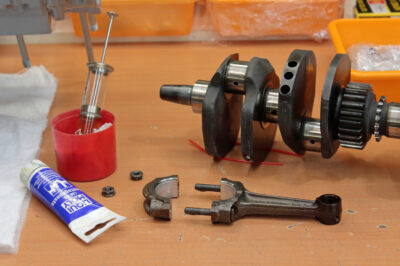 I tightened connecting rods’ nuts with the crankshaft installed in the upper half of cases. Then I returned the assembled crankshaft with conrods on the shelf for a short time.
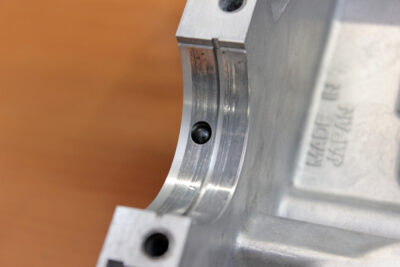
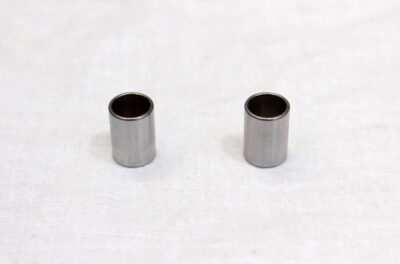
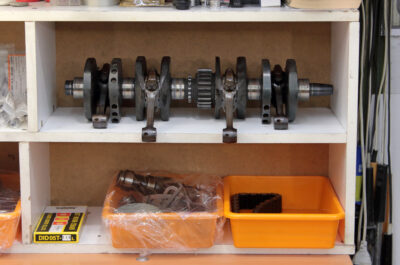 So I could Install all necessary parts into the upper half of the crankcase. Like new knock (dowel) pins:
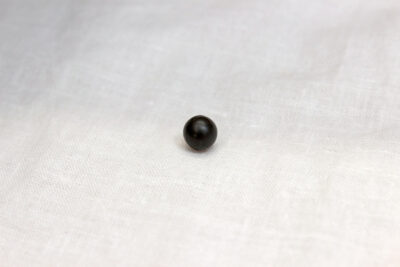
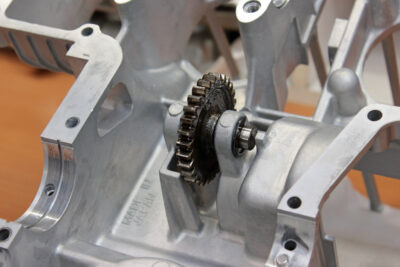
 Or new rubber plug for oil channel:
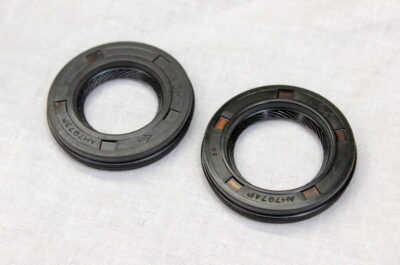
 After this I prepared new crankshaft oil seals.
 And put primary and timing chains on the crankshaft.
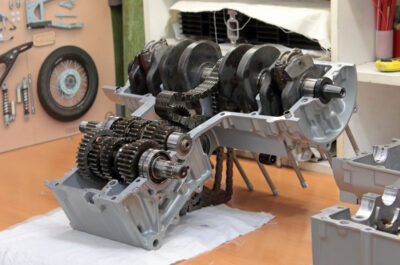
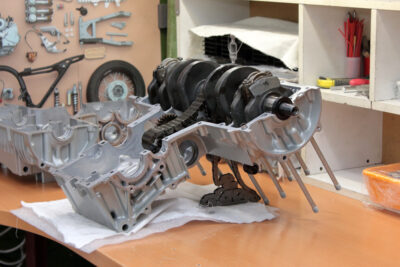
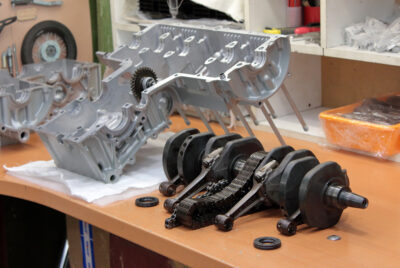 After this I greased crankshaft bearing inserts with a mix of molybdenum grease and engine oil and installed the crankshaft into its place. In this way the upper half of the crankcase was mostly ready for assembling.
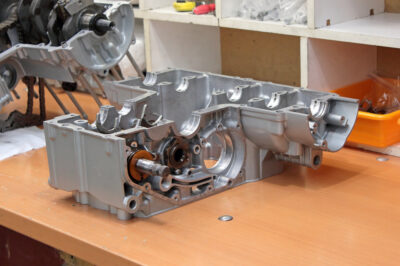
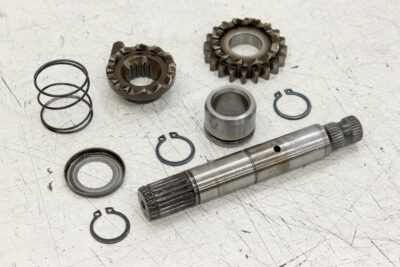
 Meanwhile I proceeded to lower half of the engine case. First I had to install a kickstarter mechanism. There are three retaining rings (circlips) to be installed on the kickstarter shaft. They all may look identical, but in fact only two of them are identical. Third retaining ring size is slightly different, so mind not to mix those rings up.
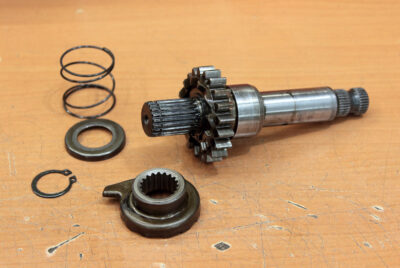
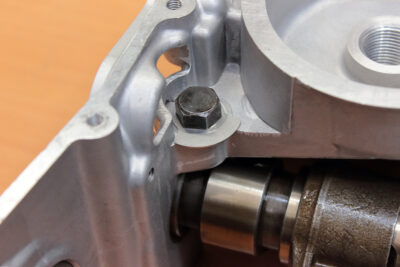
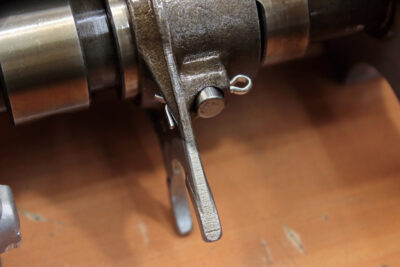
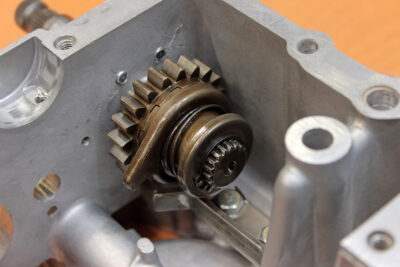 With the kickstarter mechanism correctly assembled and in its place my next step was assembling the gear shift mechanism. I did it by the book using a new lock washer for shift drum guide bolt and cotter pin for 3rd gear shift fork.
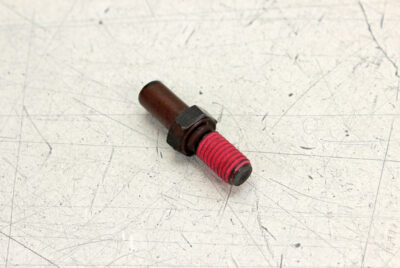
 I used the return spring bolt of the new design. It came with factory applied thread locking agent and some kind of coating on the part which is in contact with spring.
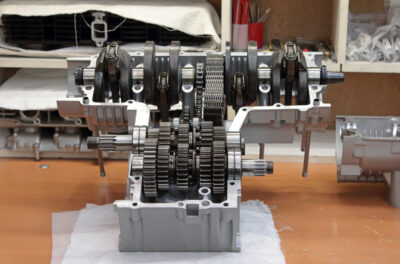
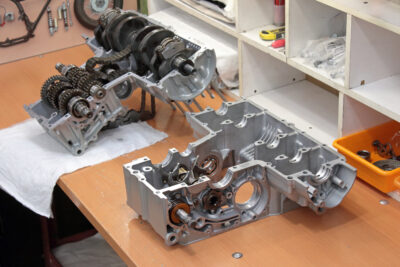
 With all components in place I just checked gearbox fitment:
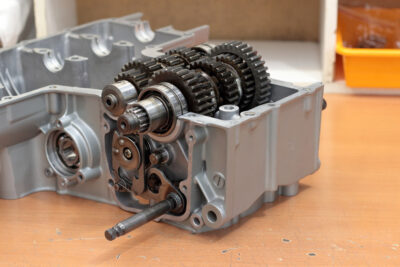
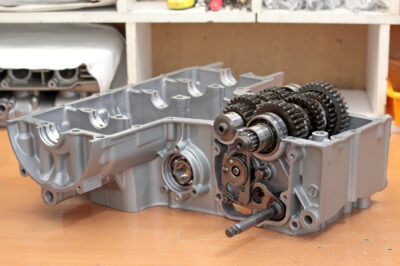
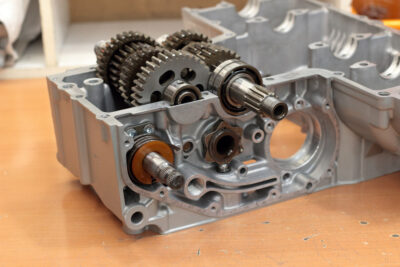
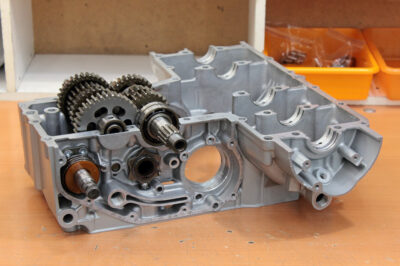 And then installed the transmission in the upper half of the crankcase. Both halves of the engine case were ready to be joined…

