Well, I was about to start a series of posts about preparing the Kawasaki KZ650 engine for assembling, including a section about special tools I made by the way, but on Saturday I finished two last covers for the aforementioned engine and I am anxious to share some photos of them.
As you may remember, the only engine covers that remained unpolished were the ignition and alternator covers. The post about the cover choosing and buying is still fresh and close at hand >>
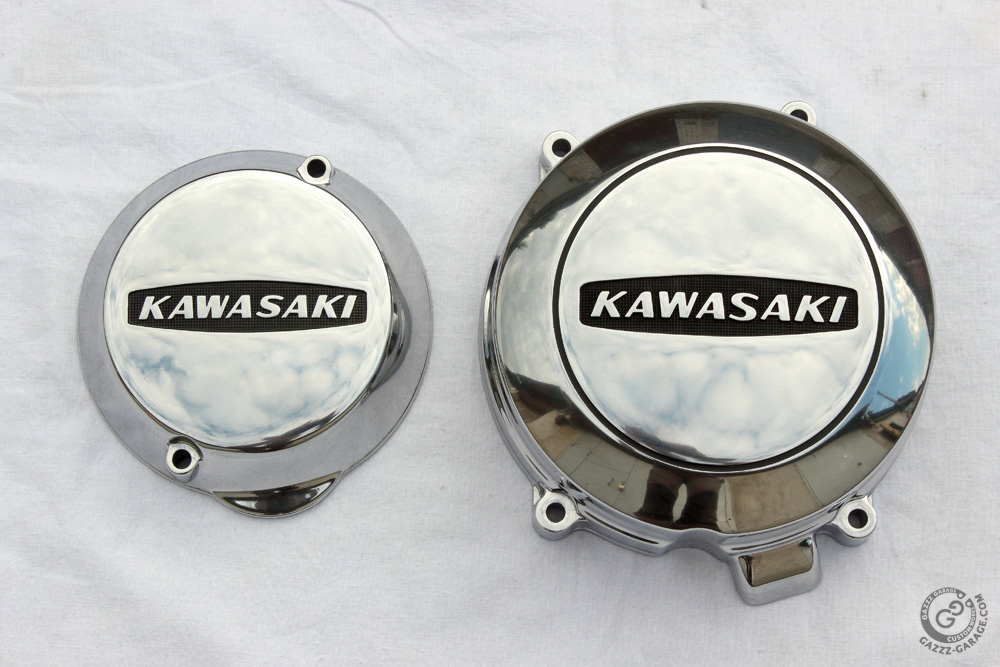
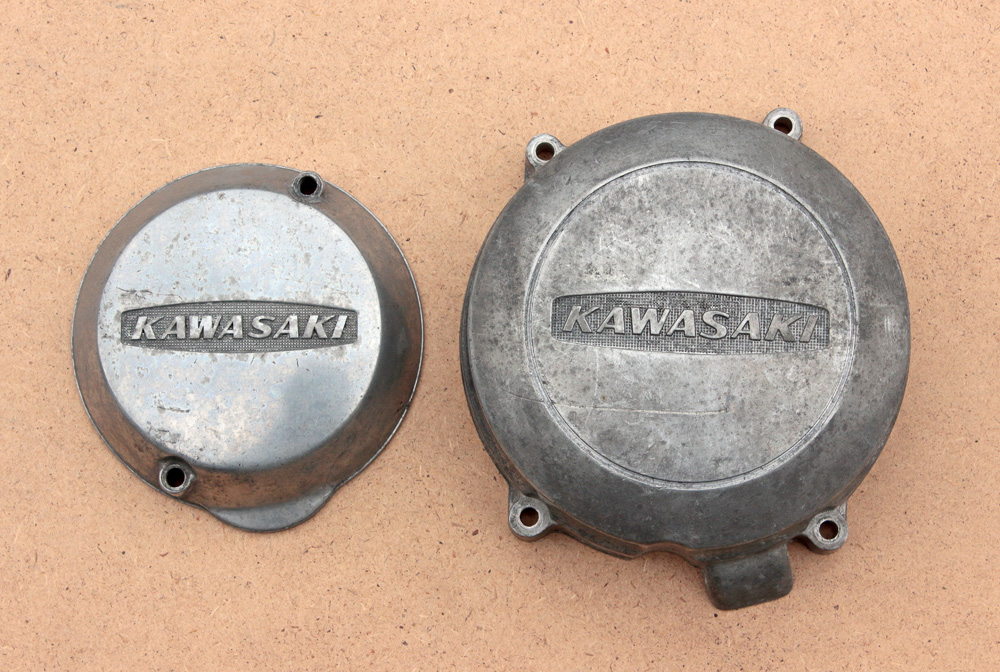
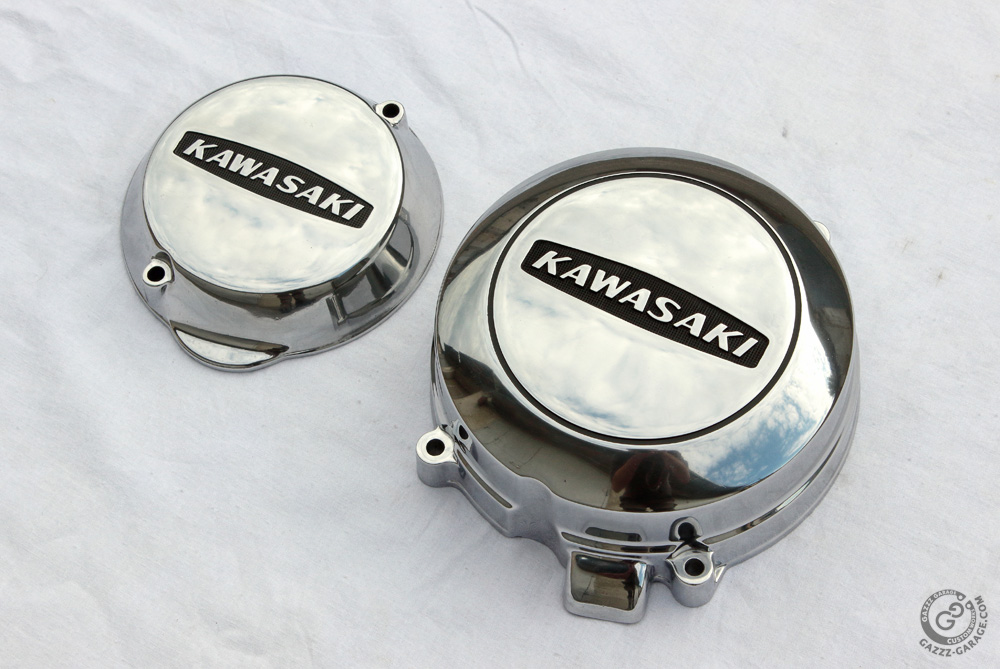
Alternator and ignition covers are relatively small and of pretty simple configuration compared to other engine covers, so it may seem that it’s pretty simple to polish them. However, these covers have areas that have to be painted and this fact provided me with an additional issue to solve, since painted areas have to be completely clean before paint is applied. But first, let’s proceed to photos “after and before”. Here they are:


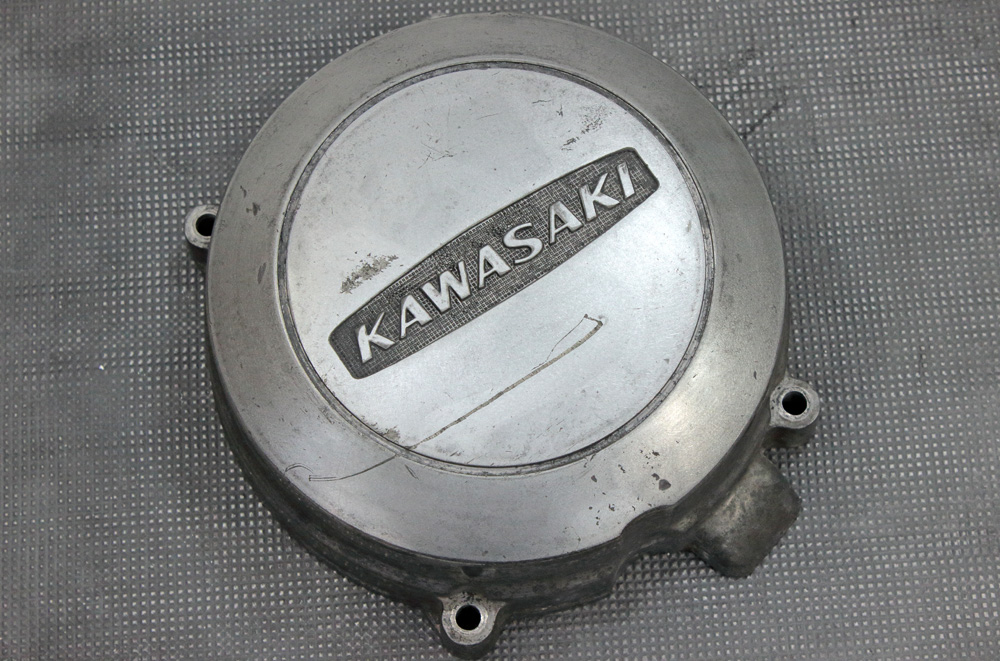
 Preparation for polishing I started as usual, from dry sandpapering. It showed a lot of flaws, which was no wonder, since both covers are more than 40 years old. Scratches, dents and spots of corroded aluminum – that all pretty expected things for such parts.

 Slightly unexpected was only a light warpage of ignition cover. I fixed the issue using a sheet of sandpaper placed on a mirror (thing flat enough to plane the cover contact surface).
 Then was habitual drill: dry sandpapering, wet sandpapering, polishing, sandpapering again and so on and so forth up to the satisfying result.


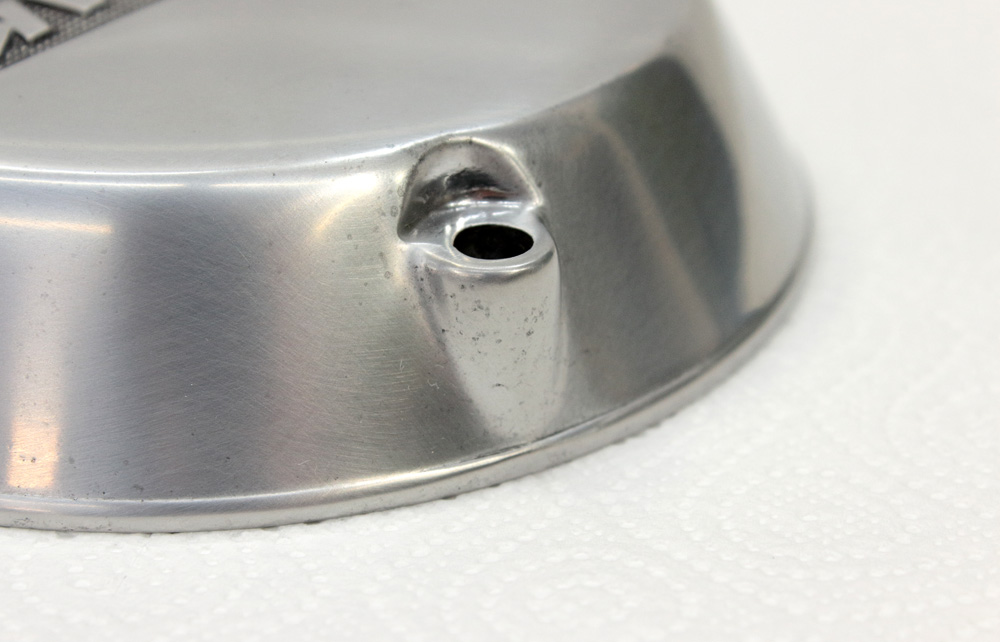
 The most unpleasant thing is the points of corroded aluminum. I call them age spots. They are ordinary things for old aluminum and they eat their way deep into the metal. They are not critical for the parts usage, but one never could get rid of them. And since in such points aged aluminum changes its density, they will be visible after polishing.
 Once I finished with polishing, I cleaned areas that had to be painted, masked covers as thorough as possible and then went with them to the nearest glass beads blasting shop. The media they have loaded in their machine was coarser than I wished, but with two small covers and a wish to get them ready ASAP I had not much of a choice. After glass beads blasting I “shook off the dust” from my airbrush and painted covers, still masked with satin black Eastwood ceramic engine paint. After this the most difficult task was to keep my hands away from the covers until paint became dry. The last part of the work on covers required extreme accuracy, as I have to sandpaper letters but touch not already polished aluminum or paint in deepenings. Same accuracy was necessary to polish letters. To ensure better resistance of paint, I “baked” covers before I started polishing.
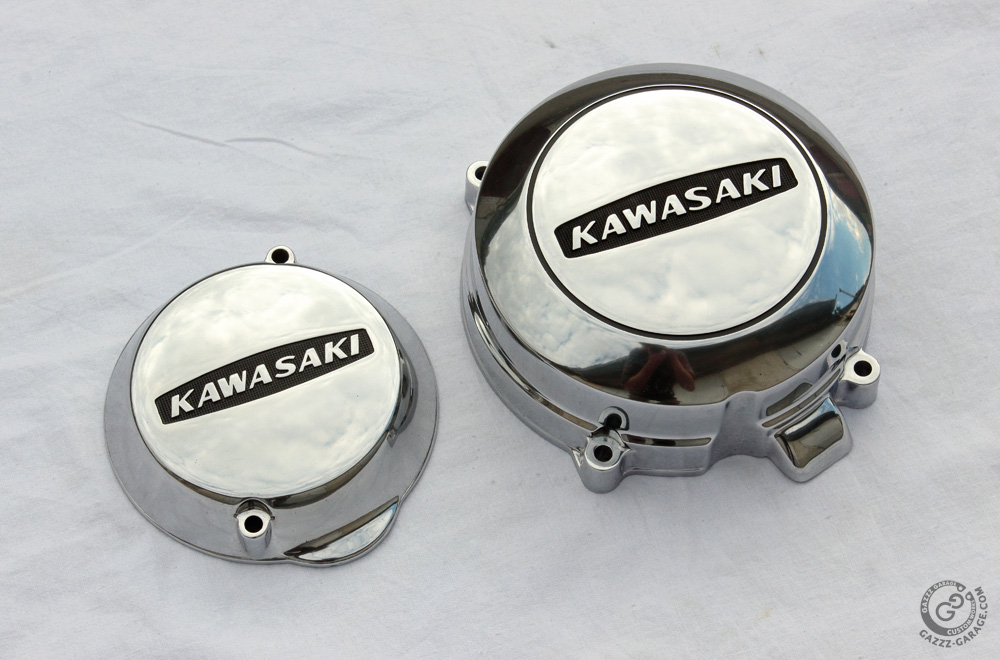
The result of this was my personal great satisfaction. This is the point where I encounter a lack of words to describe my opinion on the subject. Let’s say it in this way: covers are not perfect. But they are perfect in their imperfectness. So let’s take another look at them.
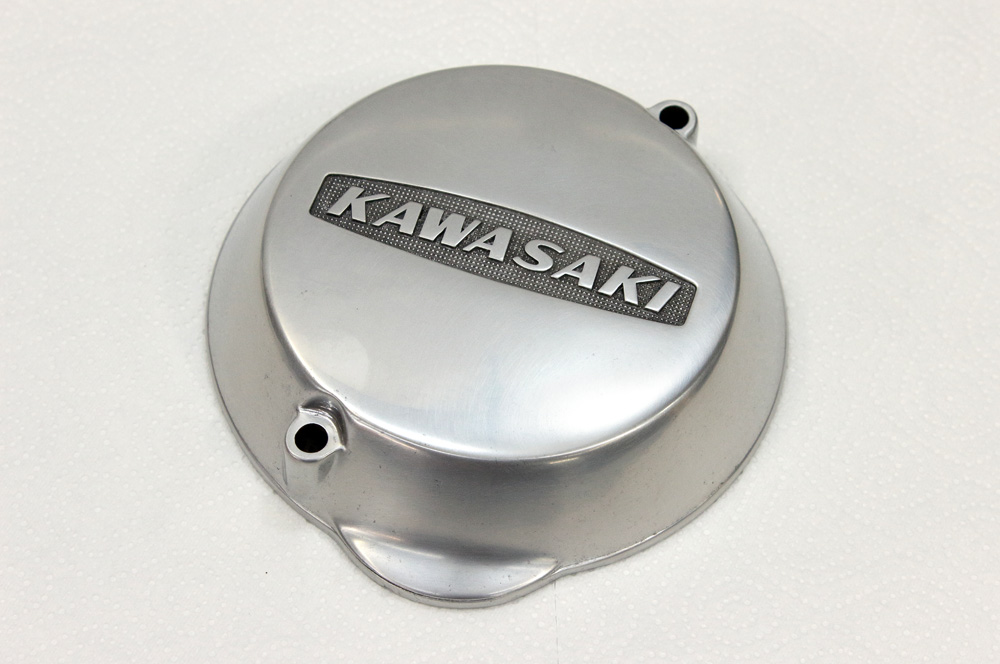
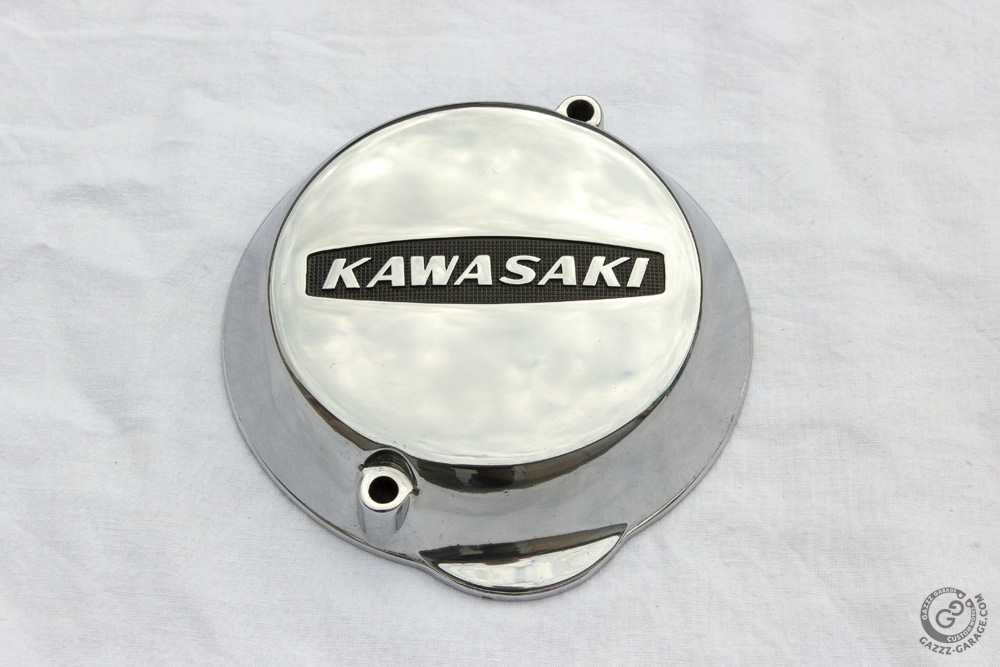
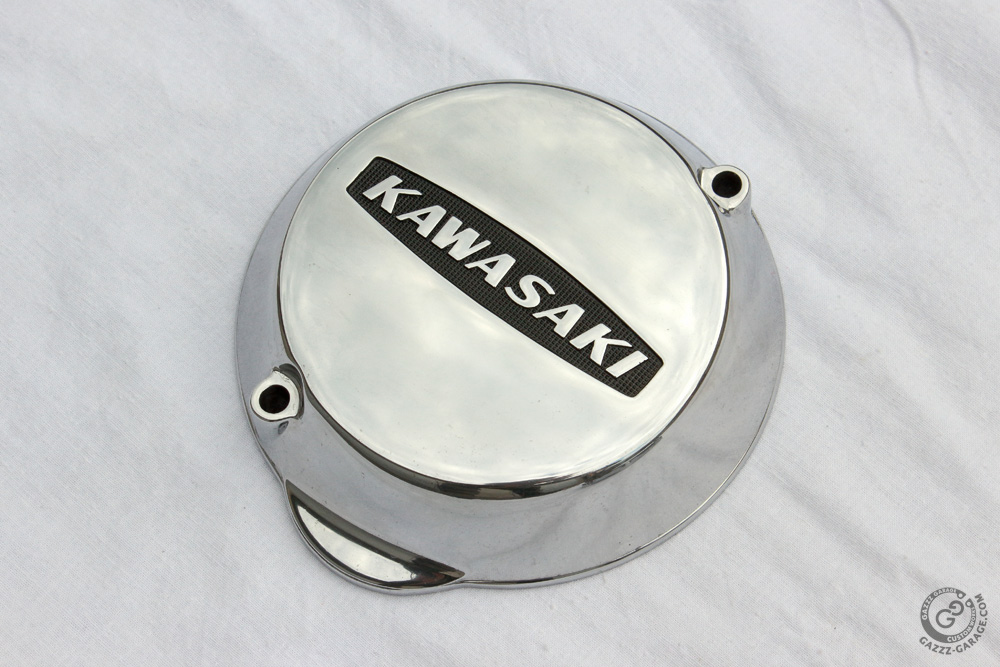
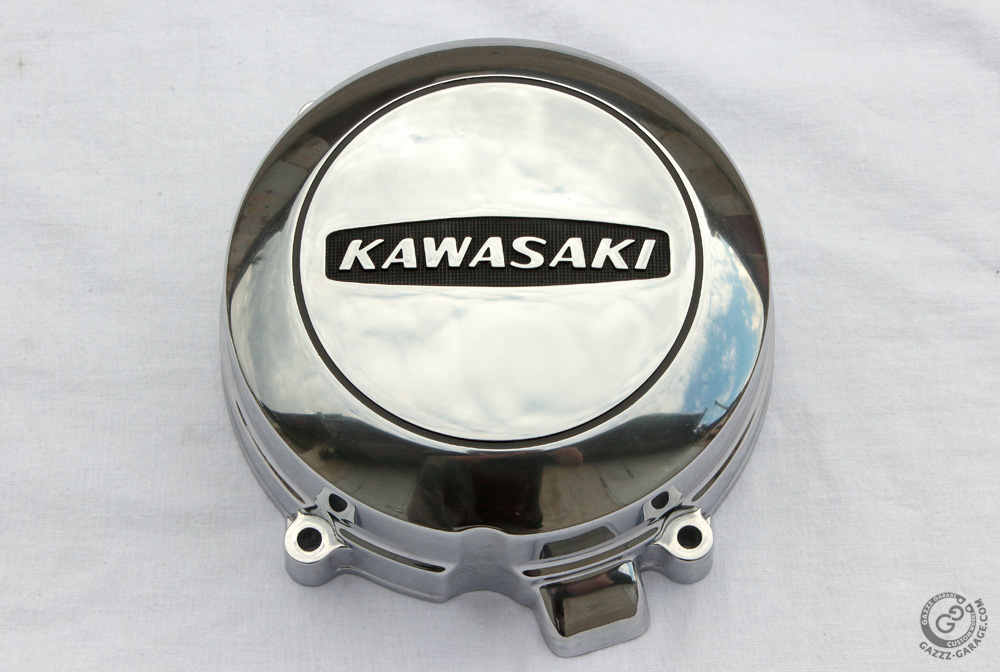
 Here is ignition cover:
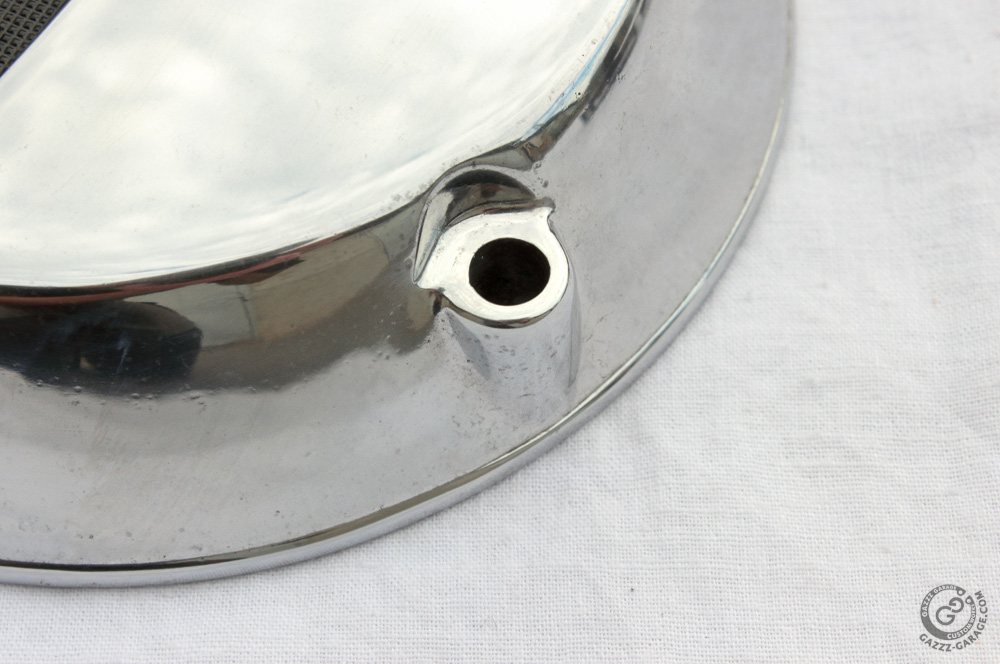
 The “age spots” I mentioned earlier.
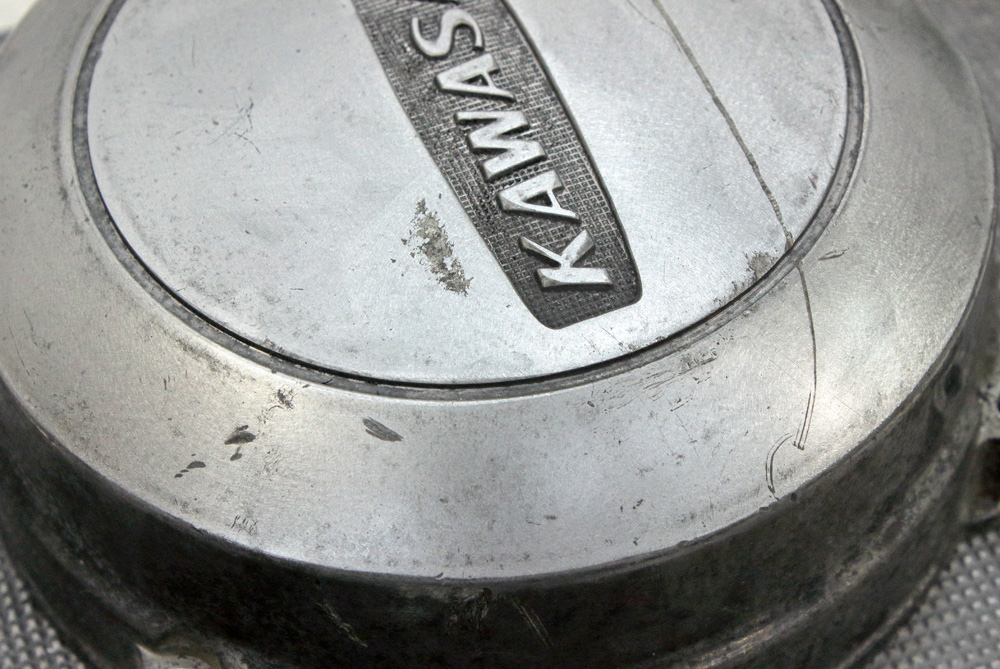
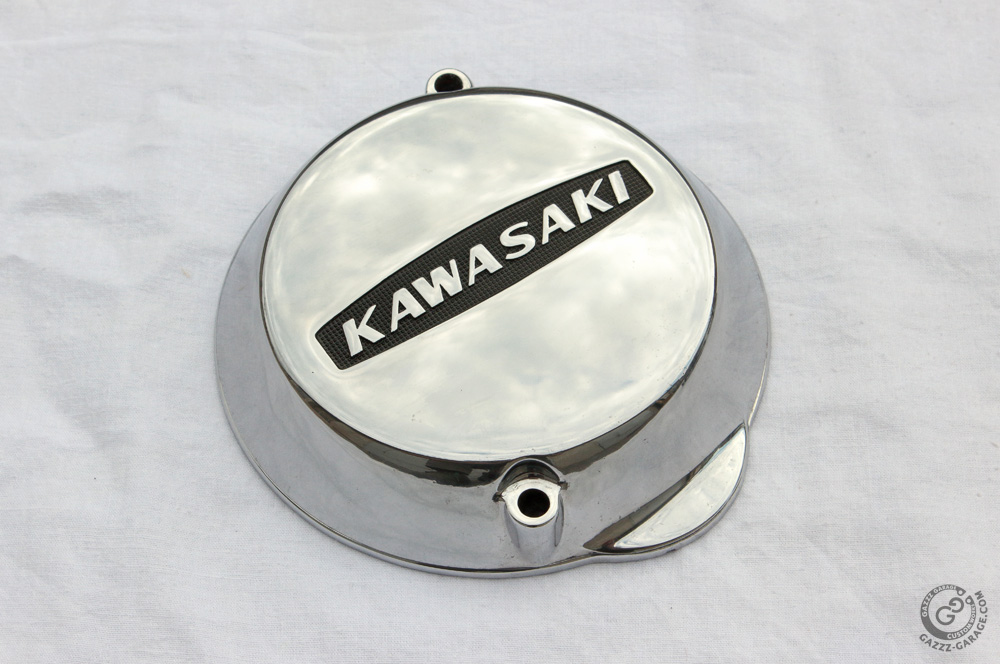
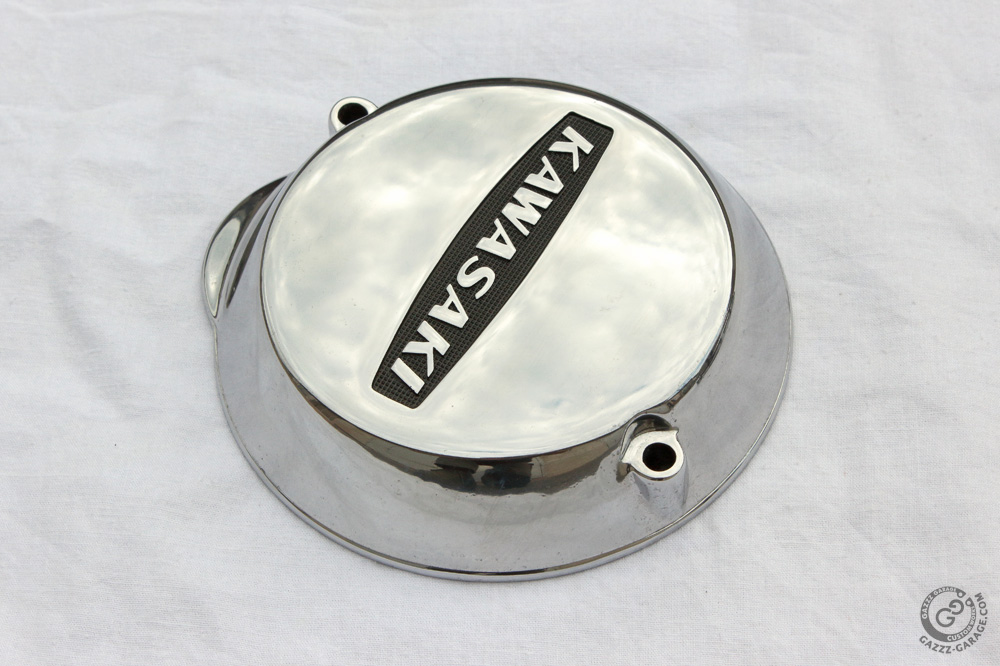
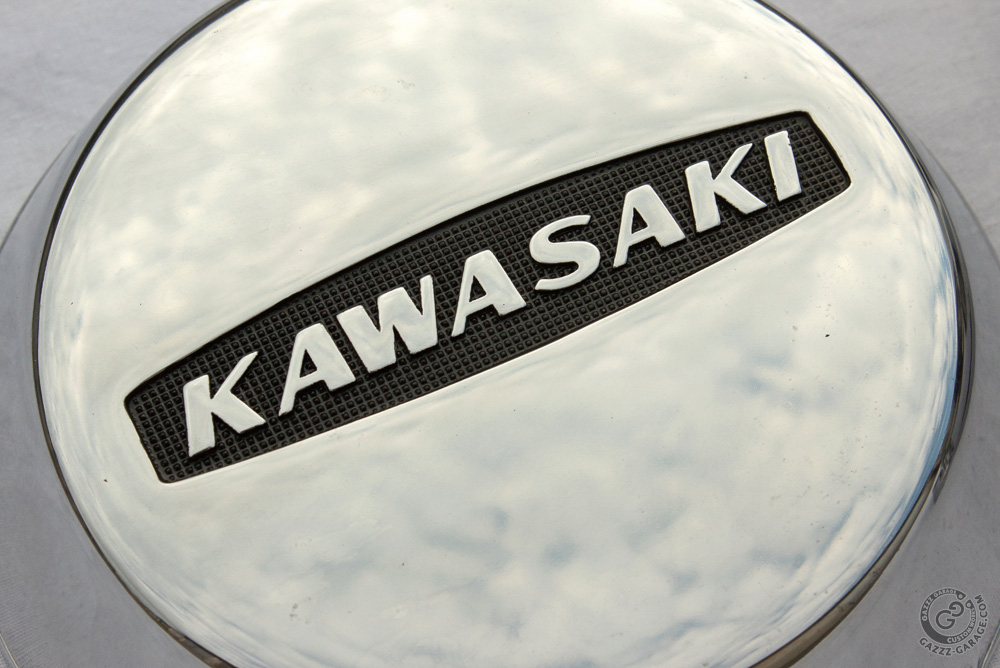
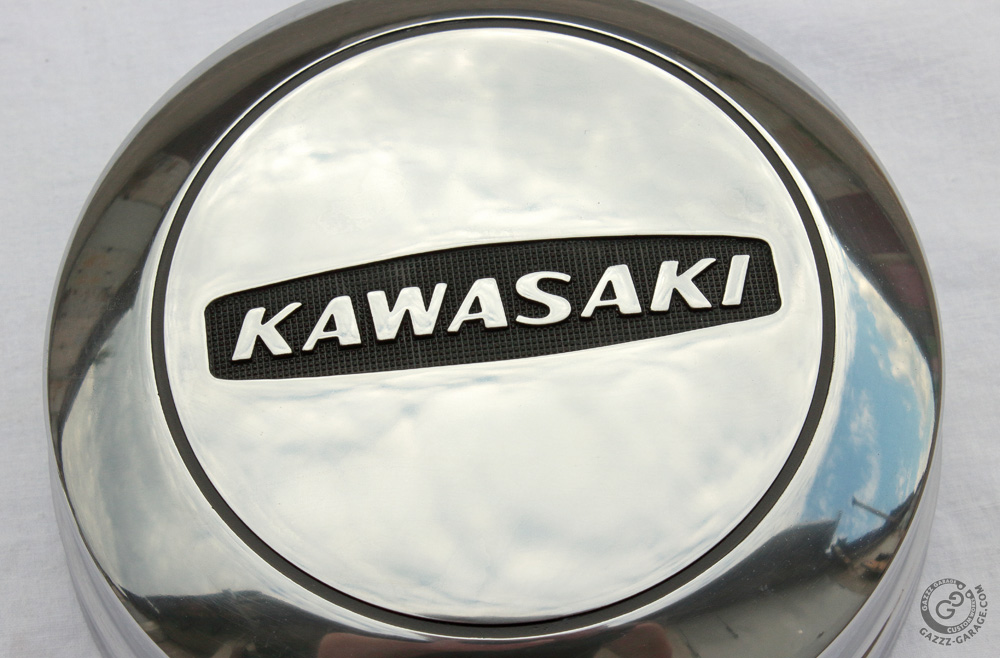
 And as I already wrote, this version of Kawasaki logo is my favorite:
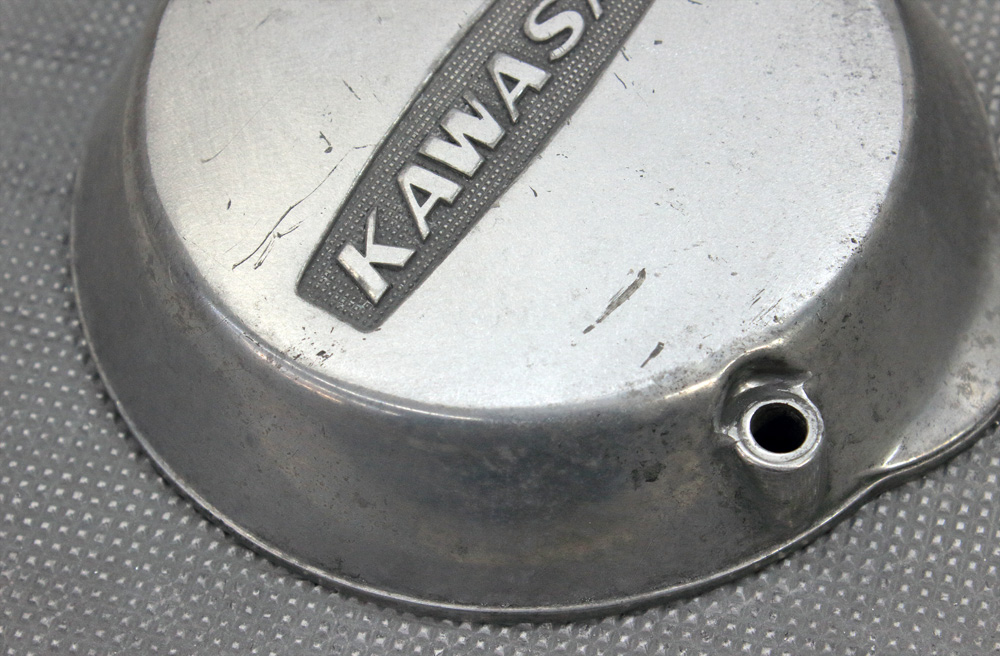
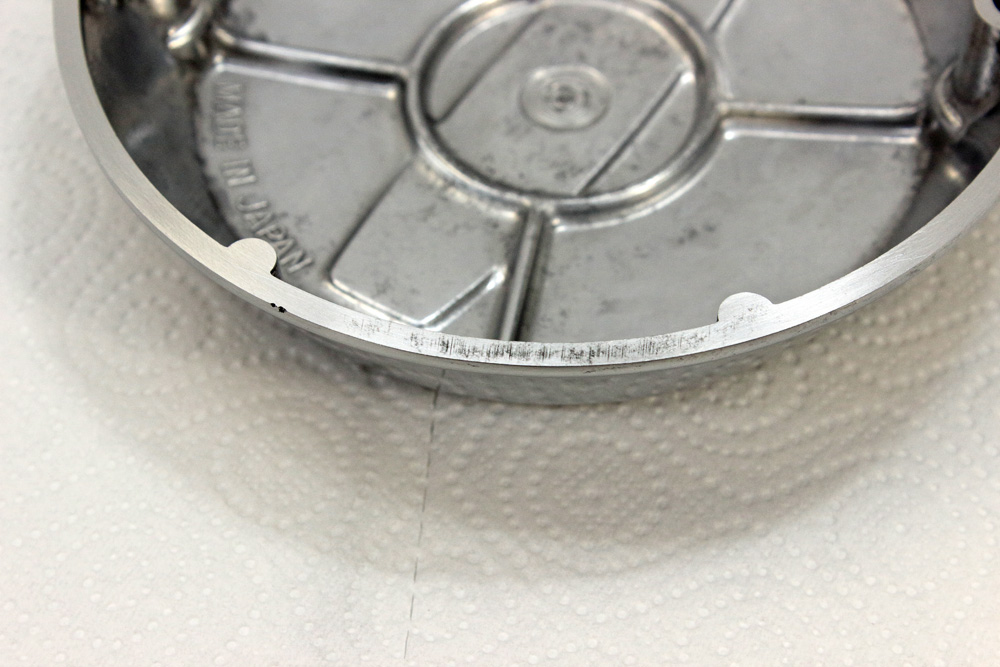
 I also cleaned the ignition cover a bit from inside.
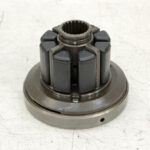
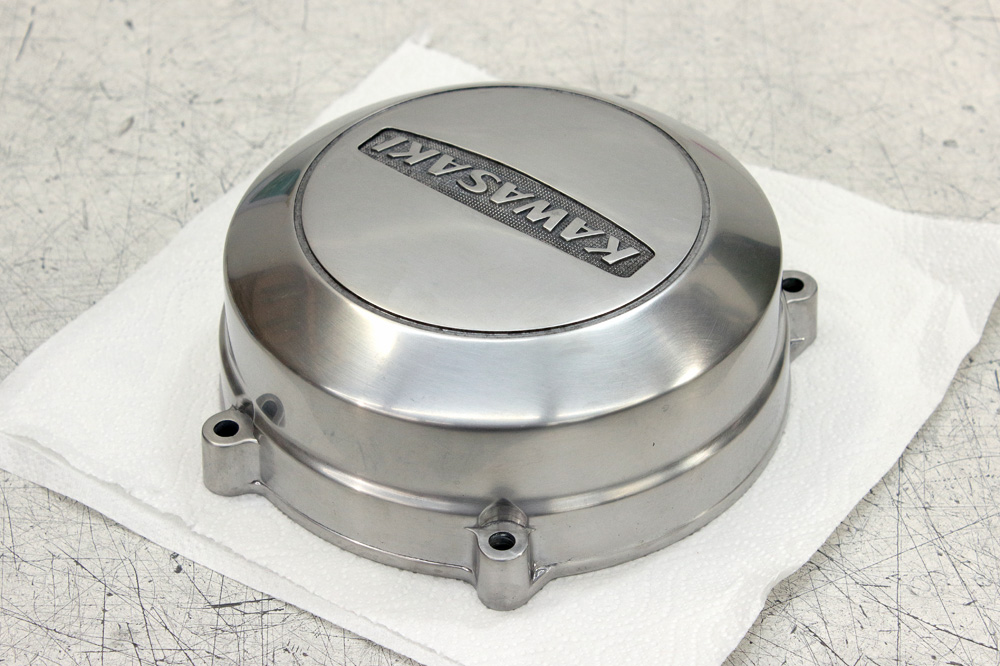
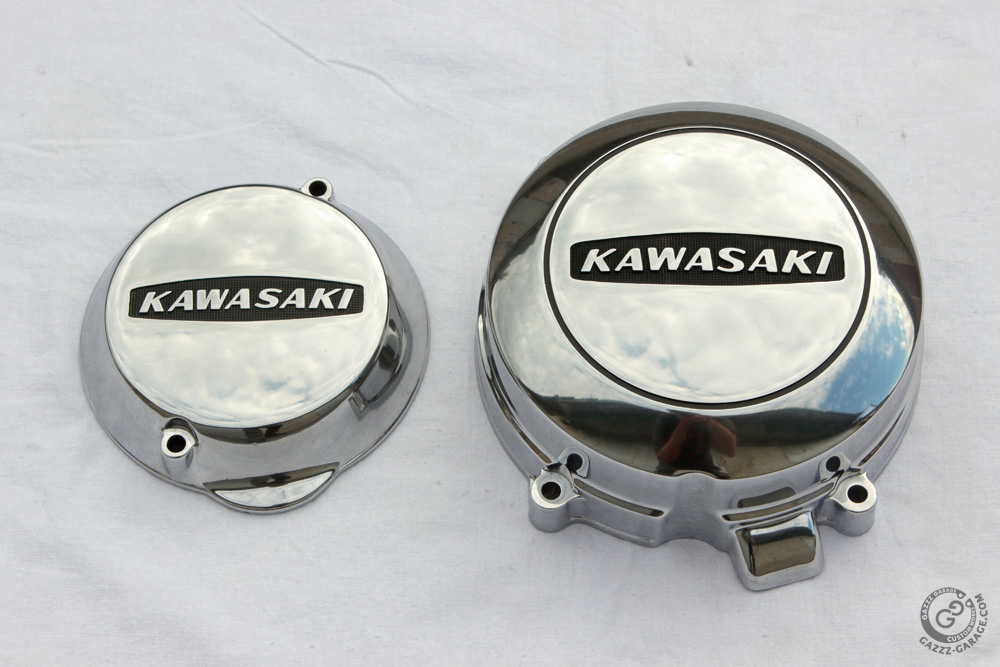
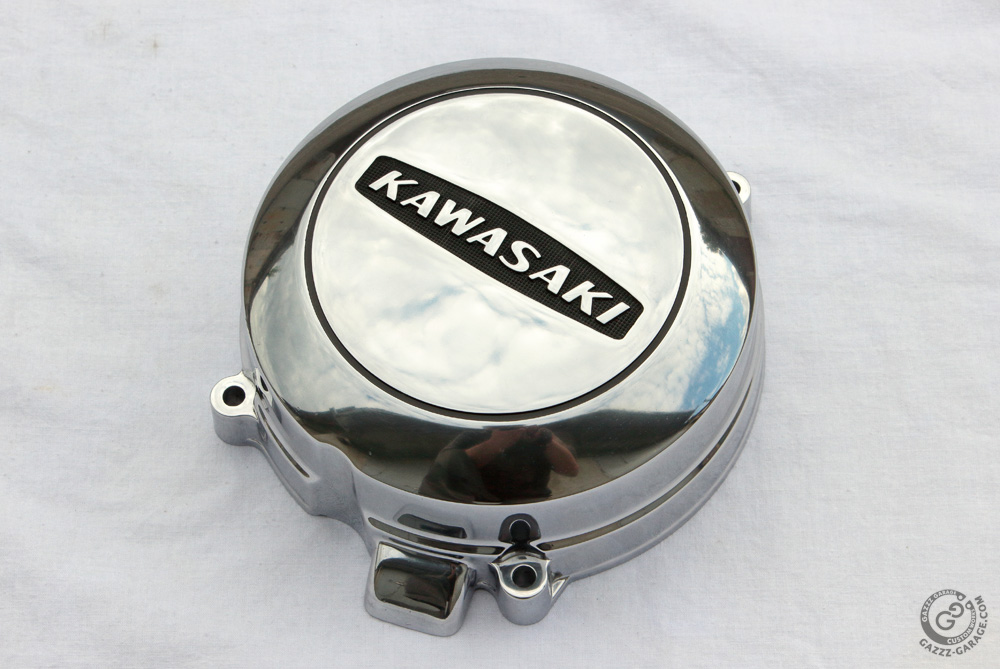
 And here is alternator cover:


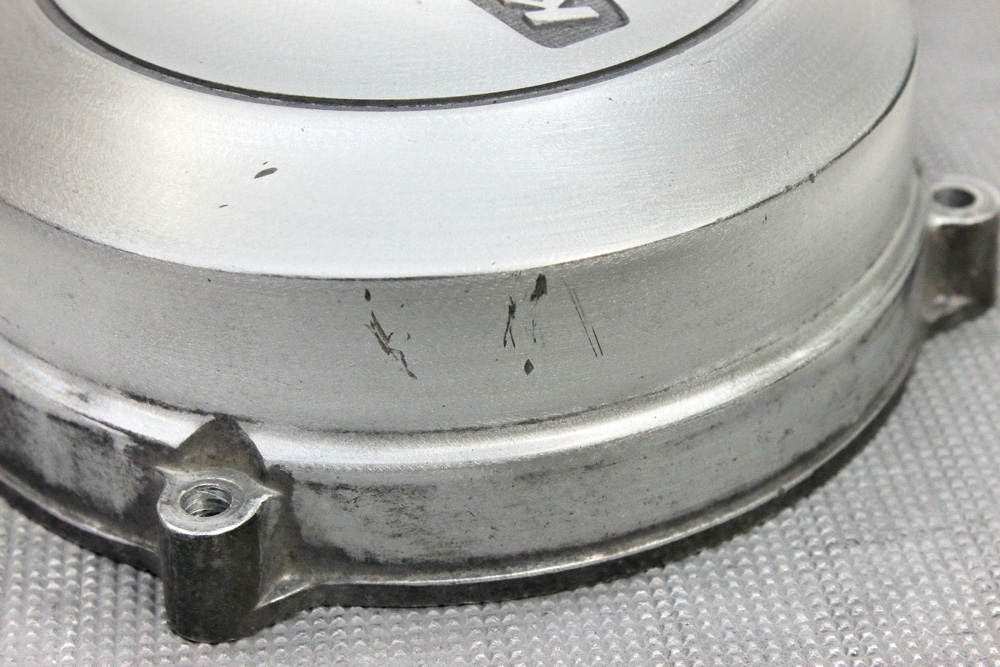
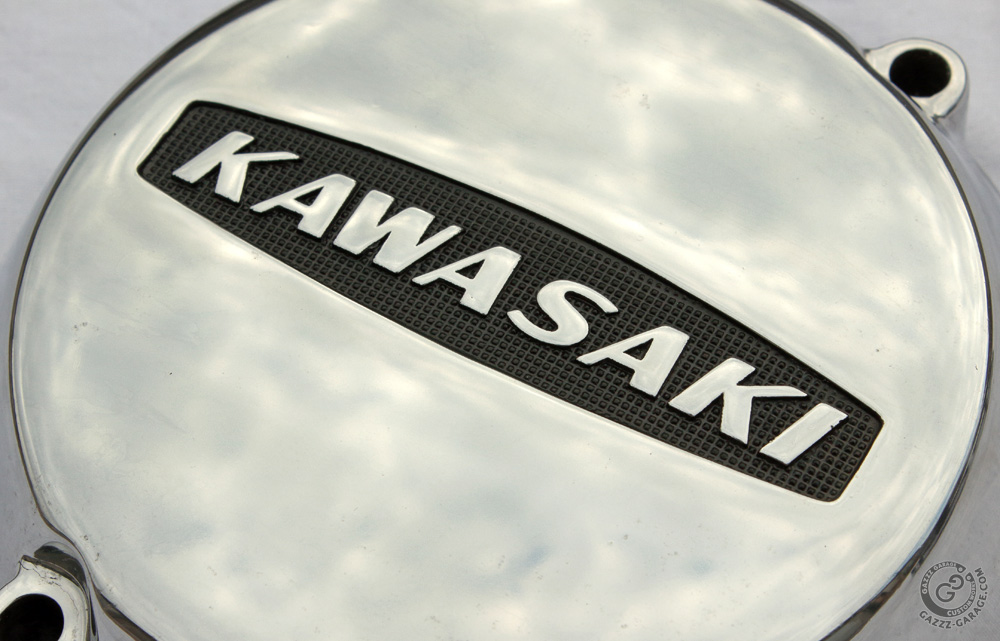
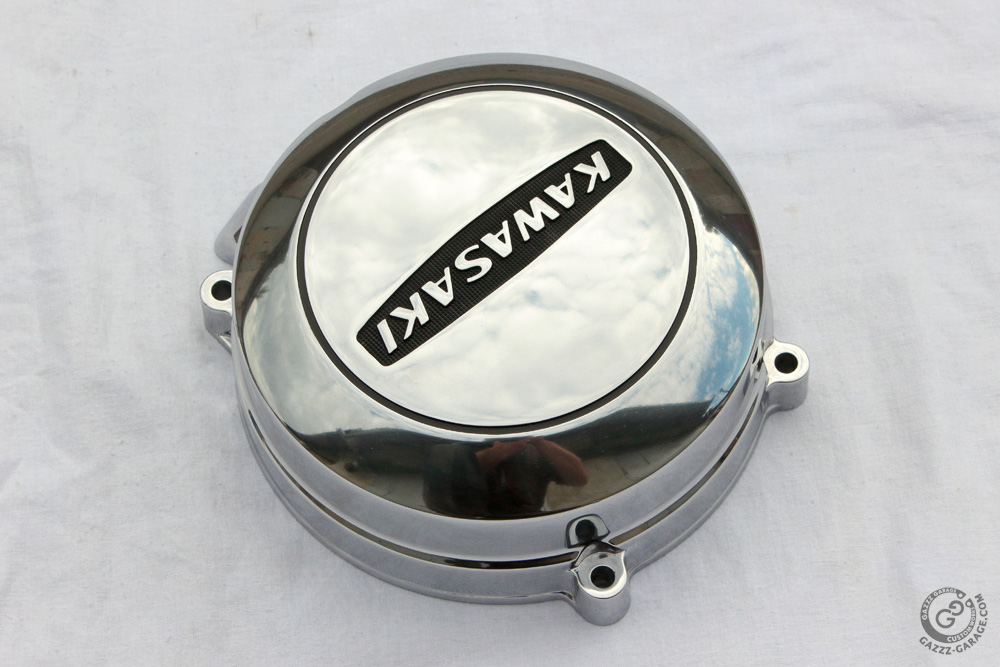 Let’s take a closer look at it too.
 And yet closer one or two. Dunno which of these two photos I like more, so let them both be here.

 With all engine cover ready I indeed could proceed to engine assembling and I already made some preparation works. Read about them in my next posts.