The Kawasaki KZ650 oil pump turned out to be in perfect condition, but it needed some cleaning. To clean the oil pump properly I completely dismantled it, down to removing the strainer.
 I soaked oil pump aluminum housing in the same solution I used for cleaning crankcases. Result was pretty nice: housing became clean and bright.
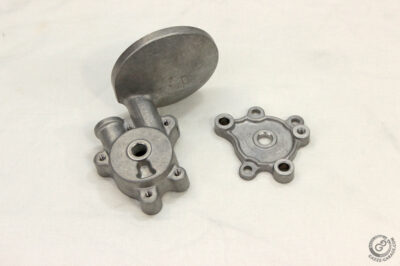
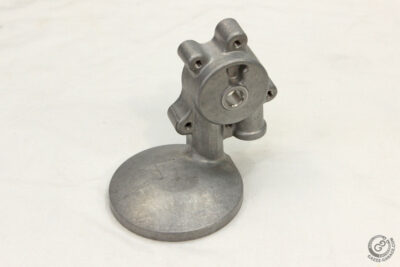
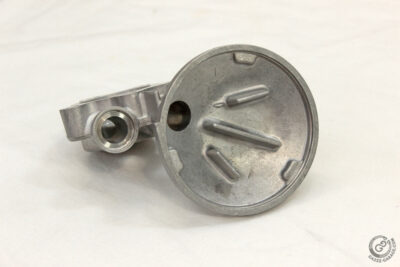 Since the original gasket is already more than forty years old, I decided to check how the aftermarket gasket for the oil pump fits. This gasket came with a set of gaskets I’ve bought earlier, even before I started working on the KZ650 engine. Turned out that it fits very poorly and that’s about all you have to know about aftermarket gaskets. In the best case the chance they fit properly is 50/50.
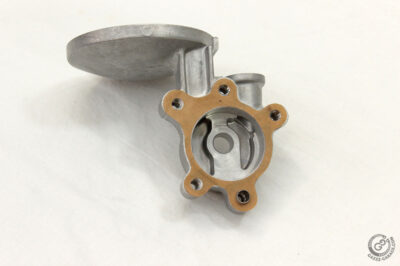
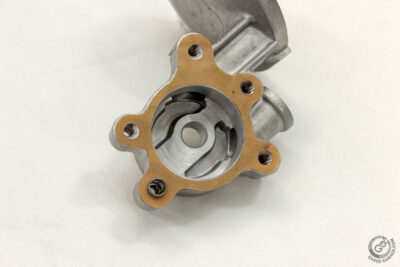 So I ordered a new OEM gasket.
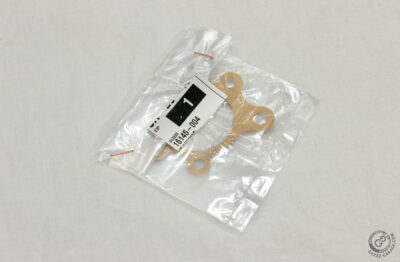 It, quite expectedly, fits perfectly:
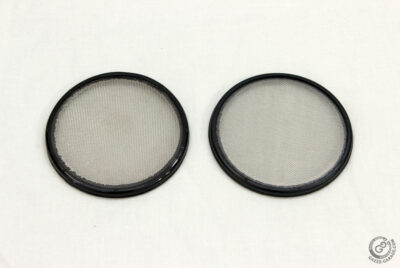
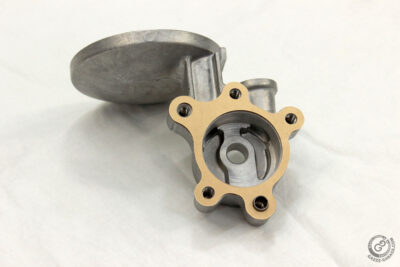 Along with it I also ordered a new oil strainer, as the rubber of the old one became hard as wood.
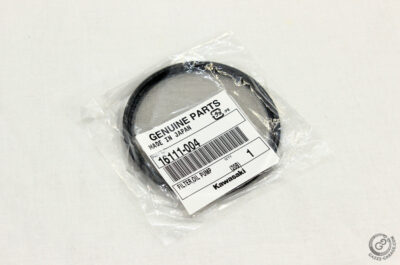 Old and new strainers side by side:
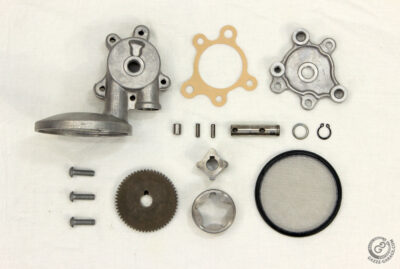
 I cleaned steel parts with a carburetor cleaner. I shot a traditional “exploded view” photo and proceeded to assembling.
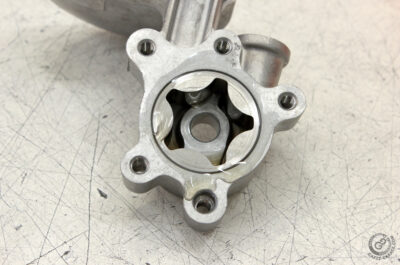
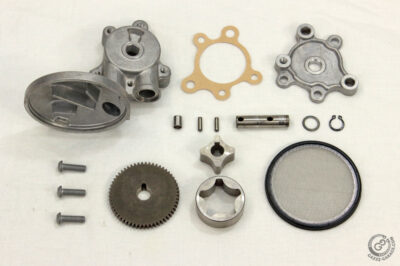 Not much could be said about it. All that is necessary is a clean table and clean engine oil. I do not recommend assembling an oil pump on the fabric as its fibers may get into the pump. First came the outer rotor.
 Then I installed a pump shaft with gear and pins.
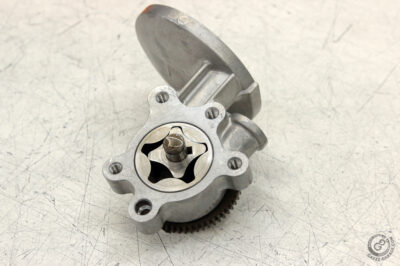 Which was followed by the oiled gasket.
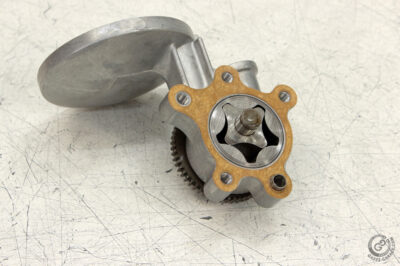 After it I installed pump cover. I have nothing against cruciform screwdrivers and screws, be they of Philips, JIS or other types. Moreover, I have a set of such screws that I reinstalled more than 50 times and they are still intact. However, I also know pretty well that being untouched for a long time they could become PITA to unscrew. So I always replace them with Allen screws. In case of Philips or JIS round head screws – with Allen round head screws.
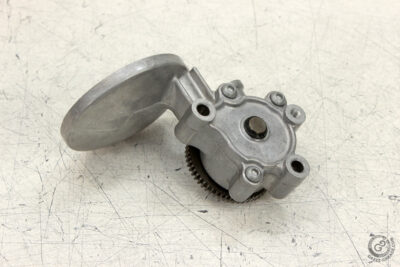 The last point in the assembling list was strainer installation. Being new it fitted without issues: smoothly and softly. Assembling was finished and pump was oiled and ready for installation.
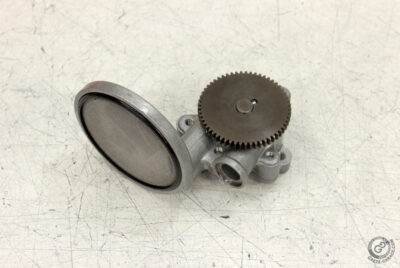
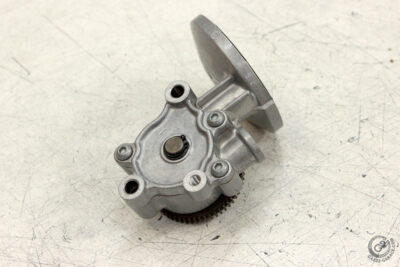
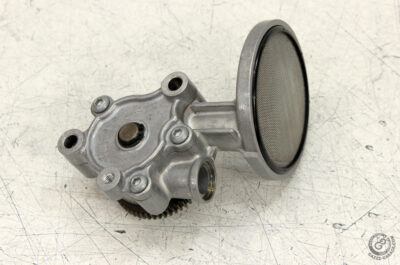 However, it will sit on the shelf for some time, thus it’s better to storage it in the right way, packed and protected:

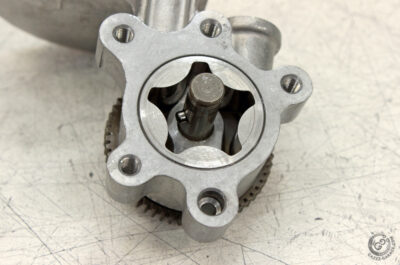
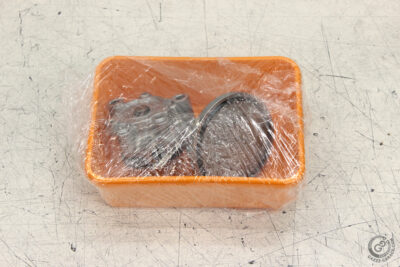
Hello, great post! Just wanted to ask, where do you get the replacement screws? are they any type of special material? Thanks!
Hi Enrique,
It’s steel zinc-plated button head Allen bolts (M6x20) I bought in local shop. They happened to have tensile strength 10.9, however 8.8 index will do.
I appreciate the answer! As you probably already know, I am following this build closely. Excellent work!
I am glad you like it. Hope I’ll finish my project next year. It goes slower than I wish as I have to make the kits for sale and other ordered works to push it further.
Можно узнать, чем отмываются алюминиевые детали?
Смотри почту.