I finished previous part of story on a minor note, so let’s make picture a bit brighter in this part.
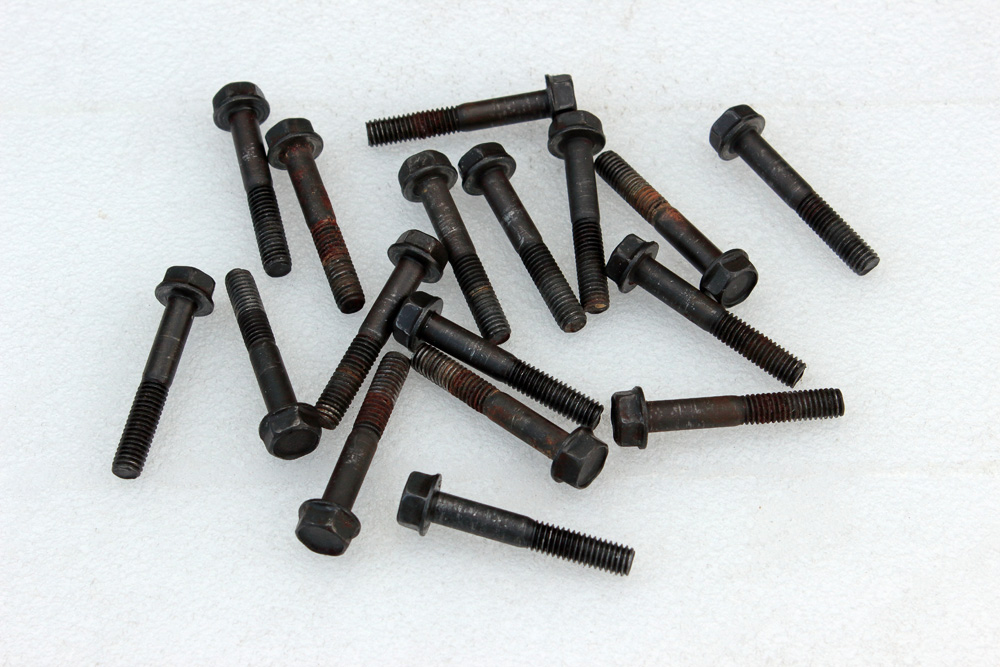
Remember those rusty camshaft cap bolts?
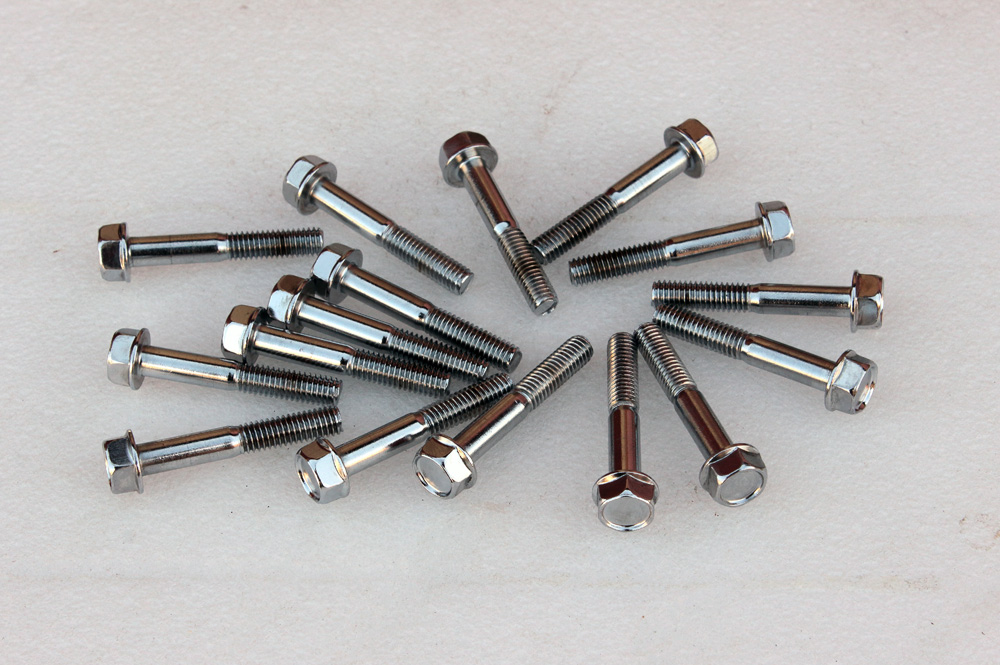
 I have a couple of sets of similar non-rusty bolts, but I prefer to use KZ650 set of bolts. Turned out that original KZ650 cylinder head I have in my possession was equipped with chrome plated camshaft cap bolts. I gave them a bit of cleaning and look, they shine like new:
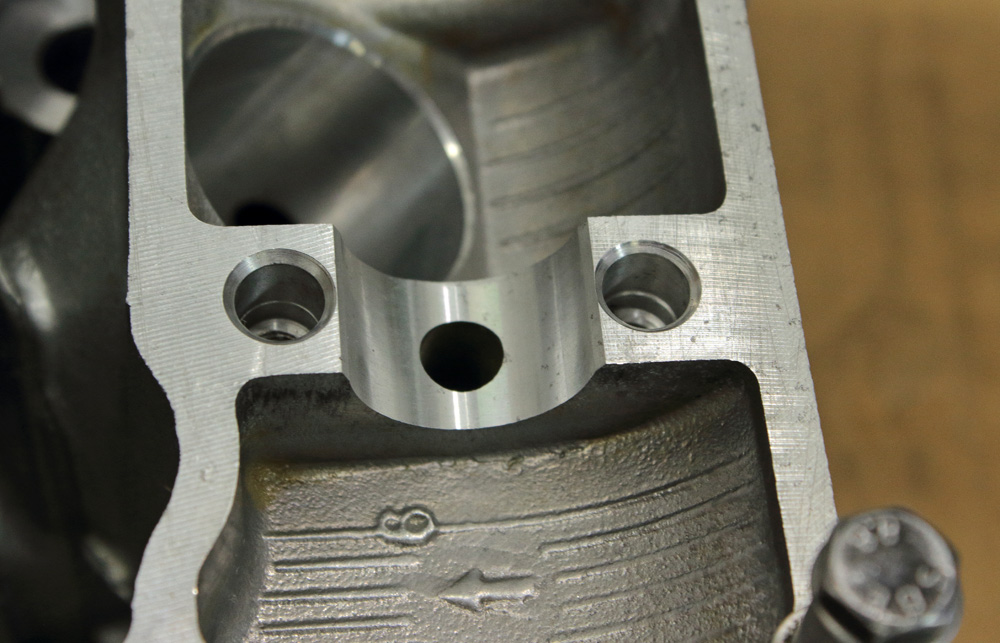
 As for the dowel pins, I have eight brand new dowel pins with the same part number, but these days Kawasaki makes non tapered dowel pins.
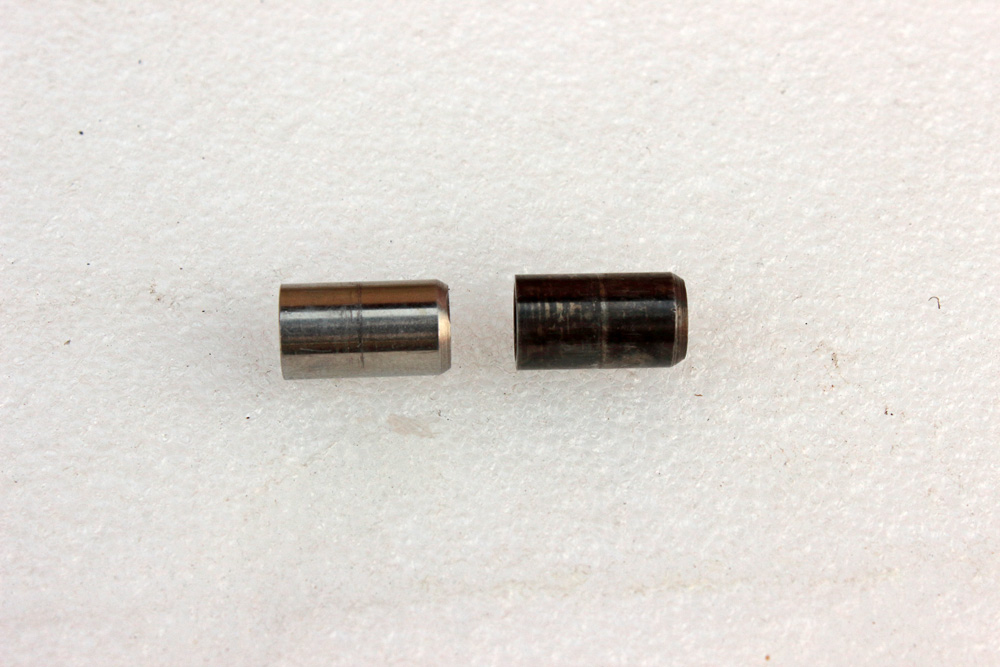
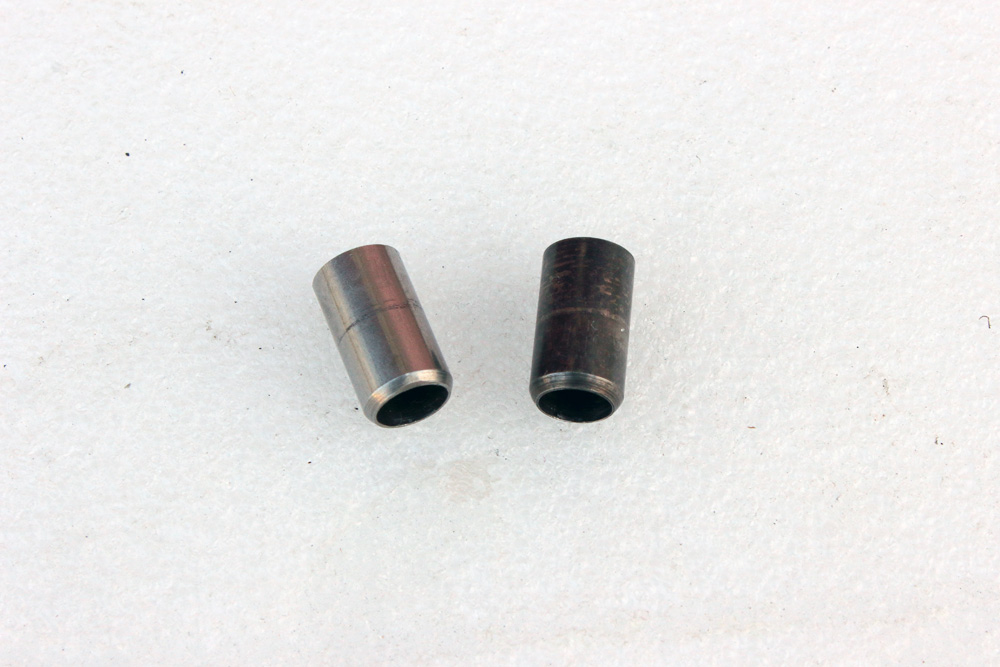
 However, with assortment of parts in my possession I could pick two sets of dowel pins of tapered design: one of bare steel pins and one of oxidized (or whatever their protective black coating is):
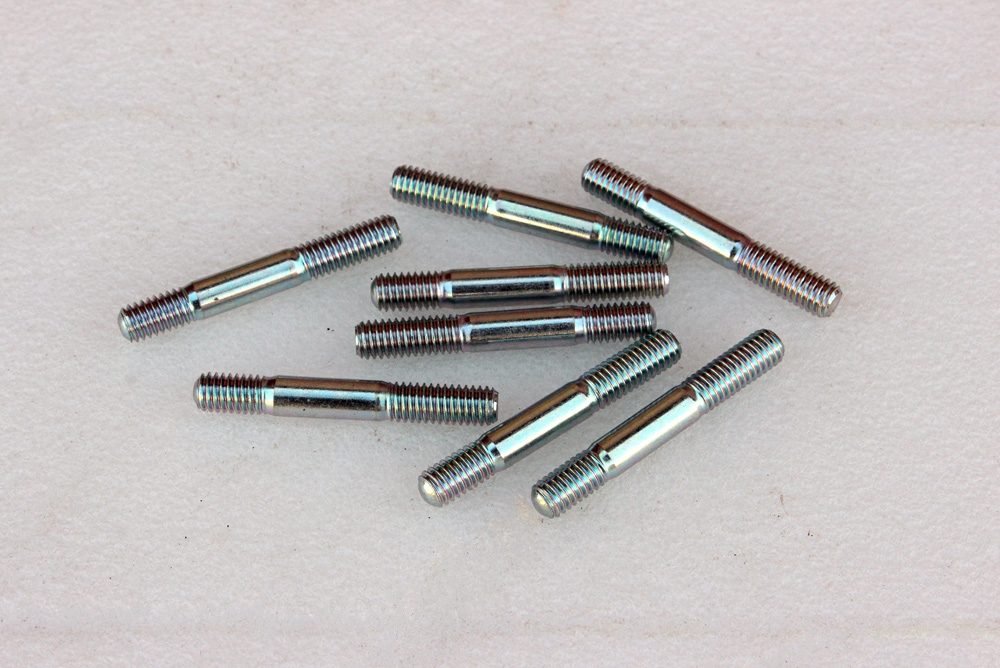
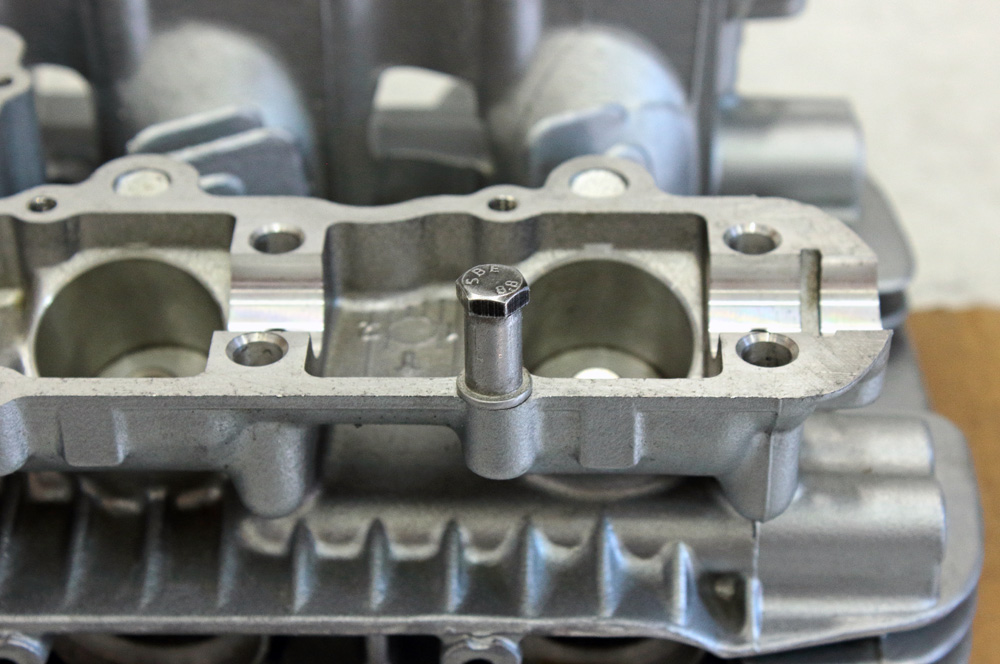
 I already have set of brand new OEM exhaust studs:
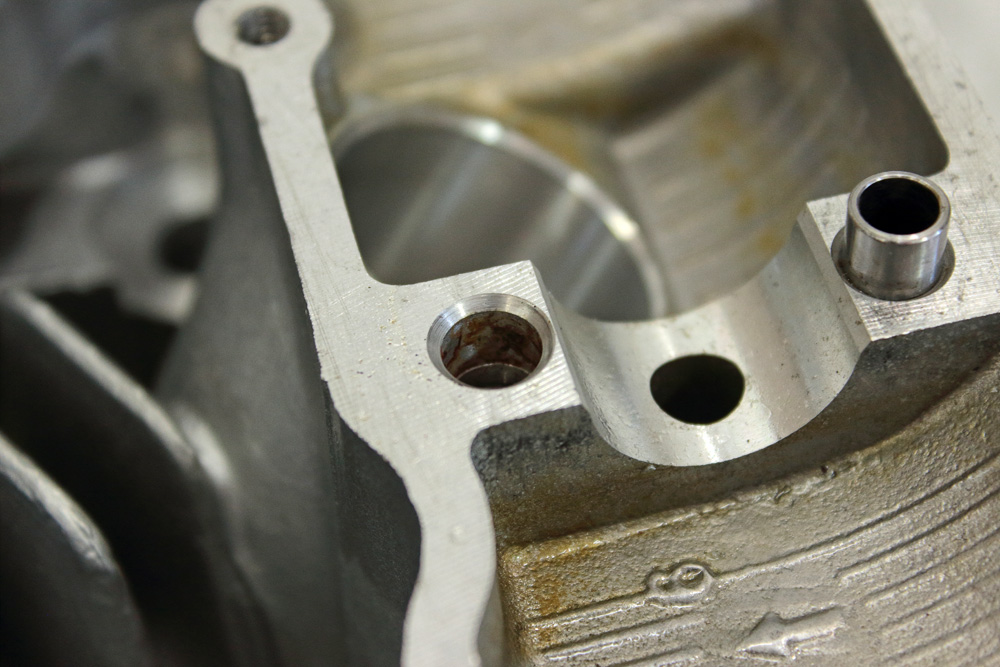
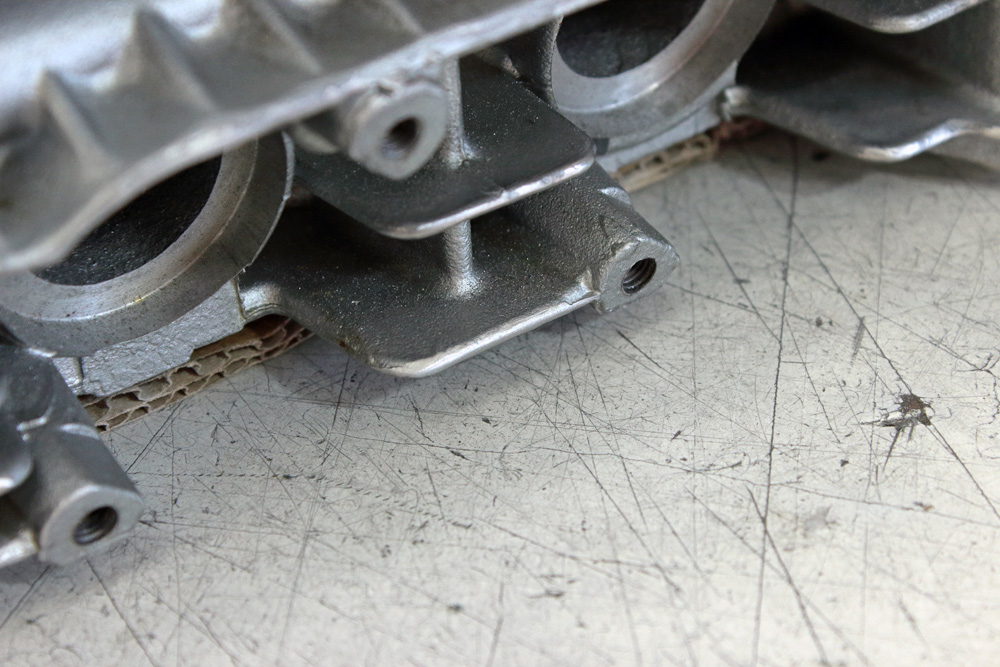
 So I removed all dowel pins and exhaust studs, and cleaned cylinder head through and out to remove old oil depositions and remains of rust in dowel pin holes.

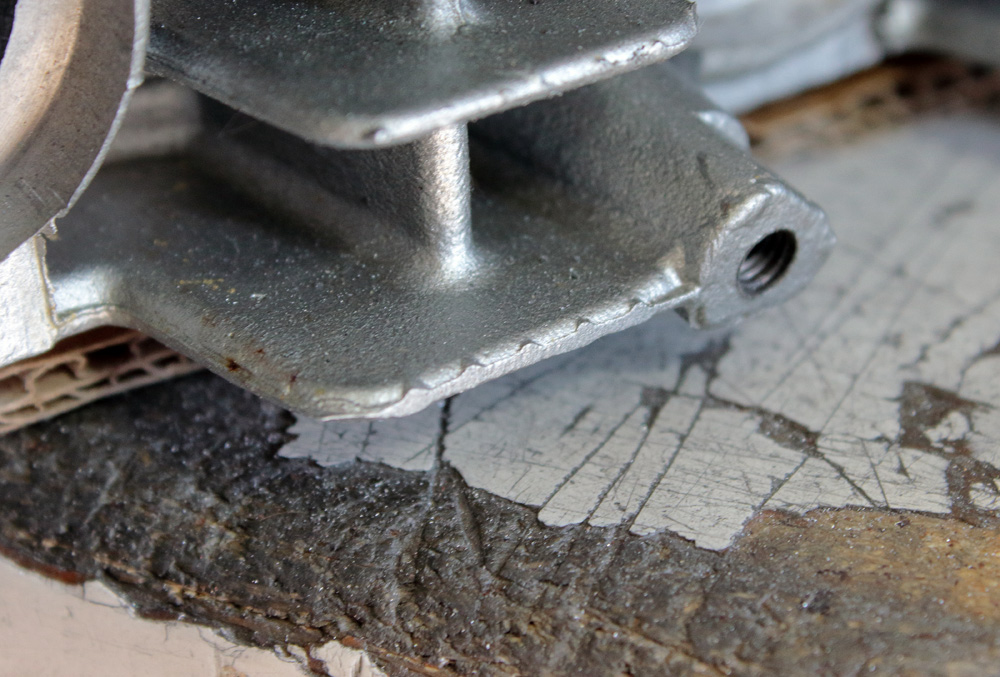
 Little hint. Usually I work on used cylinder heads, however I never put them on bare table, even if its workng surface is made of laminated chipboard. I use piece of cardboard or rubber sheet to protect mating surface of cylinder head (even if it has to be resurfaced) as I don’t like to scratch or damage parts in any way. But most of work on cleaning/porting of intake and exhaust channels usually is made with mating surface upward. And it’s essential to protect upper plane of cylinder head as it couldn’t be resurfaced. For this purpose I worked out some kind of legs that I screw in holes of valve cover bolts.
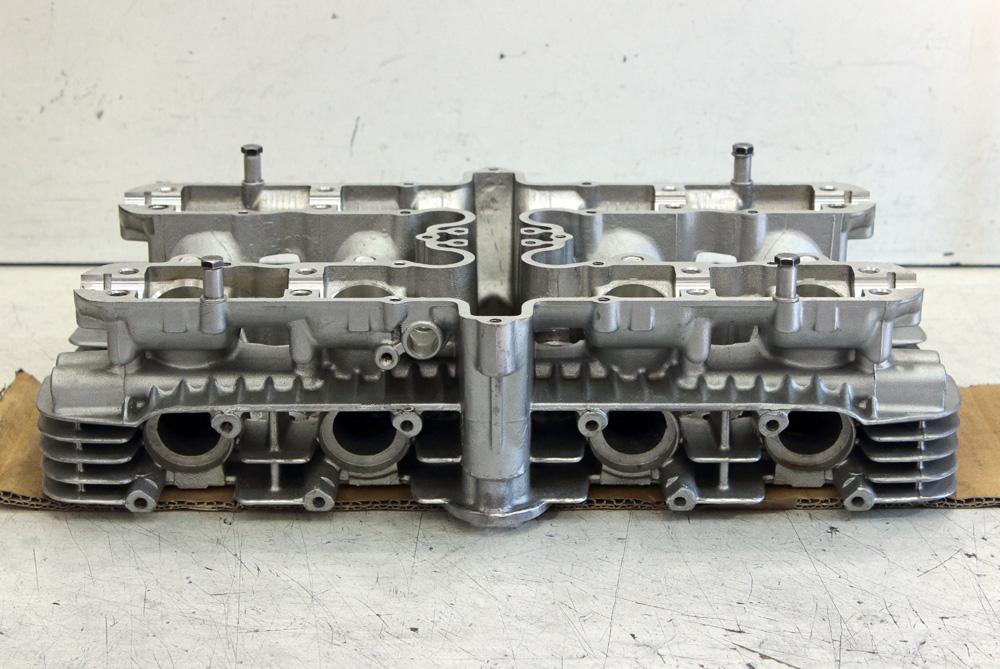
 Rubber caps may be put on bolt’ head and in this way treatment of cylinder head became much safer for cylinder head and more comfortable for me.
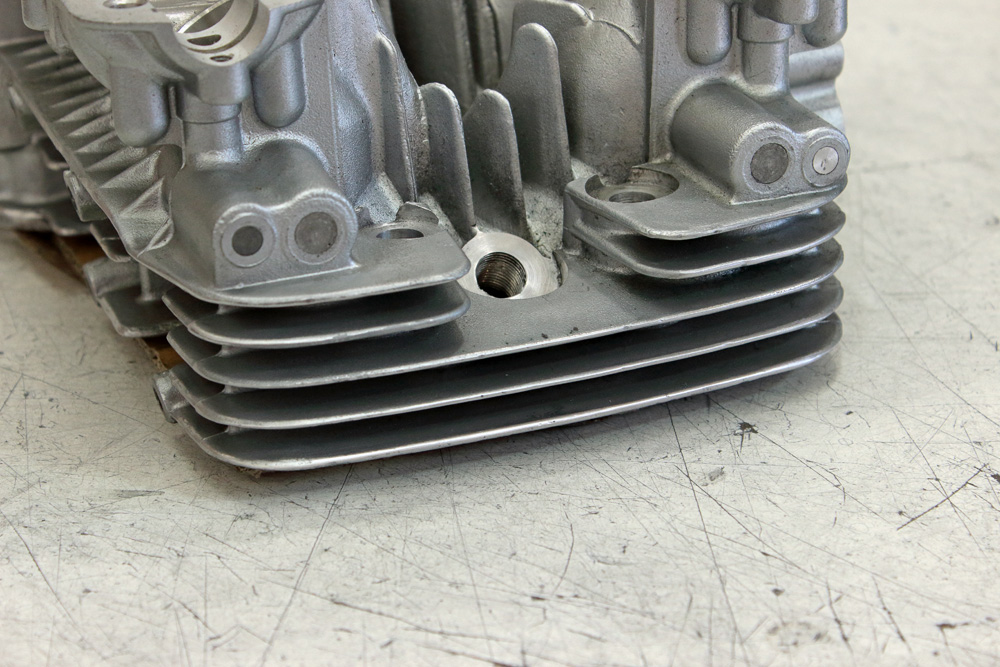
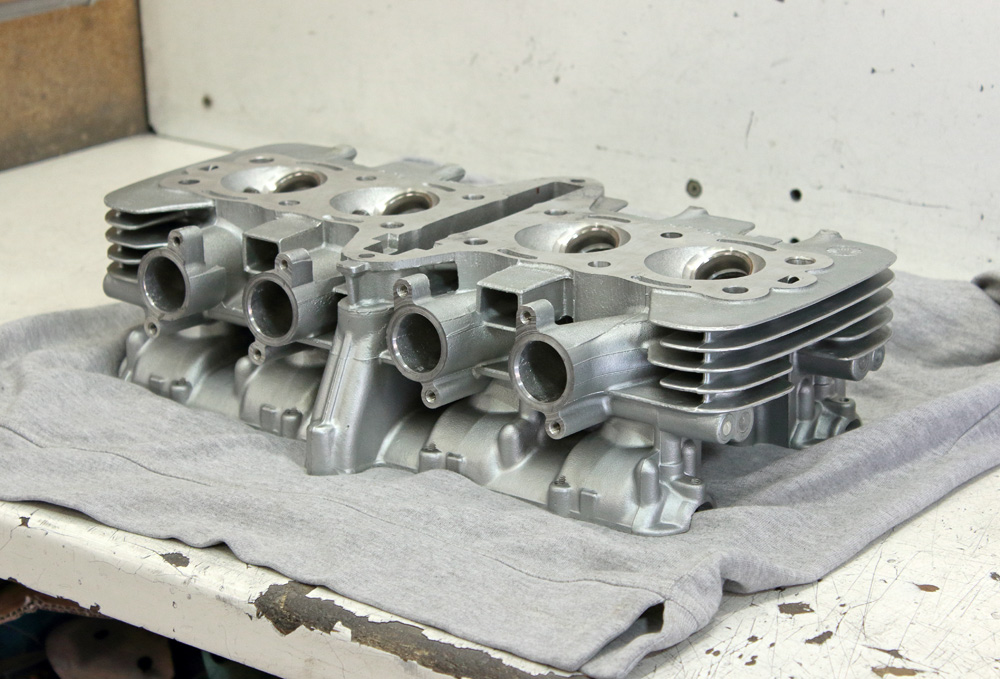
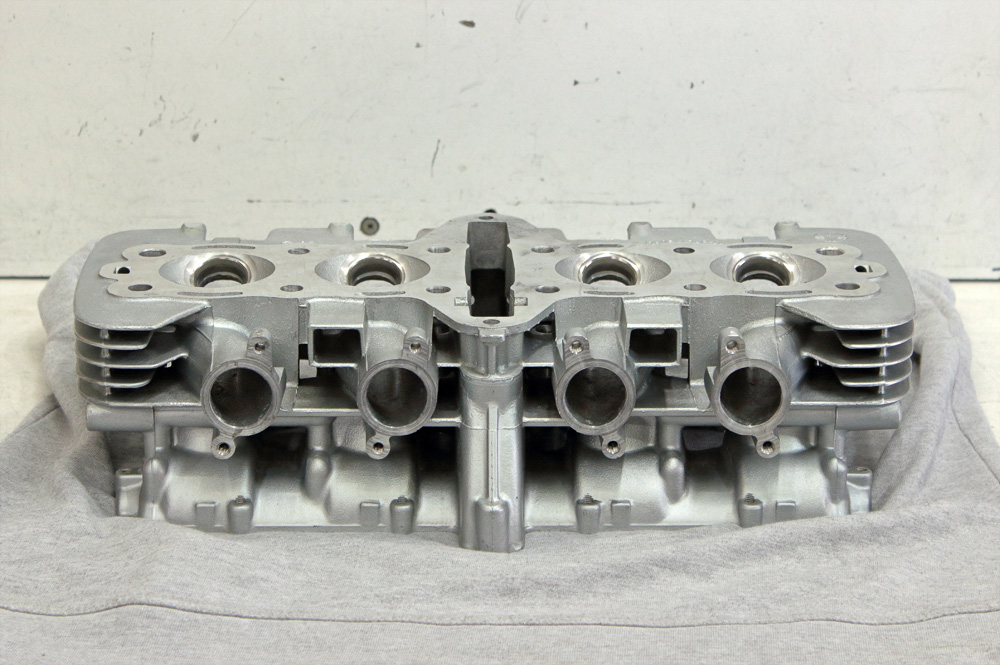
There were at least two modifications of an early Kawasaki KZ750 (or later KZ650) cylinder head. The early version was quite heavier, had very neat casting and its design was close to early KZ650 cylinder head. This cylinder head is of later model, so one may see traces of cast sprues on its cooling ribs:
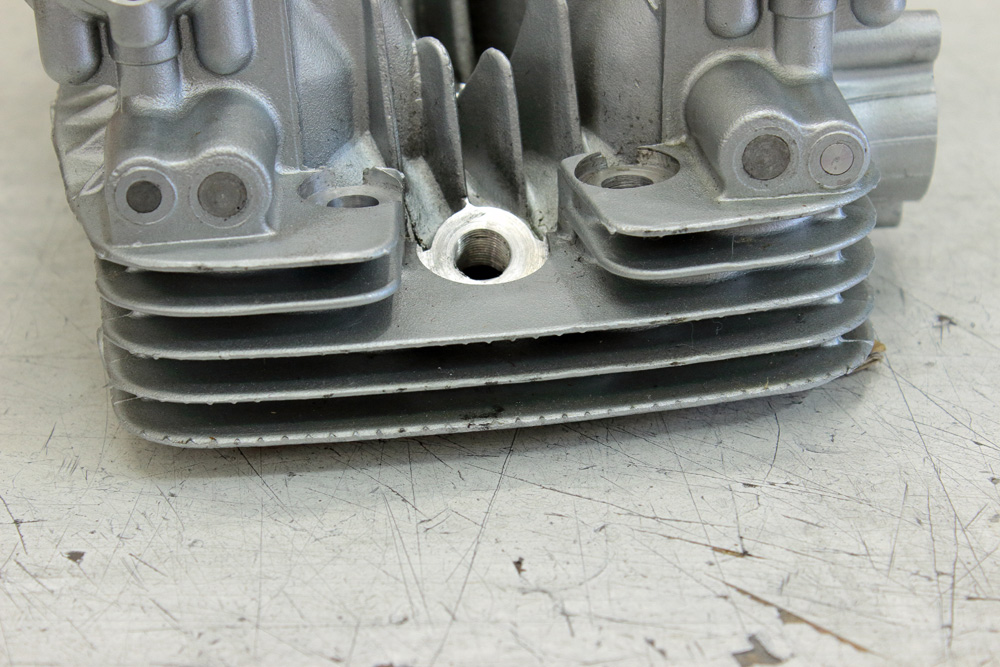

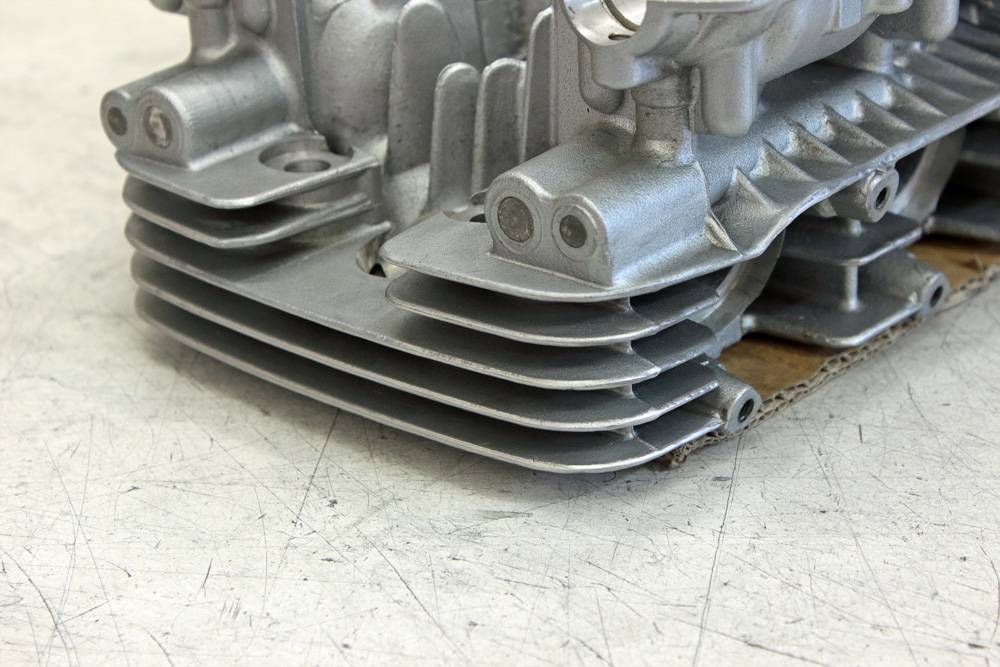
 They look inaccurate, so I decided to remove them:
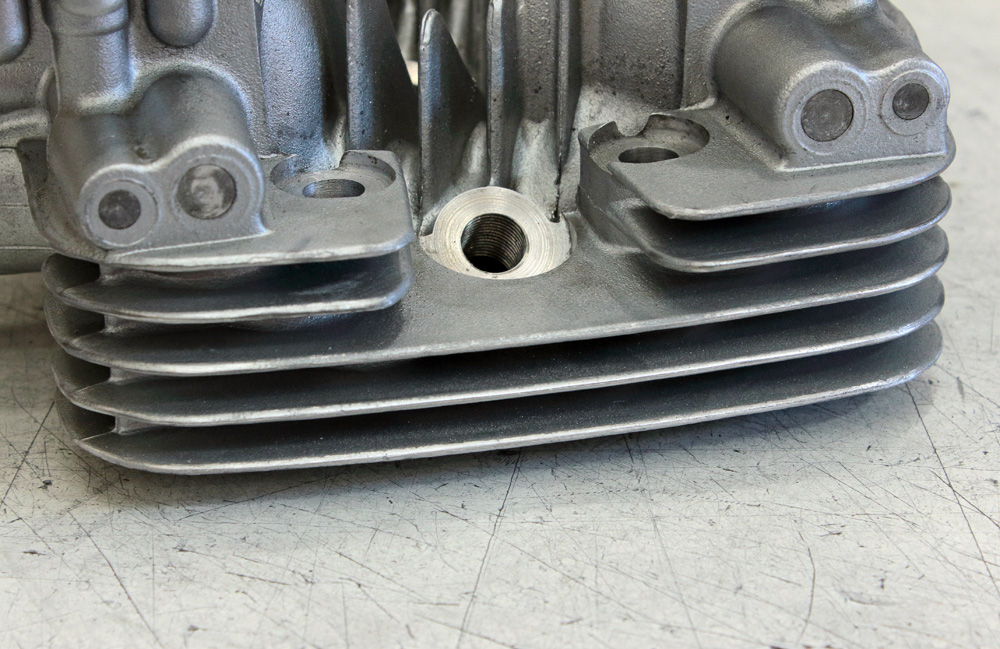
 I had no heart to do anything to new untouched intake and exhaust channels. Thus, once I finished with cleaning and cast “flaws” removing I washed cylinder head with gasoline:
 Then I started to prepare it for glass beads blasting. But about that I’ll tell you in the next part of the story.