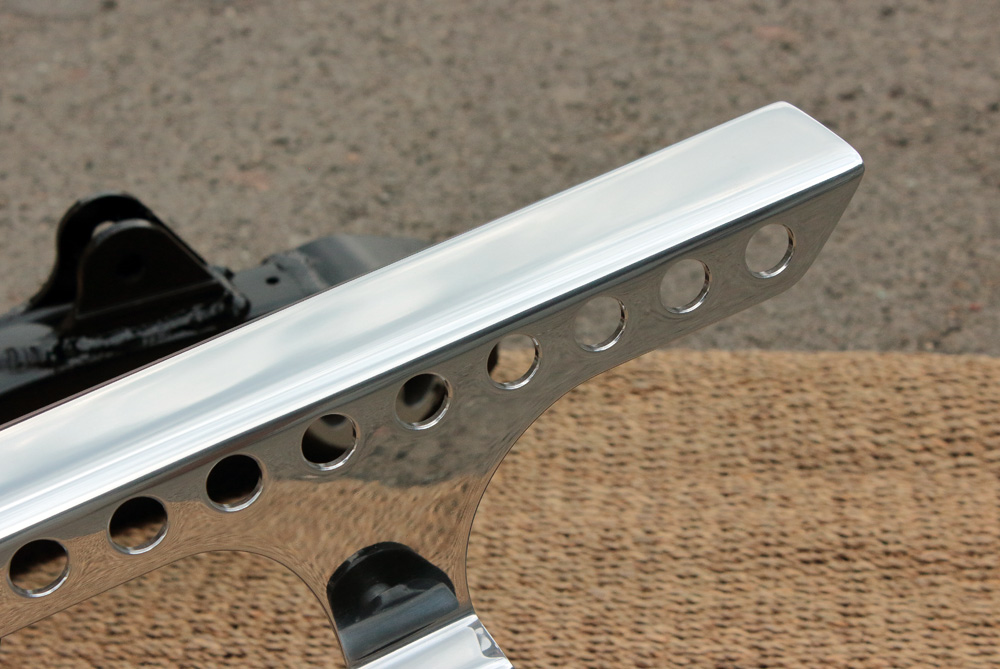
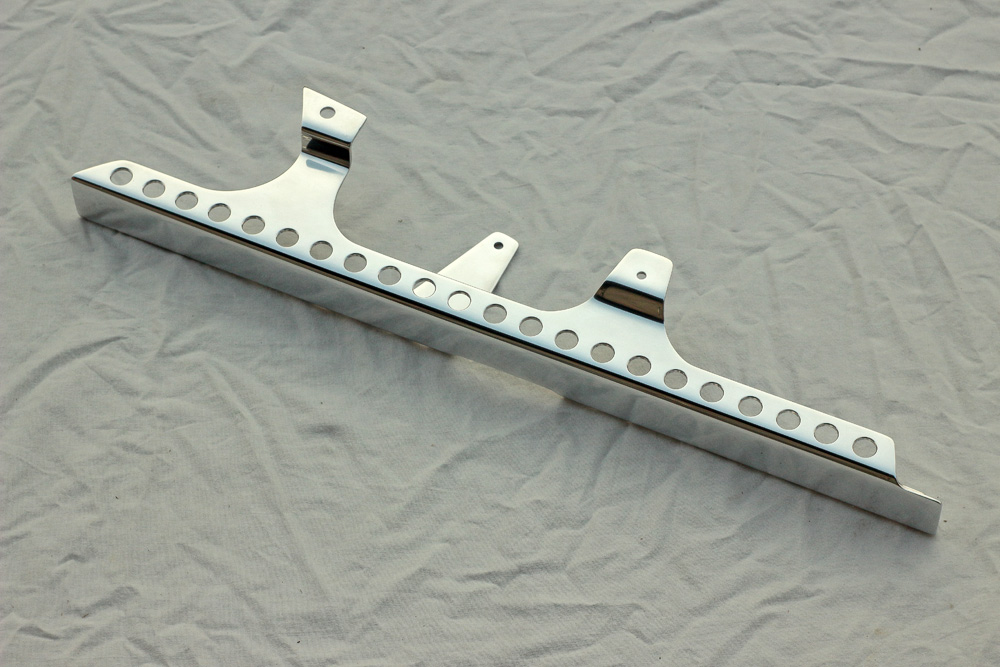
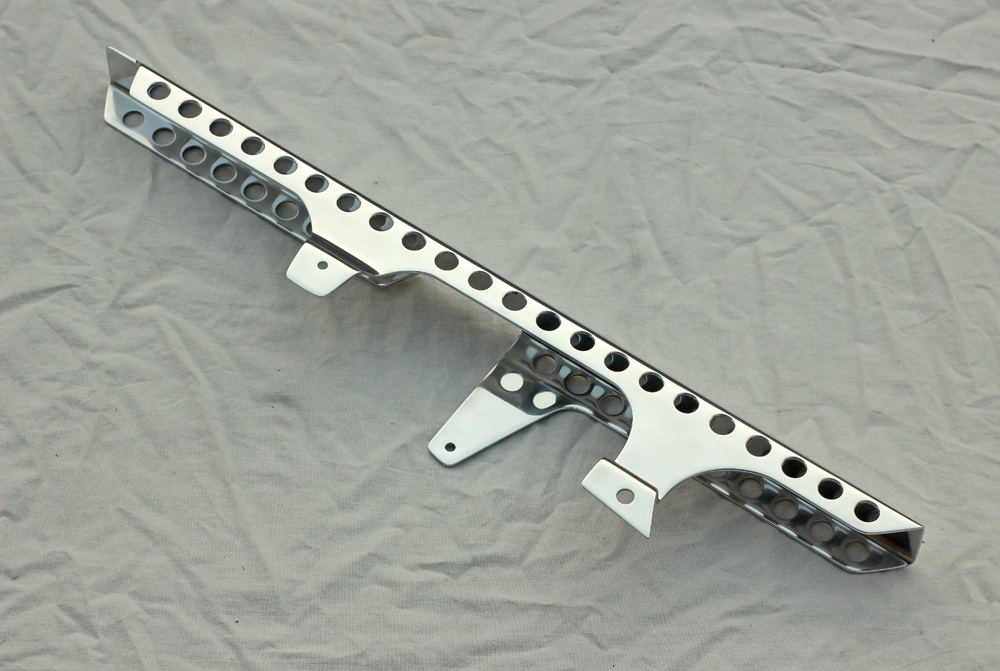
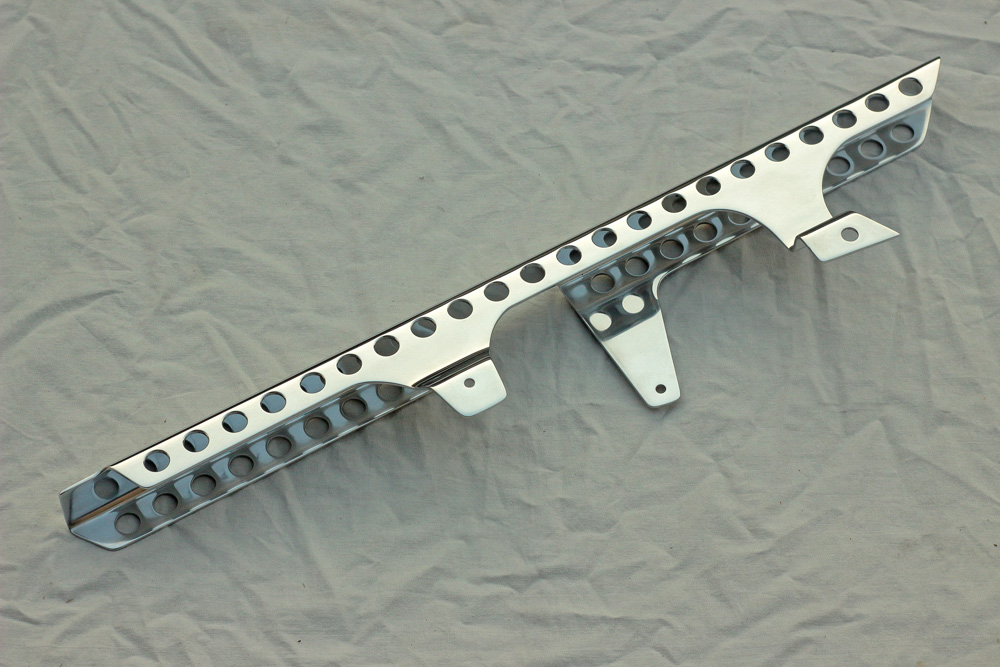
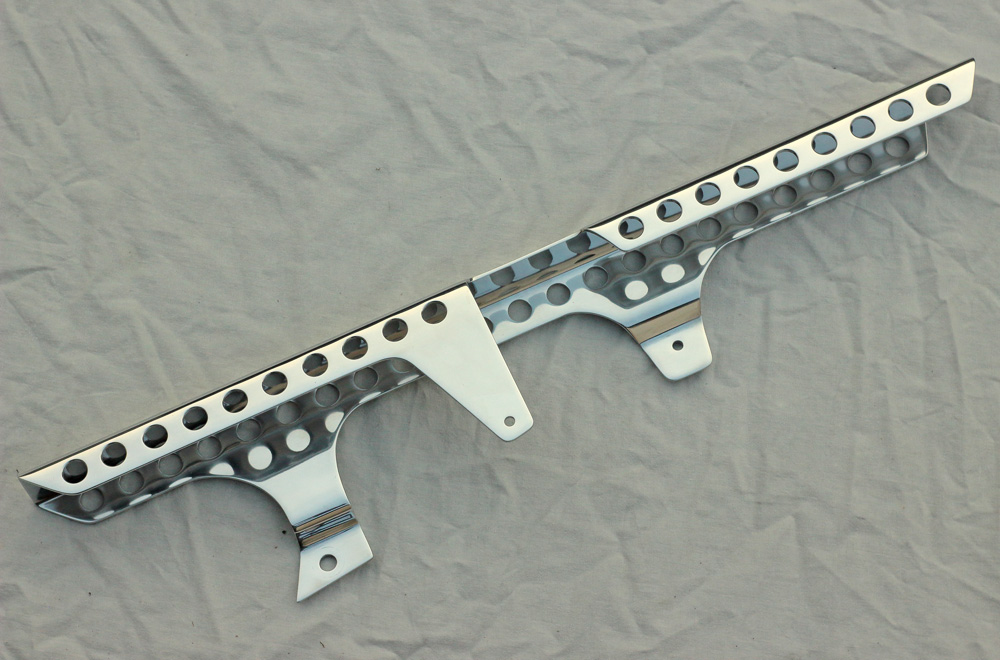
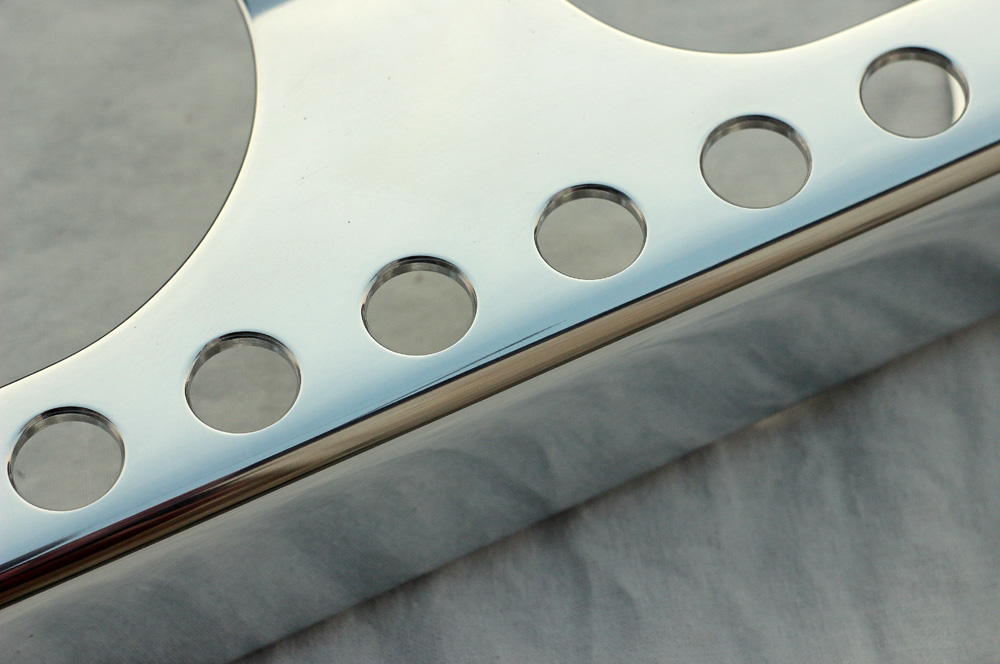
I polished chain guard with my usual approach: polishing-sanding-polishing. I was not picky on the internal side; its destiny is to be covered in chain lube and grease anyway. Result looked very nice.

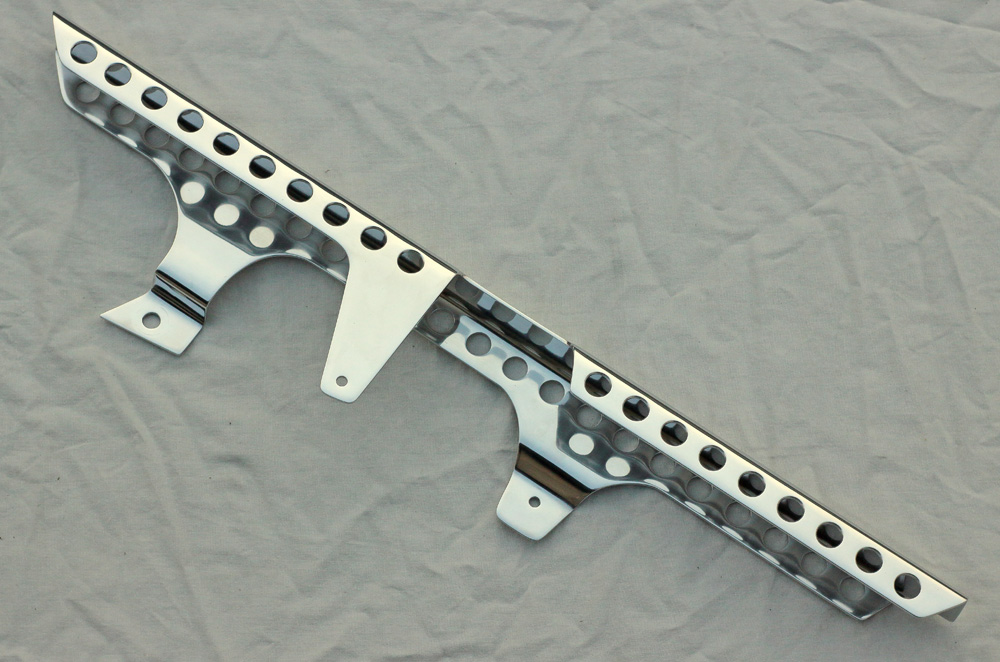
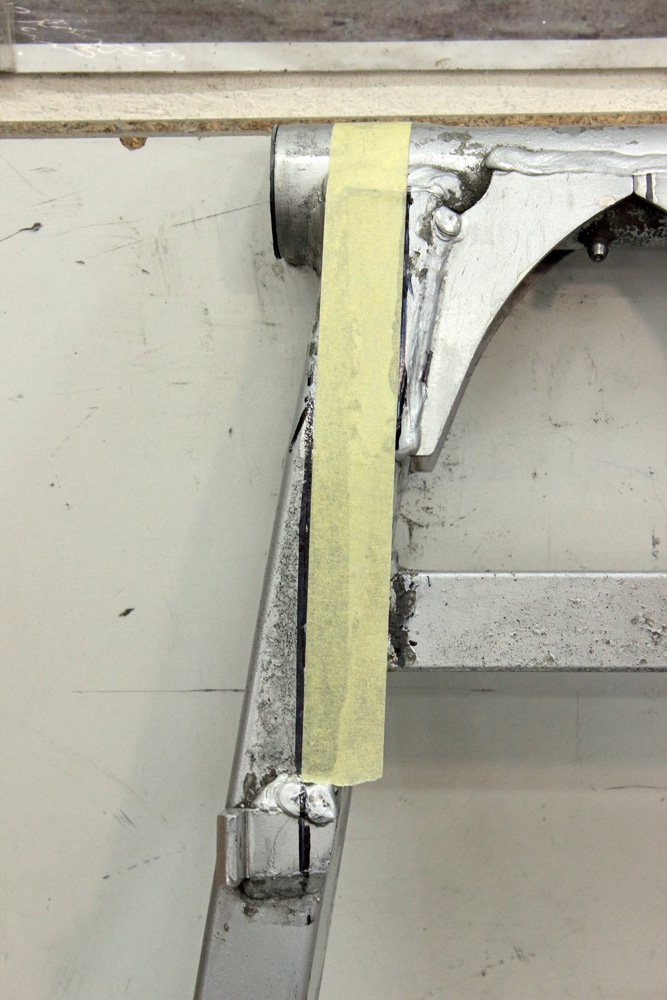
 From previous part of story about chain guard attentive reader (or rather attentive picture looker) might notice that chain guard inner mount was already attached to new mount bracket. This mount is longer than original and placed farther from swingarm axle. The reason of such modification is that Kawasaki KZ650 sprockets lay in plane that close to longitudinal axis of motorcycle than plane of Zephyr 550 sprockets. Let me demonstrate this by placing a strip of paper tape on Zephyr 550 swingarm:
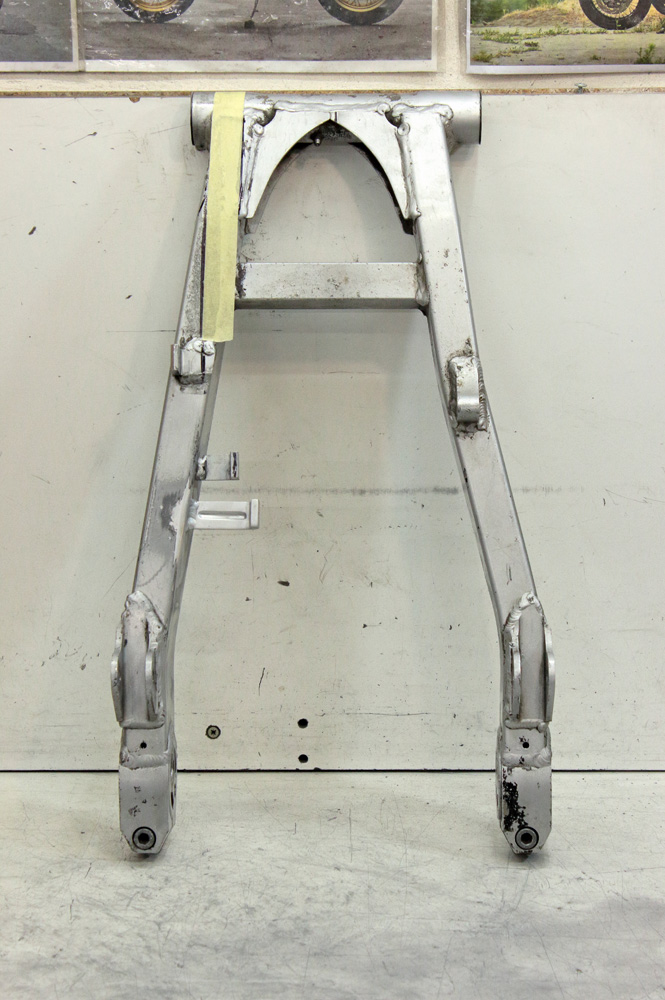 This strip of paper tape has width that is slightly larger than width of trace which 525 chain leaves on rubber chain slider, and its position is verified by laser tool. So we may say that it marks optimal position of chain slider for KZ650.
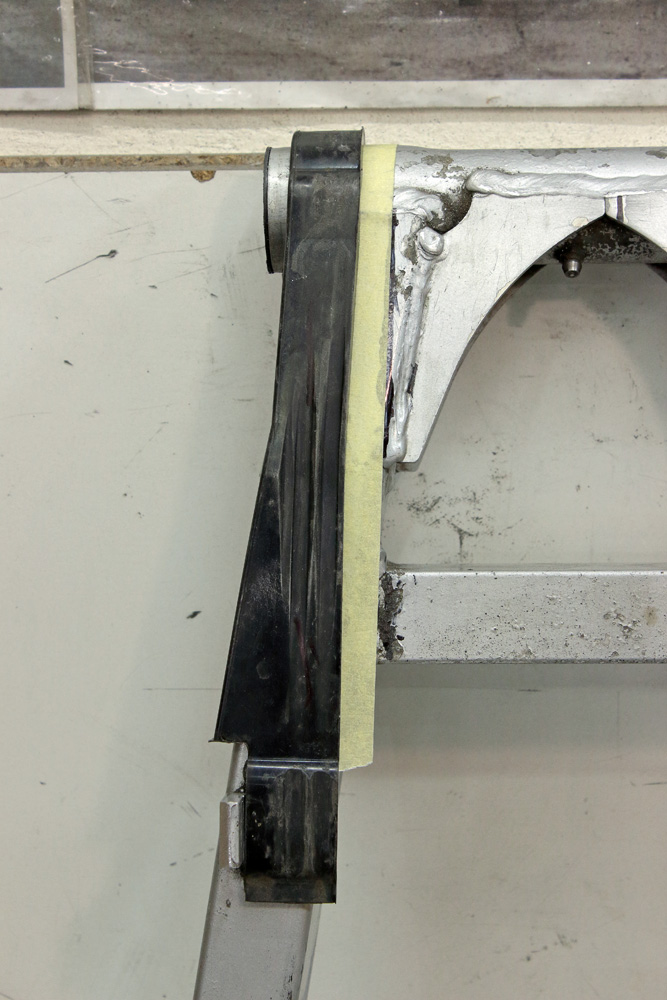
 Now let’s put original Zephyr 550 chain guard (used, so we clearly could see the trace of Zephyr 550 drive chain) on the swingarm. And as we could clearly see, potential KZ650 chain’ trace is shifted to right (or to center of swingarm) comparing to trace of 550 drive chain.

 On practice it means two things:
- Zephyr 550 chain slider does not cover all operating width of KZ650 chain. It’s likely wouldn’t be an issue, as long as drive chain is properly tightened. However it’s slightly inaccurate, so I will think about possible solutions for this issue;
- KZ650′ chain would be too close to inner mount of chain guard.
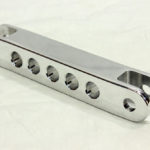
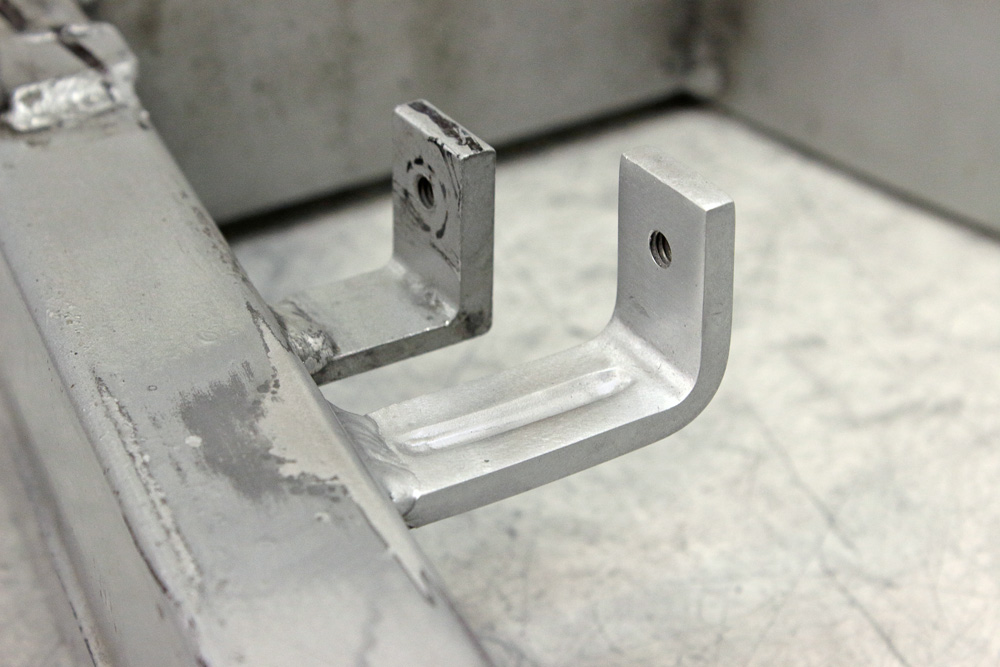
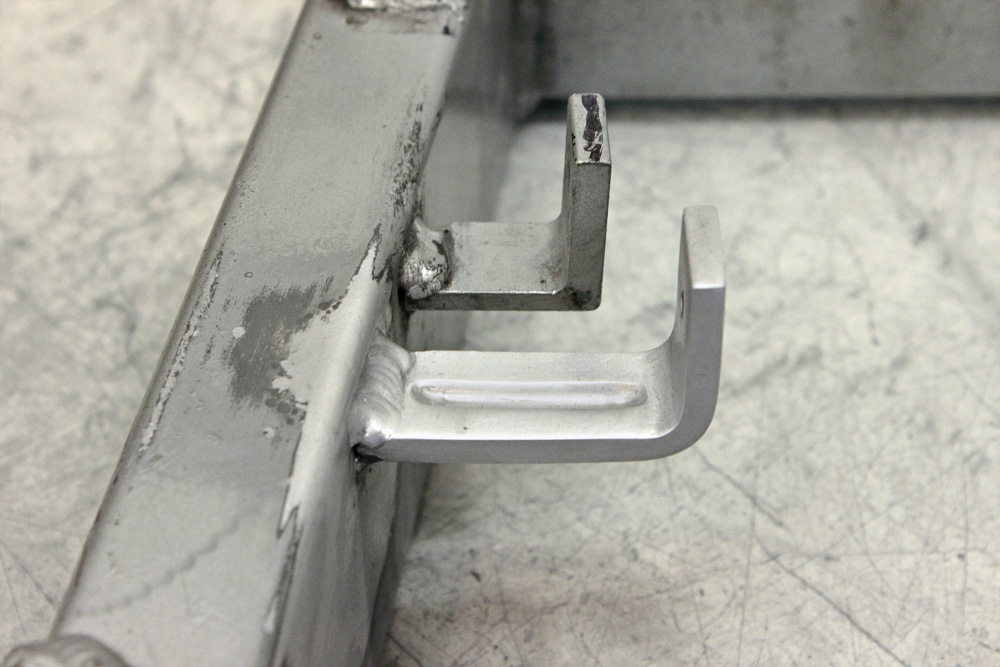
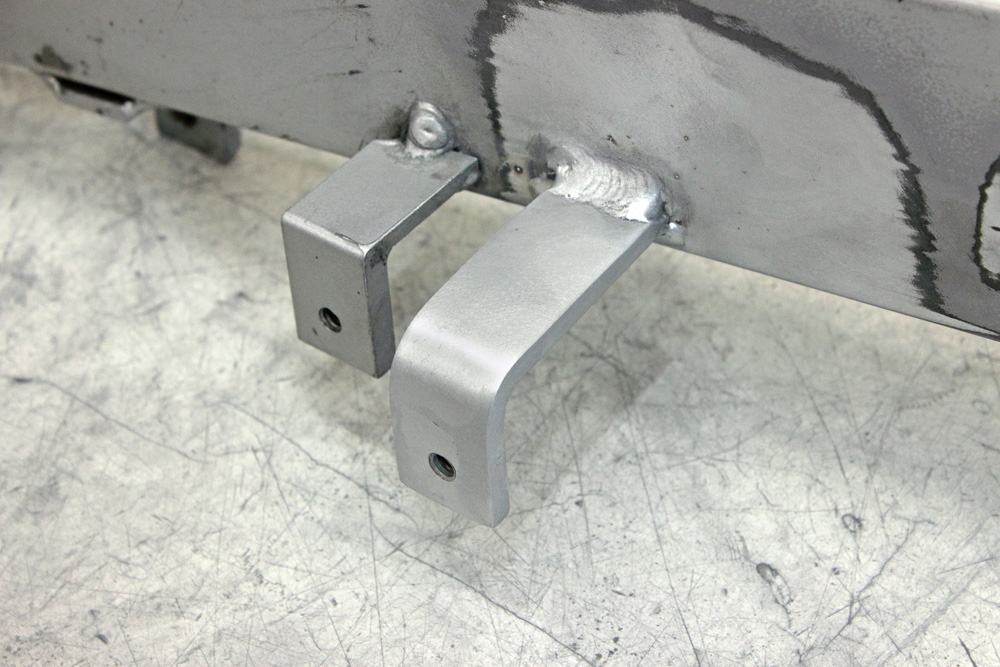
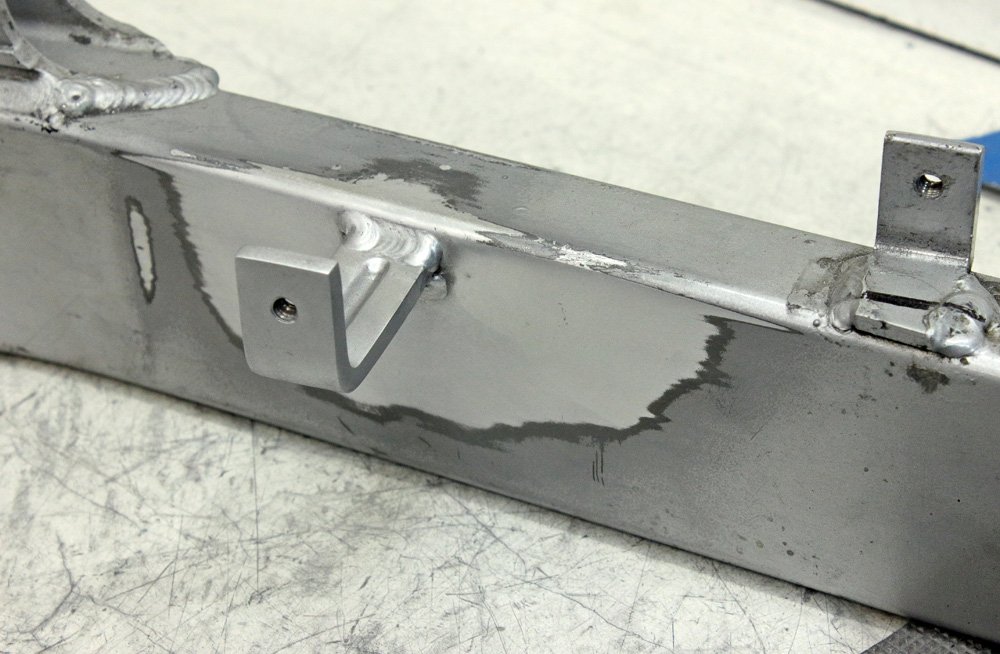
I solved an issue with inner chain guard mount simply by manufacturing new aluminum bracket. I made it of 6mm soft aluminum plate. Such alloy of aluminum might be bent without issues; however its’ softness is not the best characteristic when it comes to rigidity of construction. However, it’s well known, that soft alloys of aluminum might be strengthened by forging, or simply said, by hammering. To make whole business more OEM-looking I made improvised stamp and hammered groove from the welding seam up to bent. This groove completely solved issue of bracket stiffness.
 I had no use for old mount, so I cut it off and grinded place where it was welded.
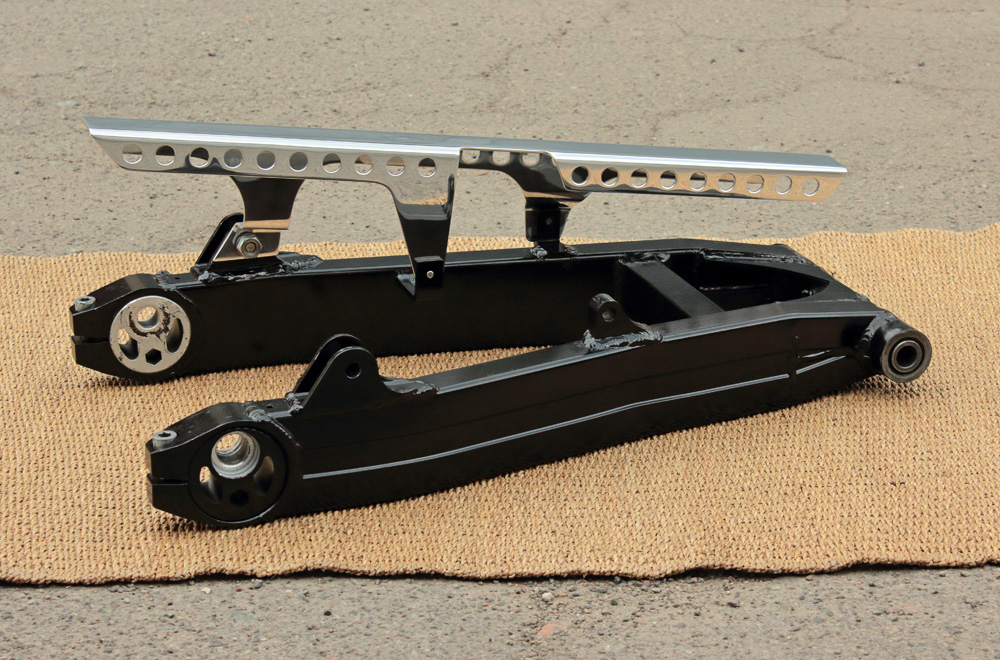
 According to my plan, the swingram would be painted in black. But even now, when I seemingly finished with its modification, it would be unadvisable to glass blast it and paint it, so to cease my curiosity about its future look I painted swingarm with rattle can. I did it with swingarm as it was: not bothering with its sanding, just removed some flakes of old paint and cleaned the grease. So don’t take photos below as a final result, it’s nothing but modeling. And I should admit, that combination of polished aluminum of chain guard and black of swingarm made contraption slightly Star Wars’ looking. I already like it.