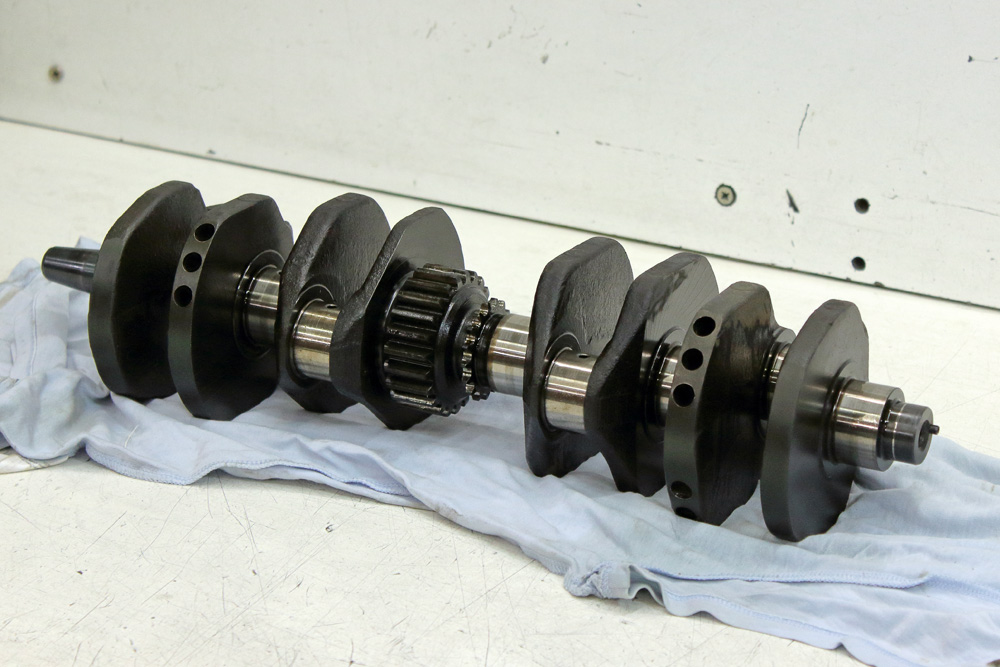
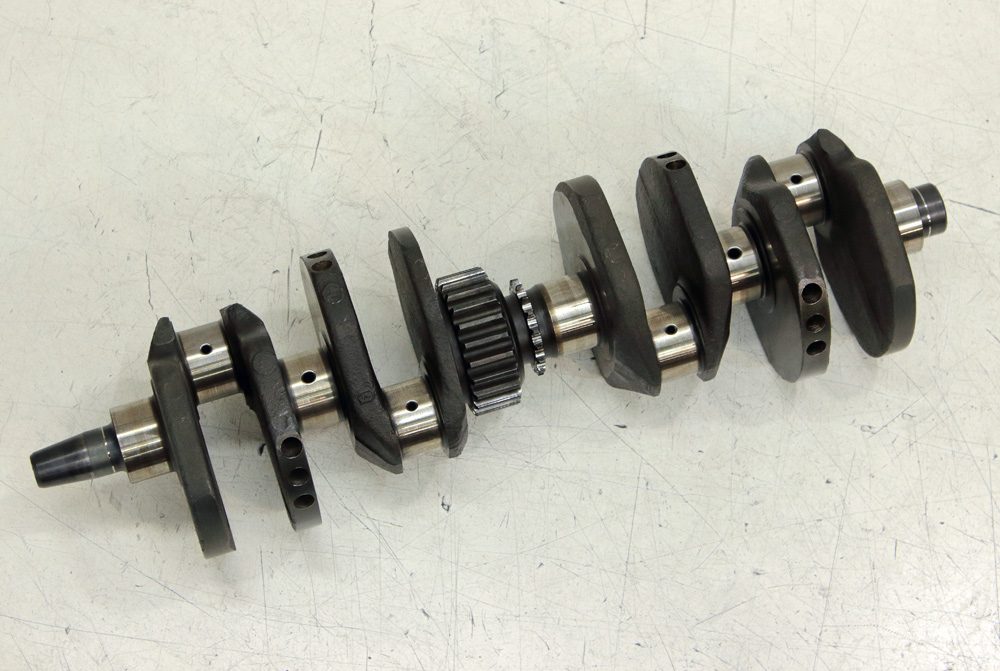
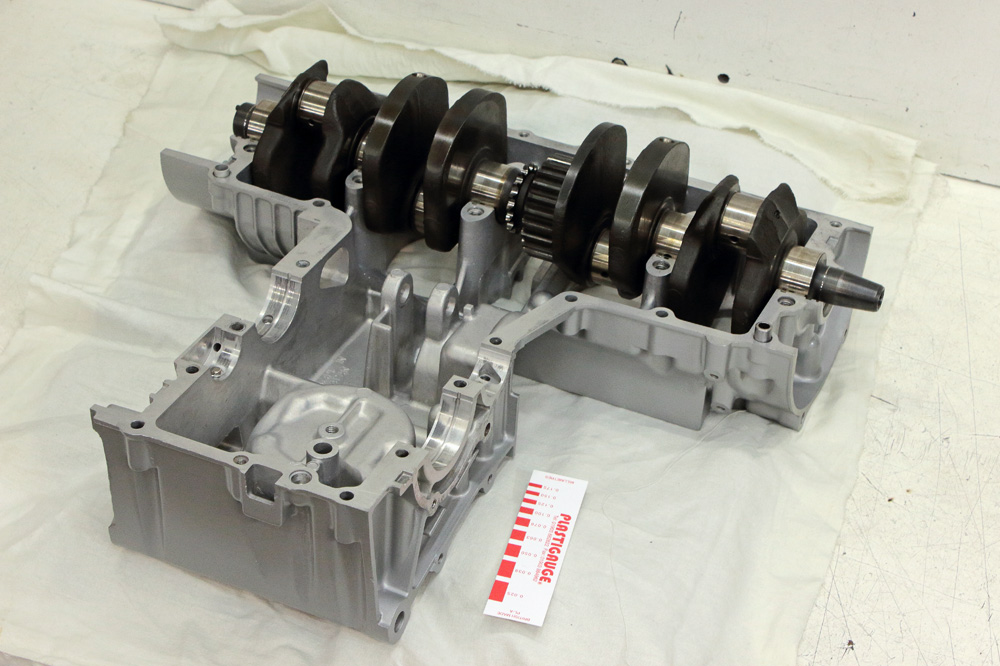
Next in my clean-and-measure list was crankshaft.
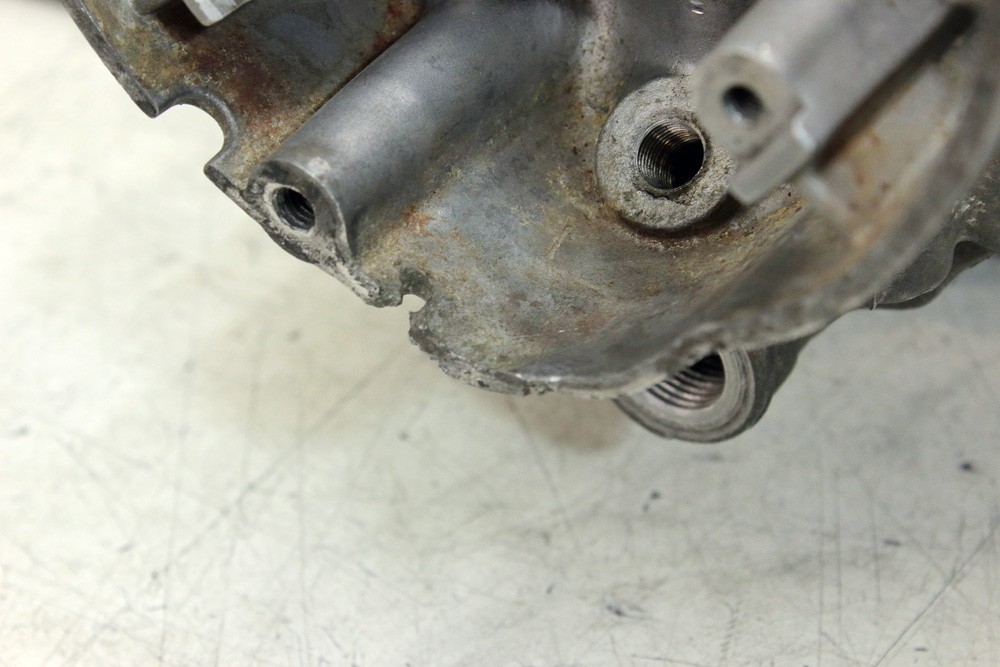
 And here I have to explain how it happens that I have two KZ650 crankcases, cause later this fact would be obvious even for not very attentive reader. As I wrote earlier, from all engine parts measurements I’ve done I assumed that engine which served as a base for my project has very low mileage. However, it looked like not abandonment, but crash was the reason for this: original cylinder block had some broken cooling fins and lower front engine mount had a crack in it. Sure, things like this I could easily manage without loses for functionality or exterior: I just restored that mount and I even shaped it that it looks close to original. However, for me they are acceptable only if there is only one of them and it could be restored to original condition, or there is no alternative ways. The best part – is the part without such an issue.
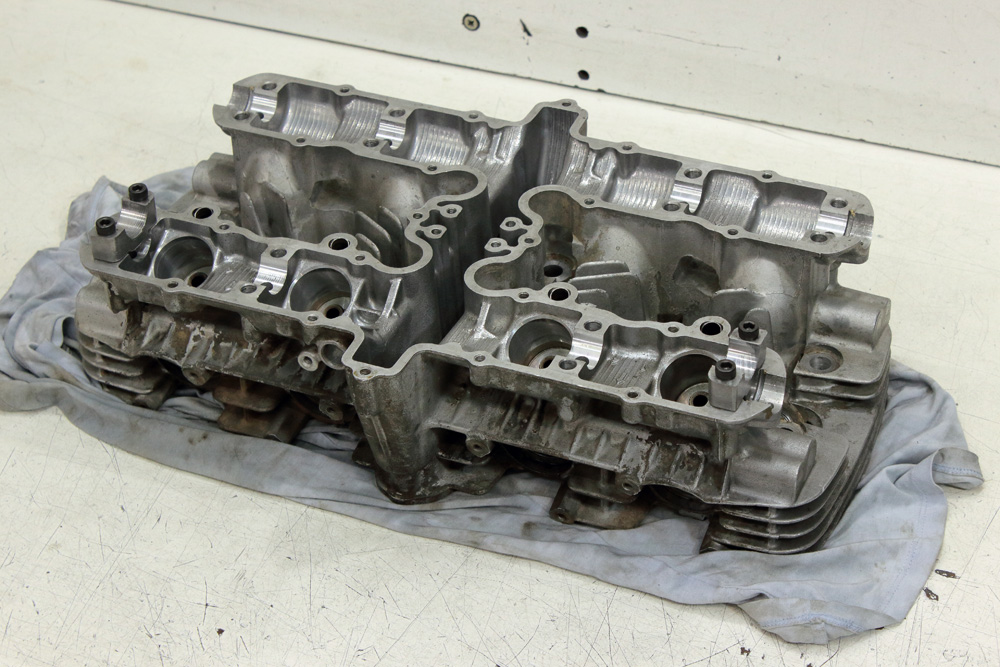
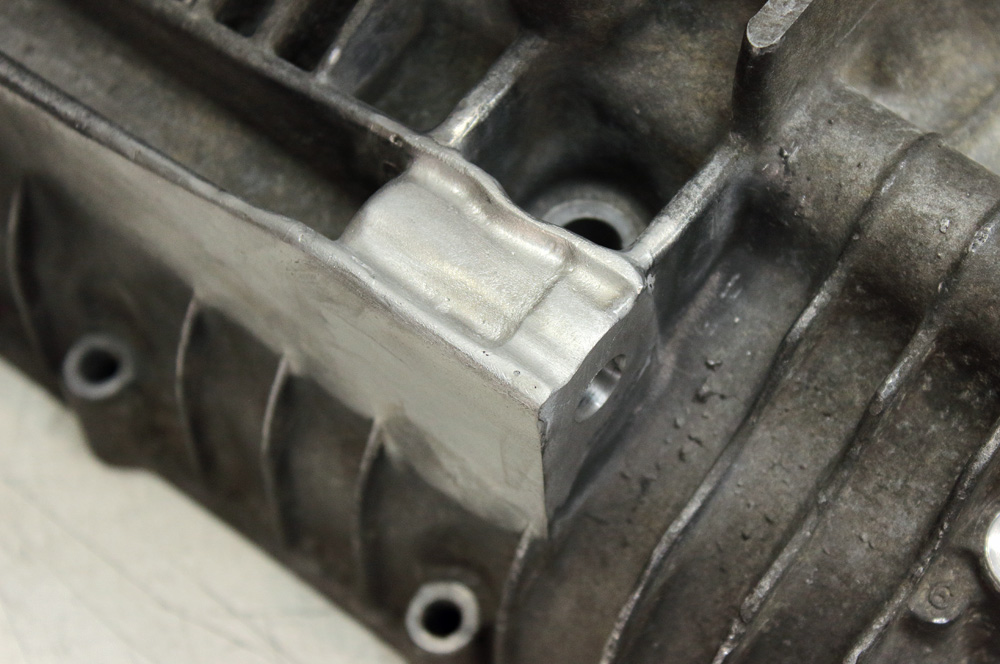 Unfortunately I found yet one damage that wasn’t so obvious. It was impact on lower part of igniter pickup housing. It couldn’t be hammered or pressed back. Yes, it was possible to weld some layer of aluminum upon it and then grind it from inside and out to shape it to original form, nevertheless I decided to buy another case. In early Kawasaki KZ650 engines (with no marks on crankshafts and crankcases) only one size of crankshaft bearing inserts was utilized so when I was searching for suitable cases I looked for crankcases with number close to those of mine. I found and bought what I needed on UK ebay. You might have seen that crankcase (already painted) in one of my earlier posts. Certainly, after crankcase replacement it is advisable to check crankshaft bearing insert to crankshaft journal clearance.

 What we need is clean case, clean crankshaft, clean bearing inserts and some suitable Plastigauge.
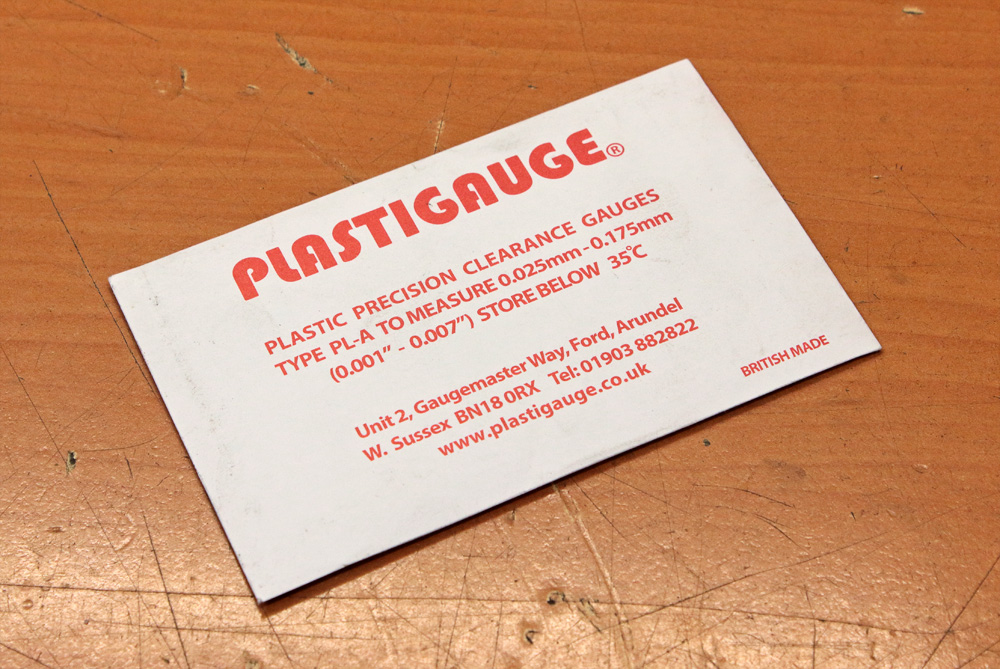
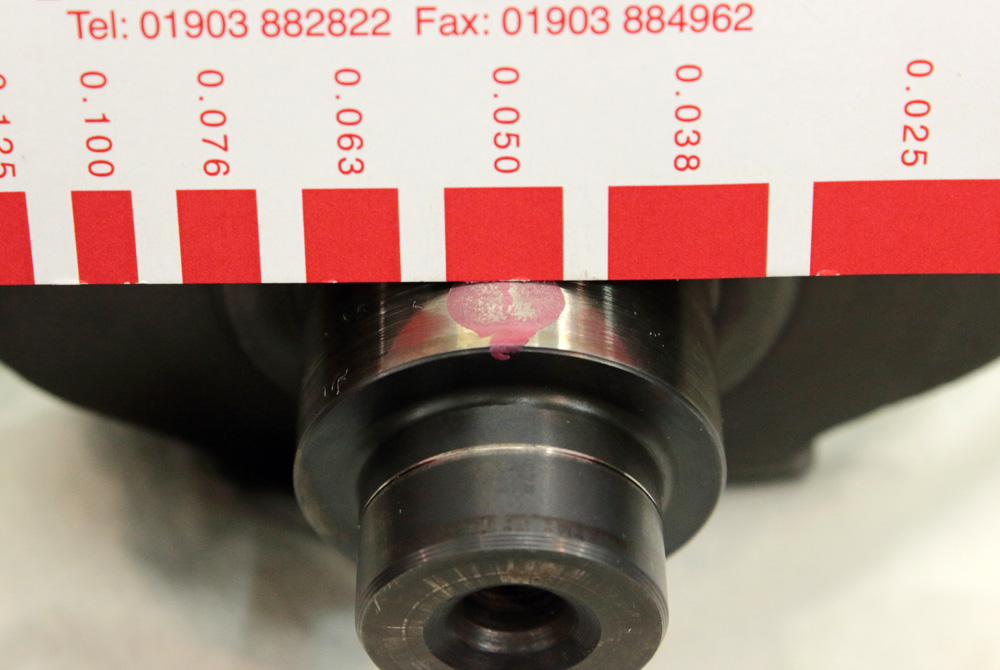
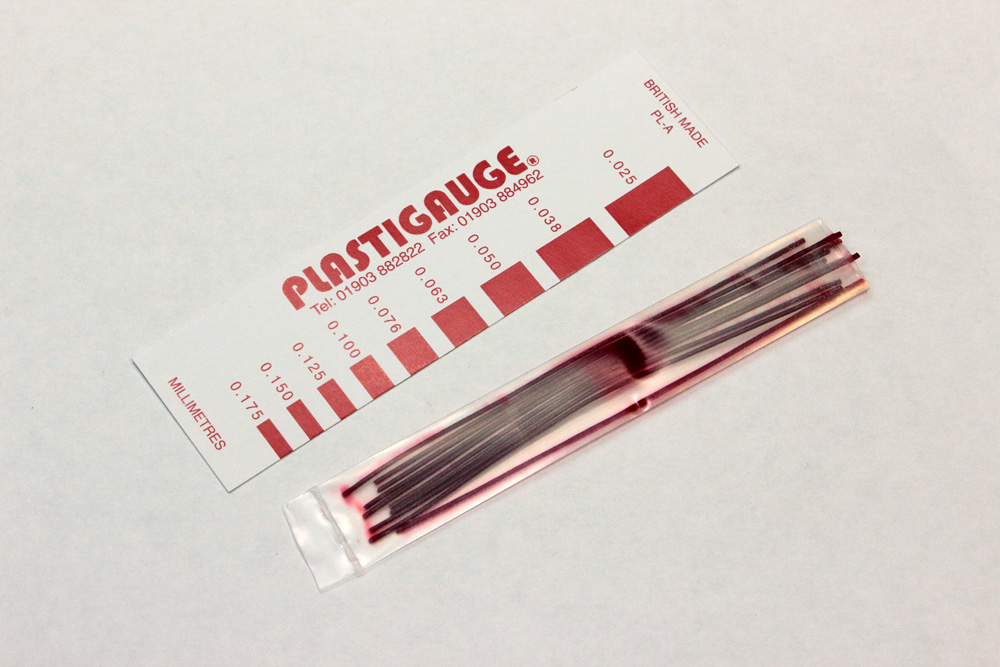 Procedure is well known and simple: put bearing inserts in crankcase, put strips of plastigauge on each bearing insert parallel to the crankshaft, install crankshaft and tighten the bolts in right sequence with correct torque. Then unscrew the bolts and remove crankshaft. No rotation of crankshaft allowed during all these operations. Next task is to inspect and measure plastigauge.
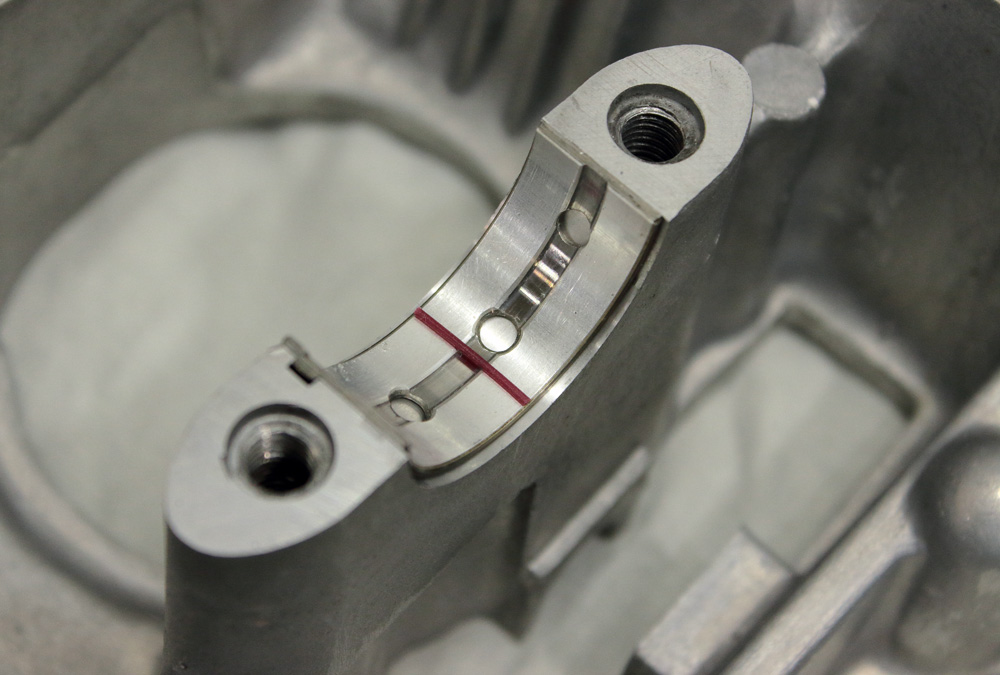
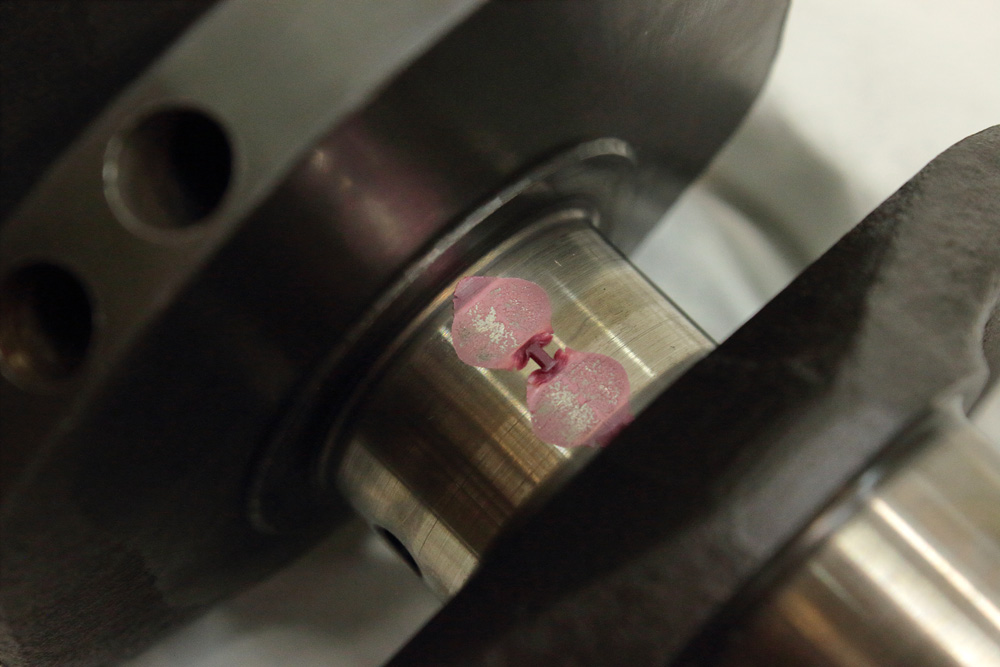
 After bolts were tightened, strips of plastigauge became pressed between journals and inserts and began to look like this:
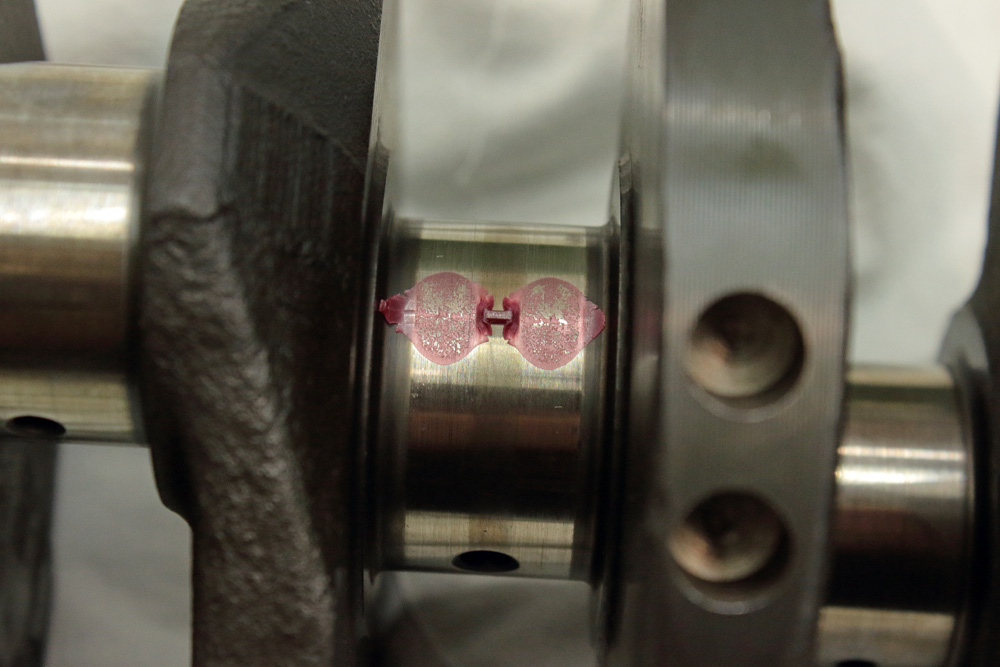 I was pleased to see that oil clearance was even and strictly in range of standard values for all five journals.
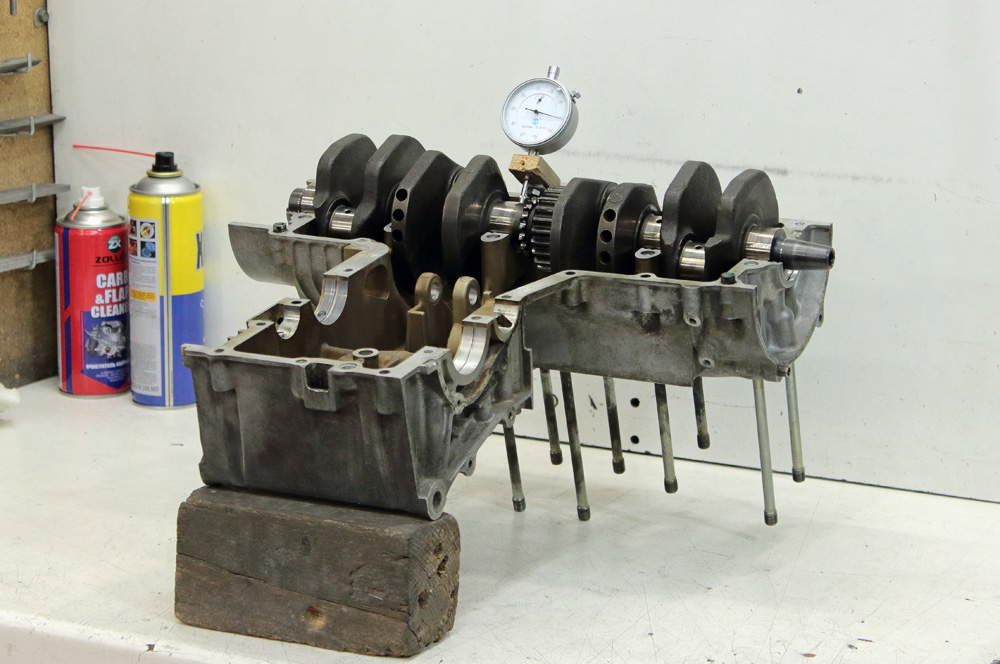
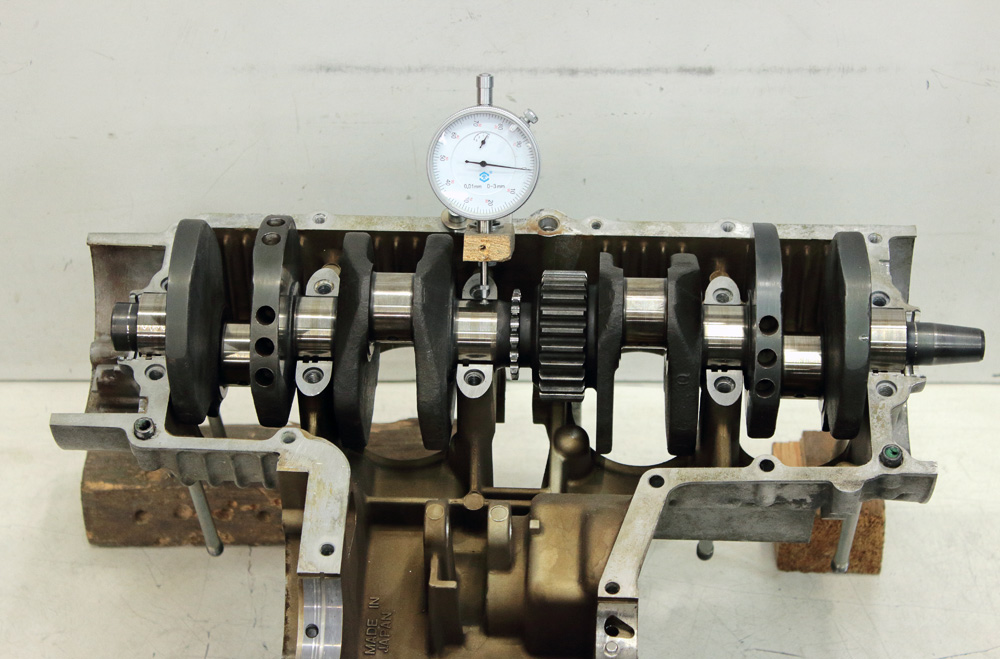
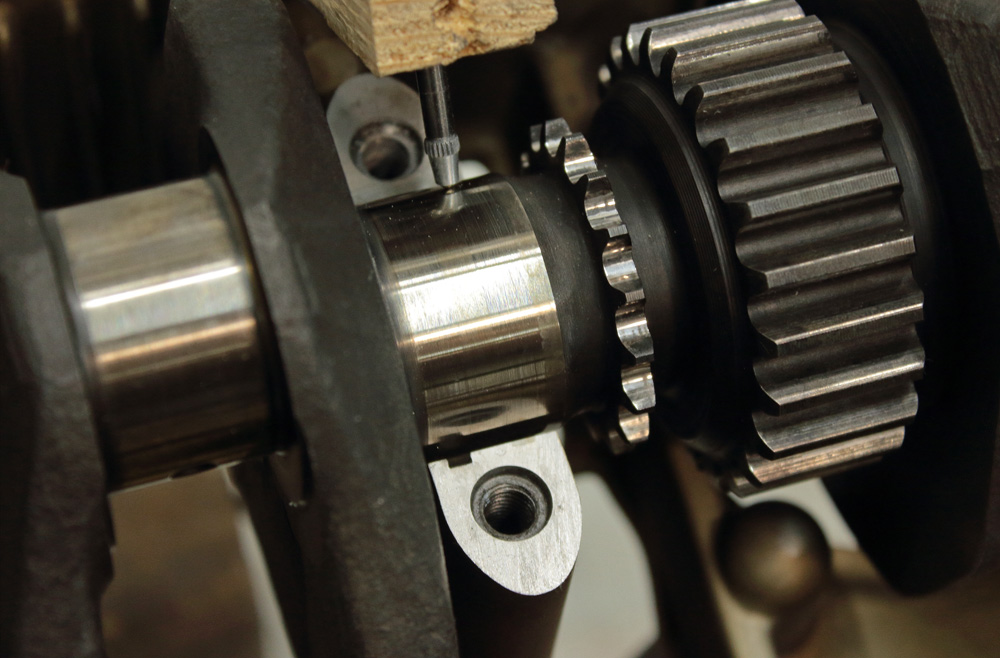
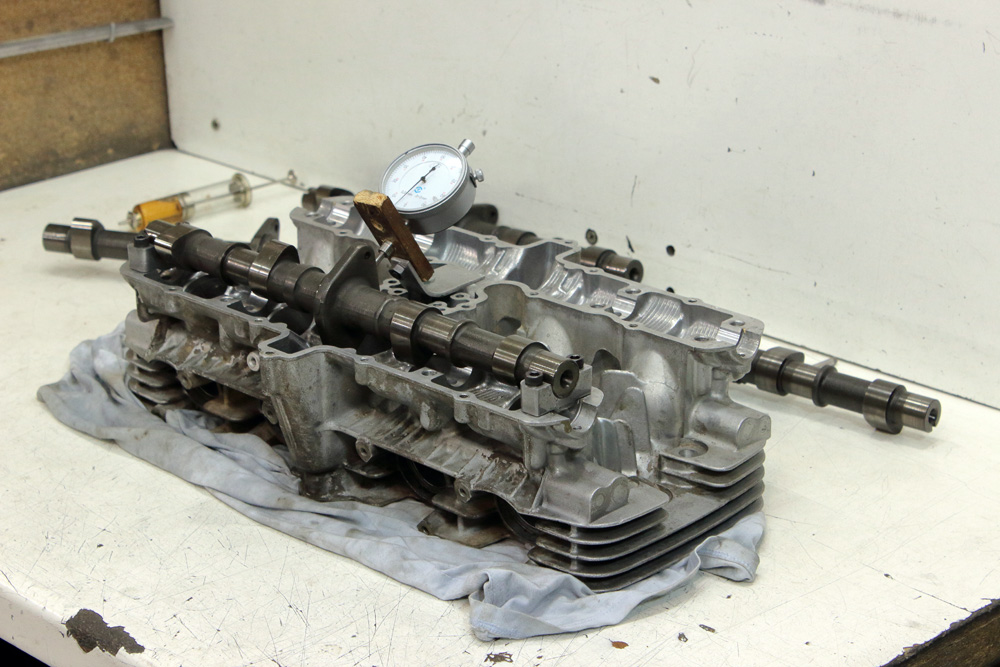
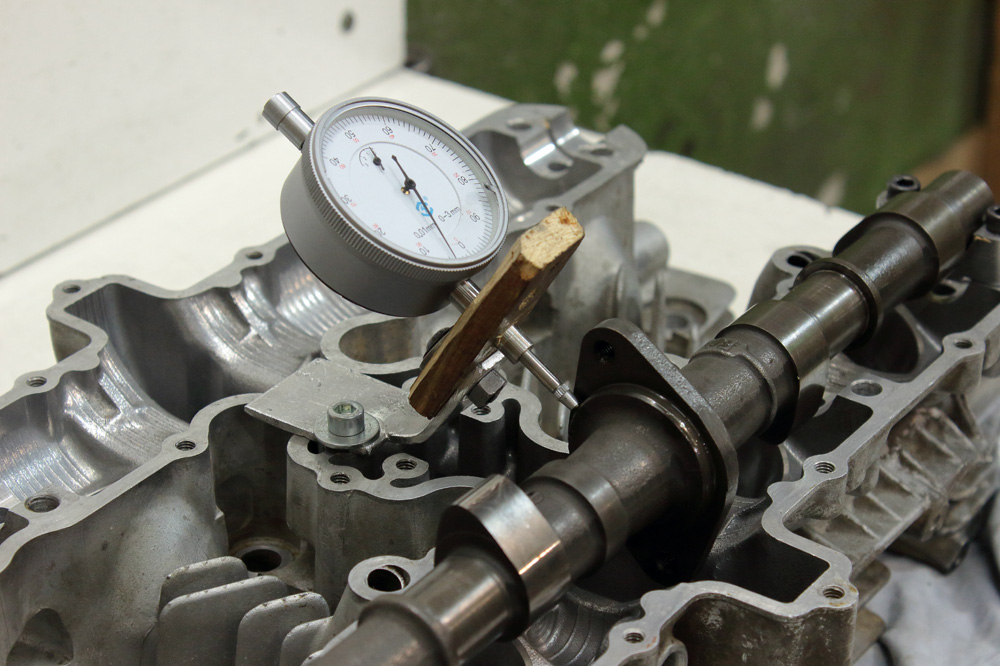
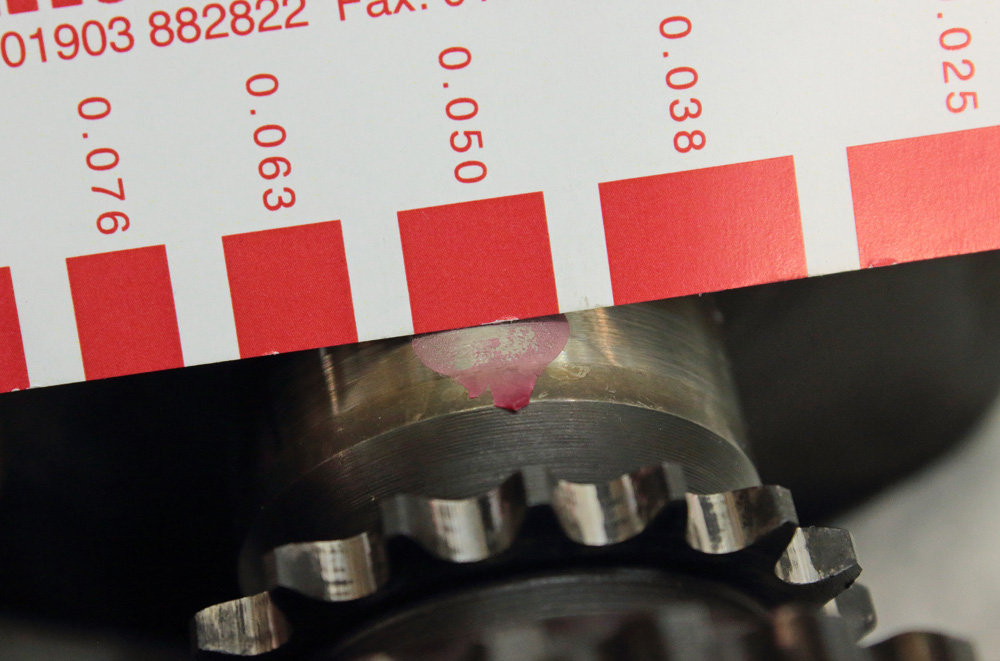 Sure, I also measured crankshaft runout. Decent V-blocks might be quite expensive; however it’s very simple to do runout measurement without them as we already have all parts necessary for measuring. Just put first and fifth (first and last) crankcase bearing inserts in their places in half of crankcase, oil them and then put crankshaft. There will be sufficient gap between all other crankshaft journals and crankcase and no harm would be done to bearing inserts in this way (just don’t forget to oil them). One also could easily attach dial gauge (indicator) to crankcase using piece of wood and some aluminum plate. This time I used old crankcase.
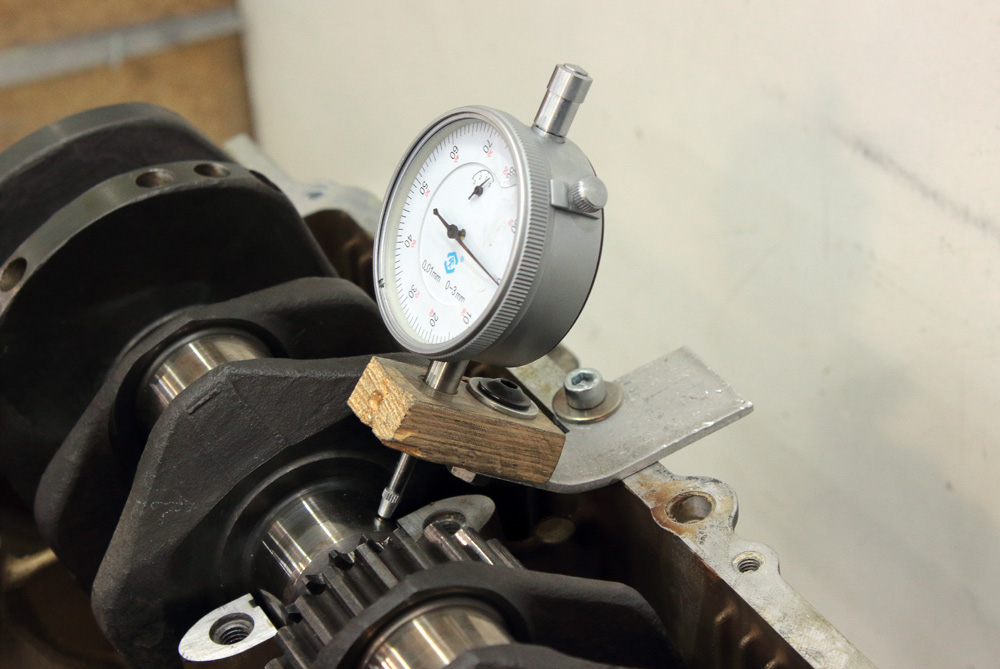 Runout of my crankshaft was just as a book states: under 0.01mm.
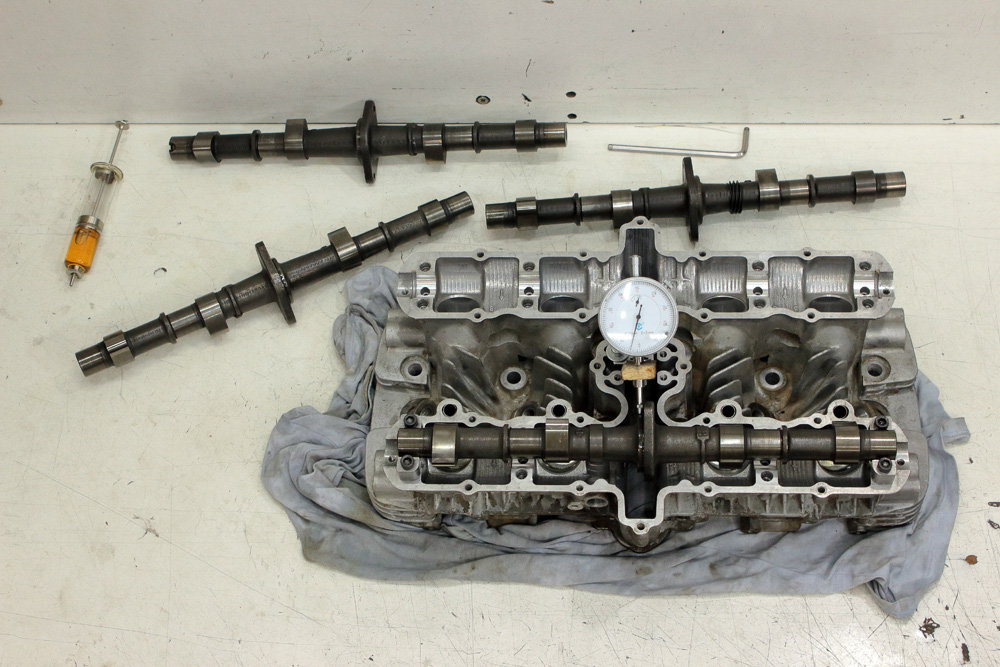
Same method may be used for measuring of camshafts runout. Only in this case one has to install first and fourth camshaft caps upside down and finger tightened them with bolts to fix their position.
 I have three sets of camshafts: one original, one from KZ750 and one from Zephyr 750. I am about to use camshafts from KZ750/Zephyr 750. Best of them shows 0.02mm of runout, worst – 0.05mm which is safely within service limit. Which of them to use I’ll decide later.
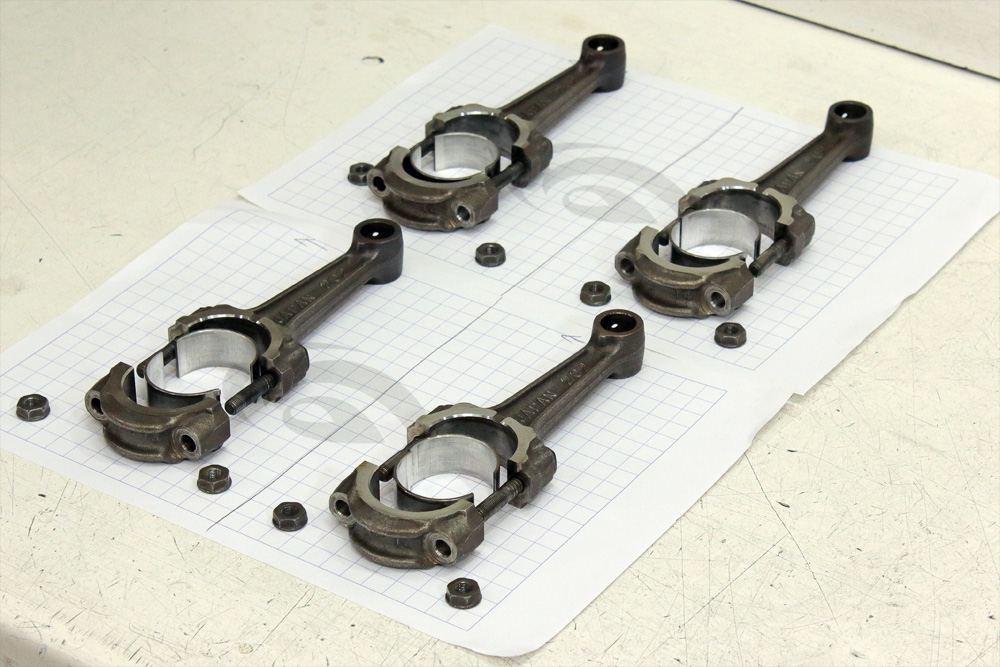
 I also hate the idea to shuffle lower and upper bearing inserts of parts like connecting rods, or mess the connecting rods, so my recommendation is next: during cleaning treat connecting rods one by one and keep couple of marked sheets of paper to lay clean parts on them in their natural order.