So it’s time to prepare the engine for assembling, which means not only some work to be done, but also applying existing and producing some new special tools.
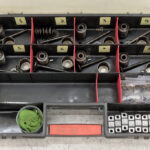
Usually when I prepare parts for glass beads blasting I close blind threaded holes to avoid the headache of removing media from them. And whenever I do not screw bolt into the hole before glass beads blasting, I am instantly reminded why I have to do so by the glass beads that are stuck in thread. Just blowing them out does not always work, so it’s time for a couple of special tools. First of them I use for thread cleaning.
Why does one need a special tool for internal threads cleaning when threading taps are available? My opinion is that it’s inappropriate to use threading tap (even taper tap or second tap) for cleaning threads, especially in aluminum, because tap may (and usually does) remove not only debris but the very metal too. It makes thread no good. So for mechanical cleaning I keep some amount of “modified” bolts of different sizes and thread pitches. This exact modification is not my invention, but a lore of mechanics I picked during the years of working on motorcycles: a couple of axial grooves have to be cut (with cut-off wheel) right through the threaded part of the bolt. Then threads in areas of the groove have to be treated with a small file. Here is example of M6 Allen bolt modified in aforementioned way:
 When a bolt like this is screwed into the threaded hole it no longer presses debris and oxidation around itself, but scrubs them into the groves. Yes, it may take longer to clean threaded holes with such a tool, but in combination with carburetor cleaner (or whatever cleaner you like to use) it leaves clean and (what is most significant) undamaged threaded holes.
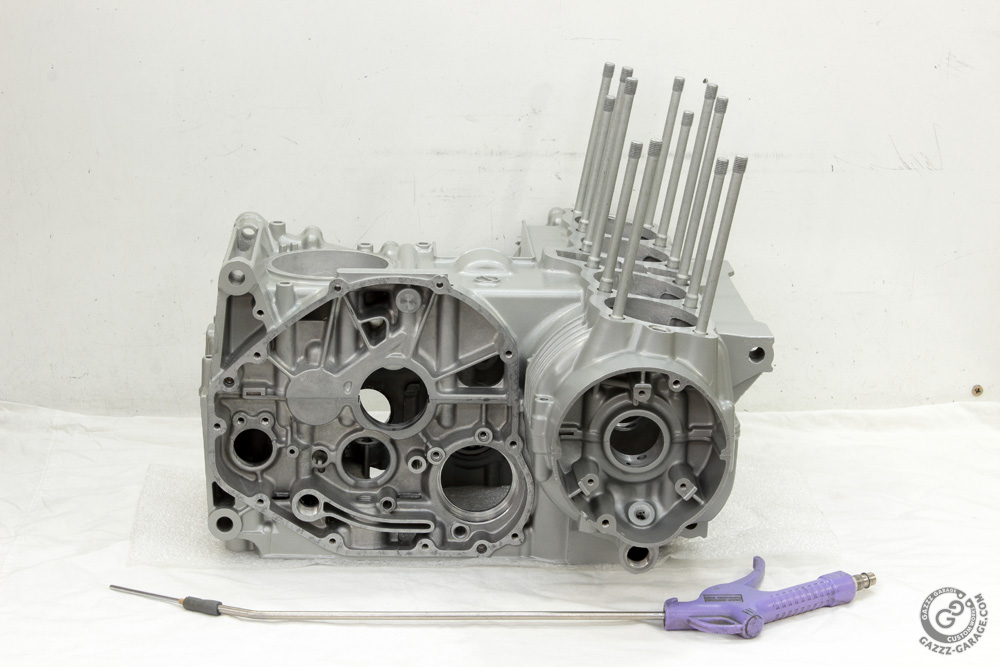
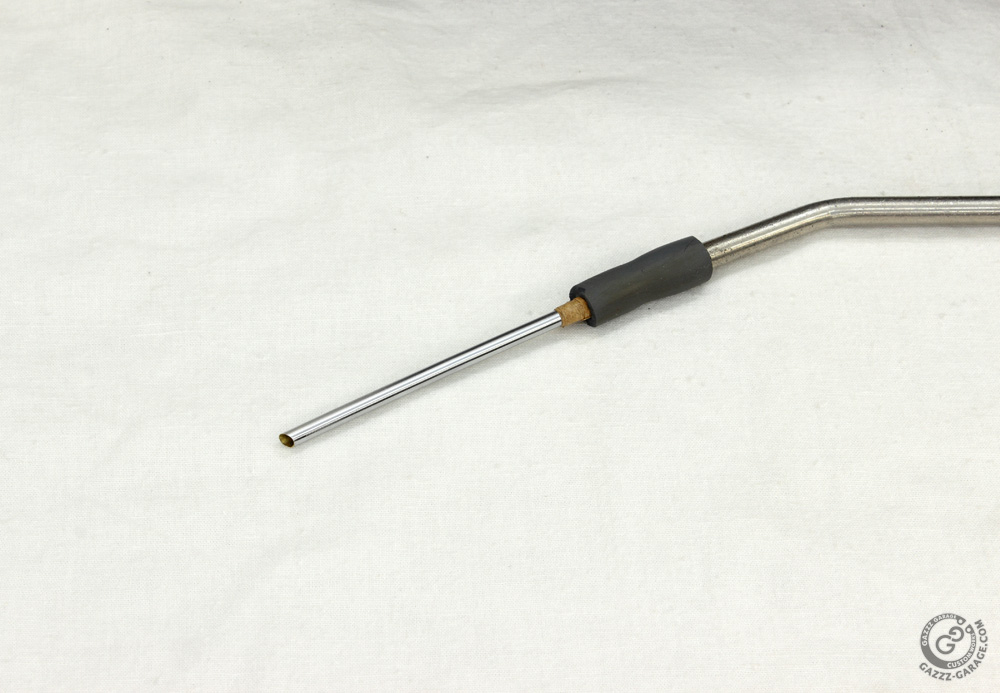
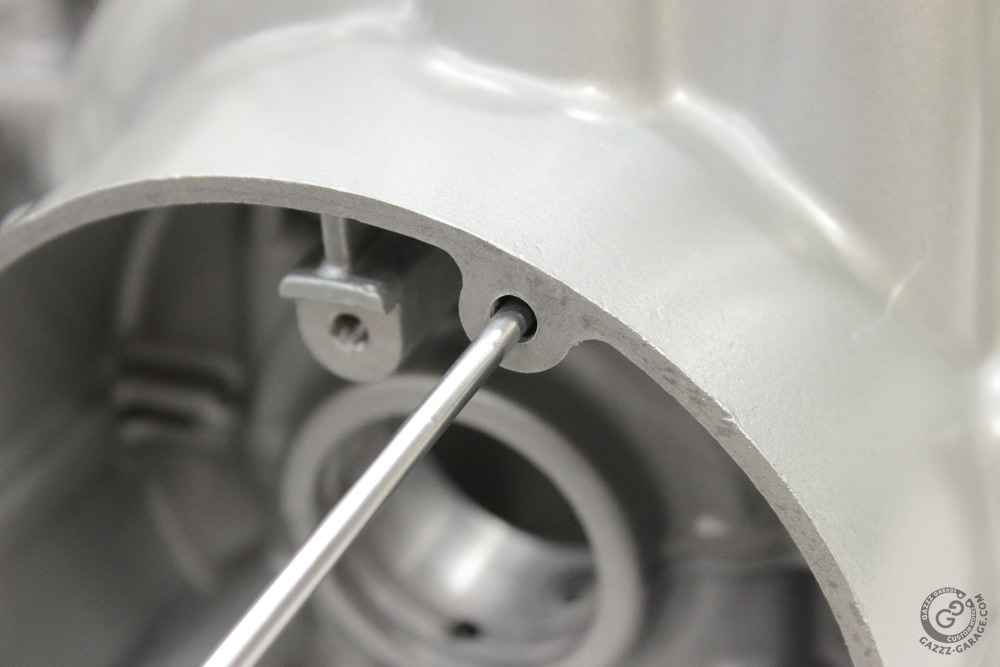
All threads of the Kawasaki KZ650 engine were cleaned with “special” bolts before glass beads blasting and painting. However, since I didn’t screw bolts into the alternator and ignition covers’ mount holes, I had to use it once more along with a section of remote control antenna (mounted to the nozzle of air gun).
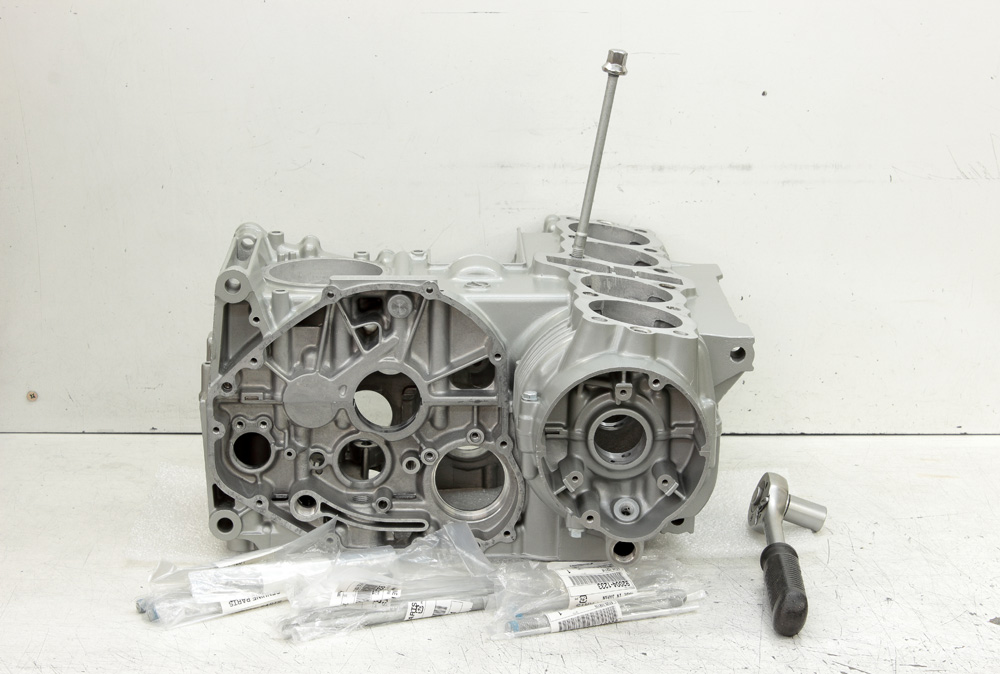
 As I finished cleaning the last threads, I had to install cylinder head studs. As one may remember, I bought a set of new OEM Kawasaki studs for the Kawasaki ZR7 which has studs of identical to KZ650 cylinder head studs length. And talking about cylinder head stud length: you may see indications like 10×133 in parts lists beside stud part number. The digit 10 is simple, it stands for M10 thread (1.25 pitch), however the digit 133 stands not for total length of stud, but for the length of its part which protrudes above the surface of the crankcase when stud is installed. Very useful information when one wishes to check if studs are correctly installed.
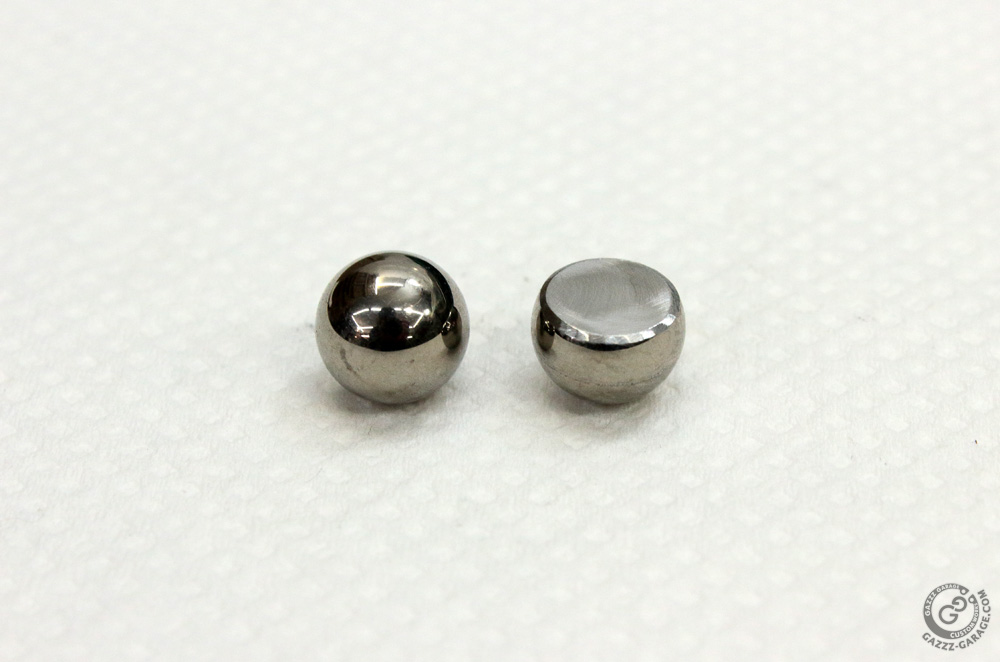
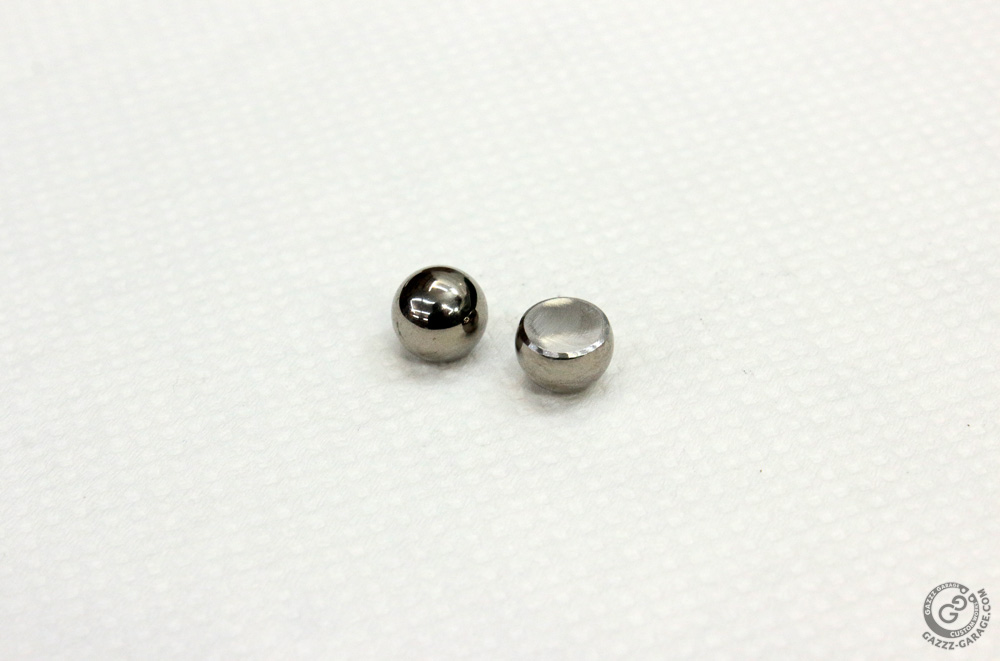
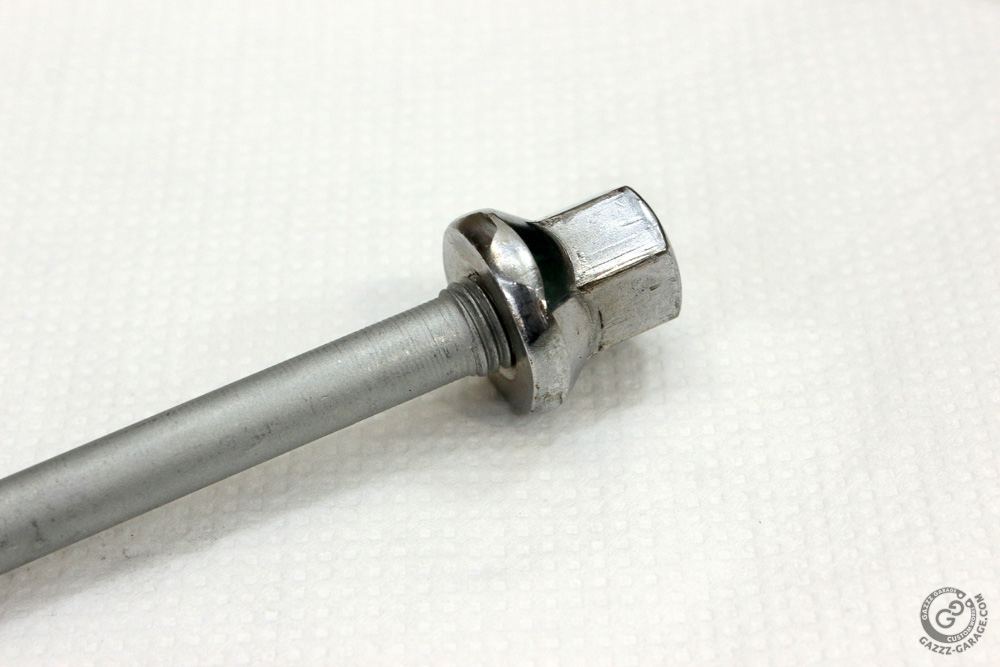
 As for the special tool for cylinder head studs installation, receipt of non-OEM one is well known: original high cylinder head nut and bearing ball of suitable diameter. But there is a way to make it more reliable and here is my receipt of a special tool for installation of cylinder head studs. First, the ball has to go freely into the nut, but it has to be close to the internal diameter of the nut thread. So I found a ball of 8.7mm diameter and it fits the original KZ650 cylinder head nut perfectly. Then I grinded off about 1/3 of ball just like this:
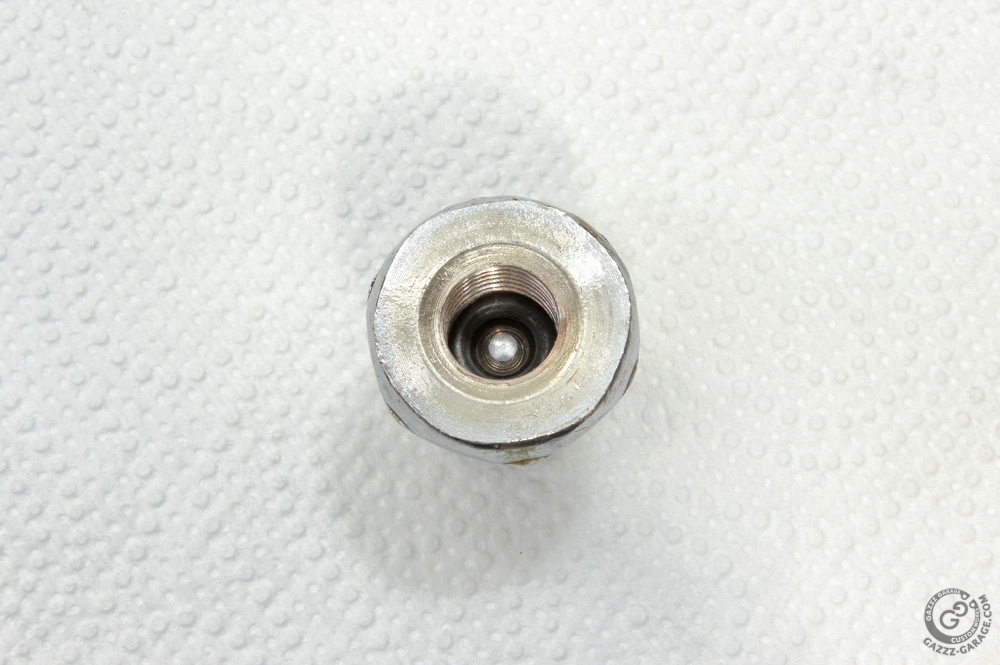
 For one thing, with one side of the ball flattened I solved the issue of the ball extruding the dome of the nut. For another, it allowed me to screw nut with a ball for an additional two turns deeper. Better for nut, better for stud, better for process of stud installation since all torque now could be utilized solely on stud rotation, not on the nut dome extrusion and it is distributed on more threads.
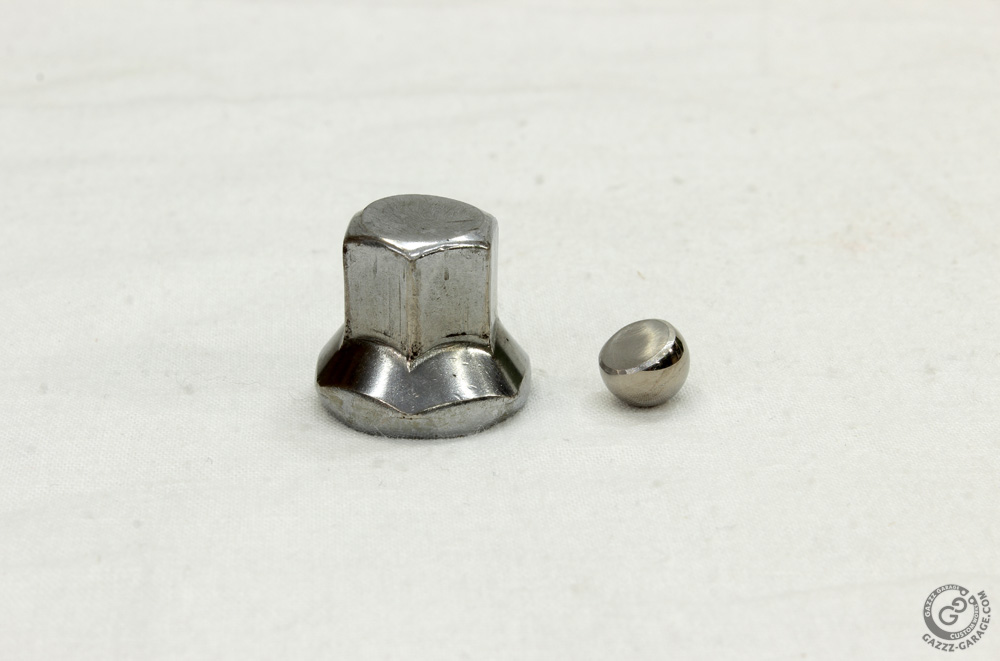
 One may say that there may be an issue of installing the ball with a flat side downward into the nut. But I could say that there is no such issue as long as one may put a dub of grease (or a little piece of double sided tape) on the end of a suitable stick or Allen key. And once the ball is placed in the nut, just don’t forget to fix it there with a suitable O-ring. Improved special tool for cylinder studs (or other studs) installation is ready! Hope these little inventions of mine will serve you well.
 With the new tool installation of cylinder head studs went without issues. One by one all the studs were secured in the crankcase.
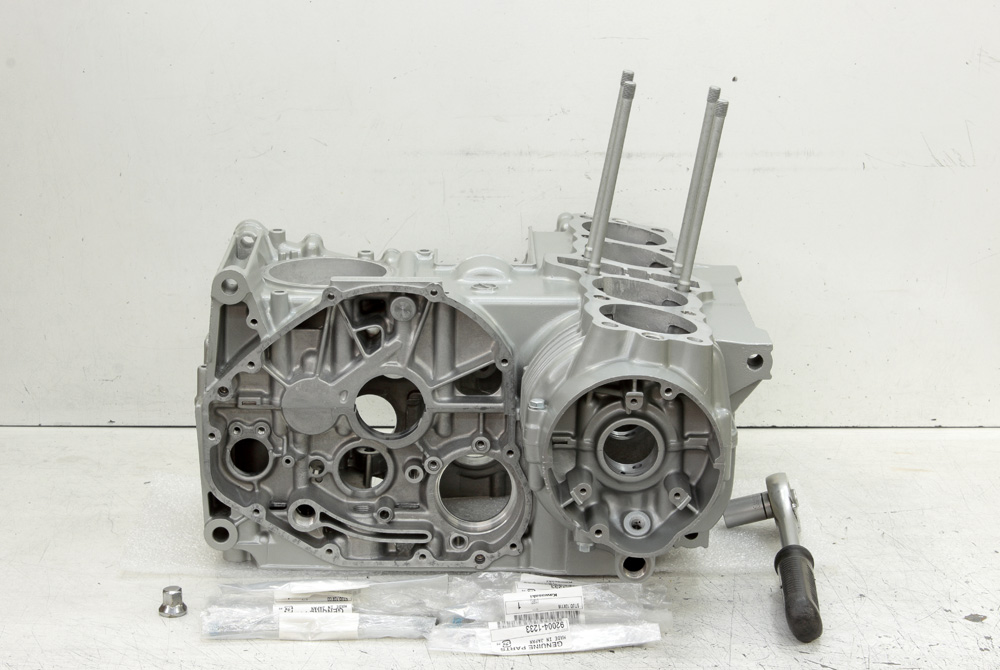


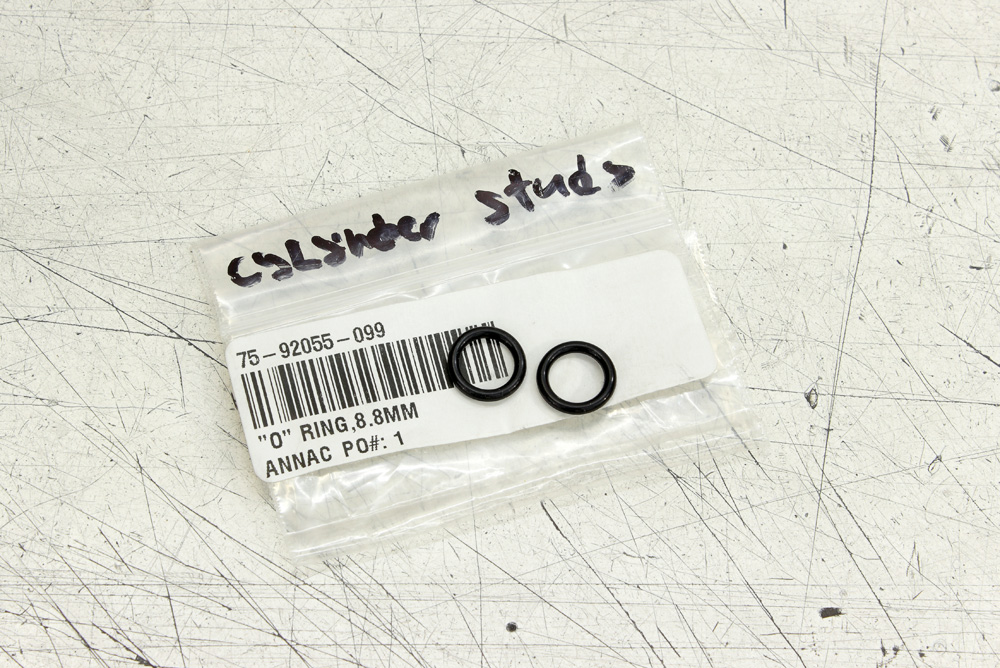
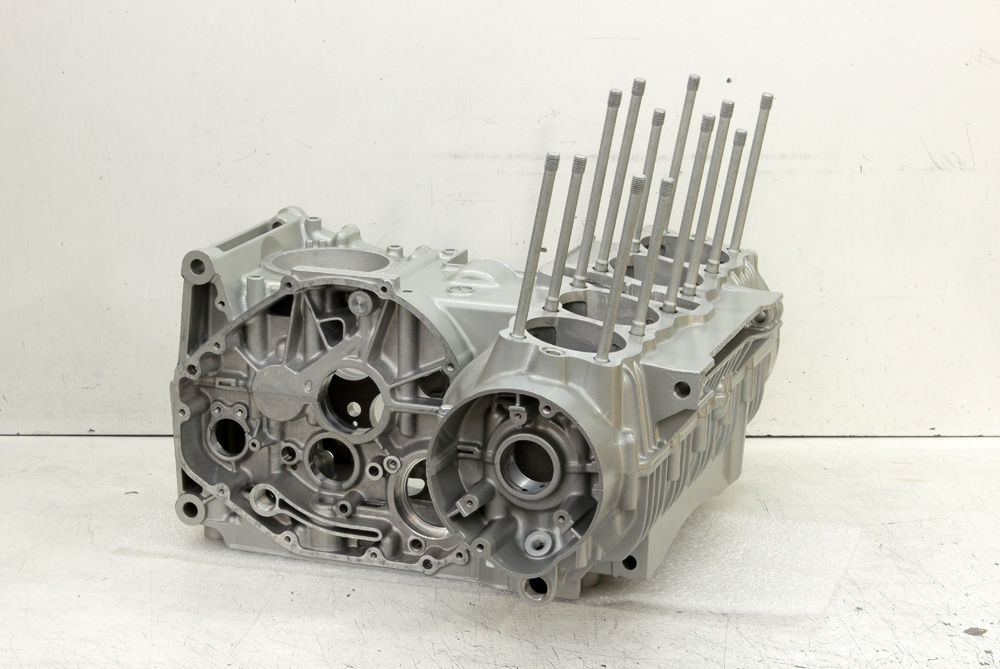 After this I blew out remains of OEM applied thread locked form grooves around studs and installed two new OEM O-ring around two of them.
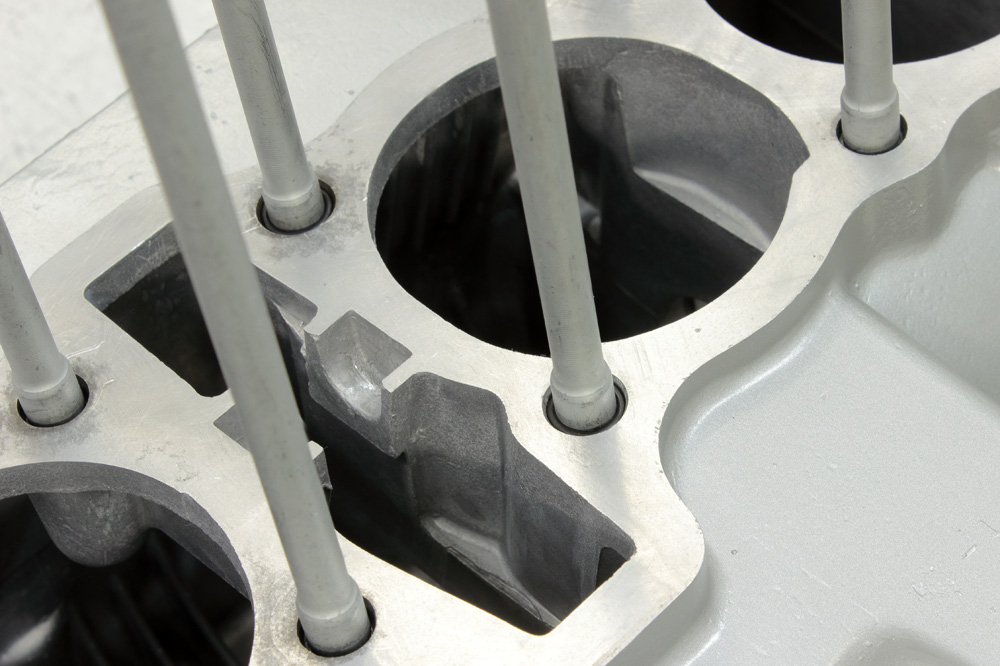
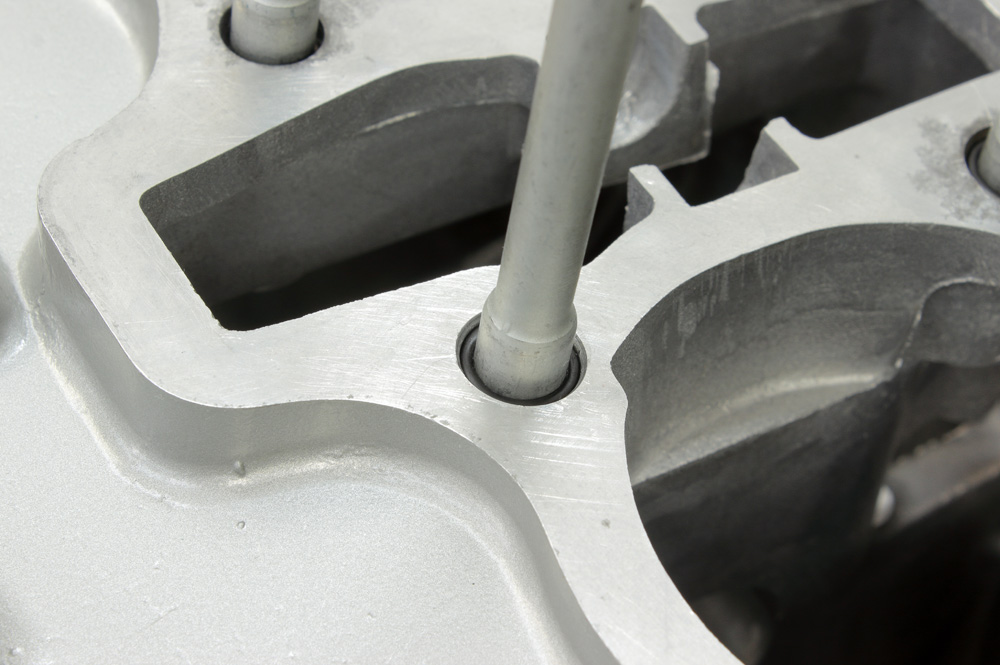 Tool for O-ring installation couldn’t even be called special, just pure life-hack: in fact it was a former ice cream stick. Mighty useful little things they are: round and flat ones of different configurations.