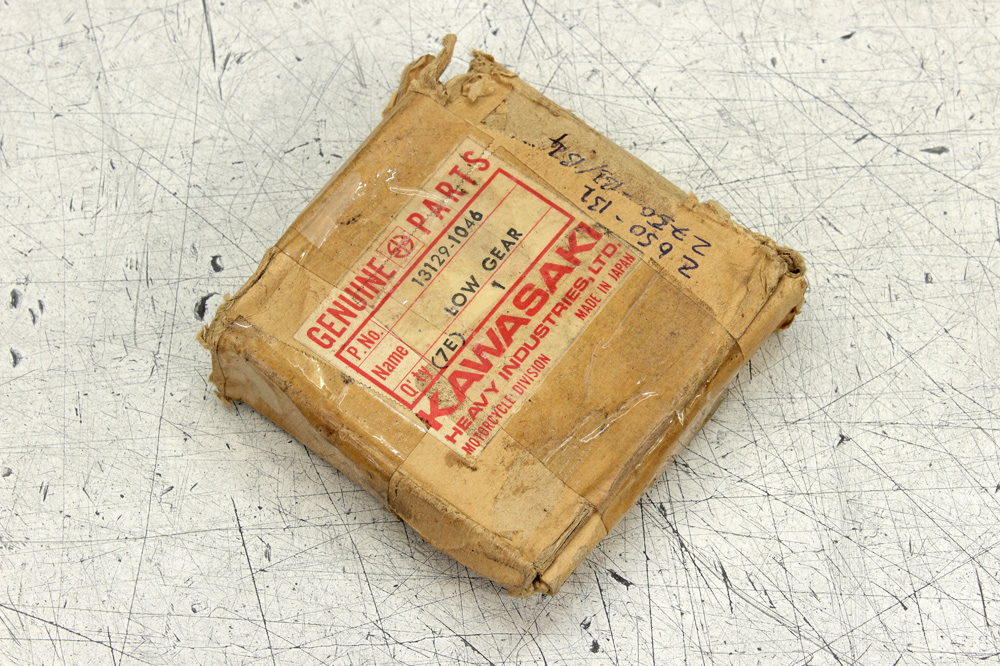
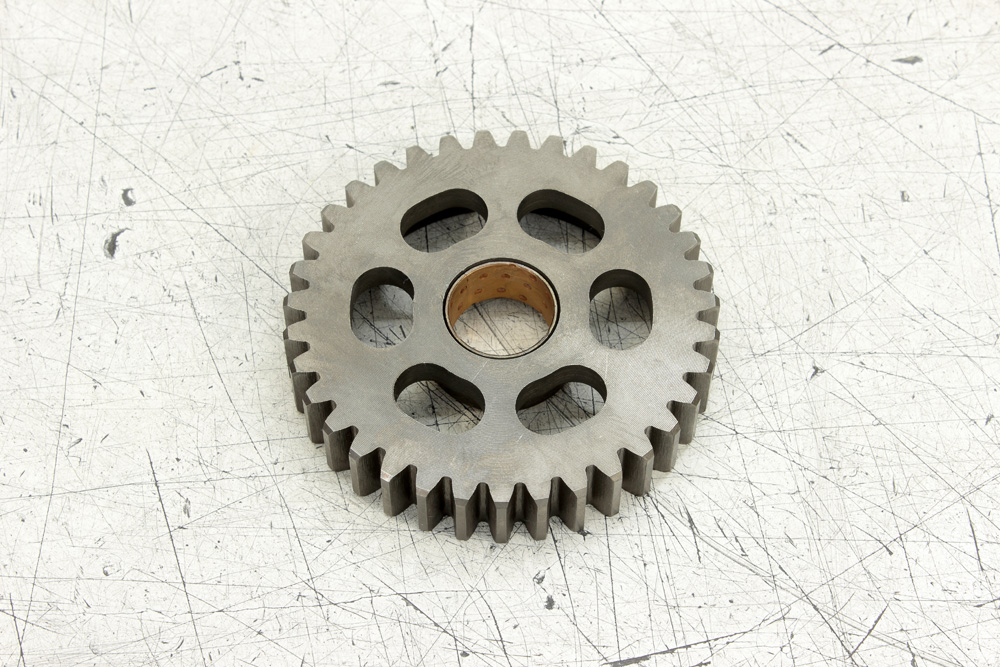
Another item in my list of preassembling works was final transmission assembling. When I was cleaning and checking gearbox, I found out that it’s condition was perfect, the most of measurements were well within not only service limit, but also within “standard” range. The only thing that was without specs was diameter of copper bushing of first gear on output shaft. I received new gear long ago. Here it is:
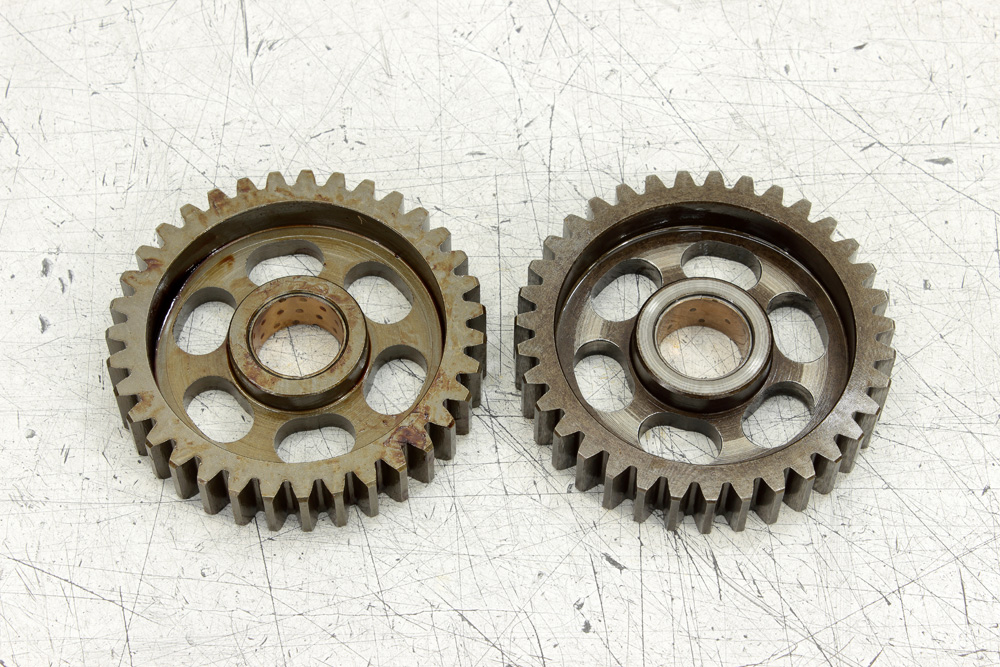
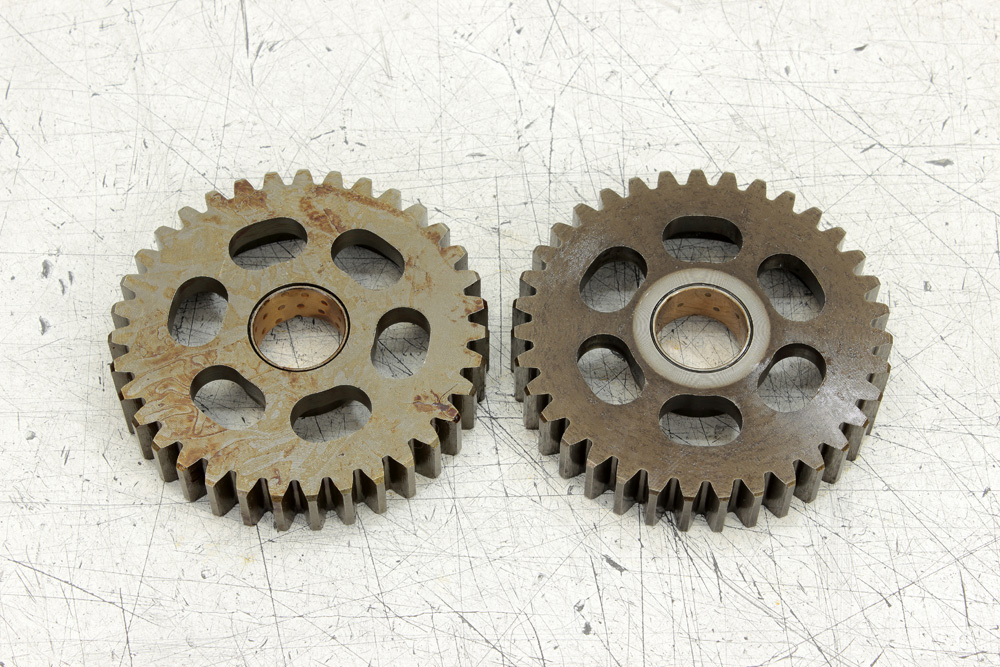
 New and old gears side by side. The stuff on new gear is not rust but remains of factory applied preservative oil.
That’s how new gear looks once cleaned.

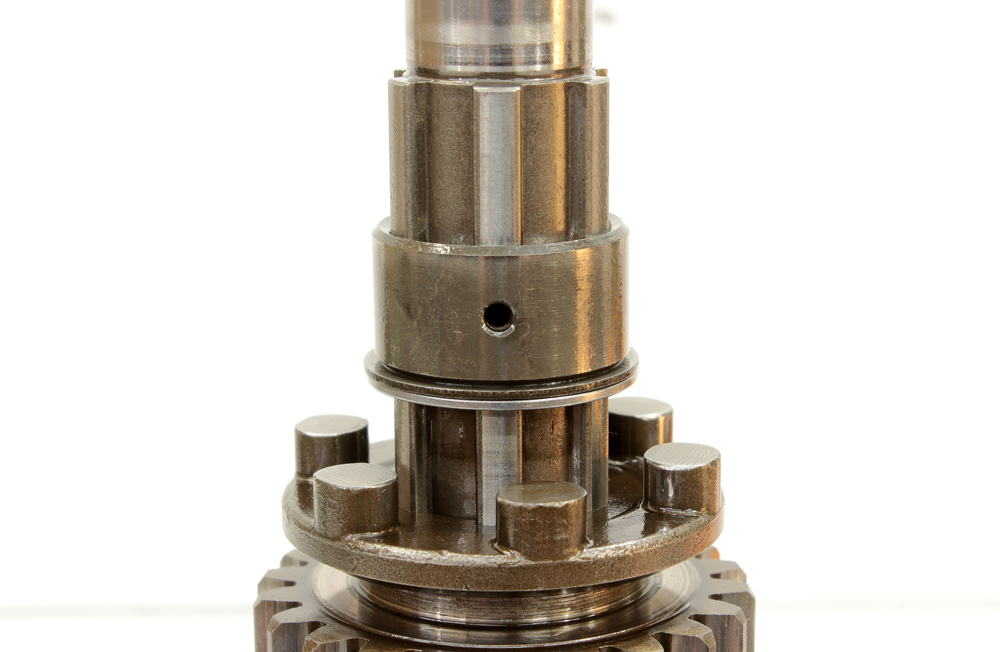
 I oiled it with engine oil and put it in the place. Along with it I installed a new O-ring between the output bearing and sprocket collar.

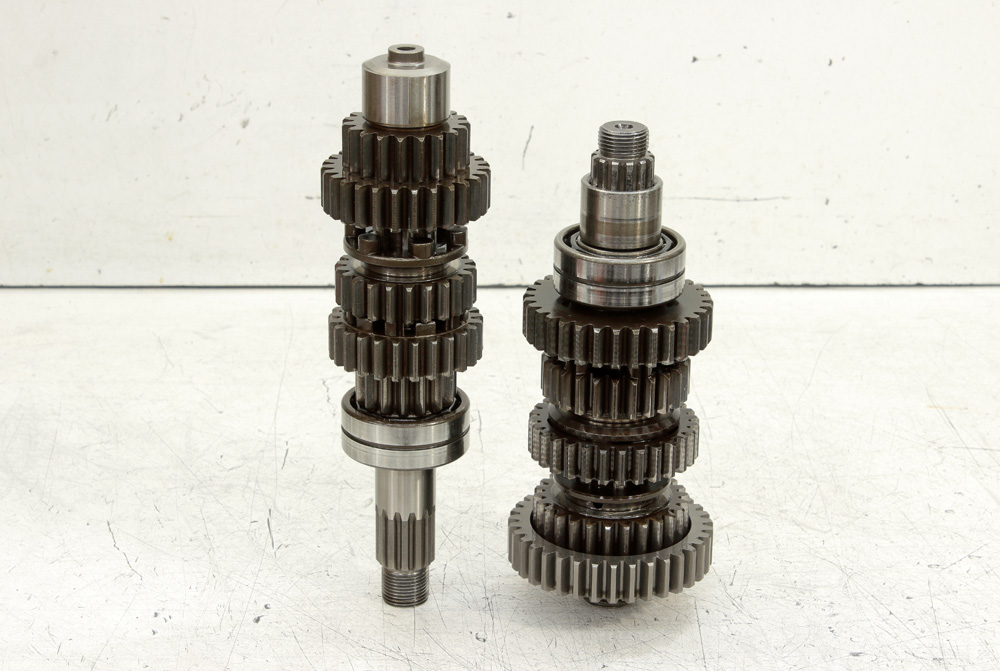
 With these two updates applied the output shaft was ready for installation.
 As for the drive shaft, I had to replace two circlips.
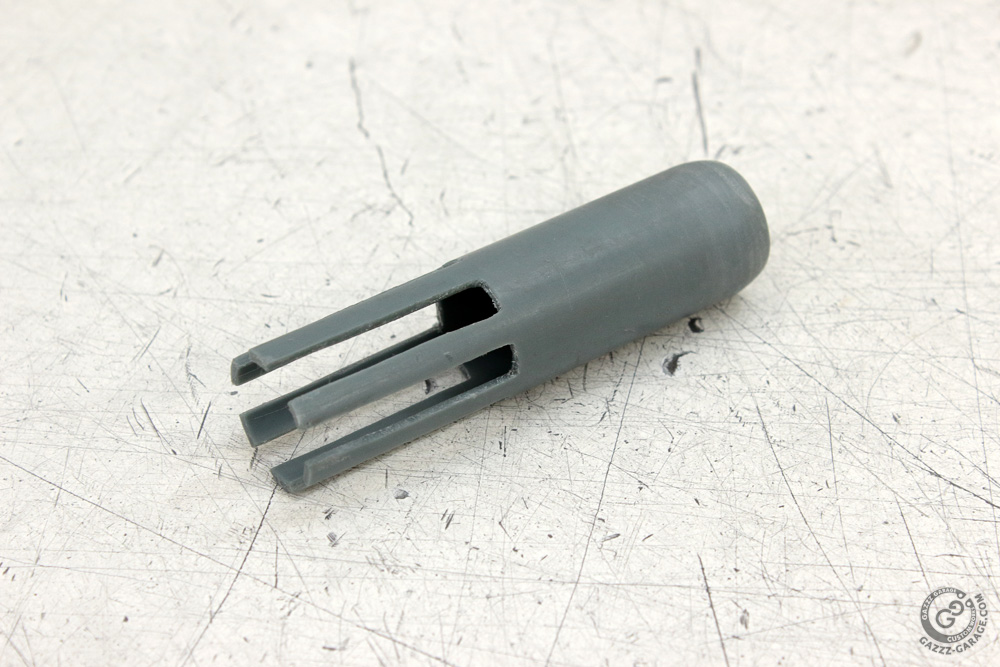
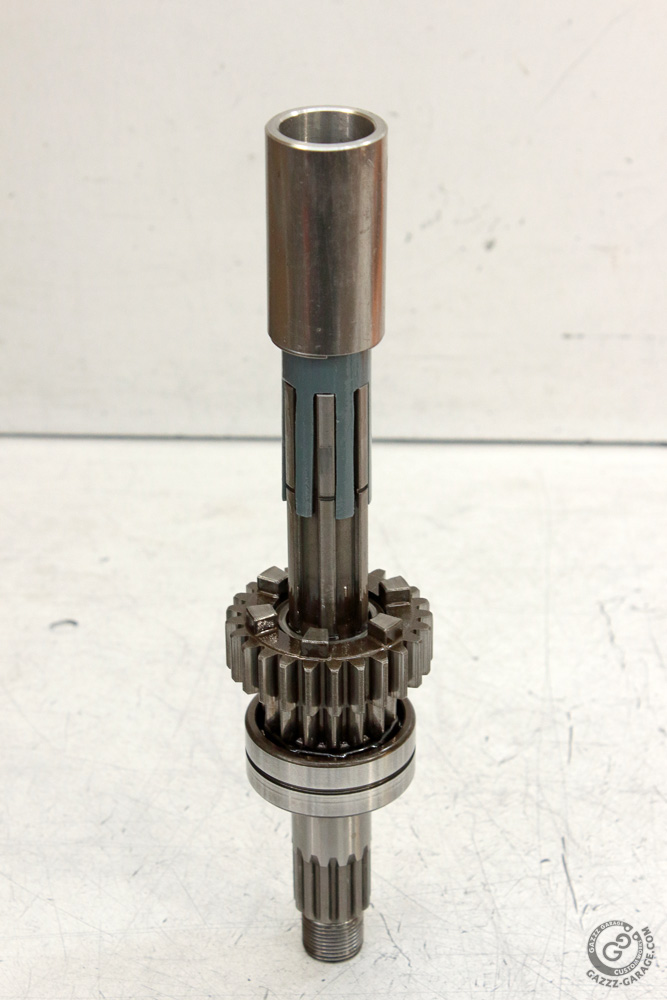
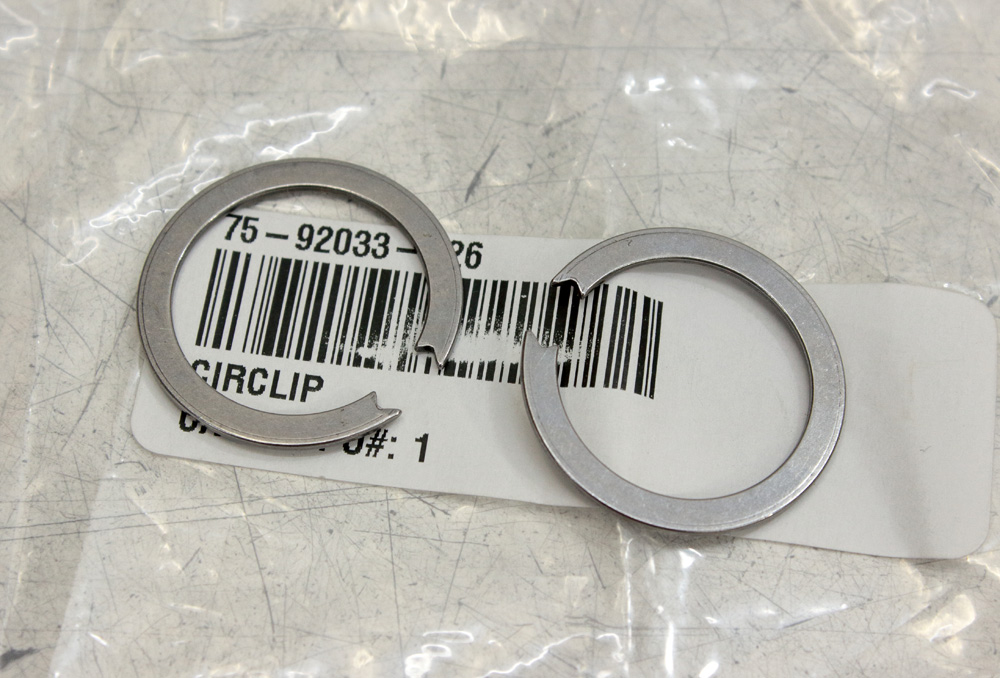 This type of retaining clips are hard to control with standard type of special pliers for circlips, so during removal their gap becomes significantly larger. It’s hard to notice without new circlips at hand, but it is so and that’s why the OEM service manual recommends replacing them with new rings once they are removed. However, the main issue is not to remove them, but install them without too extensive expansion. For this reason there is a special tool for installing such circlips in the list of special tools for Kawasaki KZ650. However, the tool itself is not available for a long time, so it’s only images may be found in the list of special tools and in the service manual. I did some experiments to find a way to make the installation of circlips on the drive shaft less painful, but it turned out that the simplest way is to replicate Kawasaki’s special tool. For this purpose I found a piece of 25mm PVC pipe and shaped it similarly to an OEM tool, with constriction on the top and protrusions long enough to pass the first groove for snap ring.
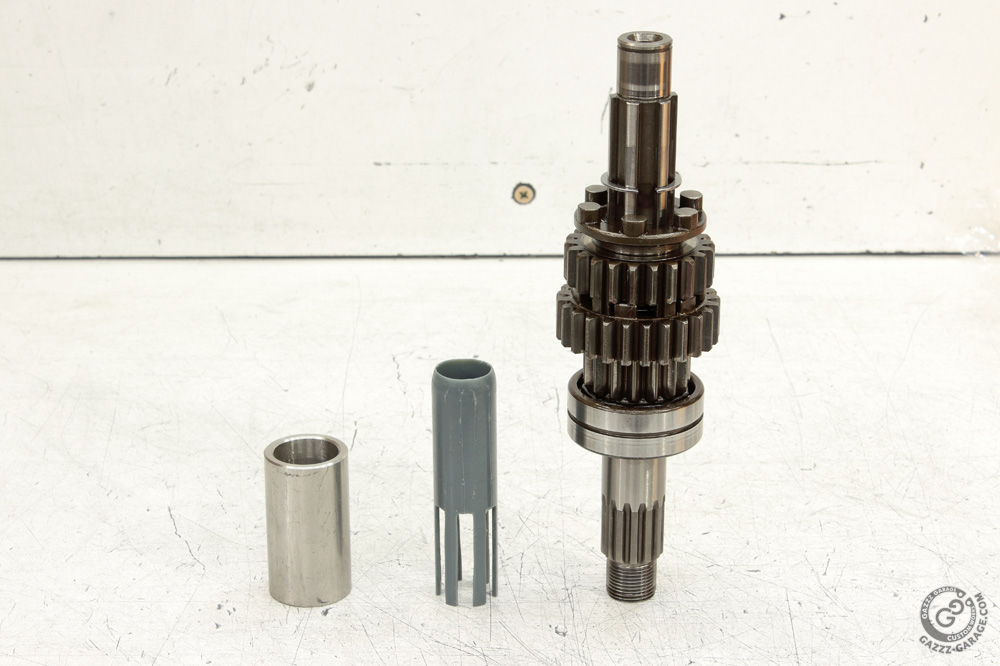
 This tool has to be installed on drive shaft of transmission like this:
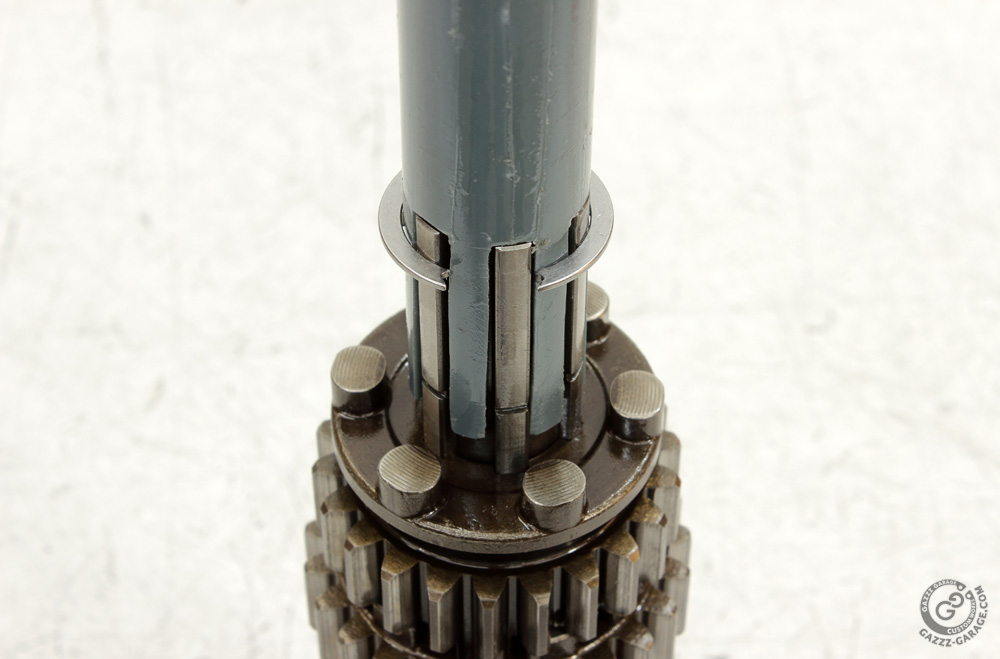
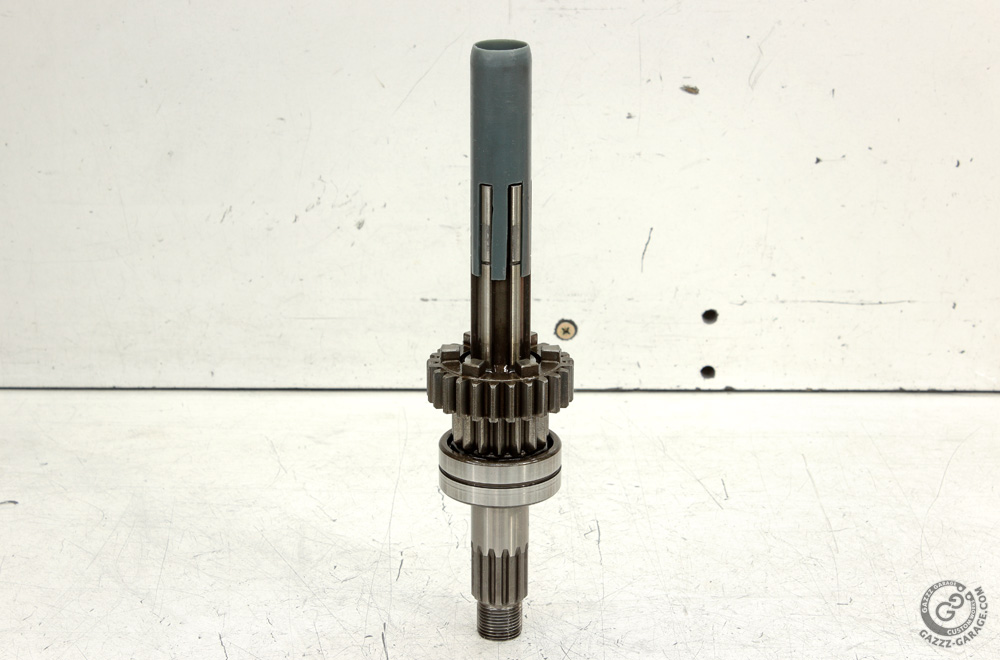 Constriction on the top helps to drive circlip on the tool body:
 As a driver I used a length of suitable metal pipe (stainless steel wheel spacer in fact).
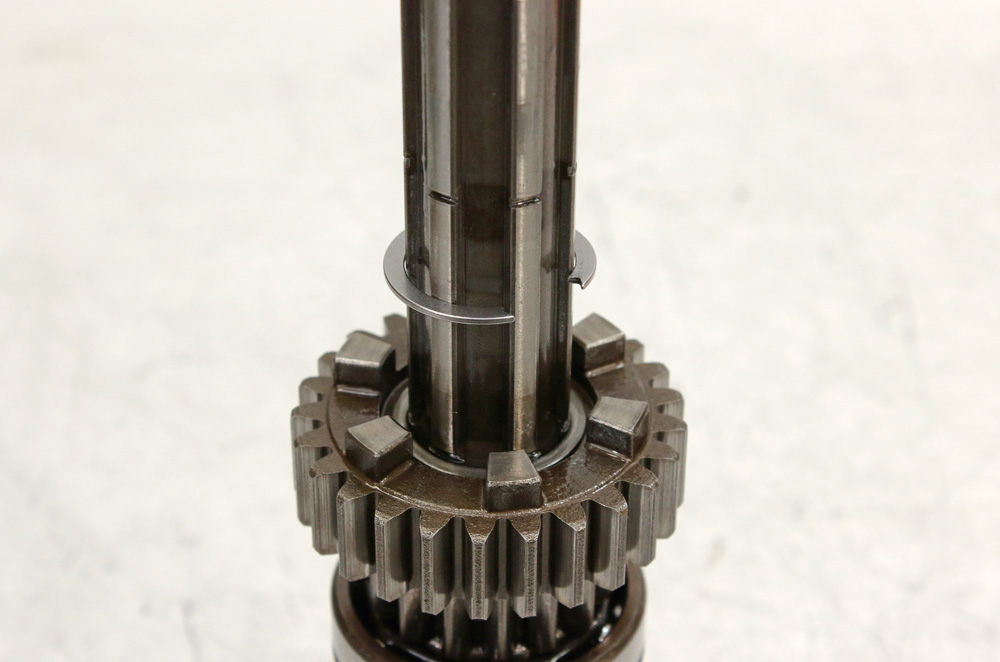
 As there is no step between the tool and splines of the shaft (or even if there is a small one) it is easy to push the snap ring on the shaft.

Once the retaining clip passed the first groove, the tool could be removed.
 And rings pushed further to its own groove:
 Then it was time to install a second ring in the same way. Sure, some oil was applied to make installation of both rings even more smooth.
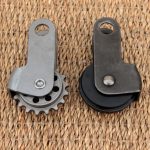
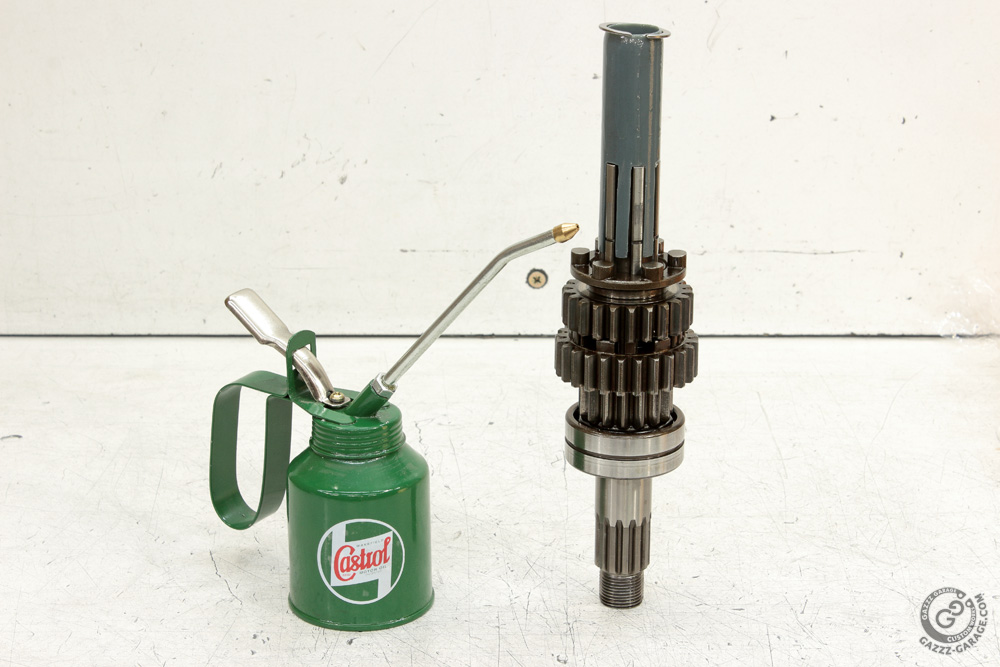 Special tool and drive shaft with installed circlips:
 The last assembling movements were to install the bushing of fifth gear in the correct position…
 … and to install the last two gears and needle bearing.
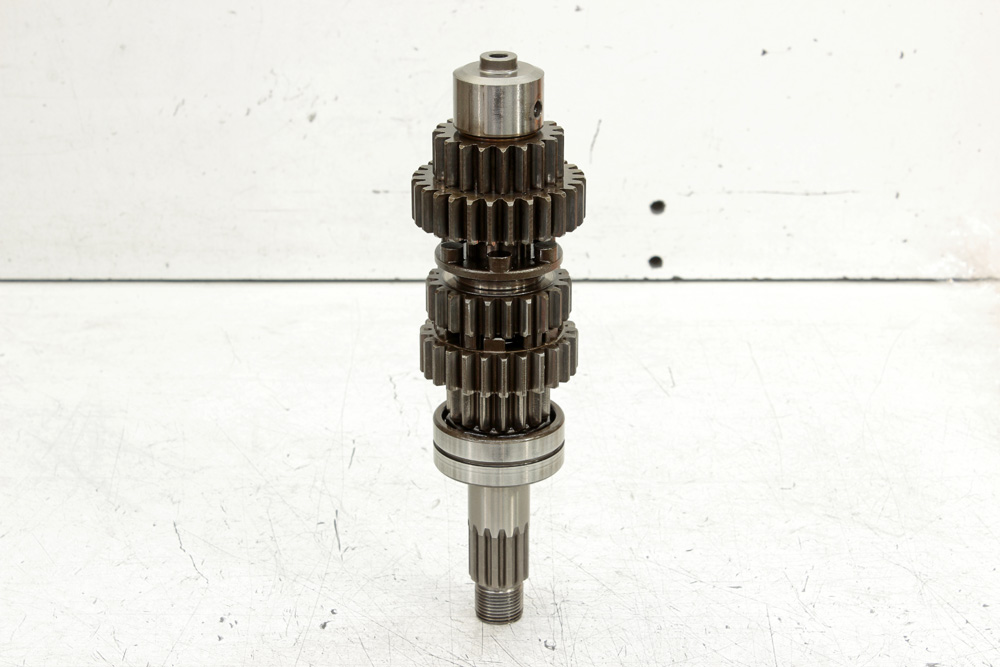 Transmission was ready and one more item on the list was completed.