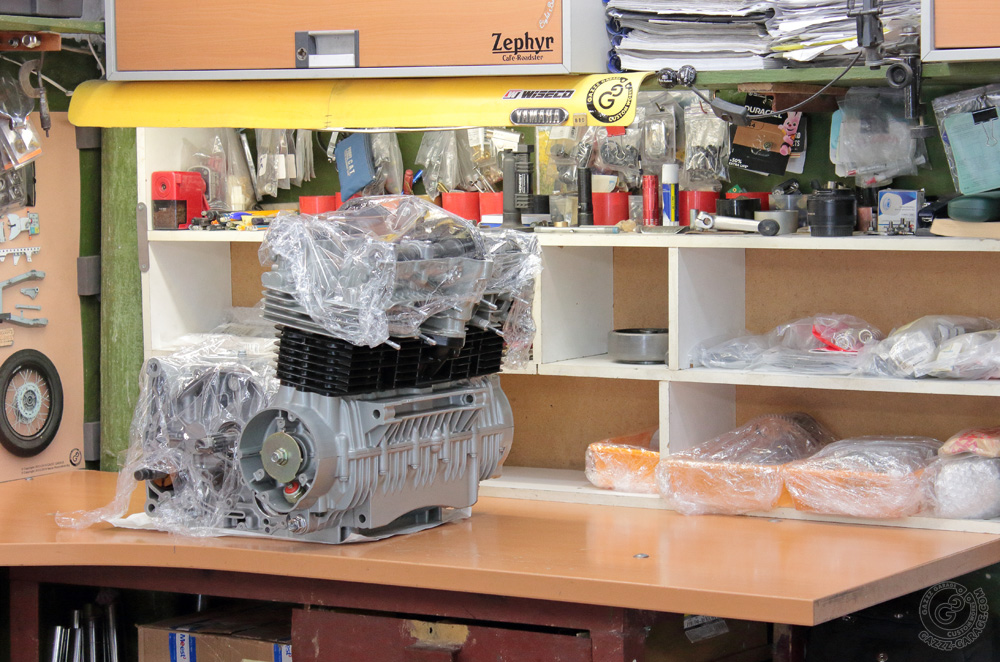
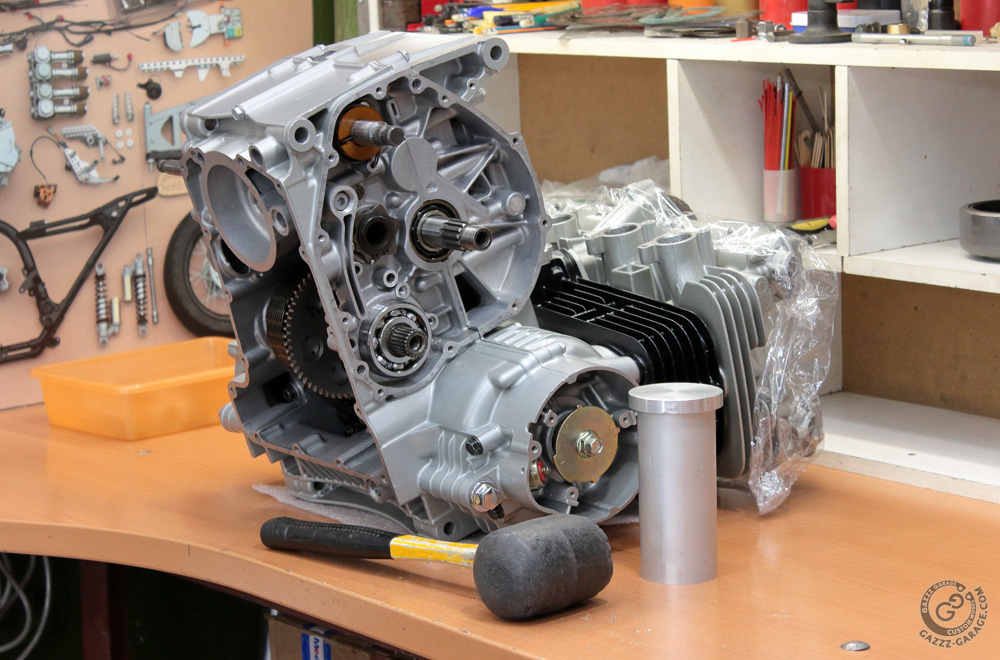
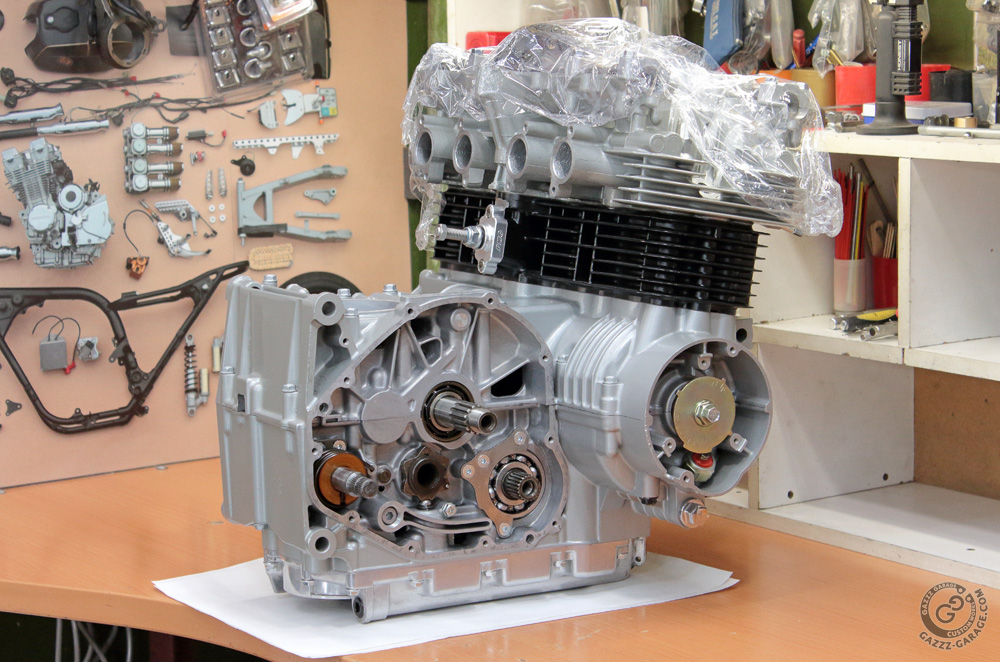
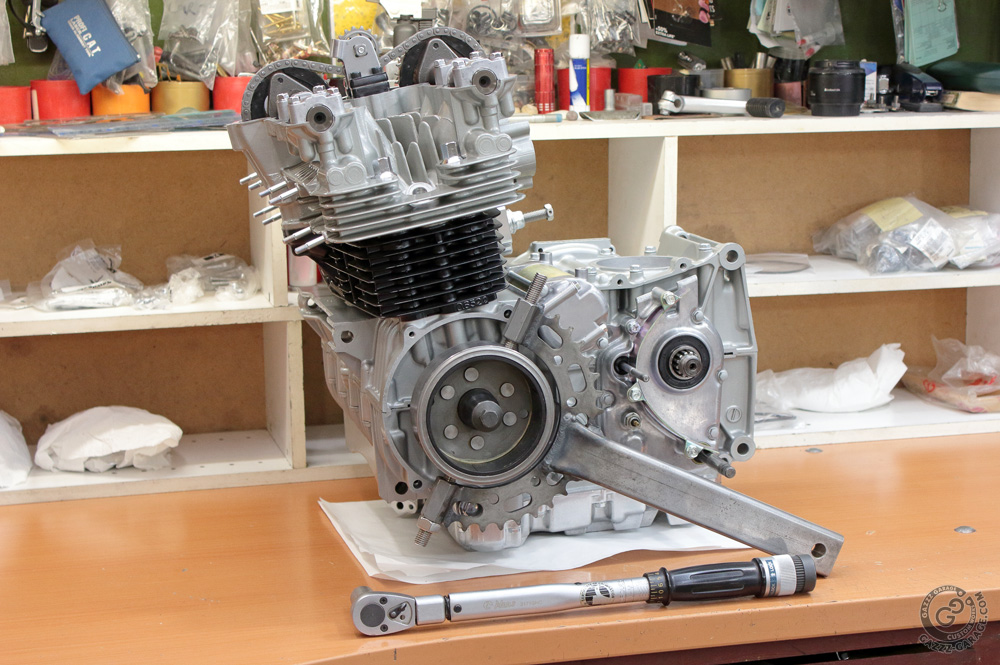
With the starter clutch repacked there was nothing to stop me from finishing the Kawasaki KZ650 engine assembling. Workbench was ready for another (mostly final) stage of the process.
 To drive the secondary shaft in place I used an improvised driver: a piece of aluminum pipe of suitable diameter plugged with aluminum blank. Since not only the cylinder head, but also camshafts were installed beforehand, I had to work on the secondary shaft and other engine bottom components with the engine positioned a bit weirdly.
 As soon as the secondary shaft was installed, I prepared the oil pump.
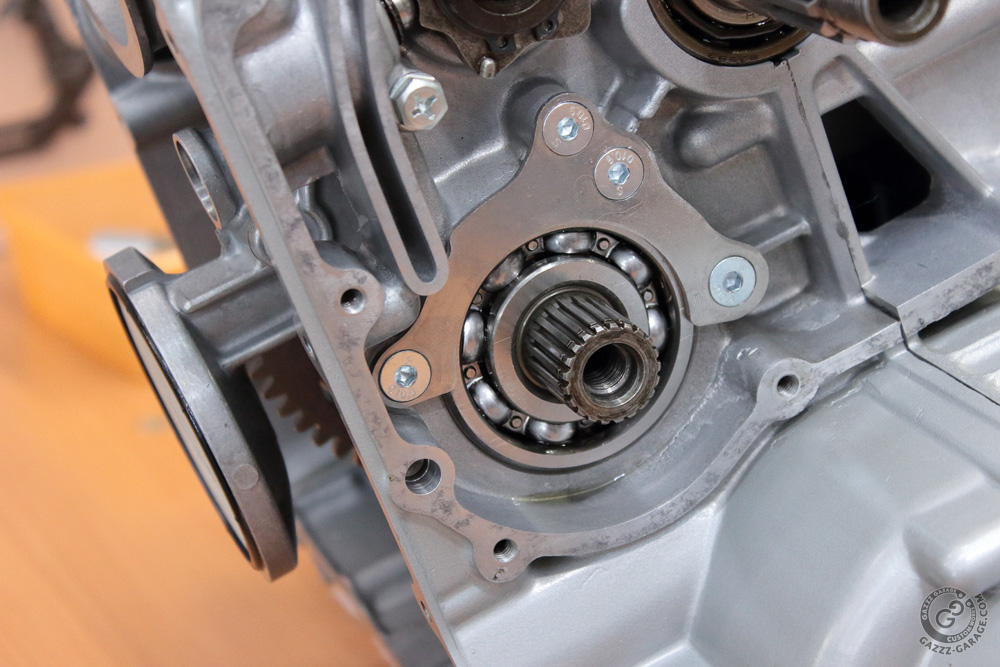
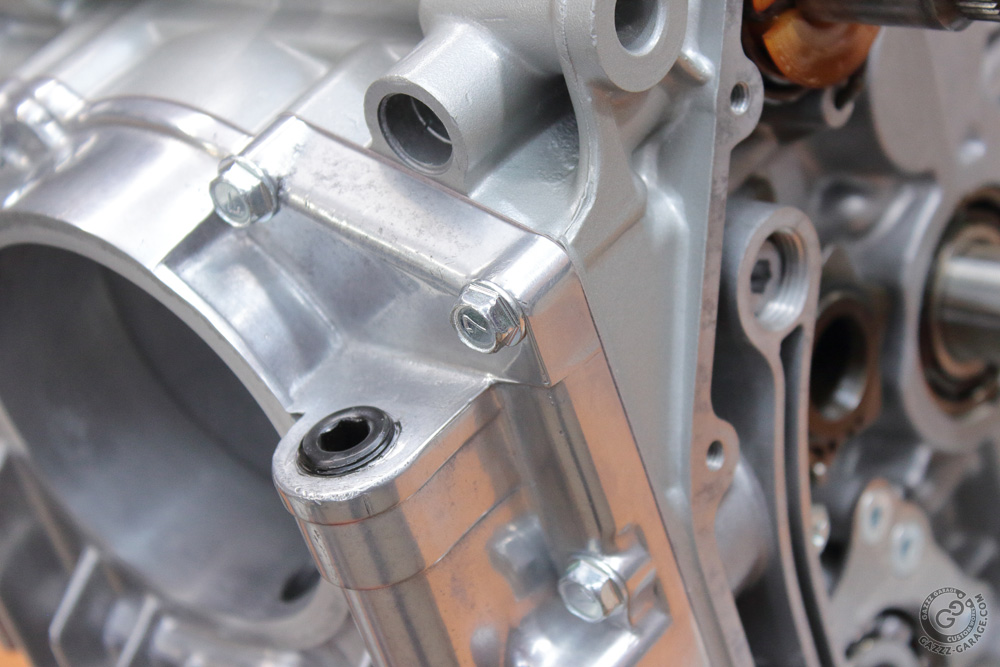
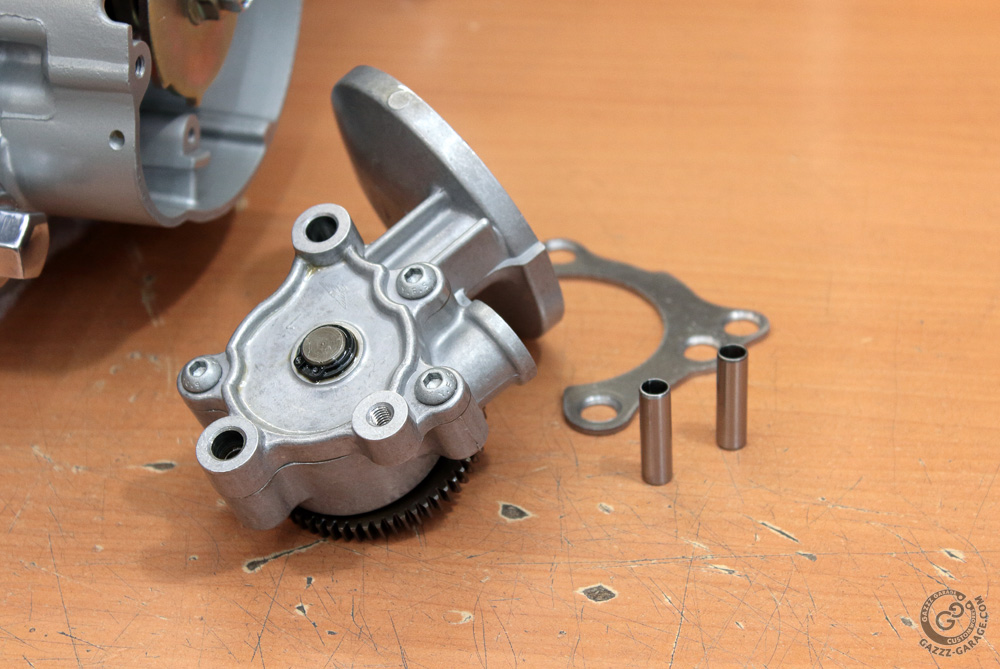 To mount the oil pump and the secondary shaft stopper plate I used countersunk Allen bolts.
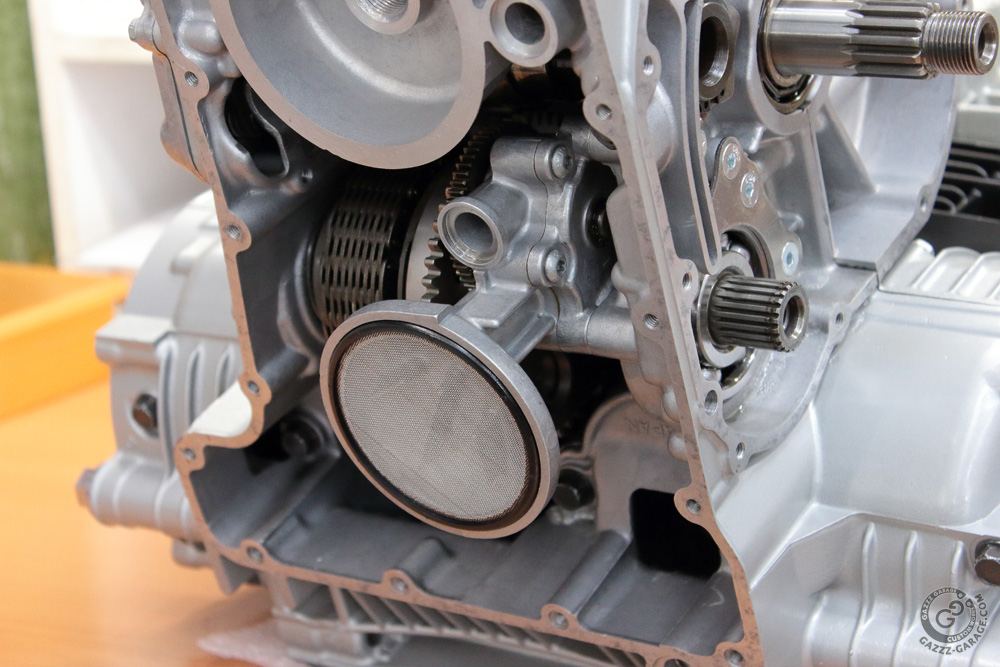
 Oil pump was followed by the oil pan (along with a new genuine gasket, O-Rings and bolts).
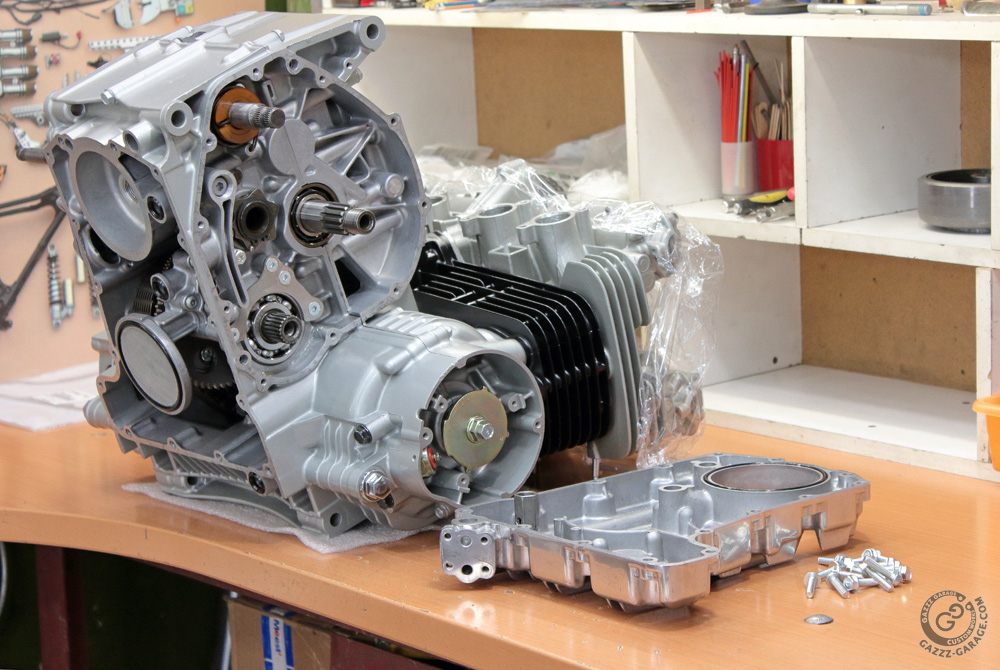

 Please pay attention to the oil pan’ bolts. It’s the first time I with my attention to details went so far as choosing even engine bolts in various finishes: chrome plated for polished covers, matt zinc plated for painted parts, and gloss zinc plated for semi-polished oil pan.
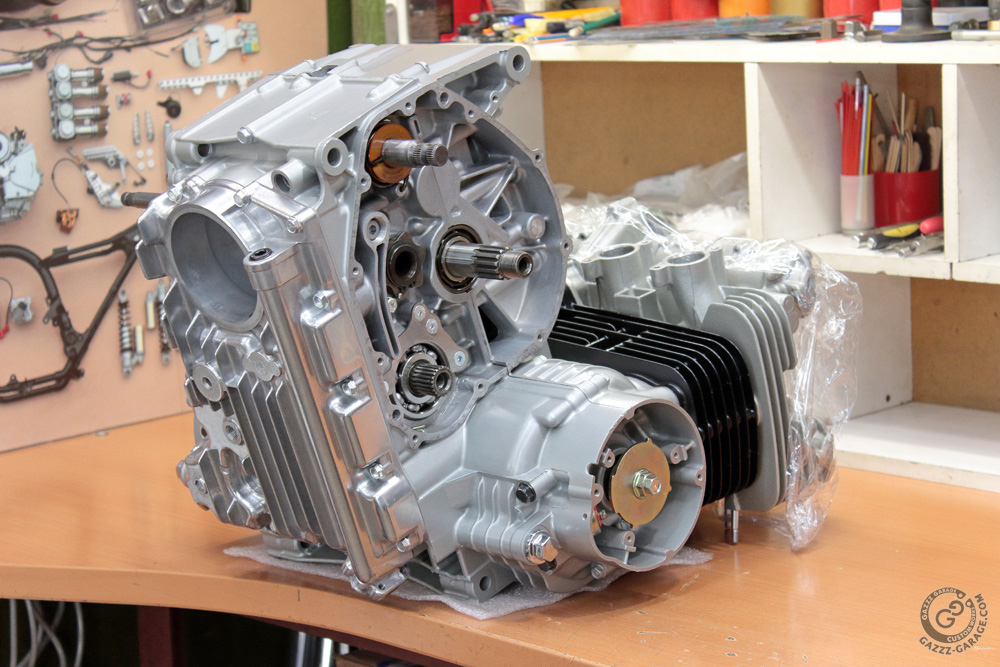
 I staked heads of all countersunk bolts and set the engine into a “more natural” position.
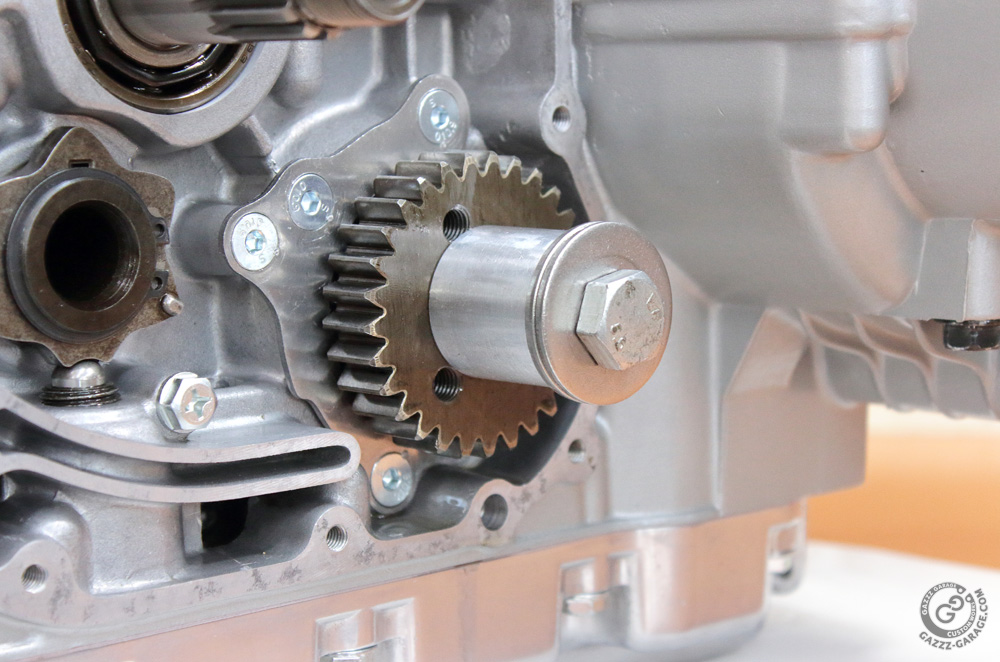
 Then it was time to put back the secondary shaft gear. For this purpose I used another piece of aluminum tube, a couple of washers and a bolt.
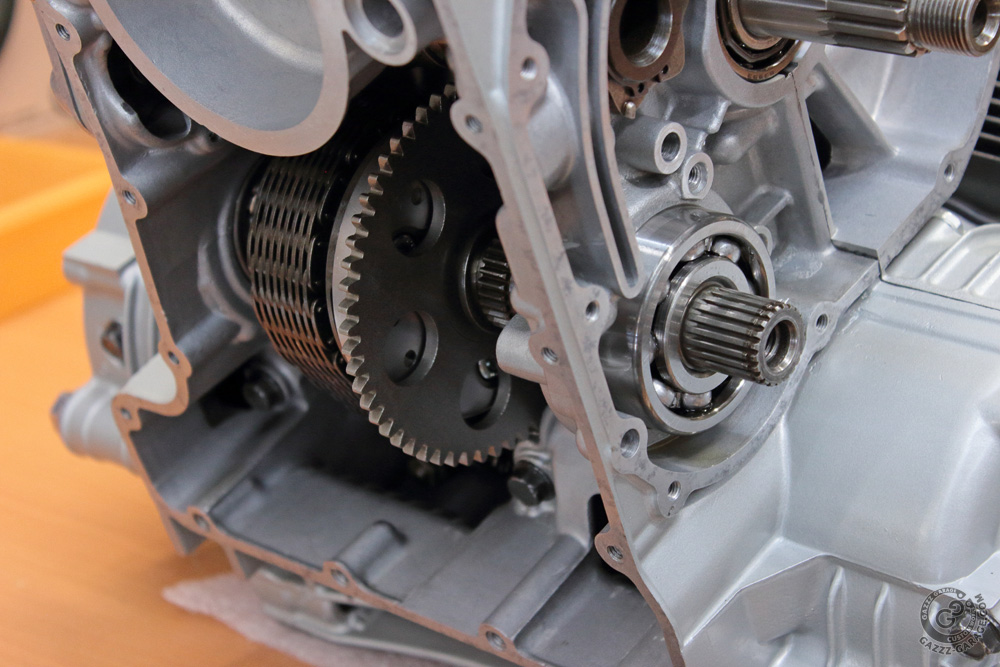
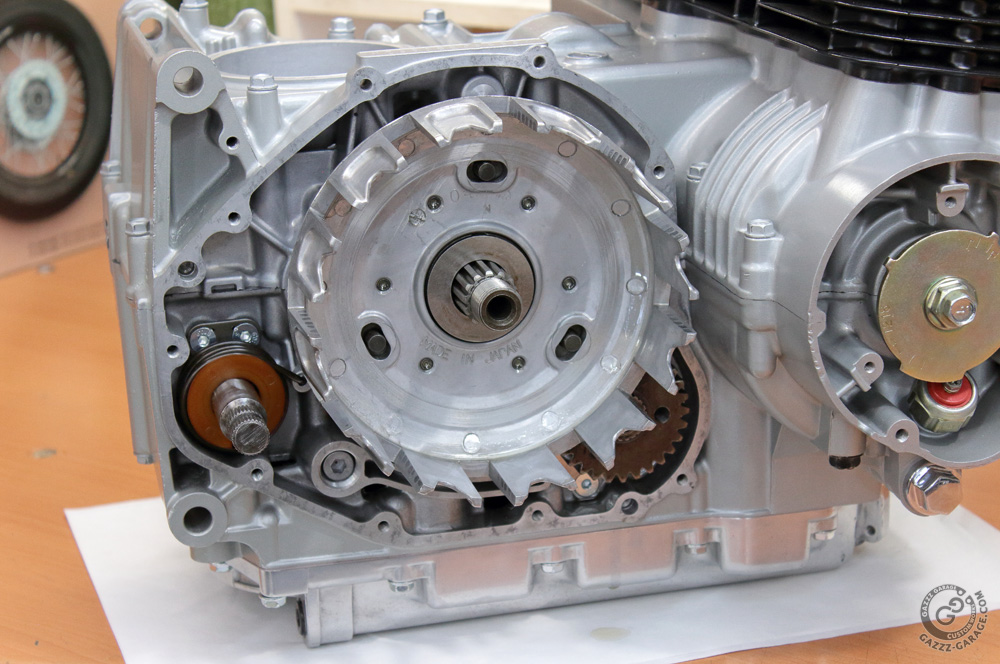
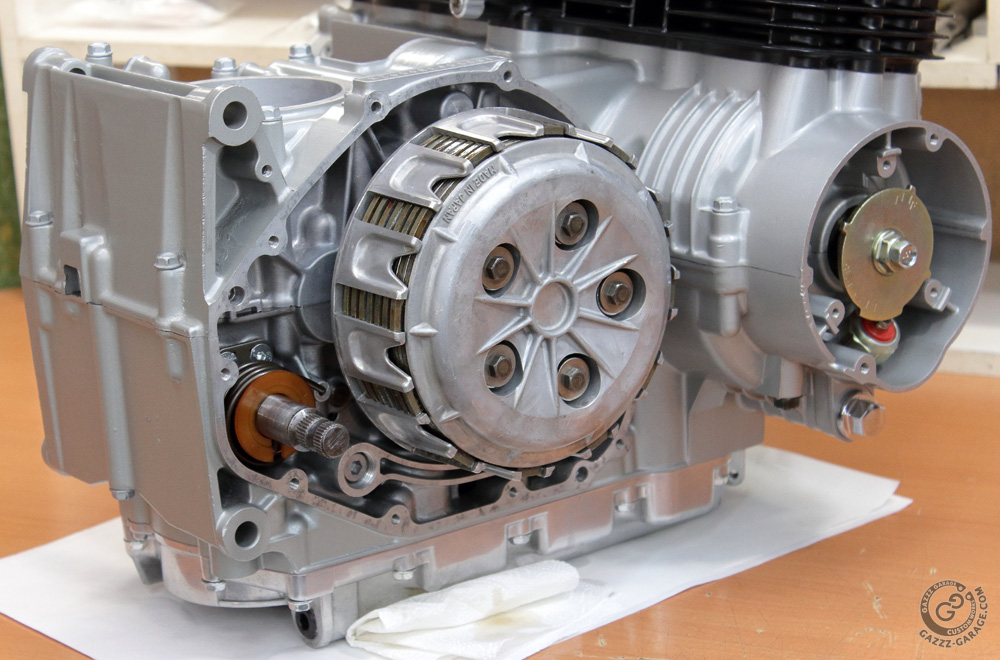
 After this I turned my attention to clutch components.
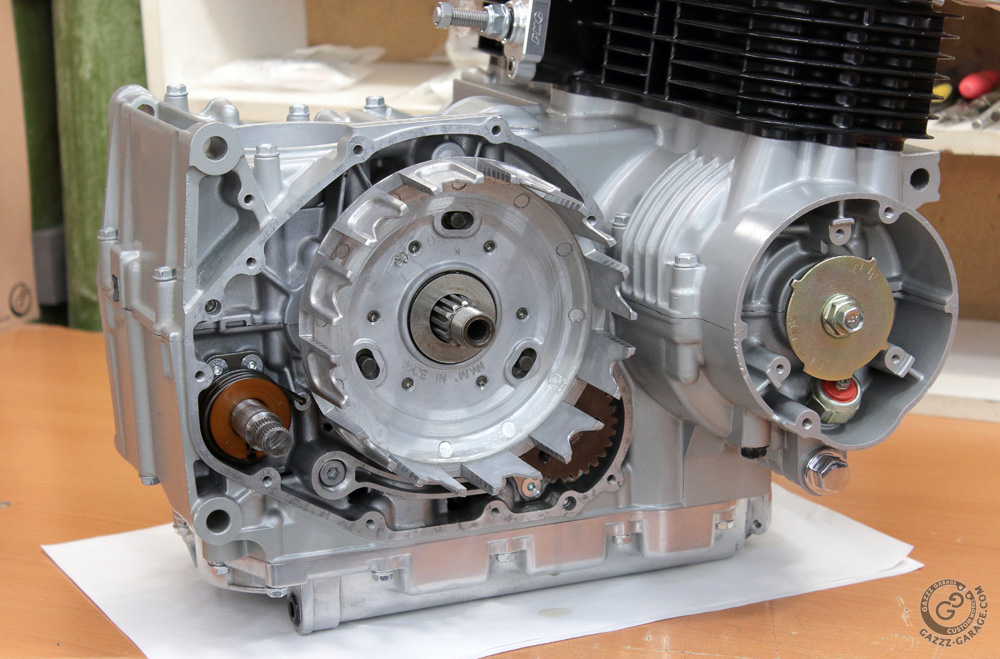
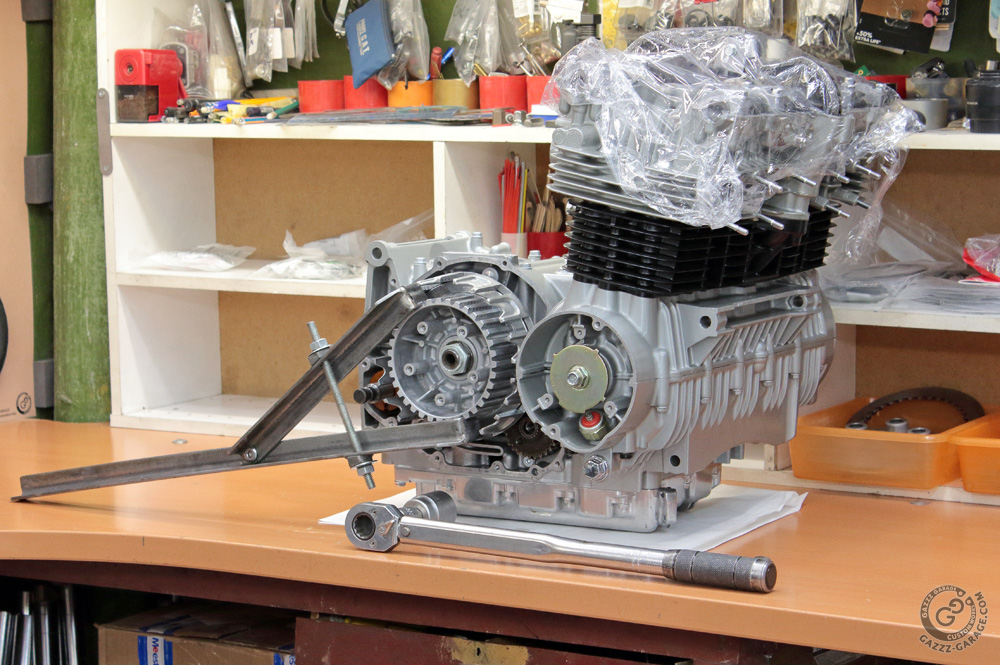
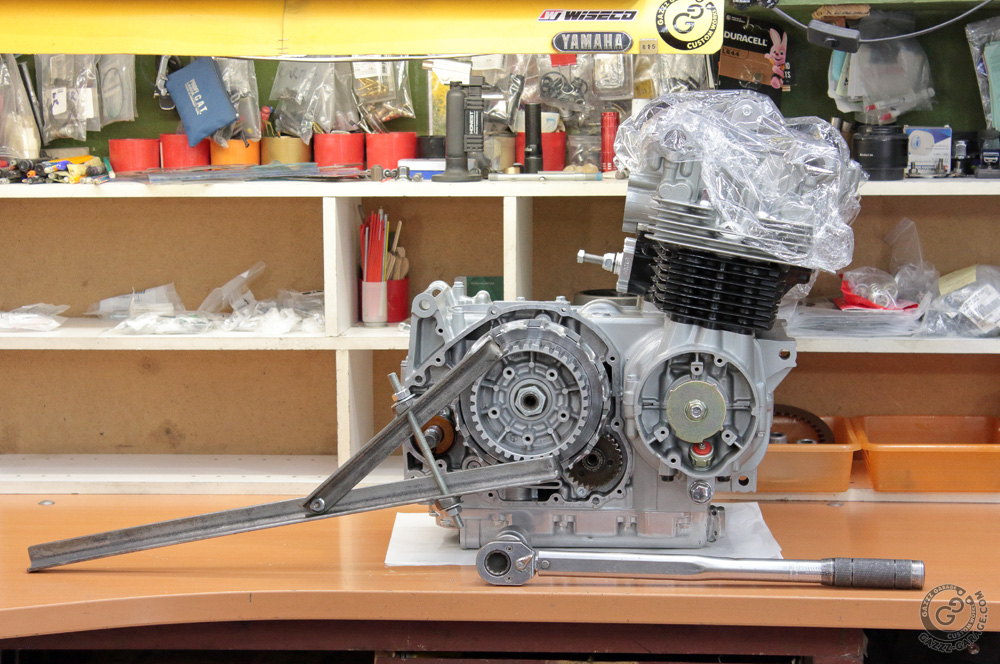
 I was glad that Oksana was in the workshop at that time: with 130 Nm of torque for the clutch nut it’s better to have a pair of spare hands to keep the clutch holding tool in place when torquing the nut.
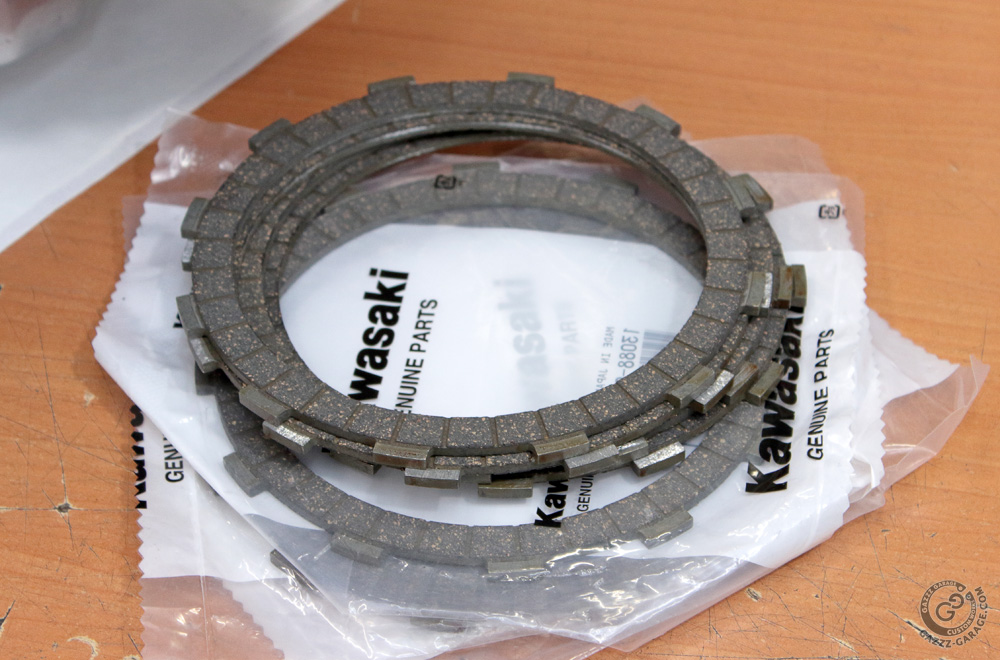
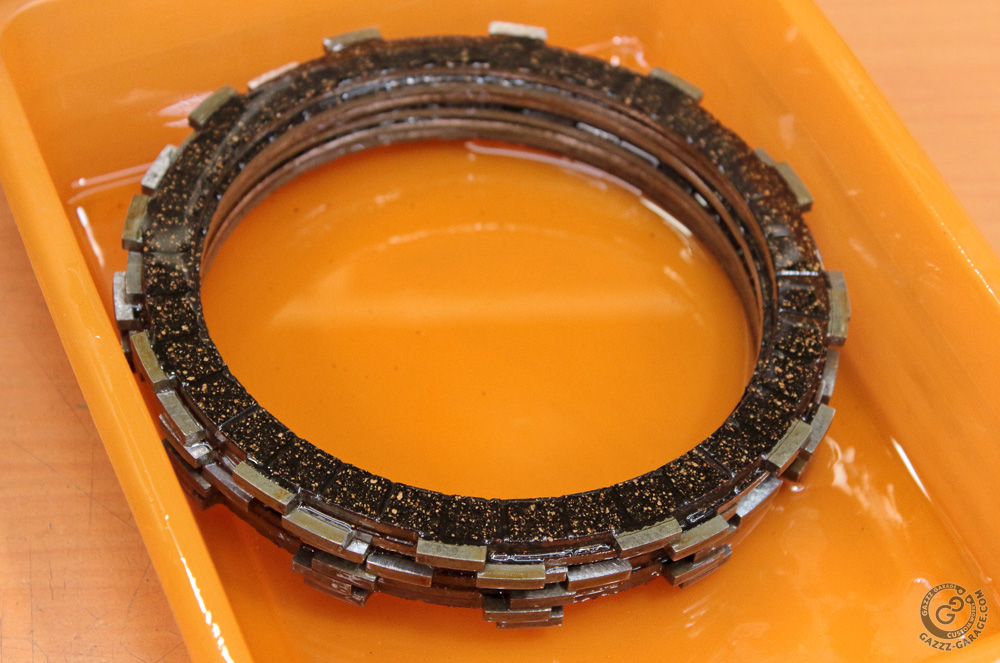
 Next were clutch plates. I unpacked and oiled new genuine friction plates. Metal plates were stored oiled, therefore they were ready to put in place.
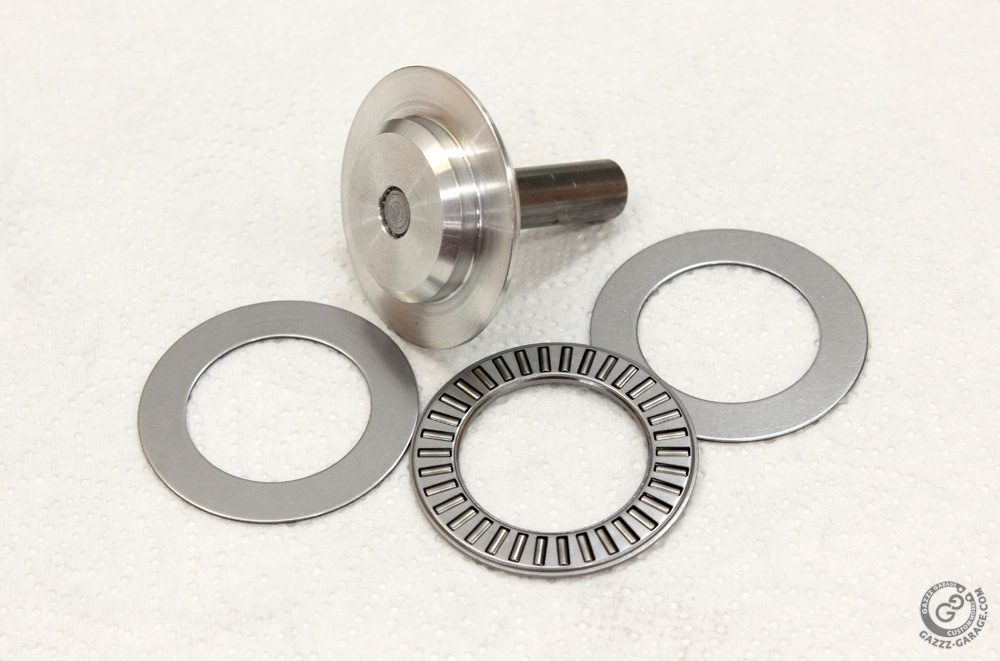
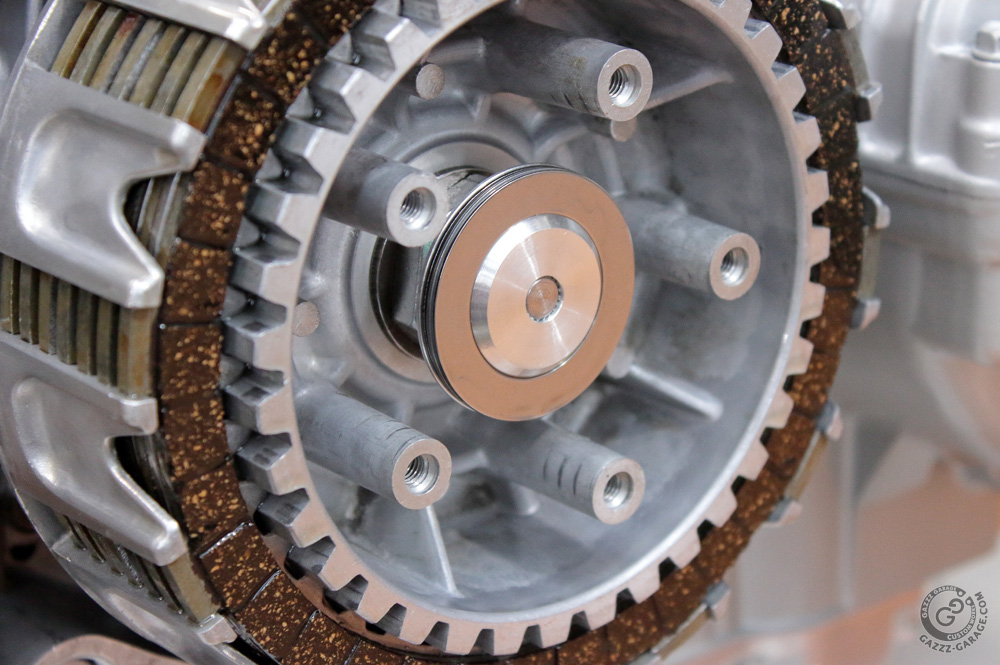
 Soon the clutch was packed with plates. I installed a PMC clutch pusher.

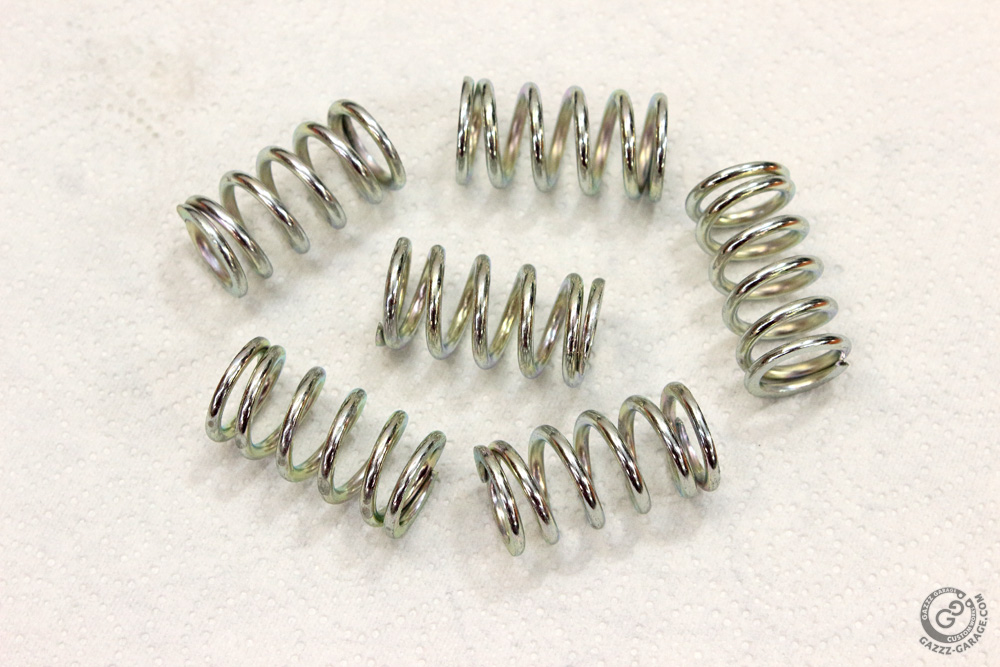
 And TRW reinforced clutch springs.
Clutch was ready.
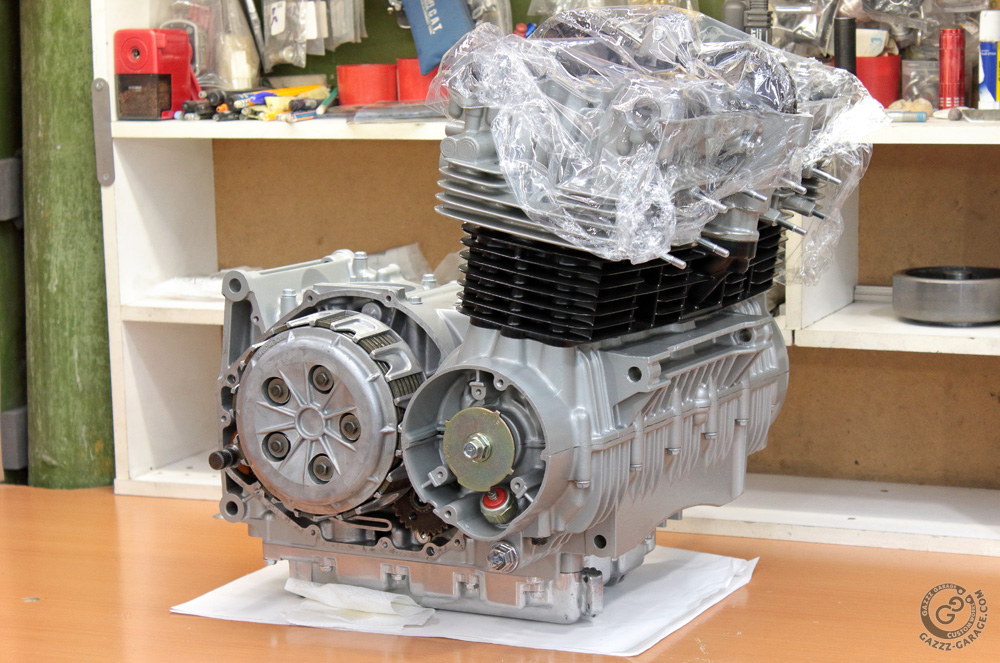
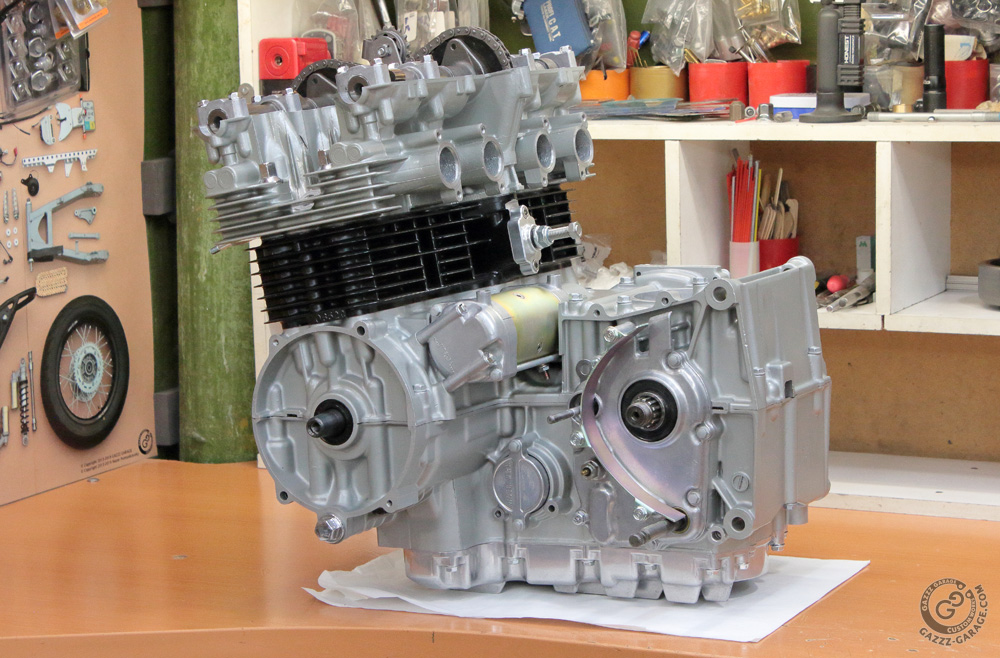
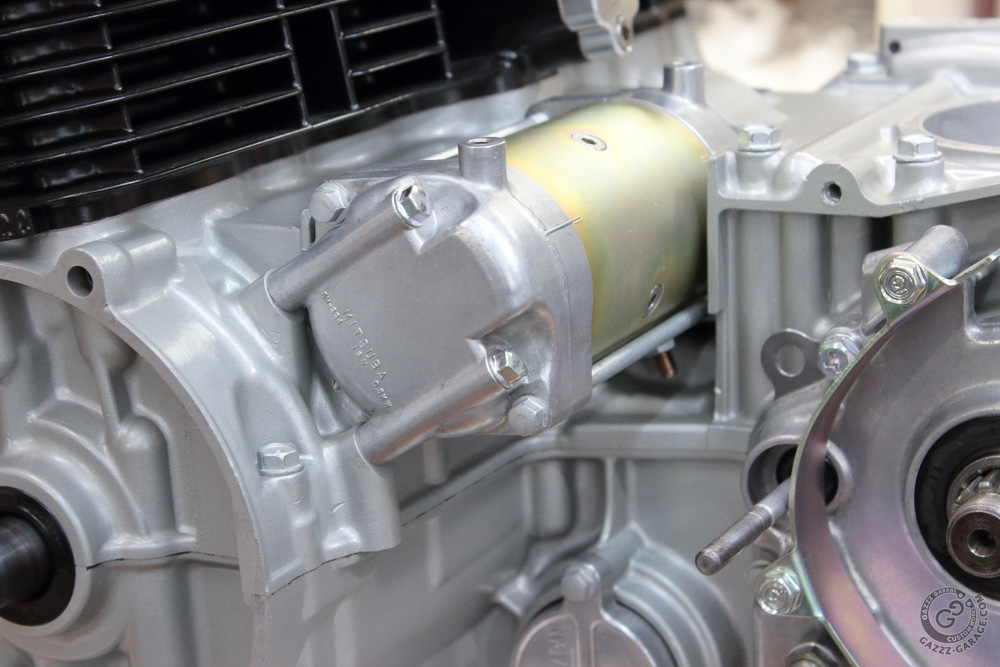
 Then I installed the starter motor and secondary shaft cover.
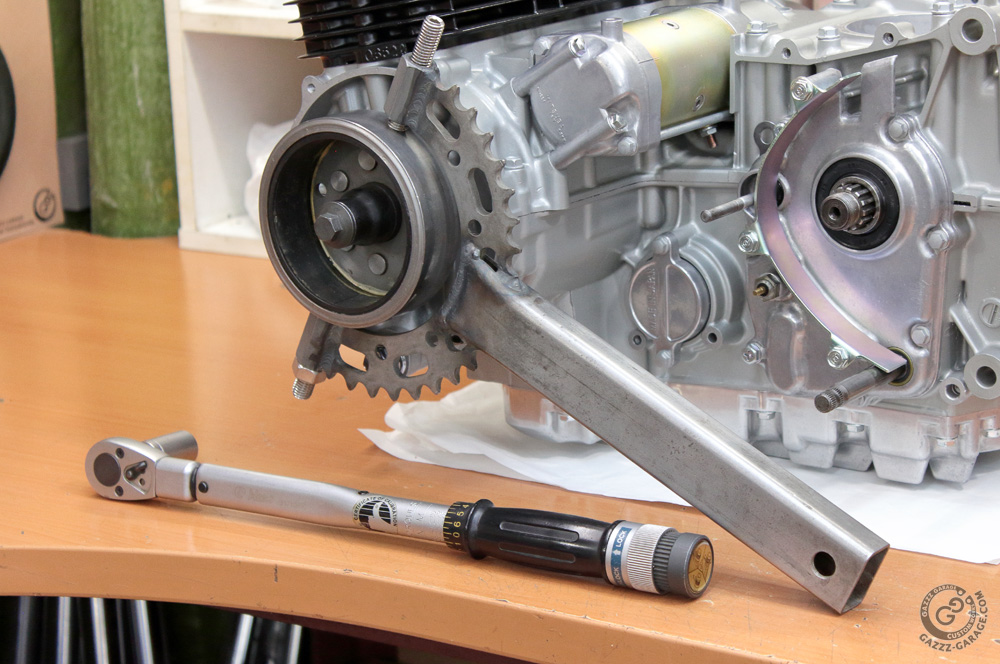
 And at last it was time to use my new rotor holder for the first time.
 And at this point I interrupt my narration once more. It seems that the next part will be the final chapter of the Kawasaki KZ650 assembling story.
So, to be continued.