It’s well known, that clutch baskets of Kawasaki KZ650/KZ750, as well as that of Zephyr 750 are equipped with rubber dampers. These rubbers shrink and even crumble after a long time of exploitation, therefore cease to perform damping functions. There are three sets of dampers in KZ650/KZ750 and Zephyrs 750: rear wheel, clutch basket and secondary shaft housing. Clutch basket joins secondary shaft and gearbox. All these dampers damp jerks that engine parts receive from rear wheel or when you accelerating/decelerating or gear shifting. Dampers in clutch basket also make gear shifting smooth. So it’s essential to keep those rubbers working.
Clutch basket’ outer, where dampers sit is made in “non-separable” style, and Kawasaki does not provide replacement dampers. However, aftermarket dampers made of Viton rubber are available, and methods of clutch basket disassembling are well known. Thus I am not the first person who did such replacement, and not the first person who wrote tutorial for it, but may be you could find something interesting in my approach to the issue, as I am used to make the work as I deemed necessary.
So what do we have at start? As you may see from photos below aluminium clutch basket outer is riveted by six 5mm rivets to steel gear.
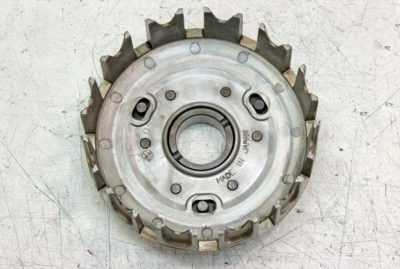
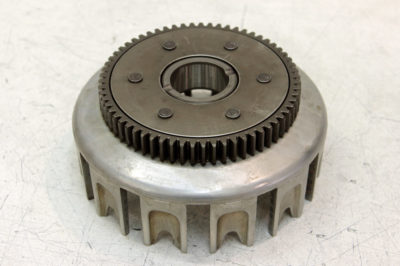 Our first task is to remove rivet caps from the side of the gear. I drilled them with 3mm drill to some depth.
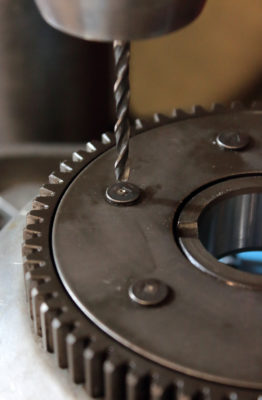 And then remove caps with countersink bit. I recommend to use countersink bit instead of large drill, as it works much more predictable and precise.
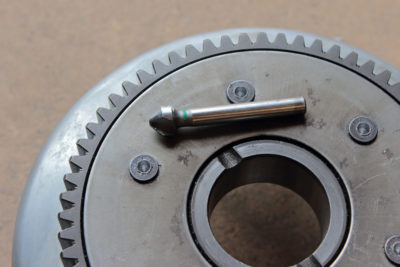
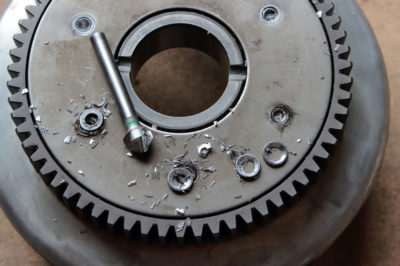 After rivets’ caps removed we could remove steel sear cover and see what came from original rubber dampers. In case of my KZ650 basket they shrunk and all of them have cracks.
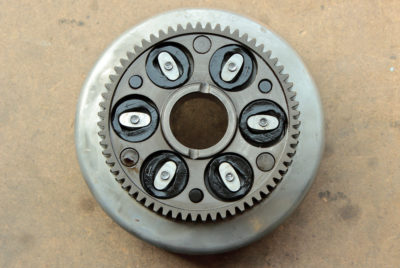 Our next task is most important. We have to remove rivets without even slightest damage to aluminium basket, as later we have to cut the thread in holes where rivet sits. Do not try to punch out rivets as they are, and do not try to drill them out with 5mm drill bit. Instead use 3.5-4mm drill bit and drill rivets’ bodies MOSTLY through.
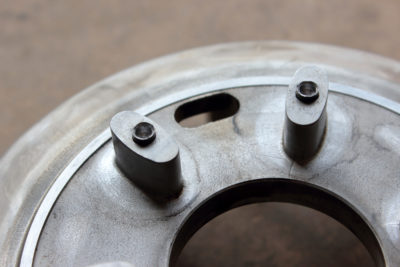
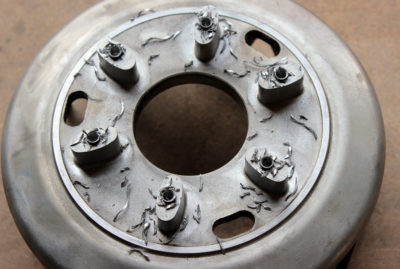 This will remove the tension between the rivet body and aluminium housing so you could punch out rivets from basket without application of excessive force.
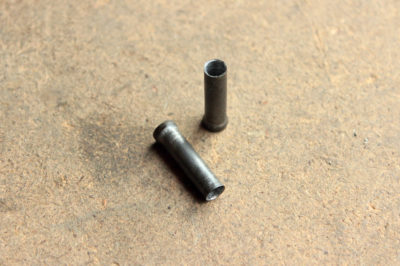 If you made everything correctly, you have six undamaged holes each of them by 5.1mm in diameter. We have to cut M6x1mm thread. According to specs, such thread needs 5mm hole. However I cut the thread and found result being very sufficient: thread looked fine.
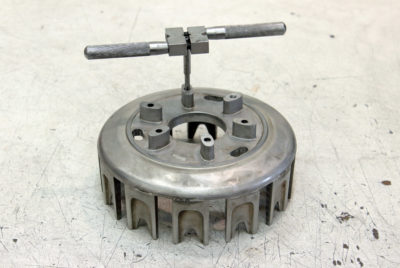
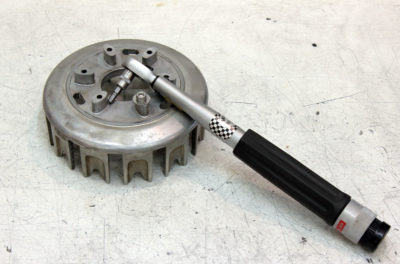
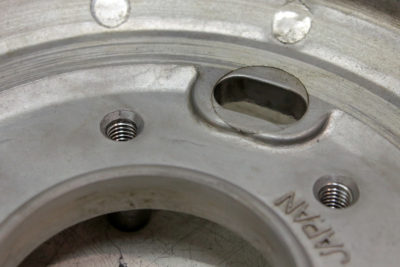 But appearance is not only parameter of the thread. The maximum torque for M6 thread made in aluminium is 12-14 Nm (camshaft caps). Thus, I tightened 6mm bolt with 14Nm to check if thread holds firmly. Test went successfully. That’s why undamaged holes were such essential: be they a little bit larger and thread might be loosed.
 I bought two sets of Viton dampers from Turbosteve, one for KZ and one for Zephyr. When I installed one of them on KZ650 clutch basket I found that I wasn’t satisfied with backlash between gear and basket. Thus I took second set of rubbers, and combined dampers until backlash became minimally possible. It was alike the scene from movie “The Good, the Bad and the Ugly”, where Tuco assembles a gun in gun shop.
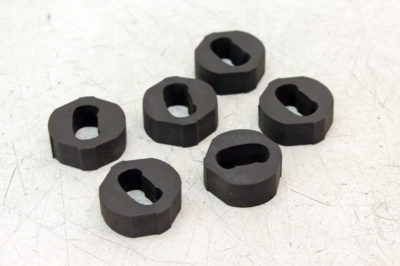
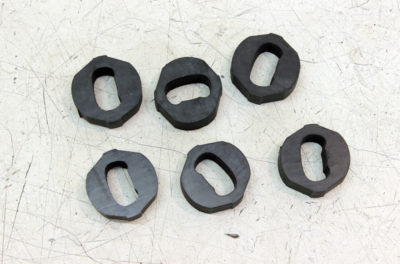 Once I was satisfied with backlash I proceeded to assembling.
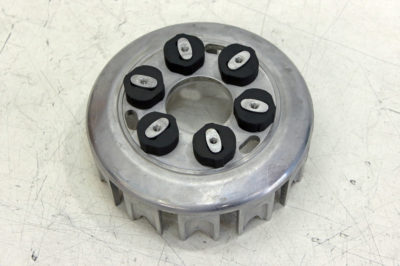
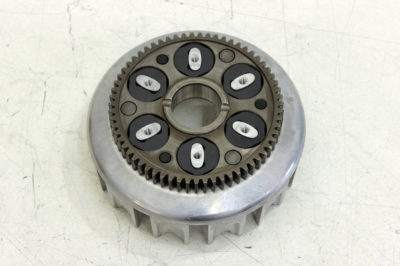 There is a variety of methods how to fix gear cover back. Here is my version. I chose flanged screws with grade 10.9 and 2701 Loctite (which is temperature improved version of 2700). And if you are a control freak, here is my little invention that will allow you to sleep without bad dreams about wrecked crankcase. In fact it not exactly invention. Everyone who have to replace driving chain before next day ride and found out that his chain riveting tool was lent, but not returned, or not functioning properly. could of invented this method. In fact it’s old school chain riveting method that may be called “bearing ball and hummer”.
To check if it works on screws that I’ve bought for clutch basket, I drilled the end of one of them with 3mm drill bit, screwed a standard nut on it, and then with help of suitable bearing ball and hummer widened drilled opening. After this I tried to unscrew nut and here it is, it didn’t come off.
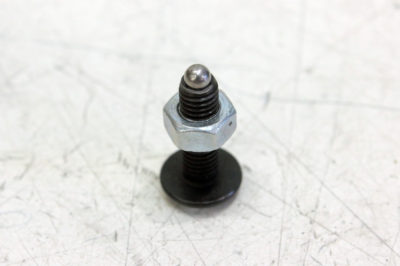
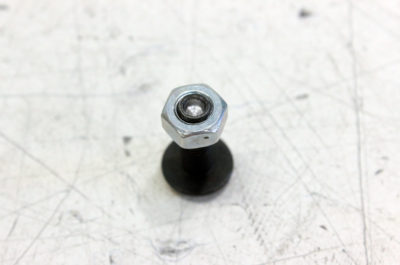 So I modified all six screws in same manner:
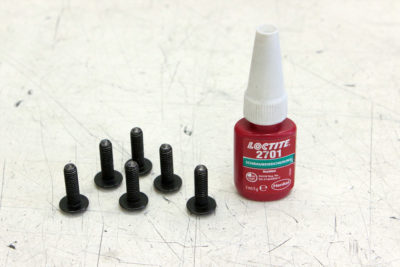 Torque them with 13Nm and then riveted screw ends. Here is how the same screw looked before and after such operation:
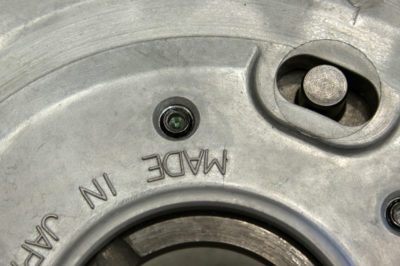
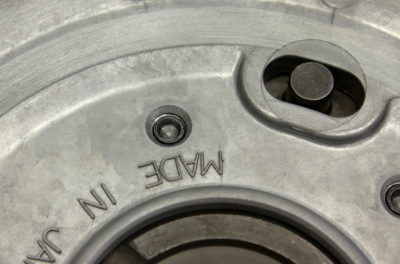 Screw heads were protruding for about 3mm about gear cover, while suitable protruding is not more than 1.5mm. I protected clutch basket from abrasive penetration and then removed the extra heights with file tool. I equalized heights of heads and then made final grinding using as base thick mirror with sheet of sandpaper on it.
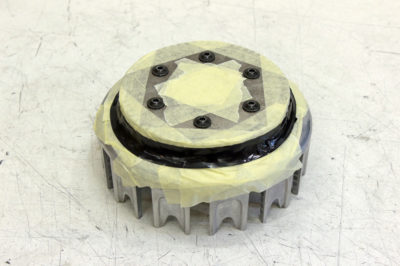
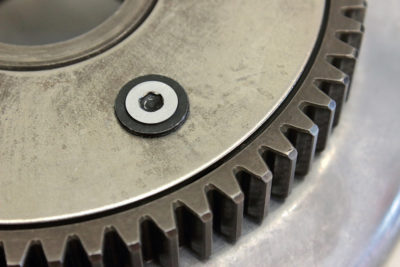 Result of my work looks fine. Yet one unit of project is ready.
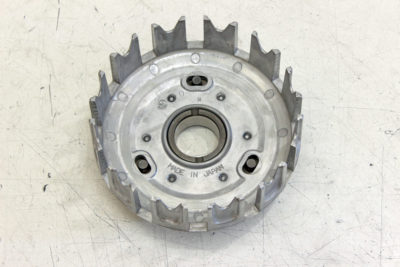
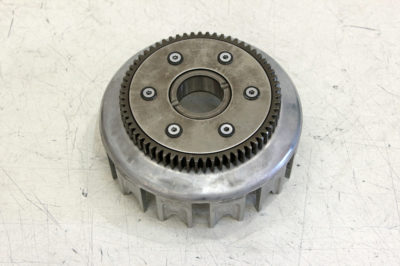 I’ll check clearance between screw heads and crankcase before assembling and I also have a thought to soak gear in oil before install it.



Hello
Thanks for the good instructions on how to open the kz650 clutch. can you kindly tell me where i can buy those rubber my cafe racer project.
B.r
Tommi Jalava
Hi Tommi,
Nickname of guy who sells rubbers is turbosteve84. I’ve lost his email, but you could just google that name and you’ll definitely find his actual contacts.
Kind regards,
Nazar
Hi from Germany,
I`ve a Zephyr.
Are the Viton dampers from Turbosteve, one for KZ and one for Zephyr both the same?
Is the Clutch-Basket identical?
I would like to cut the Viton dampers myself, but I have no pattern, someone has a new one, or a photo with scale, or copied, etc.
Thank you!
Hi Arthur,
Yes, these rubbers are from Turbosteve. Kawasaki Zephyr 750 and KZ650/KZ750 have identical clutch damper rubbers. Zephyr 550 has rubbers of a different shape and Zephyr 1100 has spring dampers.
There are a lot of photos of KZ/Zephyr clutch rubbers in the web and you could figure out dimensions by measuring dismantled clutch basket.
Kind regards,
Nazar
Hi Nazar, what about the the rubber at the crankshaft chain? Should I change that also ?
What do you think?
Hi Jens,
Yes, rubbers in secondary shaft coupling must be replaced as well.
Kind regards,
Nazar
Hi Nazar, can the secondary shaft rubber dampers be changed without stripping the engine? Do you have any tips or some brief instruction on how to please?
Thanks for the great instructions on the clutch basket rubber damper replacement. I have my dampers on order.
Best regards.
Deena
Hi Deena,
Yes, it could be done even with engine still in frame. Moreover, there is no need in tips and tricks, whole procedure is clearly described in service manual.
Kind regards,
Nazar
Thanks very much Nazar. Will follow up on that.
This is a great post. I did mine on my Zephyr 750 and after, the transmission shifted considerably better. But after a few rides I noticed a steady thumping noise as the clutch basket spins.
I took it apart and found a slight radial and axial play. This is normal but I believe the basket is out of balance now and getting louder as I ride. Any suggestions would be helpful. The plat is in the needle bearing and spacer and I believe it is in specs.???
Hi David.
Sorry for the late reply.
Did you check if there is clearance between screw heads installed instead of rivets and crankcases?
And a couple of suggestions about source of sound:
Zephyr 750 engine primary chain has no tensioner so usually the primary chain is the source of sounds, especially when carburetors are synchronized badly.
Another set of dampers that affects sound of chain is secondary shaft dampers.
https://www.gazzz-garage.com/2021/01/26/kawasaki-kz650-secondary-shaft-damper-rubbers/
Yes thanks, screw heads are 1mm and clear of case. You may be right about primary chain and secondary dampers, original. Carbs are synced perfectly. I’m just puzzled sound started only a 100 or so miles after clutch damper replacement. I also put a manual cam chain tensioner on at same time. Might be a little loose. Thanks for your advice…it’s worth the ride…so much fun.
Hi,
Could I ask what length are the screws that are used in the Z650 clutch damper repair. I know they’re M6x1 but what is the length.
I have the dampers but need to order the screws before stripping the bike.
Thanks
Hi,
Sorry, I do not remember the length of the screw.
At the moment I am far from home and my workshop. I am at the frontline, fighting for freedom of my country (Ukraine) and doing my best to repel the russian invasion, so I have no chance to make measurements.
Kind regards,
Nazar