For those who read previous part it could seem that processes of cafe-racer footpegs design and manufacturing were easy, but as one may guess from complexity of system it was not so. I started form drawings and models and after I found the way, I had to solve a question of how to do that all under the limitation of my garage resources.
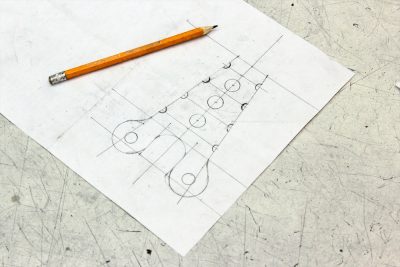 But that was rather a pleasant experience, though it took quite a lot of time.
But let’s return to footpegs themselves. So, main parts was ready and I drilled the frame and then reply parts were welded to it. I only slightly grinded welding seams.
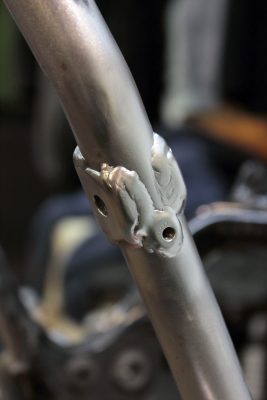
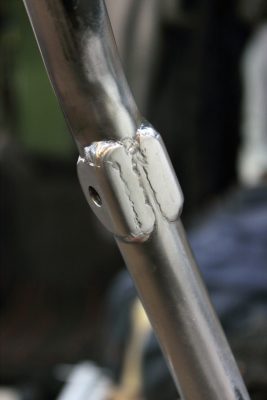 Then I adjusted all parts and worked out fixing system.
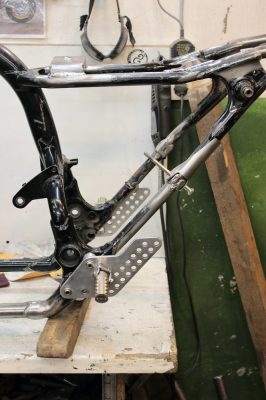
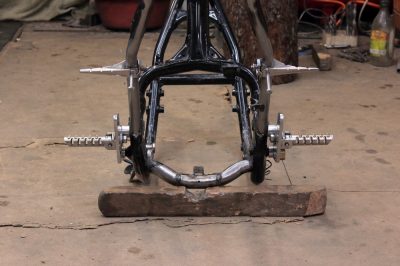 The testing of footpegs went in quite a funny way.
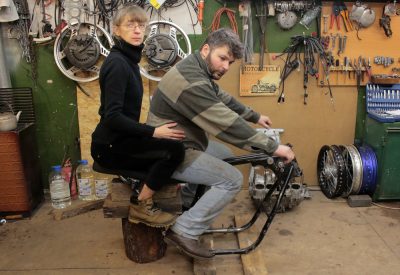 But sooner or later all parts were finished.
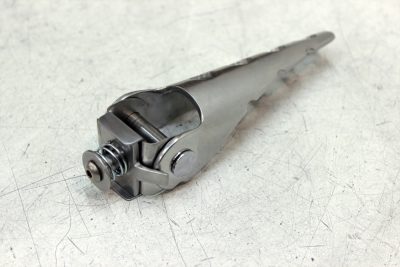
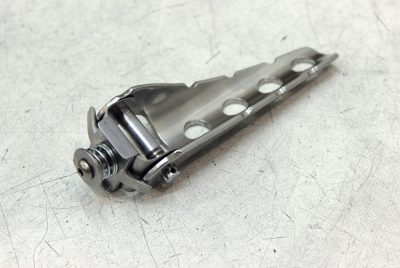
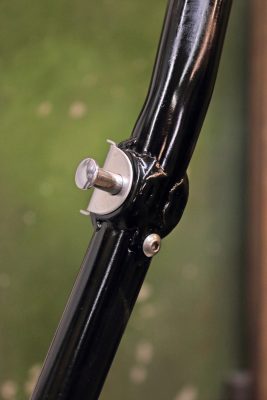
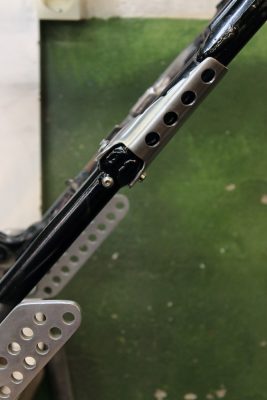
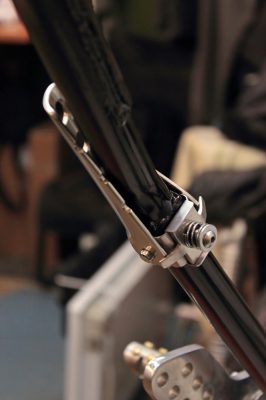
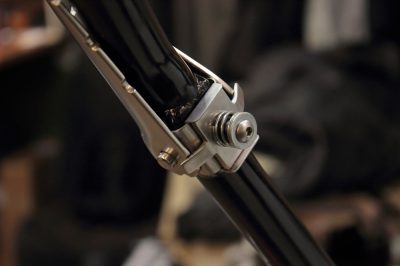
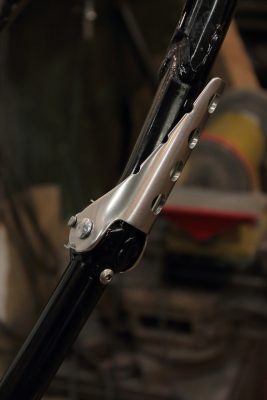
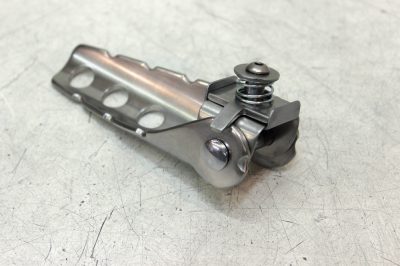 I temporary painted one of subframe tubes in black before photo shooting to give you idea how it will look when frame is painted. Here you also may see a slider on which footpeg will slide when opening or closing, so no harm will be done for paint.
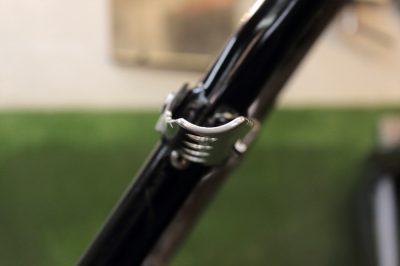
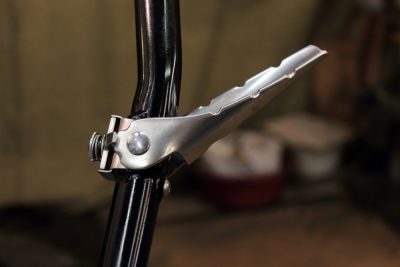
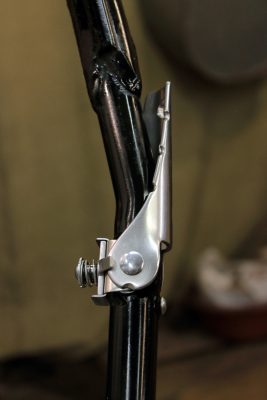
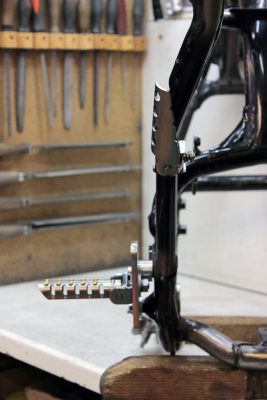
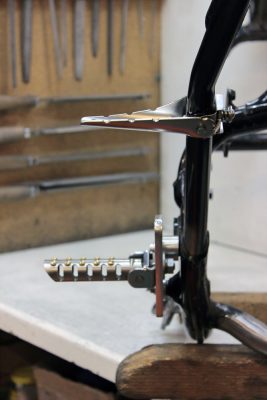
 In final edition I used two springs one-in-one, it made footpeg work really smooth and neatly. That’s how footpeg works, in pictures:
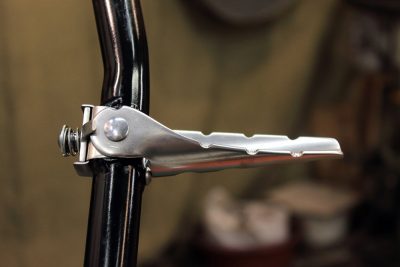
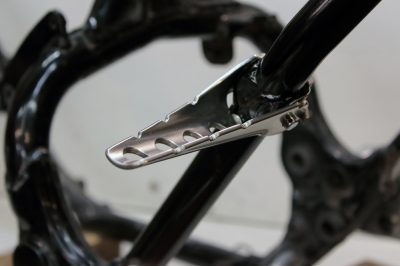
I made footpegs upper surface to be mostly parallel to the ground, so passenger would have no discomfort using them.
 And a section of additional photos from different angles.


Good afternoon. I just found you webpage and ot is amazong. Congratulations. Did you think about selling a set of this passengers footrest? How much?
Thanks!
Hi Edgar,
Thank you! It never occurred to me as possibility as it needs frame modification and so on. I also need to consider if I have manufacturing abilities for such parts ton make the price feasable for a buyer. For hand-made items are prohibitively expensive .