
So what do we need to begin engine assembling?
New generator bearings:
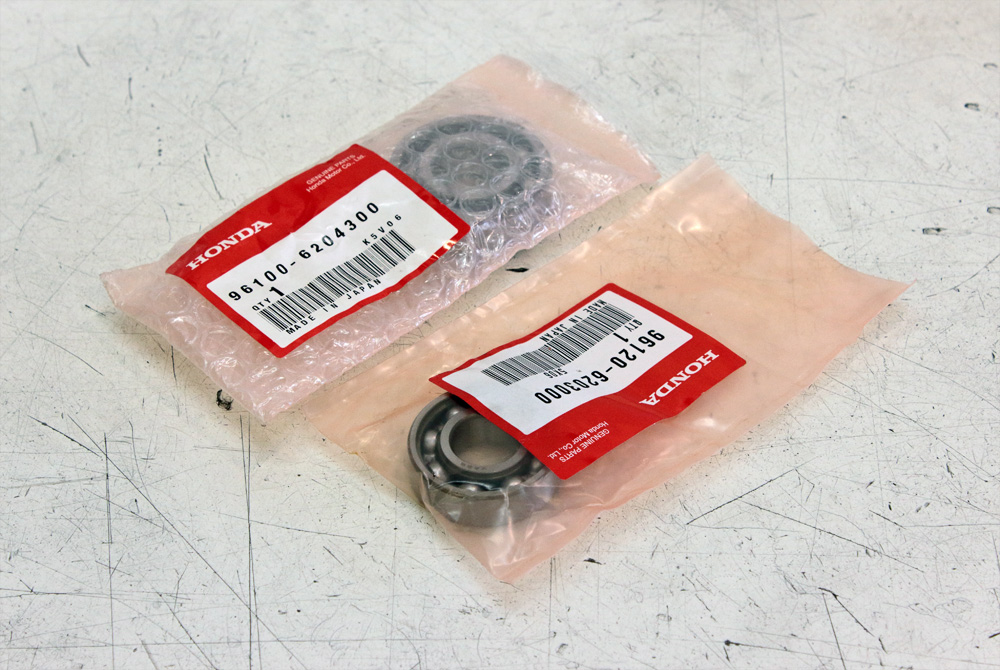 New main crankshaft bearings:
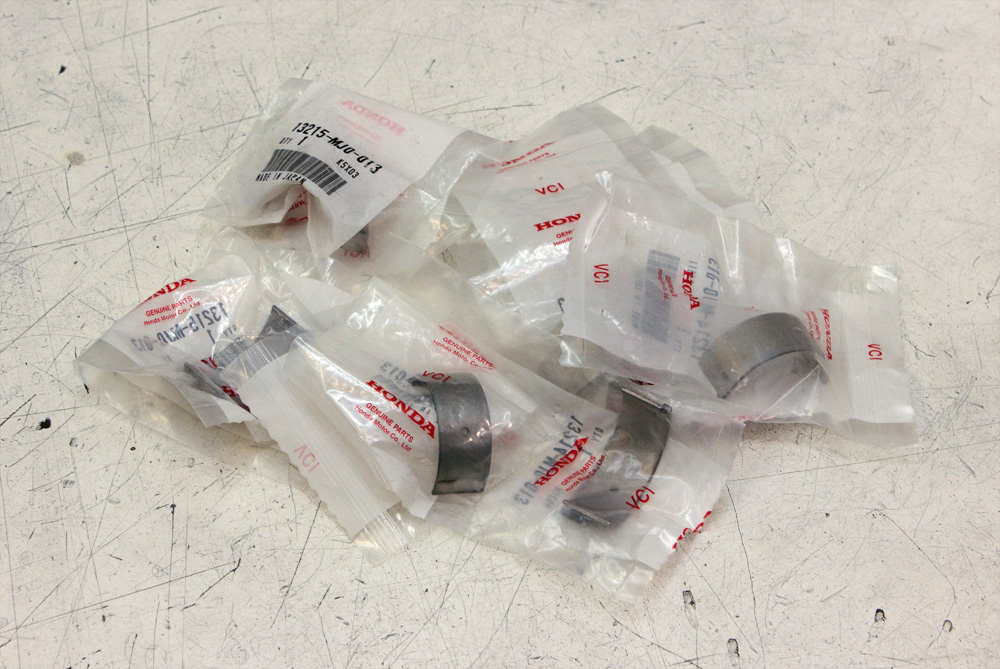
 New connecting rod bearings:
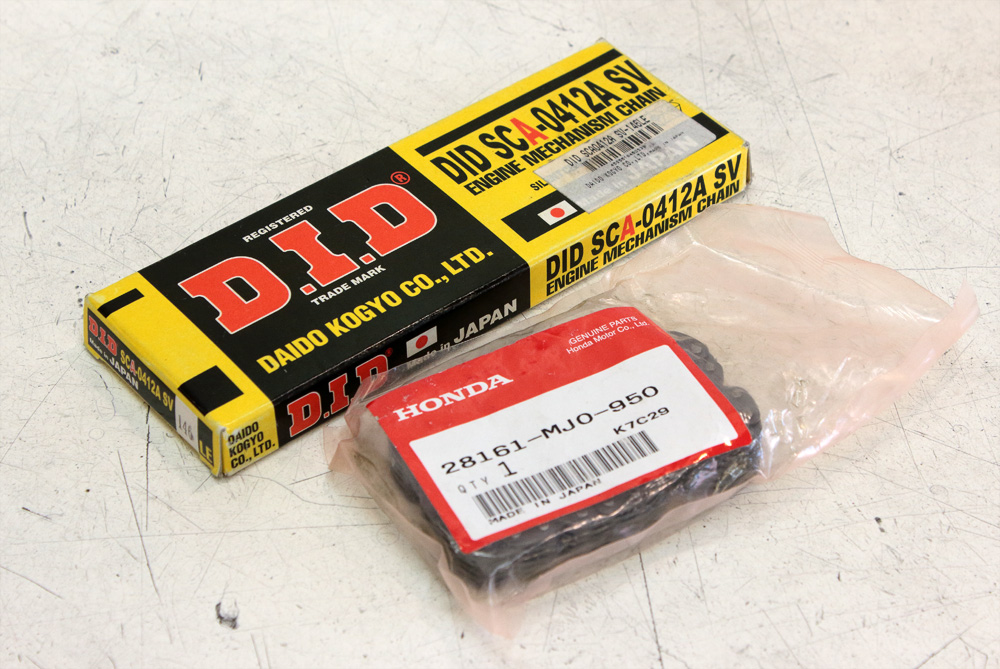
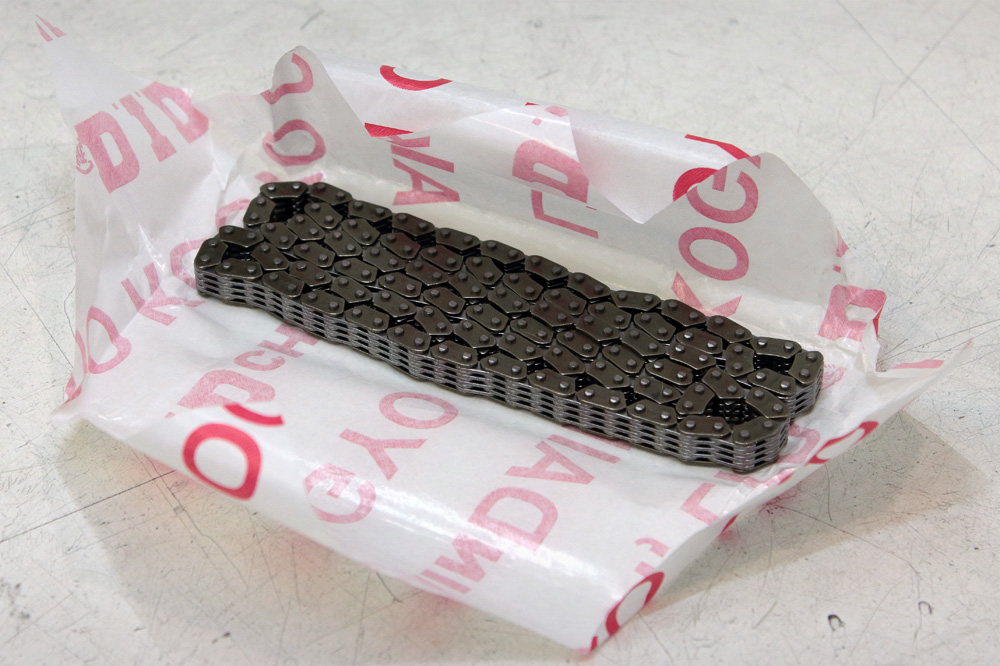
 Resource of a timing chain in engines like CB750 Seven Fifty is around 100K kilometers and a lot of work should be done to replace it. Same is applicable for generator chain, so even if both chains are intact, it is better to replace them by brand new ones, on this occasion. I chose OEM chain for generator and D.I.D. chain for timing.
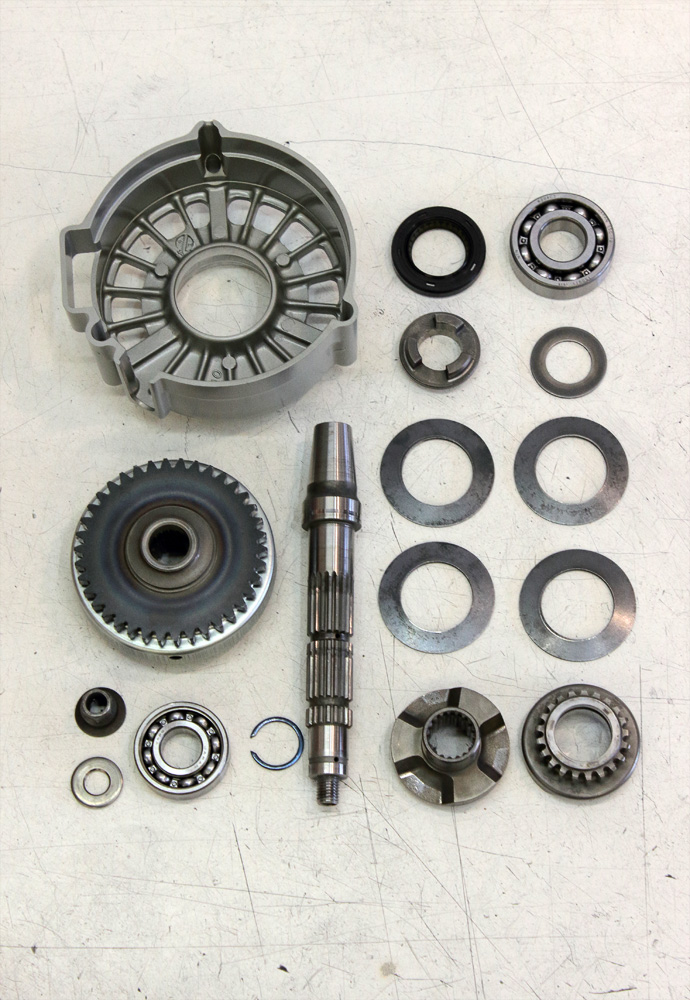
 It was also time to put the hand in package with OEM gaskets/seals and take the seal for an alternator shaft. Parts we need to assemble are: alternator shaft, starter clutch and alternator housing:
 Oksana arrived to spectate engine assembling and she brought her own camera. Thanks to Oksana, I have some additional photos of moment when I was too busy for photo shooting.
 I screwed the breather cover , installed the alternator chain guide and pressed the alternator shaft bearing into the crankcase before assembling:
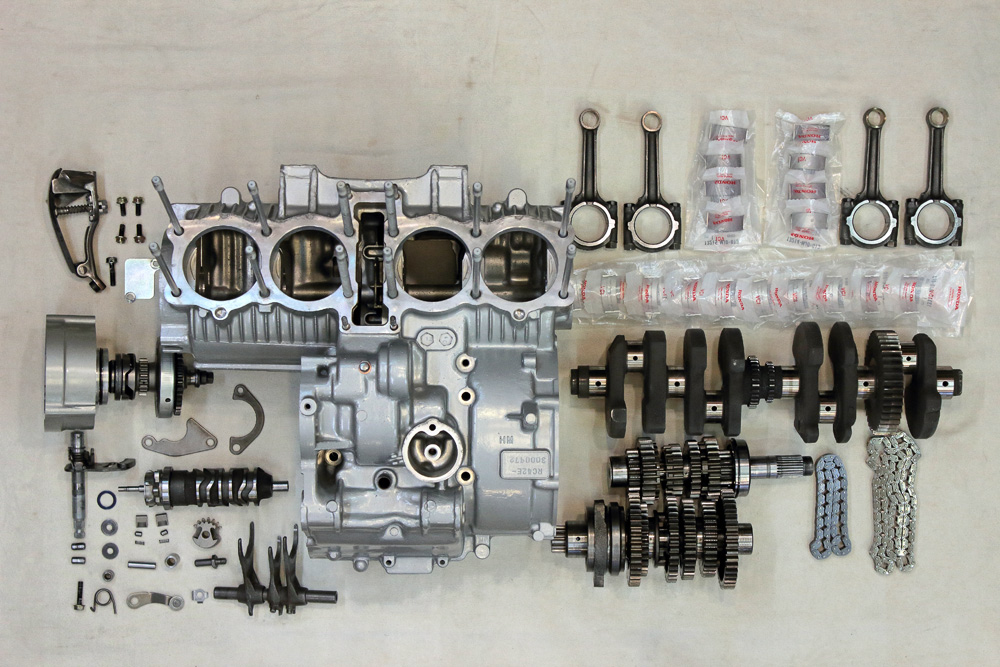
 That’s what I had to put together in first stage:
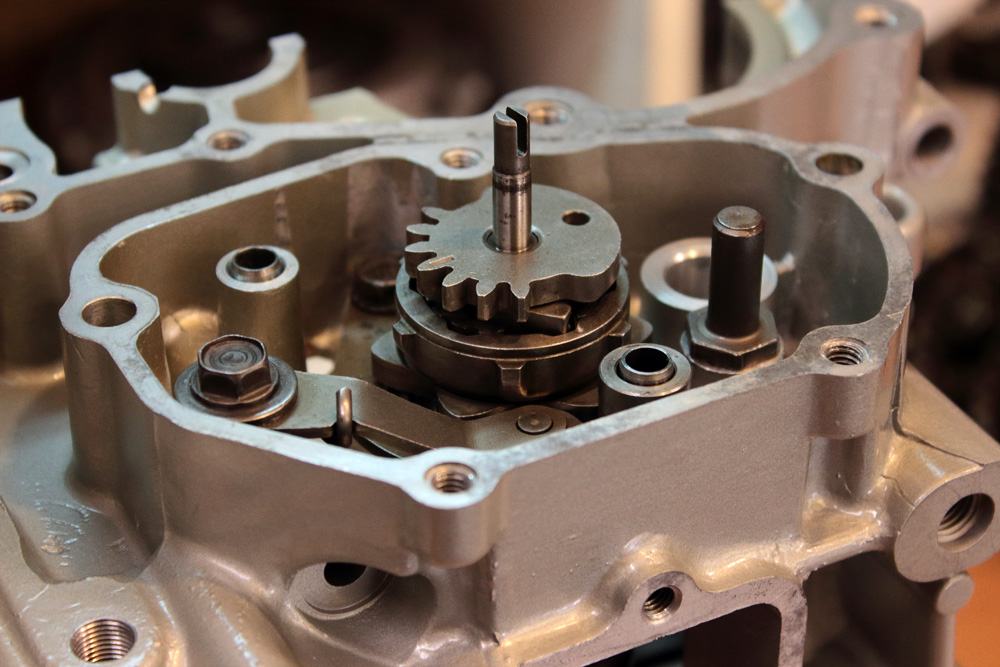
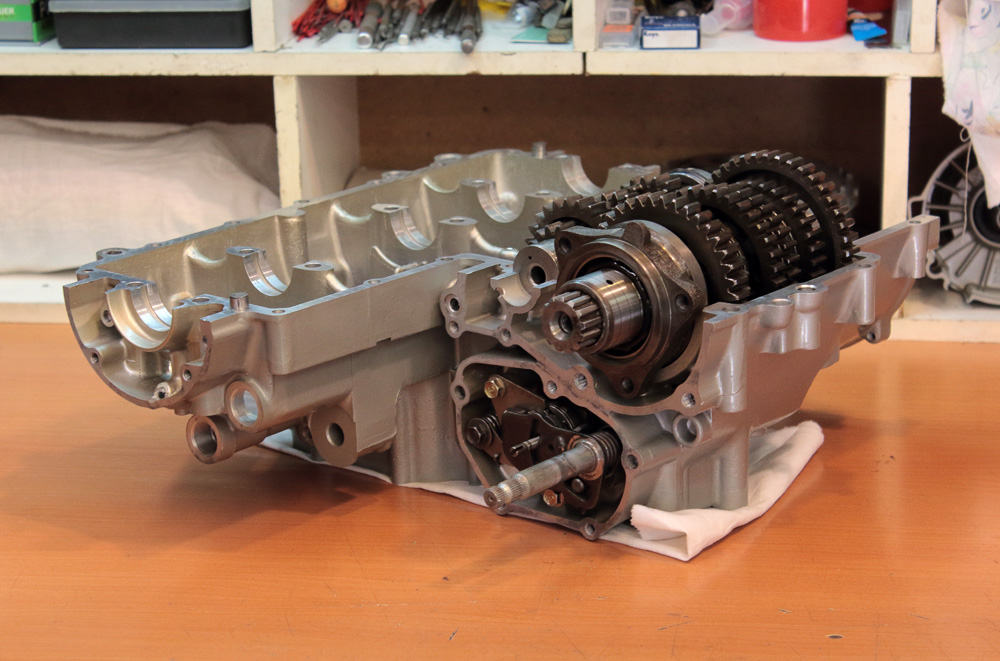
 As I wrote earlier, I chose CBX750 six gear gearbox. So I began from the CBX shift mechanism installation:
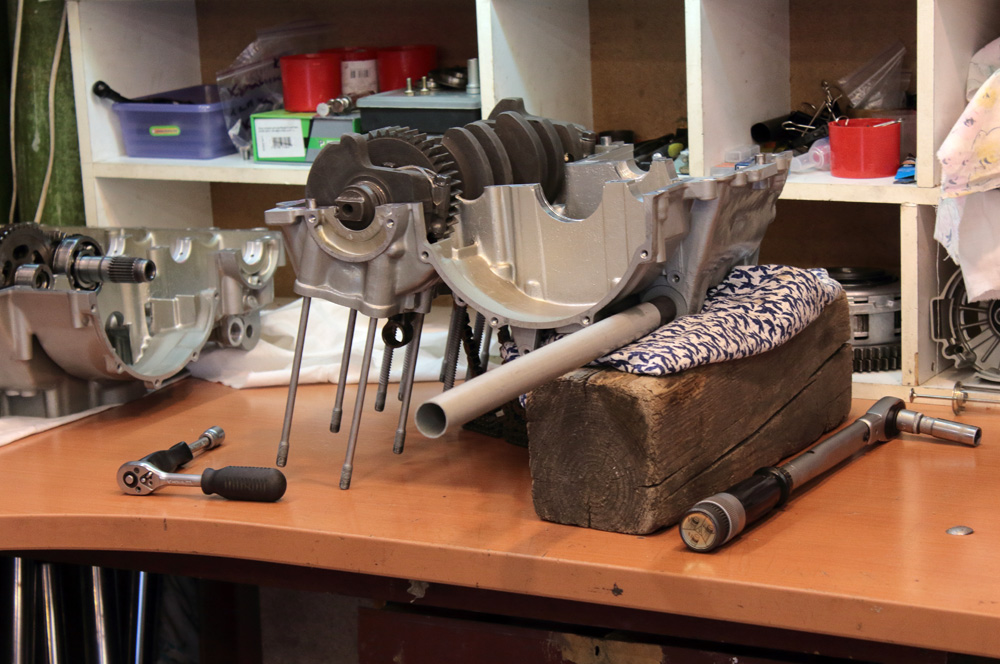
 After that I oiled gearbox and checked gear shifting:
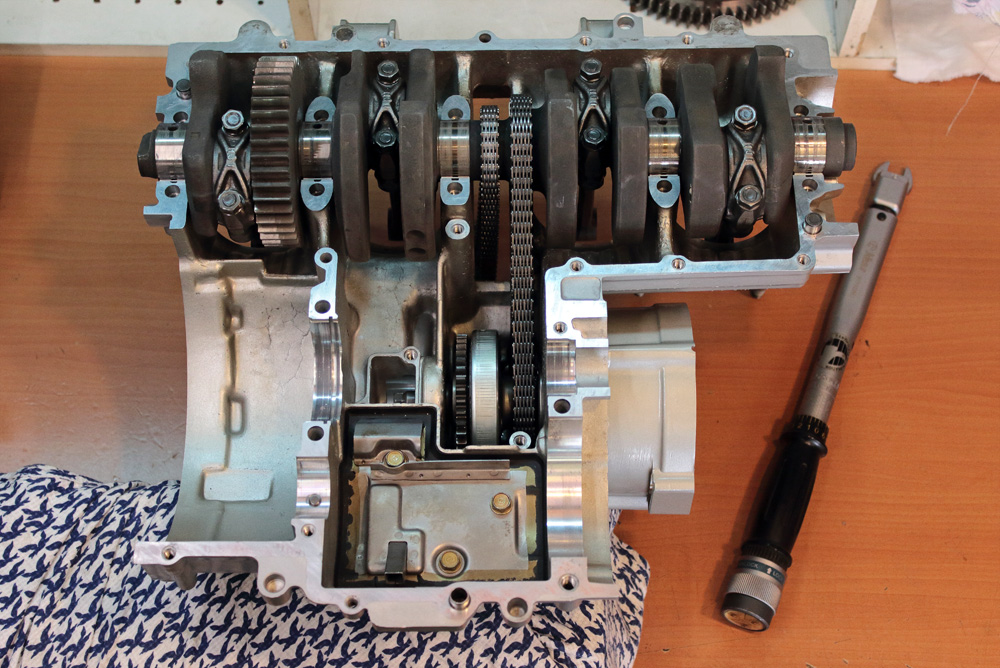
 Then I installed main crankshaft bearings:
 I oiled the main and connecting rods bearing with mix of special molybdenum grease and engine oil and in no time all connecting rods were on their places, securely tightened.
 The point here is to tighten nuts with some initial moment and then tighten every of them in one smooth movement with specific torque, indicated in workshop manual.
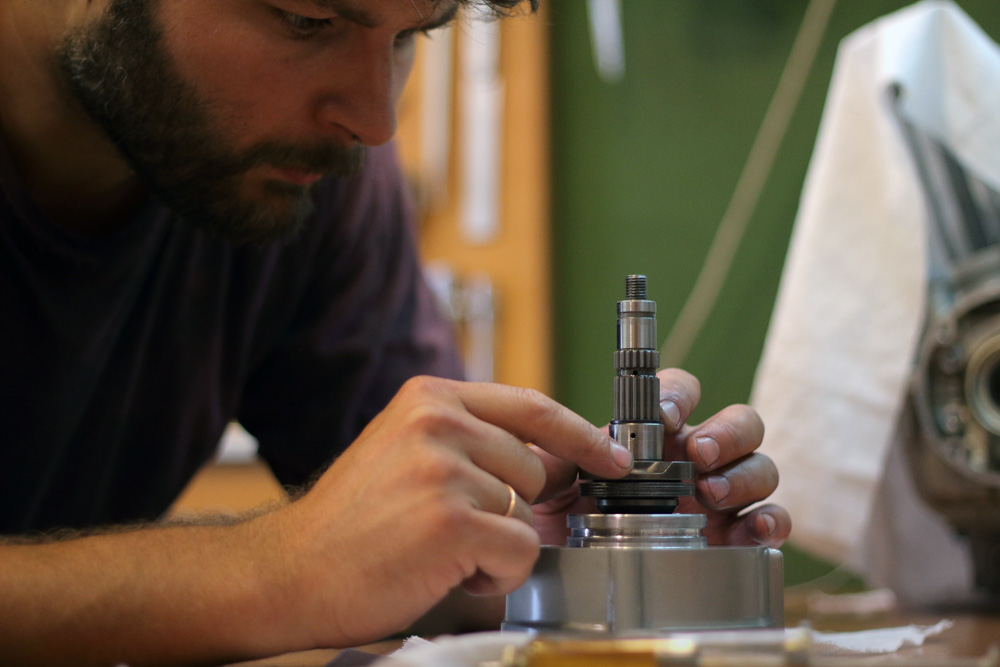
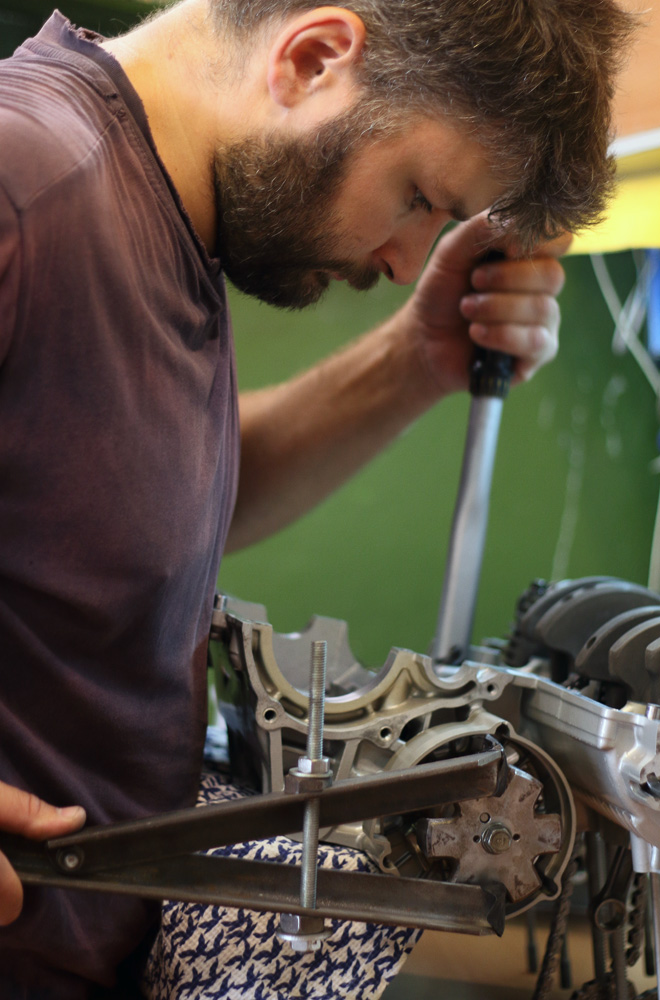
 Next point was the alternator shaft installation. Nothing special, except a need for couple of special tools. One is the alternator rotor’ holder. I used my universal holder for clutch in this role. Alternator shaft holding bolt should be tightened with torque, indicated in manual, but Honda engineers placed it in tight ditch so called “oil chamber”, thus left no chance to do this operation with an ordinary torque wrench equipped with a socket.
 But I have few torque wrenches with different torque ranges and among them there is one with set of open end wrench heads.
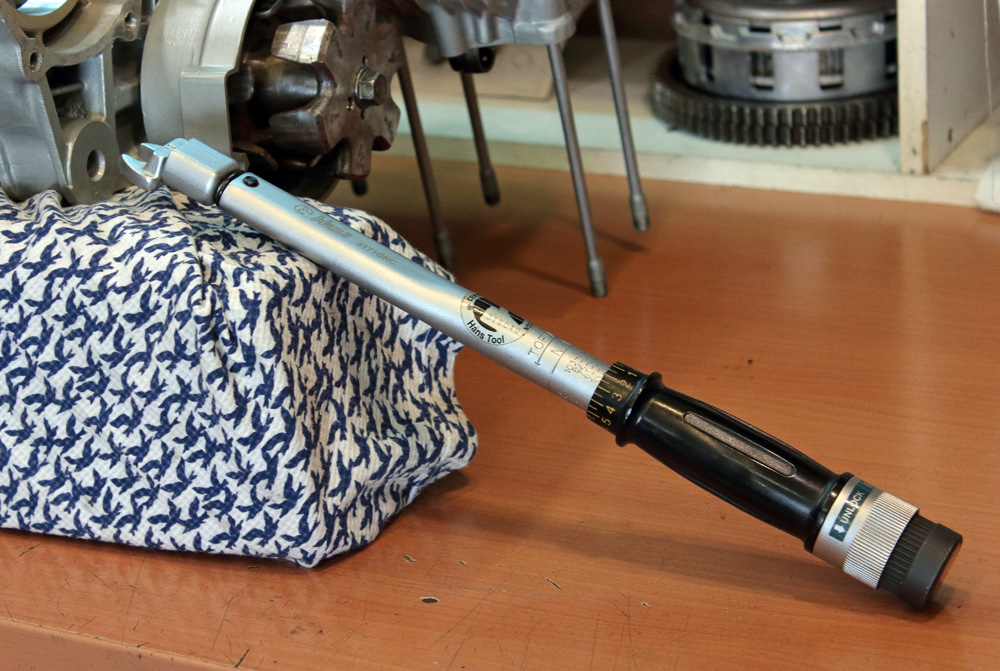 It make such kind of work an easy game.
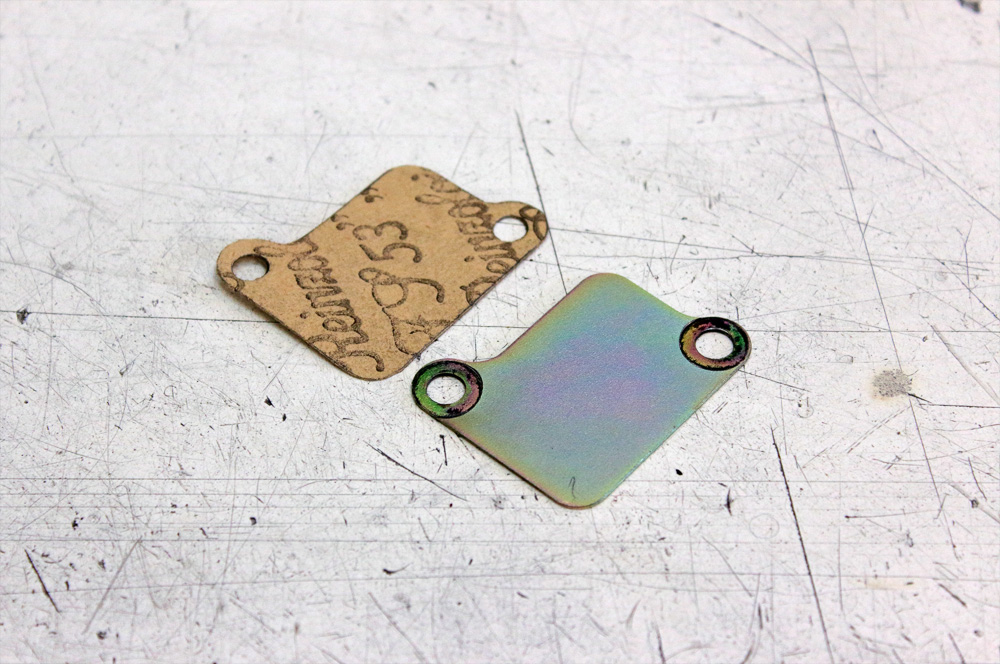
 There was no gasket for those oil chamber among gaskets included in OEM Honda “lower gasket set”, so I cut it out from Victor Reinz’ gasket material I have found at hand.
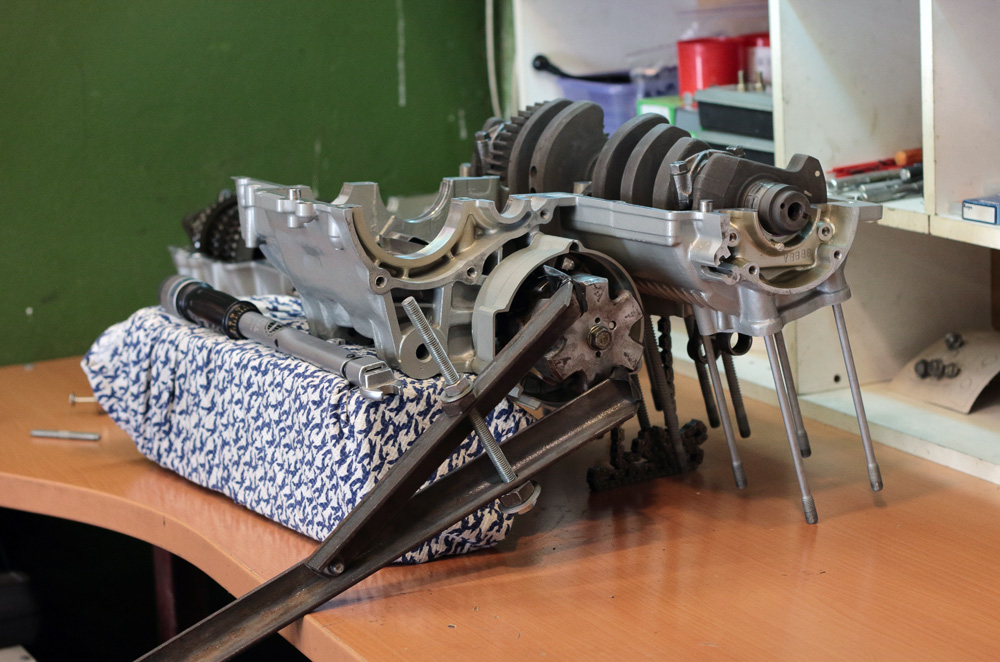
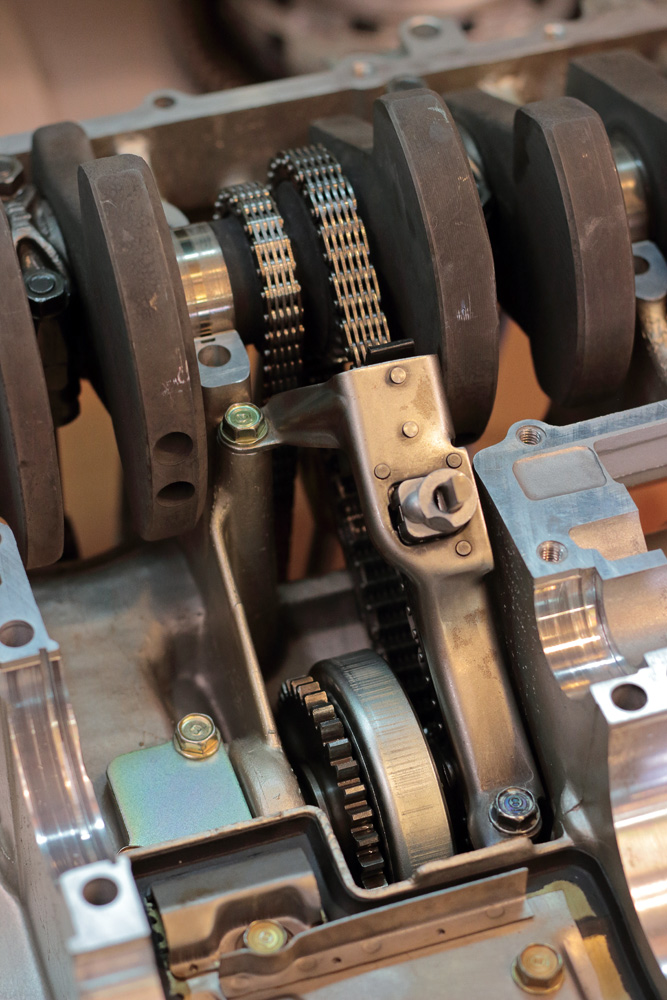
 After I installed alternator chain tensioner, crankcase halves were ready to mate again.


Did you have to modify the NightHawk case to work with the hydraulic clutch? I see the boss is in place on my stock motor, but it is solid.
Hi Aaron,
No, I used gearbox and left engine cover from CBX750 RC17.
https://www.gazzz-garage.com/wp-content/uploads/2017/01/IMG_9184.jpg
https://www.gazzz-garage.com/wp-content/uploads/2017/01/IMG_9187.jpg