This post is about engine painting and paint heat’ exposure, chemical and mechanical resistance testing of painted parts.
I chose Eastwood Ceramic Engine Paint (Colour: Universal Aluminum) . Manufacturer indicated that it “Super Durable, Chemical and Chip Resistant” and “Withstands temperatures up to 650 F*”, which is 343C, but one who used to read all notes on back side of cans may find that * after 650F means potential change of colour when painted parts are heated even to lower temperatures. Paint has urethane base and may be used alone, but as manufacturer recommends “For added durability and gloss use Eastwood’s activator “, I bought this activator too. It took full two months for paint and activator to be delivered to me, because manufacture located in USA and European dealerships have no those ceramic engine paints for sale.
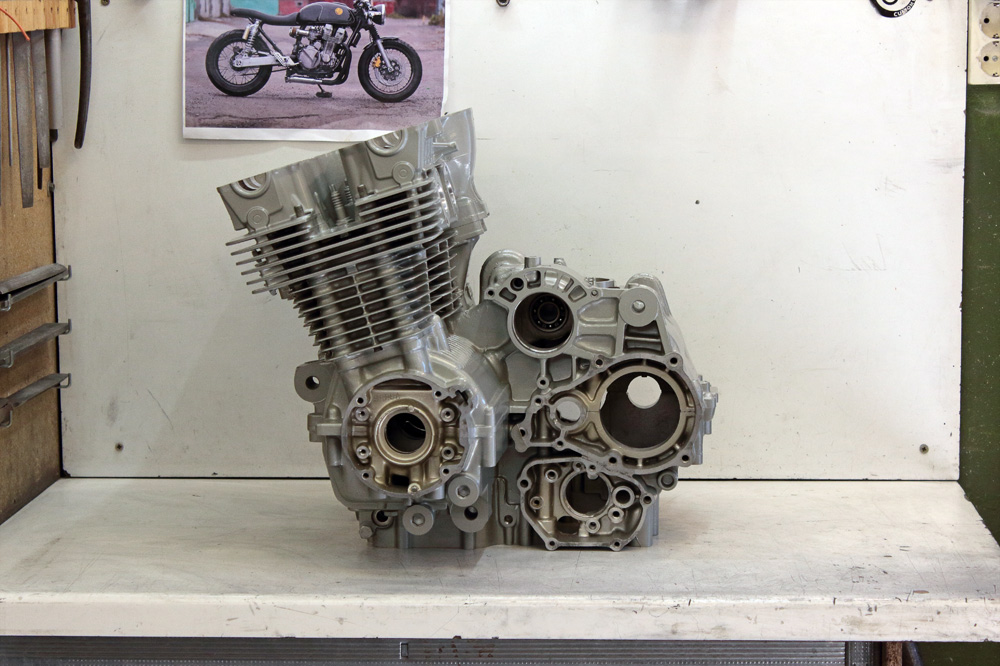
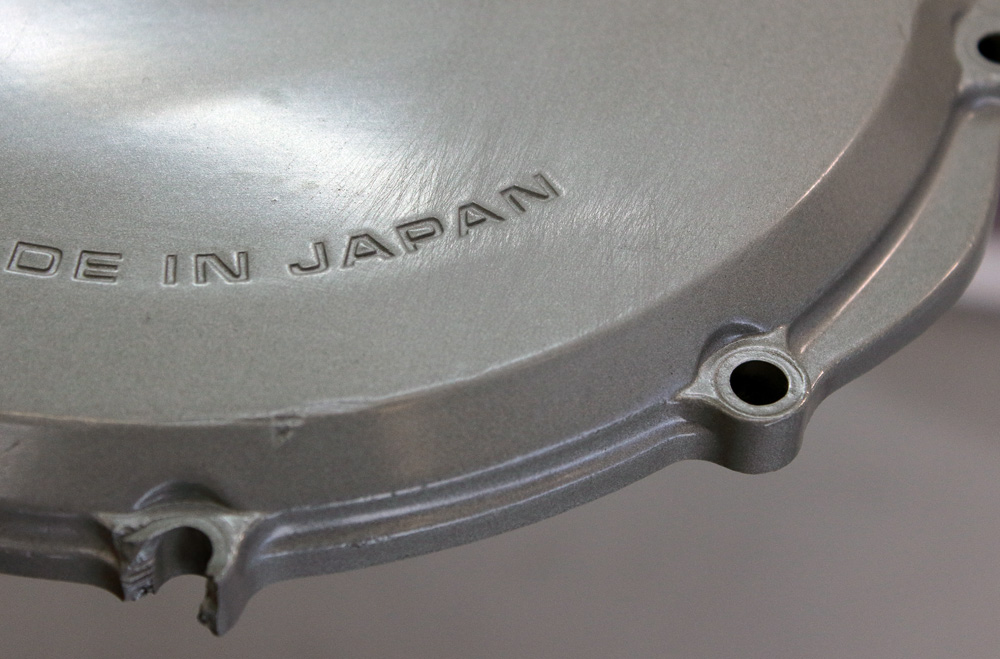
As I wrote earlier, I prepared two parts specially for testing: the spare oil pan and the CBX750 clutch cover. They were, as all other parts, glass-blasted and painted with the same paint.
Firstly, after engine was painted I let it dry up for two weeks before it was baked. This time I had occasion to bake engine in special electrical oven for powder coated parts which heats up to 200C (392F) so waiting time in fact turned out to be 19 days.
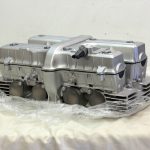
So, all painted parts, except of oil pan which I left as a control for colour comparing, was baked for an hour in oven, heated to 184C (363F) and here are results.
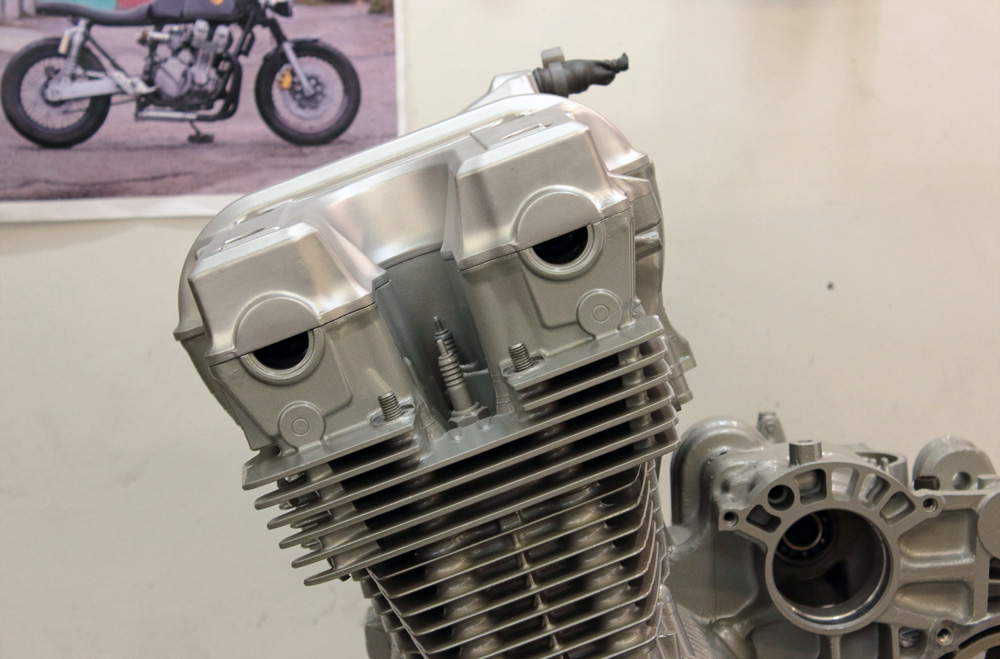
As you may see on photos, gloss factor of paint even after heating is between semi gloss and gloss.

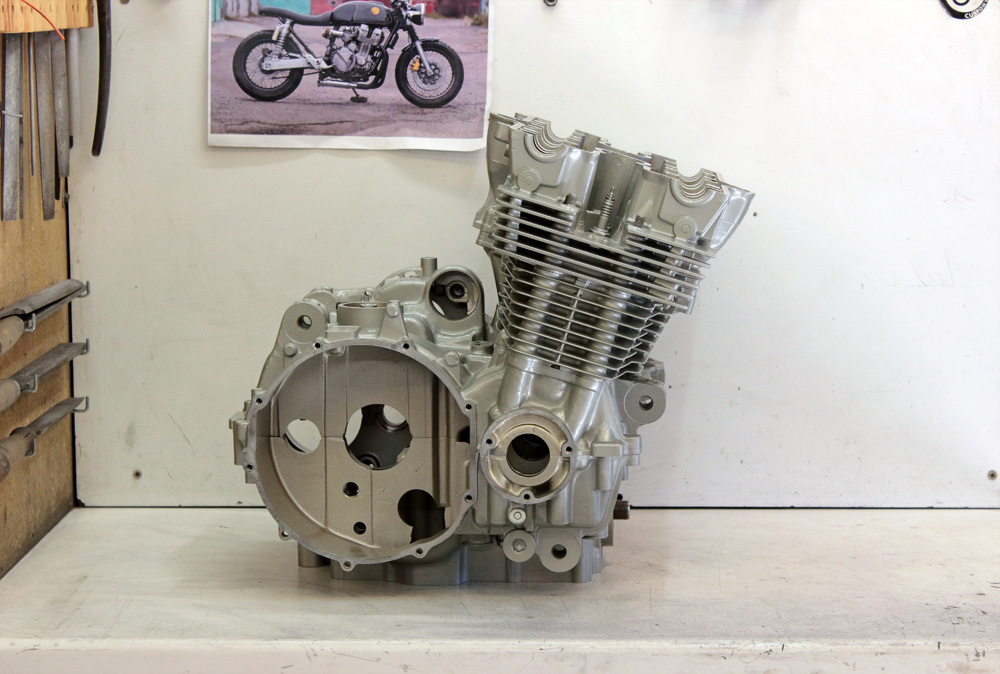
 Just a photo for comparing to plain glass blasted aluminum.
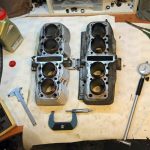
 The unpleasant surprise was not that bigger parts, such as cylinders, cylinder head and crankcase change colour for one shade,
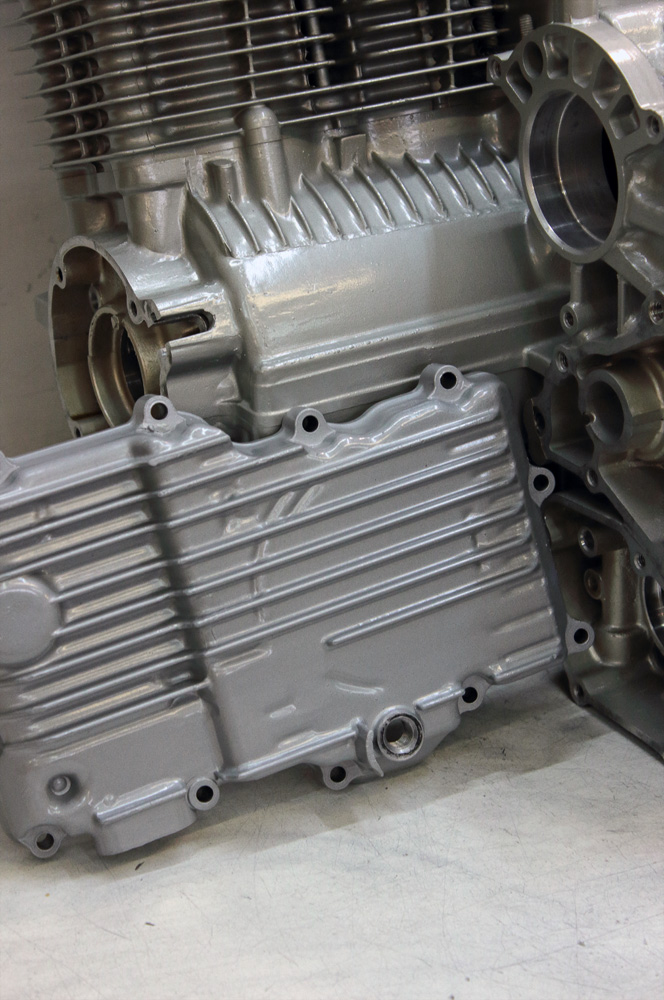 ,but the fact that smaller parts like clutch cover changed it at least by two shades…
 I suppose, the actual temperature of smaller parts became higher after an hour of baking than temperature of more massive parts and that’s I suppose is a reason of such difference in resulting colour. And sure, that’s not an effect one may expect using paint for 50$ with all those indications of ceramic, high temperature exposure and so on.
But I like the resulting colour, so in general I am quite satisfied how it turned out, so let us pass to the tests.
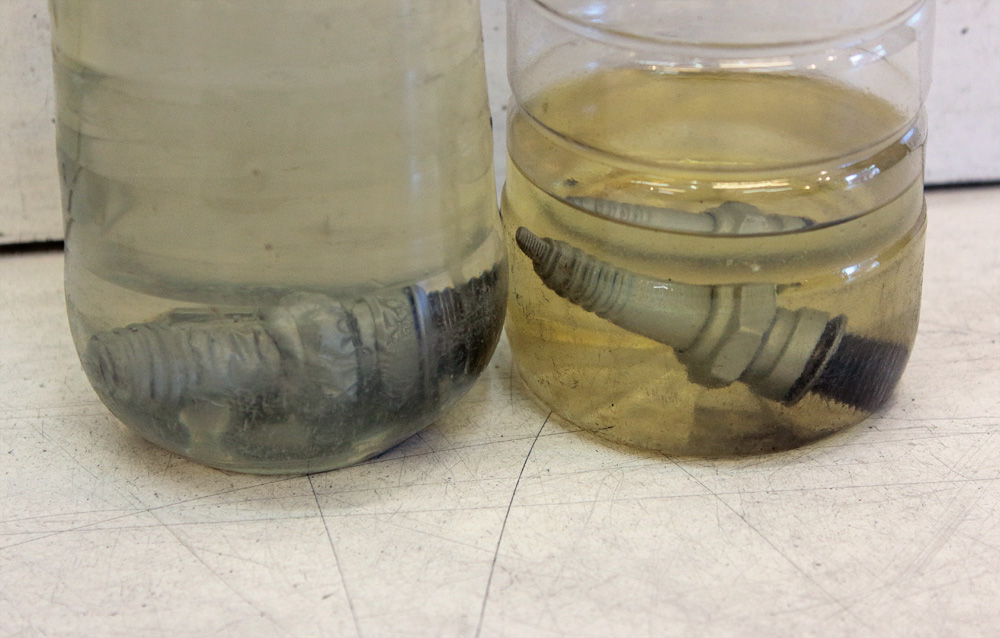
 I screwed old spark plugs in their places before media blasting, so they were blasted and painted together with cylinder head. I used a couple of these spark plugs for chemical resistance testing. One I put in bottle with nitro solvent 646 and another one – in bottle with gasoline.
 Here is information about this solvent, I found it in internet:
Earlier the solvent 646 is diluted nitrosoamine and nitrovarnishes. Later it was used for cleaning of various equipment and tools, degreasing of surfaces, removal of stains of organic origin and dilution of paint materials to the desired viscosity. The solvent is designed to interface with multiple groups of paints and varnishes:
– Acrylic and melaminoalkidnye colors.
– Epoxy and glyptal primers.
– Nitrocellulose enamels, varnishes and paints.
– Silicone and urea-alkyd paint formulations.
This solvent is active to urethane-based paints so it defoliated paint from spark plug in ten minutes. Gasoline caused no harm even in an hour, so at least we may say there will be no harm to paint if any occasional gasoline leakage happened.
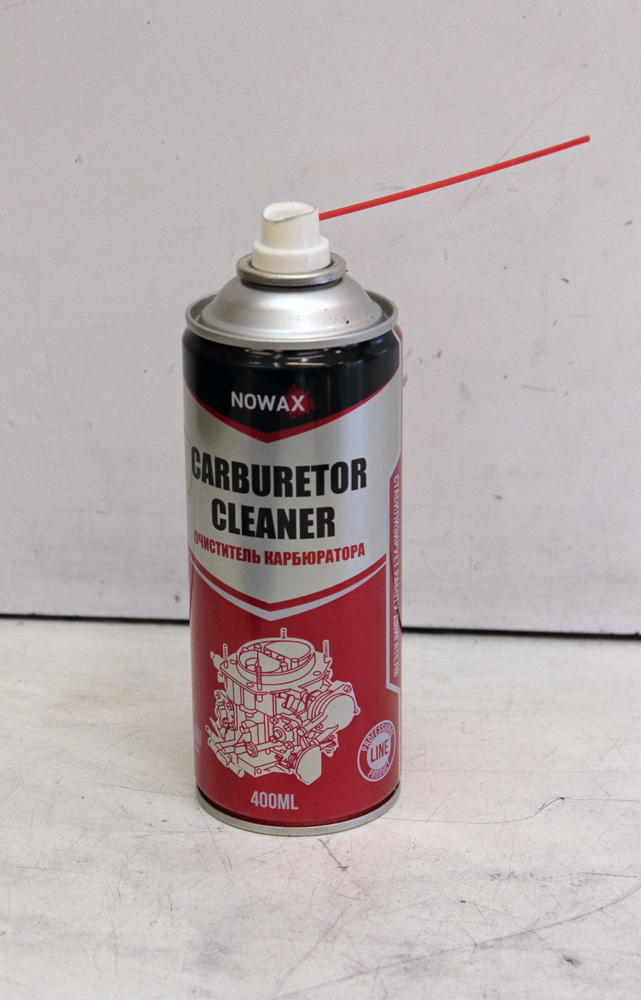
Next test is semi-chemical and semi-mechanical. I applied carburettor cleaner on my testing parts and on pieces of the same white cloth and then intensively rubbed parts with these rags. What is important – the quantity of rubs applied (and their quality (preassure, frequency) were the same in both: control and test samples.
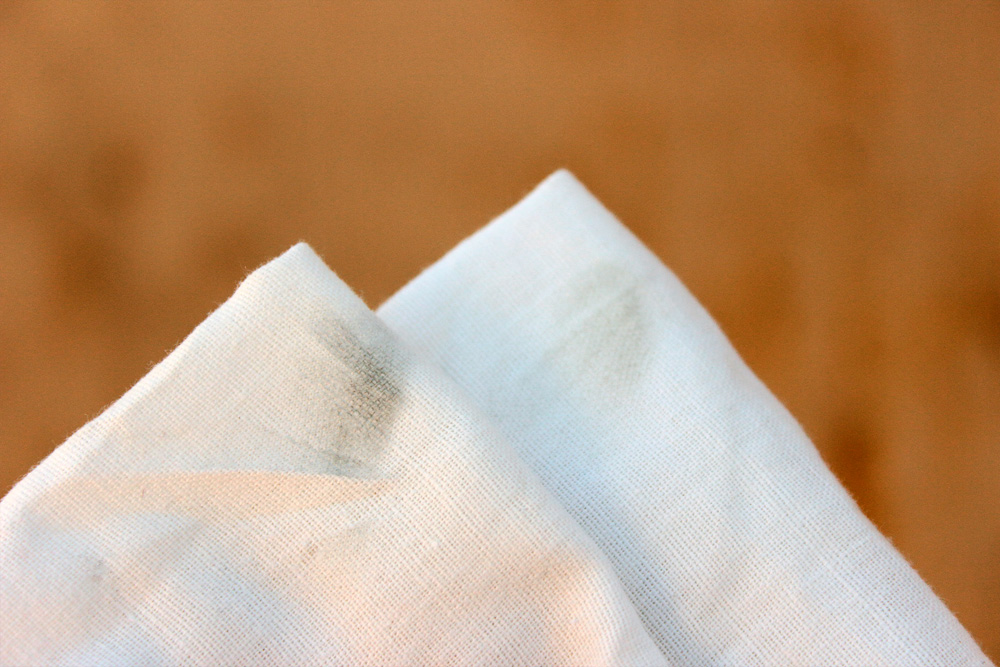
 The result of this test are traces of paint on white cloth. Upper one is result of unbaked oil pan rubbing and lower one – baked clutch cover. As one may clearly see, baked part is significantly more resistant to such combination of chemical and mechanical impacts.
 I also used solvent 646 in the same way and result was even less impressive than with carburettor cleaner.
 So looks like occasional leakage of solvents also make no harm to Eastwood engine paint and all will be OK with it if do not put it in bath filled with solvent 🙂
And the last test. I used steel wire brush to scratch clutch cover surface.
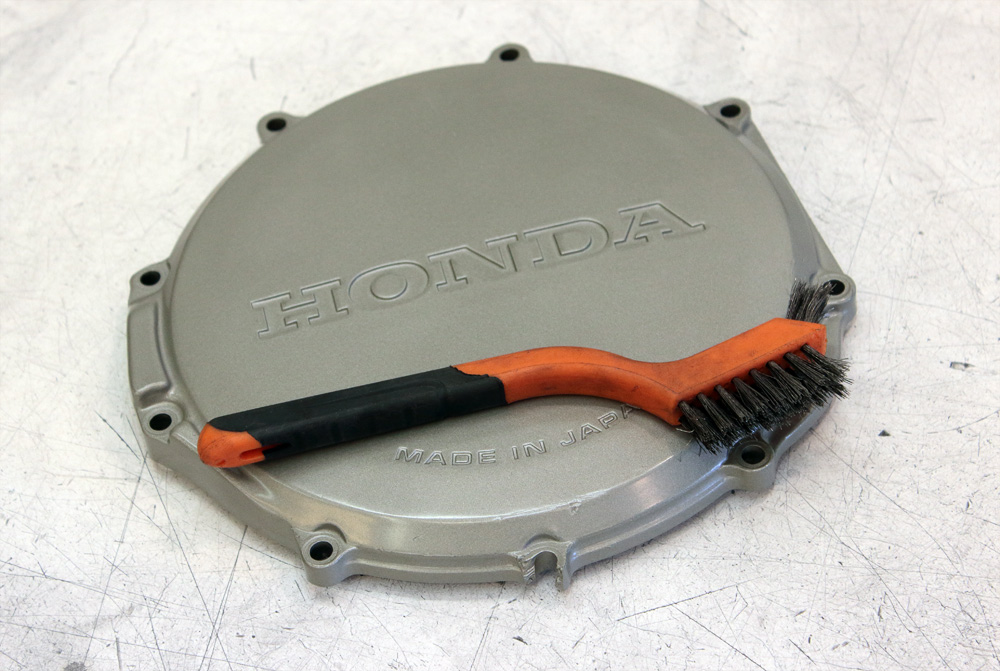 Paint withstands quite good to this mechanical impact.
 So my final conclusion about Eastwood Ceramic Engine paint is: it is quite suitable for motorcycle engines and I satisfied with its resistance to mechanical and chemical factors and I am sure that they will increase with time and further circles of engine heating. But one who decide to use it must have in mind two significant factors:
1) Rather gloss surface of paint (This effect caused by activator).
2) Paint really may change its colour under temperature treatment far lower than 650F (343C) indicated on the can.
I suppose in spare time I’ll try to use this paint without activator and then I’ll run on it all the testes I had written about above.
Updated on 05.08.2017
It is necessary to wash crankcase, cylinder block, cylinder head and engine covers after media blasting and painting, even if they were covered well. So I spent this day to wash all those parts by pressured kerosene and then I blew them all thoroughly by pressured air. There were some last bolts and plugs on my workbench as a result of preparing to such treatment. They were glass blasted, painted and baked as well as parts into which they were screwed. And there was also a can of carburettor cleaner, ABRO this time. So I filled one plug with it and scratched it with finger nail.
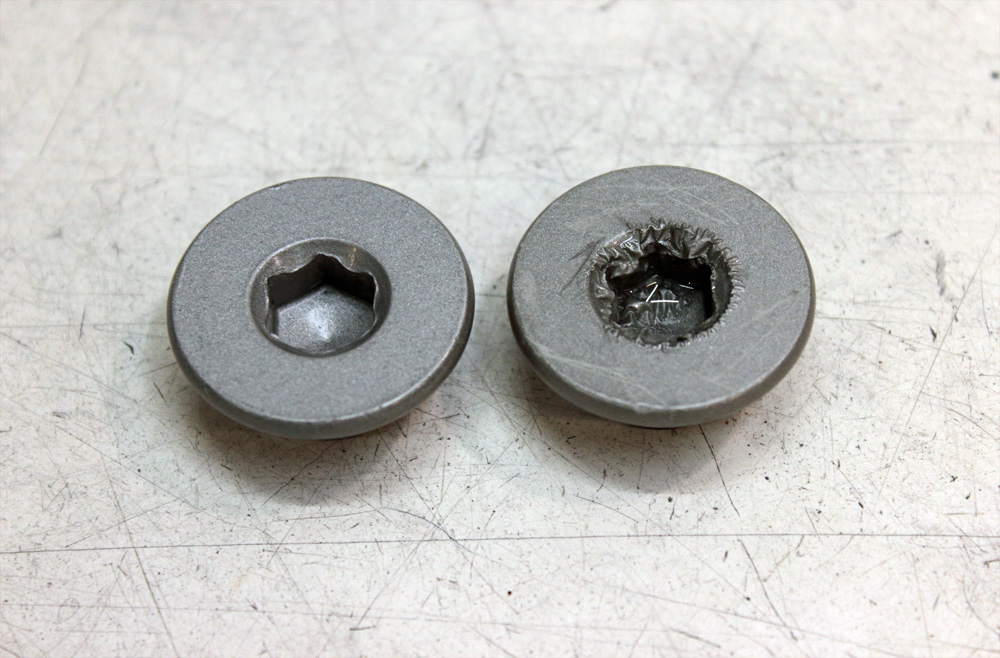 As carburettor cleaner evaporated, paint (where it didn’t defoliated) became hard again, but for sure I may say that even with activator and even after first baking Eastwood engine paint still far from be super chemical resistant…